Warning: Attempt to read property "sorting" on null in /www/data/jaguar_blog/wordpress/wp-content/plugins/wp-post-sorting/wpps_hook_posts_orderby.php on line 20

Warning: Attempt to read property "sorting" on null in /www/data/jaguar_blog/wordpress/wp-content/plugins/wp-post-sorting/wpps_hook_posts_orderby.php on line 21

Warning: Attempt to read property "sorting" on null in /www/data/jaguar_blog/wordpress/wp-content/plugins/wp-post-sorting/wpps_hook_posts_orderby.php on line 22

Warning: Attempt to read property "sorting" on null in /www/data/jaguar_blog/wordpress/wp-content/plugins/wp-post-sorting/wpps_hook_posts_orderby.php on line 23

Warning: Cannot modify header information - headers already sent by (output started at /www/data/jaguar_blog/wordpress/wp-content/plugins/wp-post-sorting/wpps_hook_posts_orderby.php:20) in /www/data/jaguar_blog/wordpress/wp-includes/feed-rss2.php on line 8
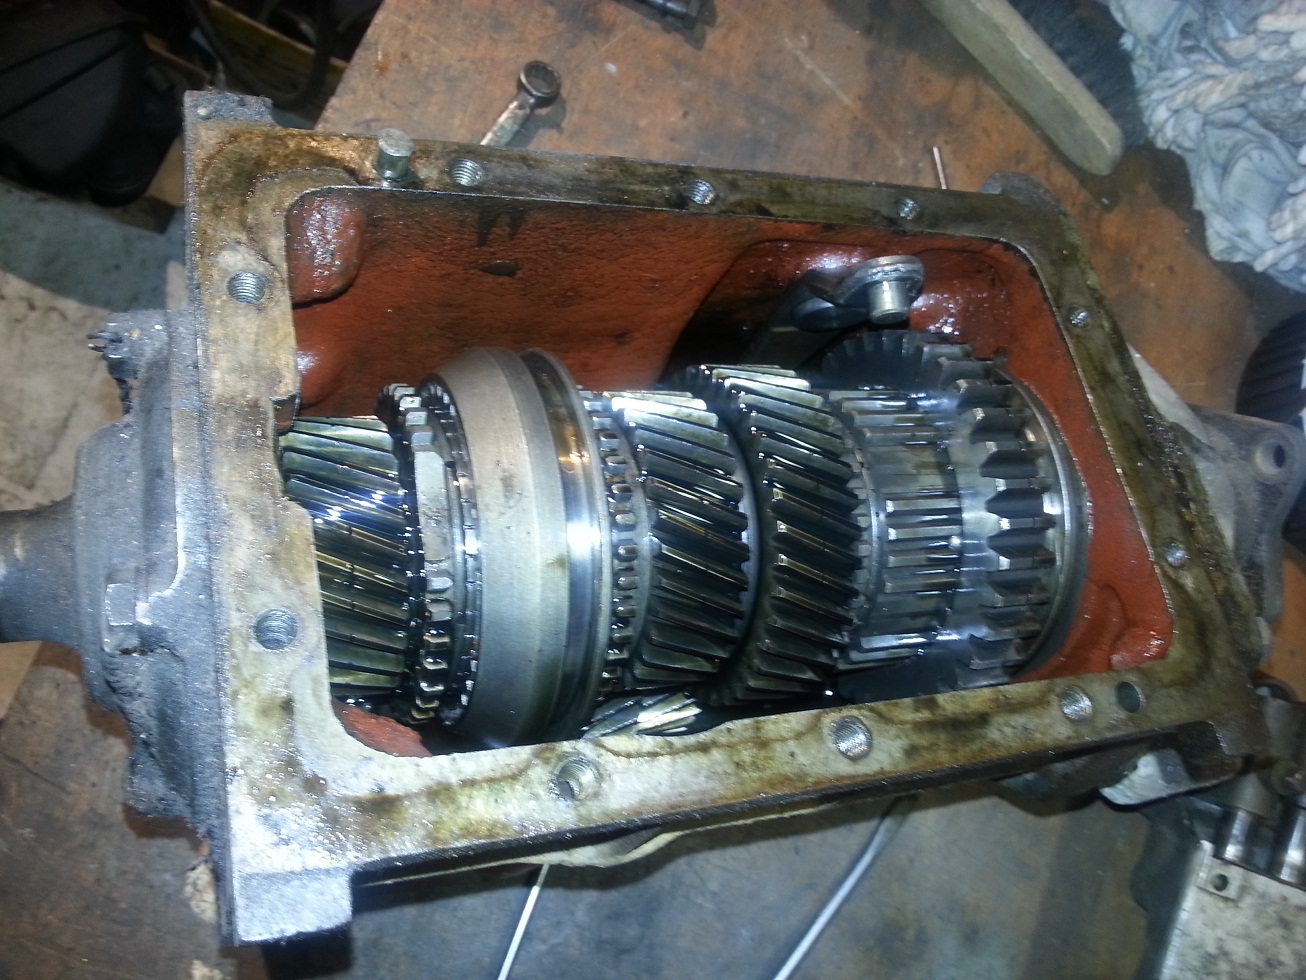
GearBox https://xk140.nl/wordpress Tue, 13 Jan 2015 19:49:14 +0000 nl-NL hourly 1 Gearbox https://xk140.nl/wordpress/?p=875 https://xk140.nl/wordpress/?p=875#respond Sat, 20 Dec 2014 16:27:49 +0000 http://www.xk140.nl/wordpress/?p=875 [...]]]> GearboxInternalAfter removing the gearbox cover I was pleased to see that there was still 0,5 liter of oil inside. All the gears looks still great.

The bearing of the incoming axle was blocked for some reason but I already planned to replace all bearing anyway.

The needles bearings where also not so good but the bearing surface was still in good shape.

After all internals where cleaned, checked and stored I started with cleaning the gearbox cover.

I will leave the gearbox cover as it is for the time being. I don’t want to disassemble to much at the same time be able to assemble everything as it should.
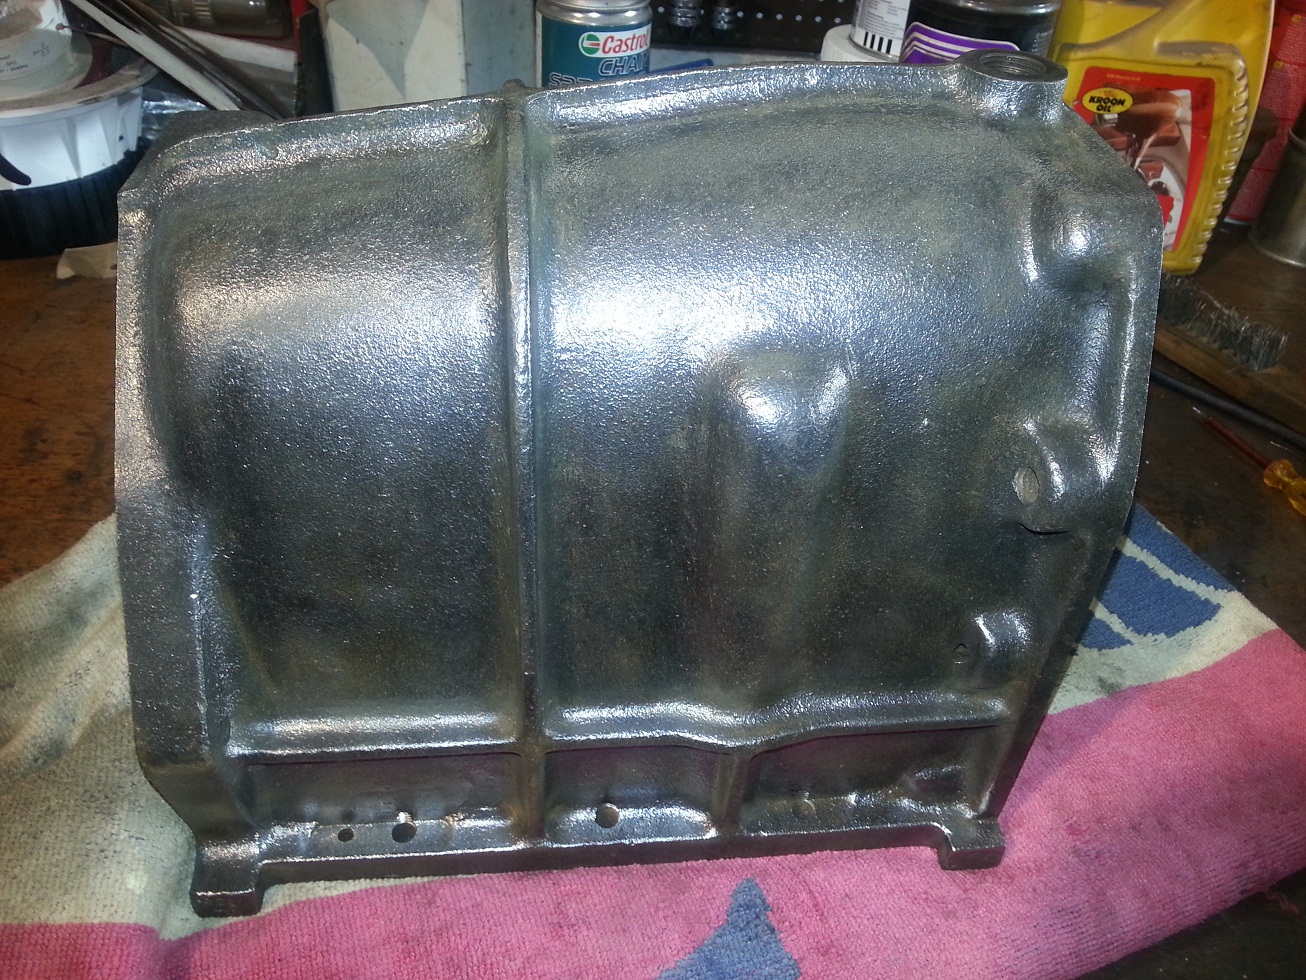
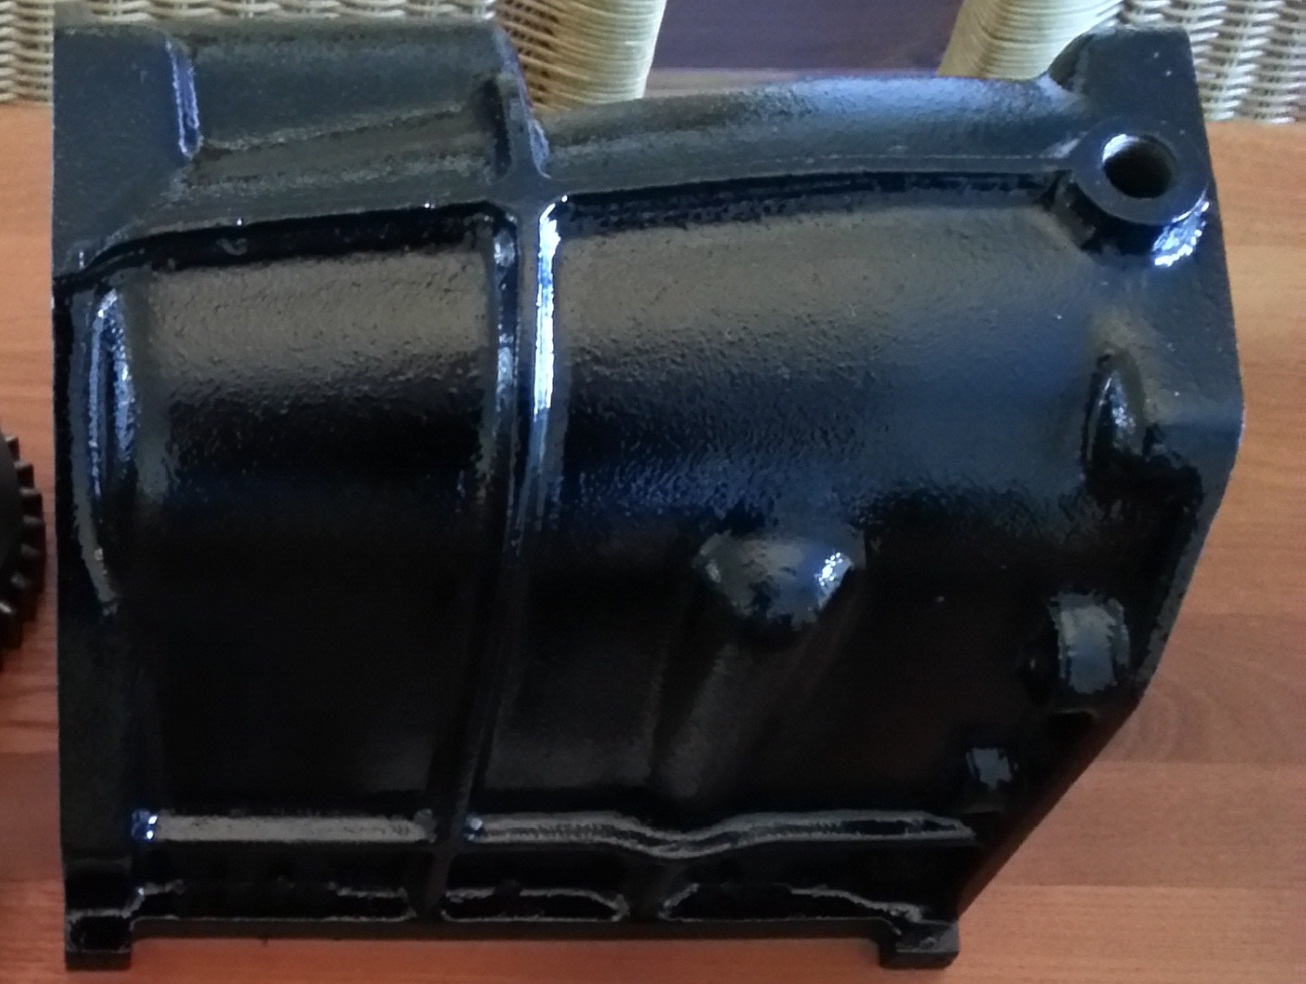
Gearbox Cleaned Gearbox Painted


After the outside gearbox cover was decreased and all rust removed, it could be painted epoxy primer and several layers of black paint.
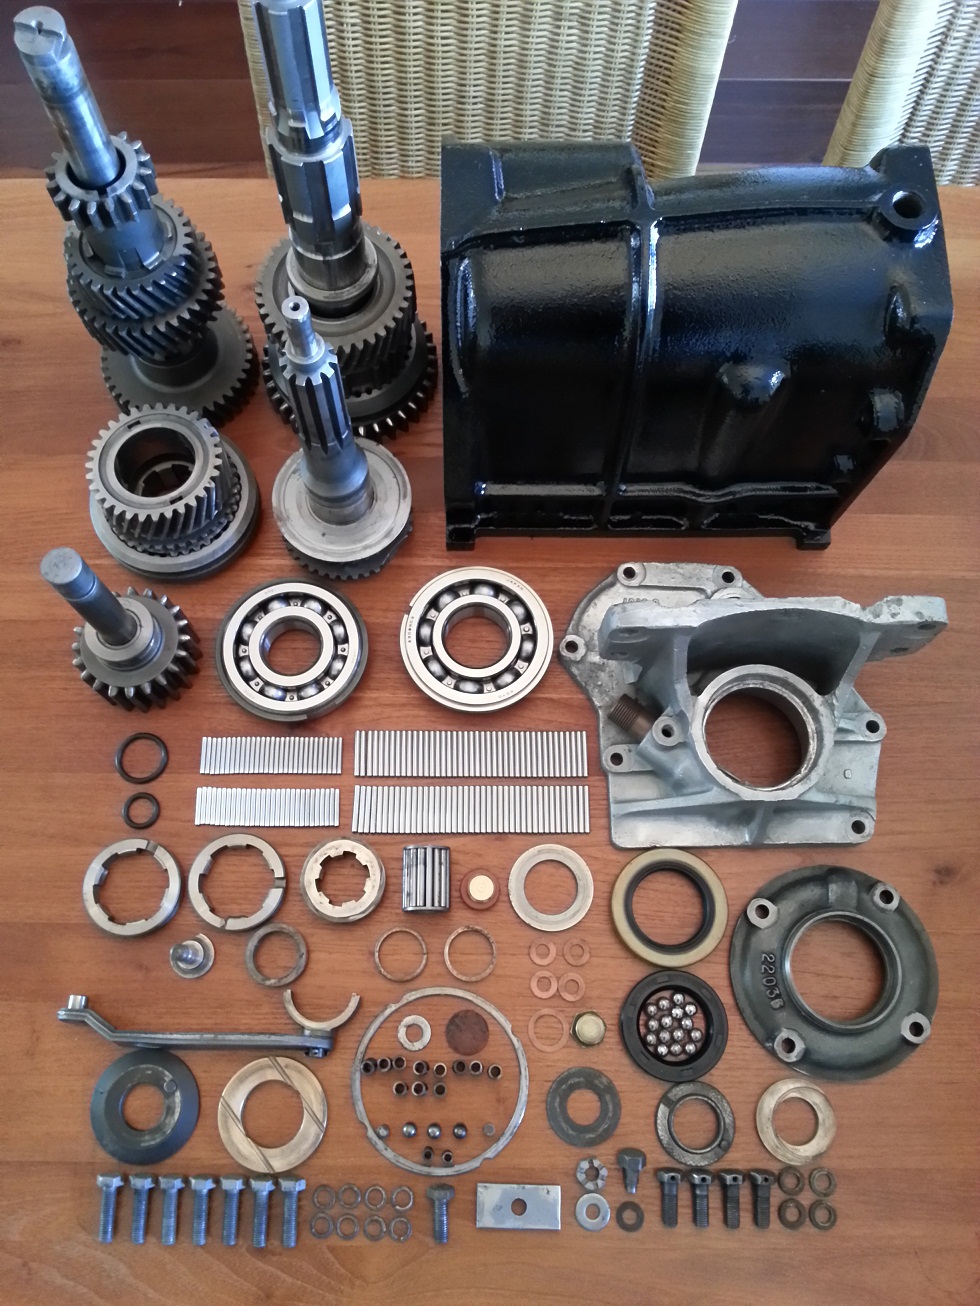
Gearbox Parts

All separate parts used to rebuild the gearbox without cover
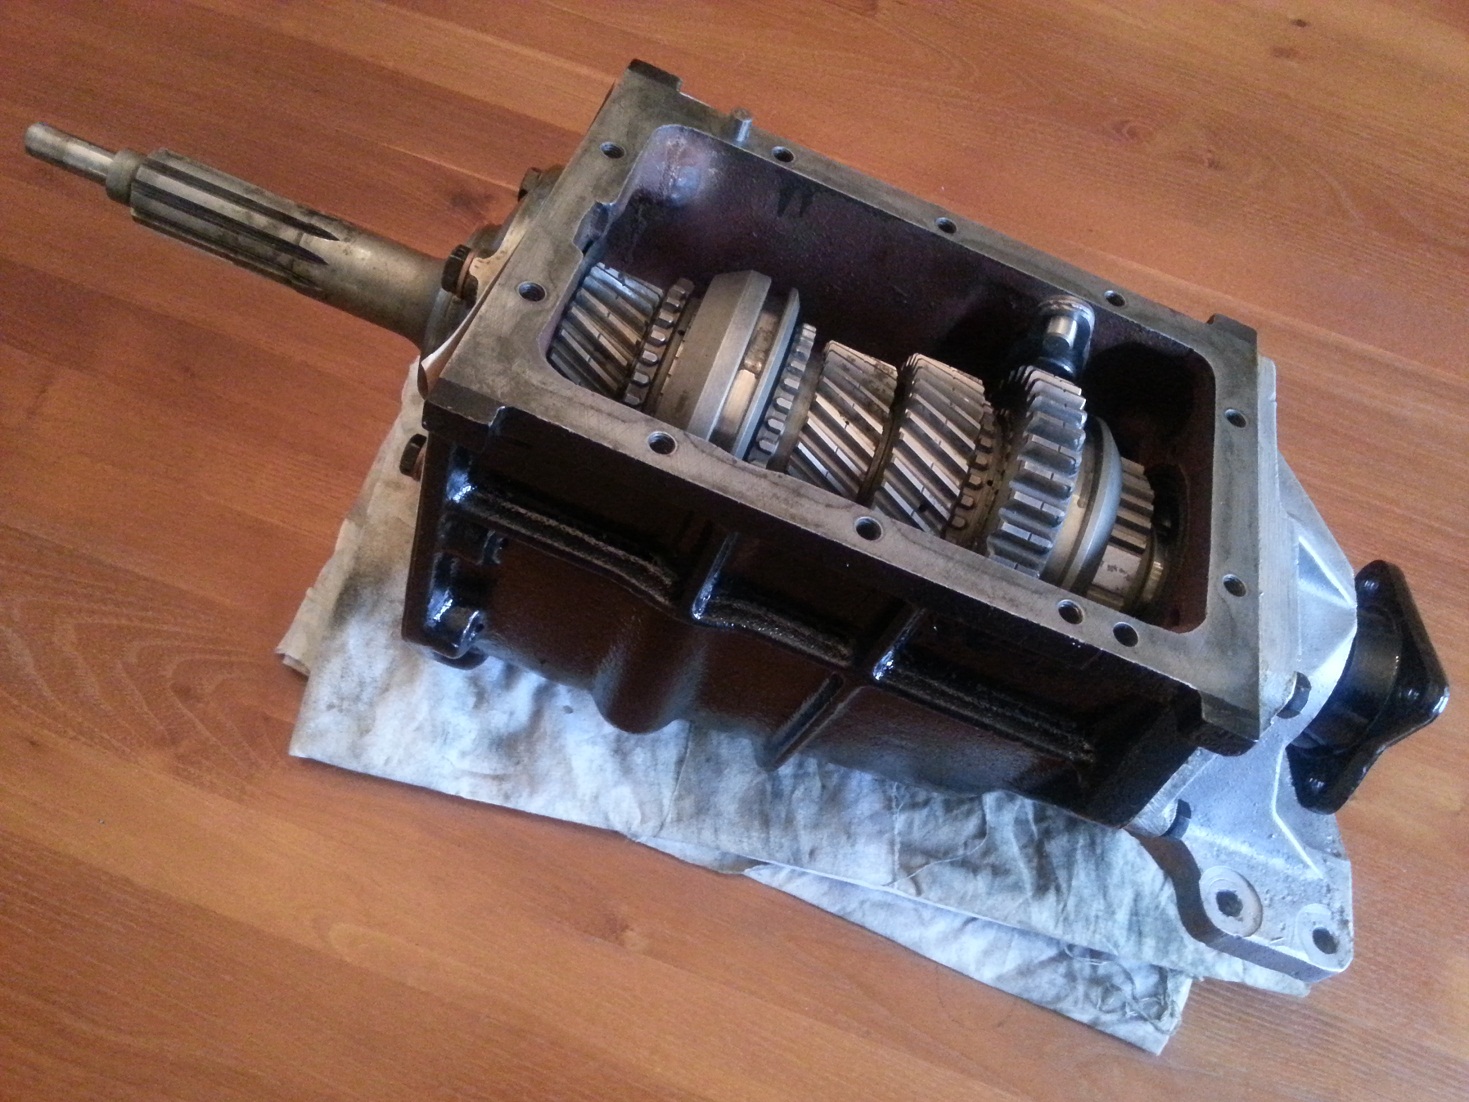
GearboxInternalFinished

Gearbox (without cover) mounted


]]>
https://xk140.nl/wordpress/?feed=rss2&p=875 0
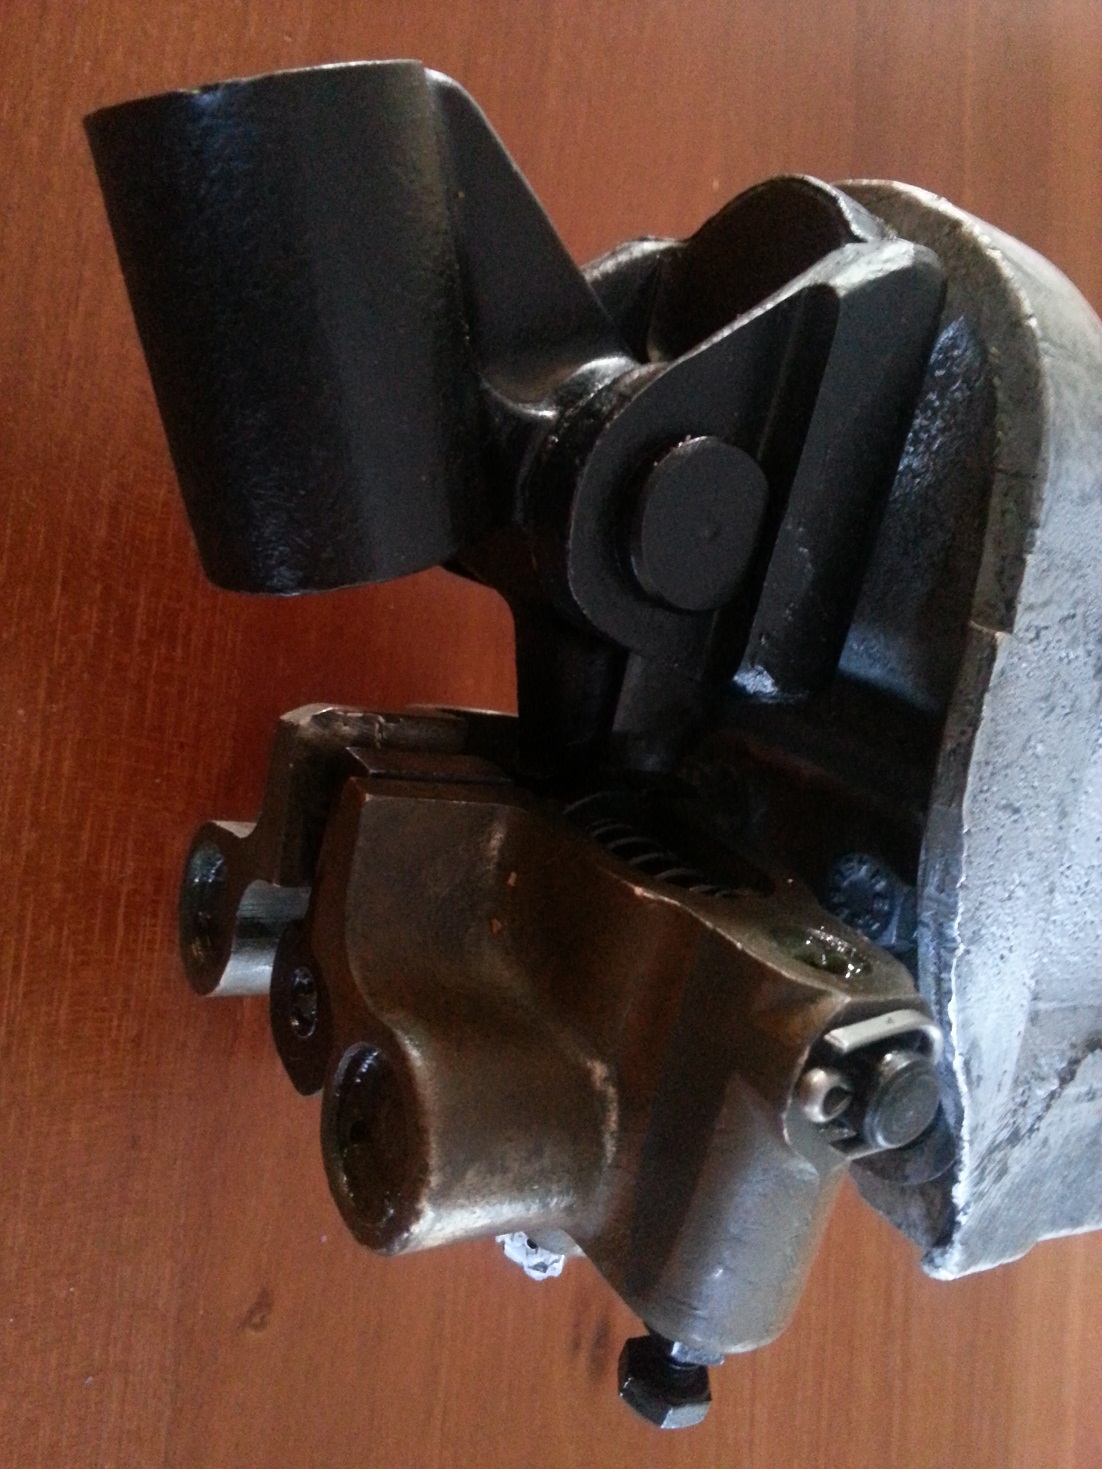
Striking gear https://xk140.nl/wordpress/?p=930 https://xk140.nl/wordpress/?p=930#respond Sun, 04 Jan 2015 16:02:27 +0000 http://www.xk140.nl/wordpress/?p=930 [...]]]> The last part needed to complete the gearbox / bell housing is the striking gear. The part makes the translation from movement of the gear stick to selecting the correct gears inside the gearbox.

The Xk140 has the normal H shape for 1st, 2nd, 3th and 4th gear. The reverse gear is placed on the left side of the 1st gear. Before the reverse gear can be selected the gear stick must be pressed to the left with a little pressure before it can be moved forward.
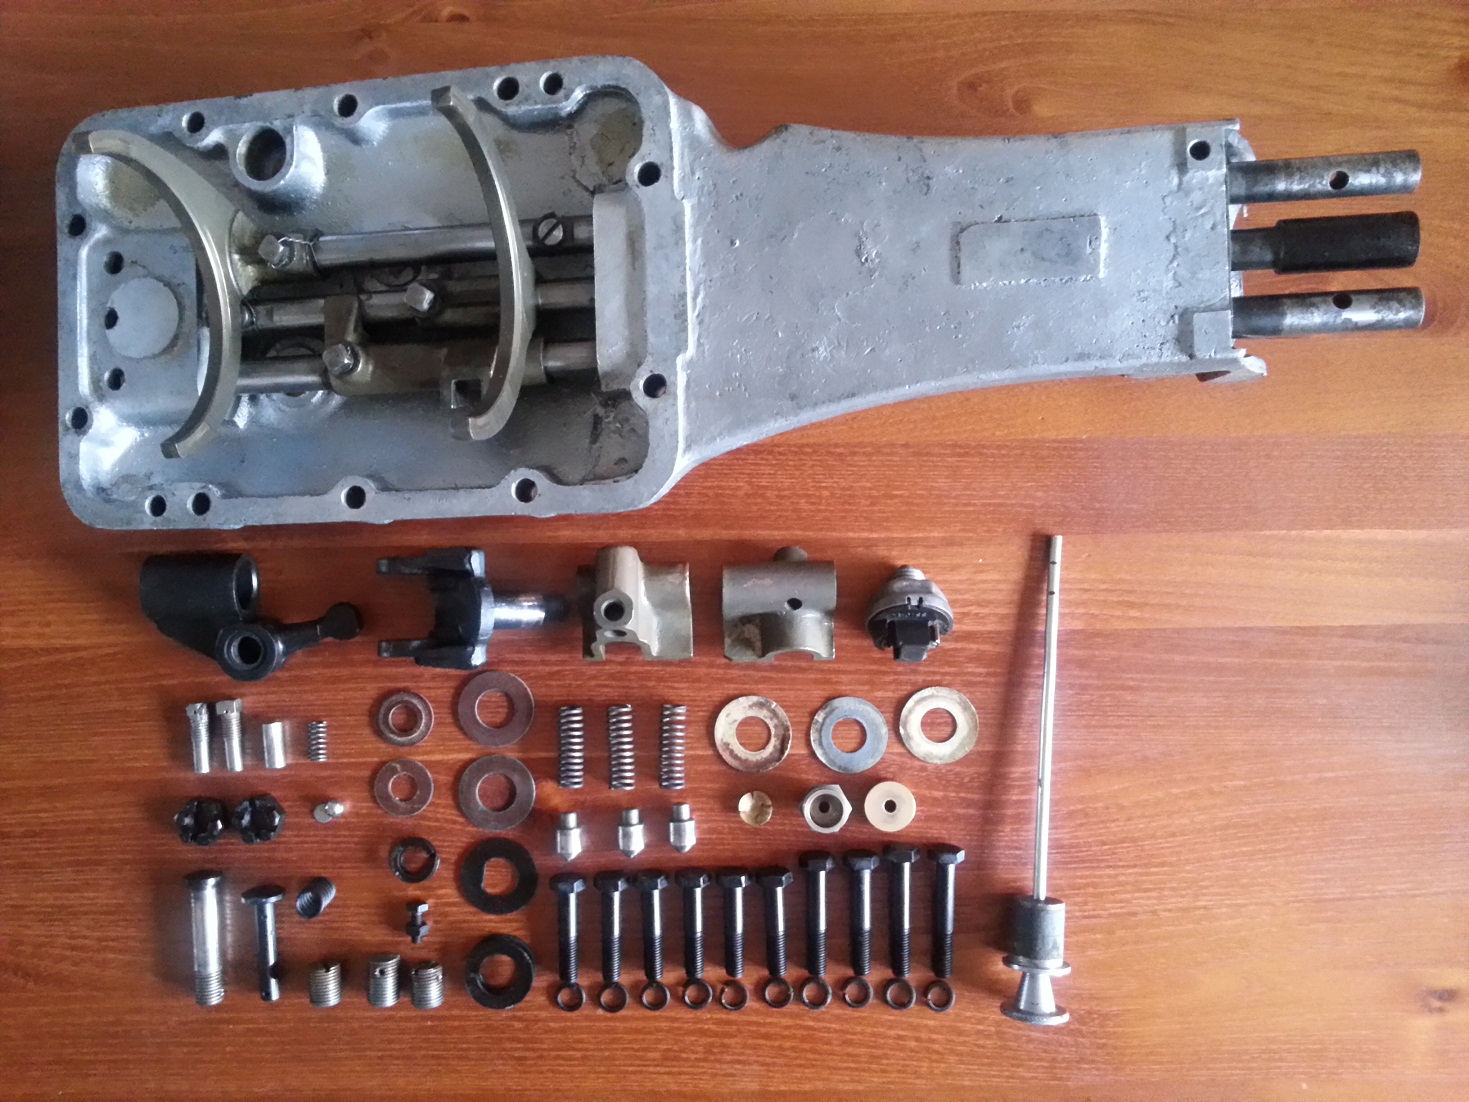
Striking Gear Parts

All parts needed to assemble the striking gear

A fresh gasket will be use to mount the assembled striking gear on top of the gearbox.
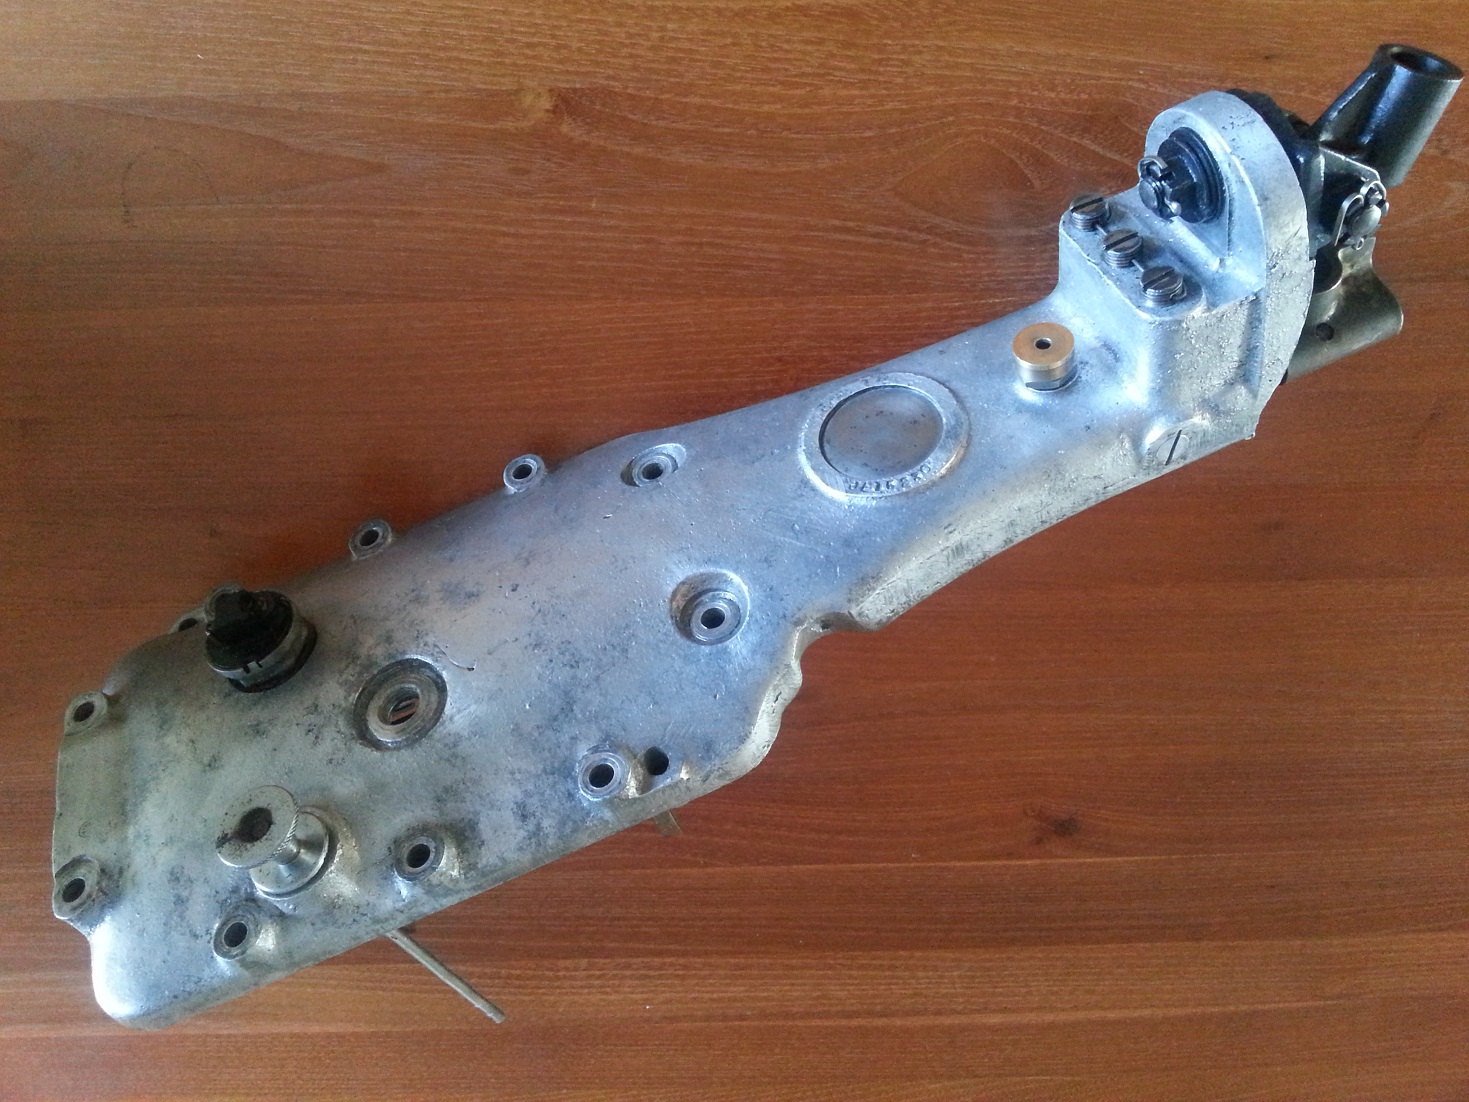
Striking Gear Mounted Striking Gears Detail
Above the assembled striking gear (right a detail of the gear selection mechanism)

Now everything for the gearbox and bell housing has been finished we can start assembling the engine.

]]>
https://xk140.nl/wordpress/?feed=rss2&p=930 0