Before assembly of the engine could start all bearings are measured:
- Mains bearings (6/100, still within specification)
To prevent honing the crankshaft(I can only be done twice, and it will get less riged) I accept the play as it is.
- Thrust washers (with one STD and one oversize 11/100)
- Big-end bearings (4/100, still within specification)
- Small-end bearing (No notable play)
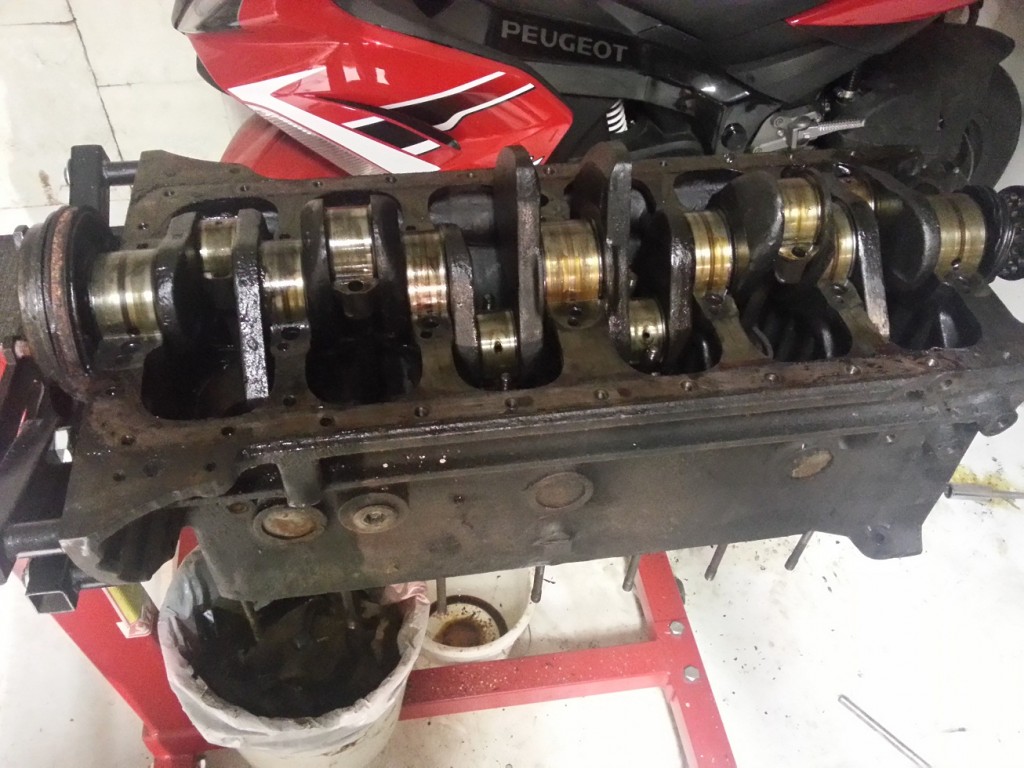
Original uncleaned bottom view of the crankshaft
All separate parts are thoroughly cleaned and the following parts are bought new:
- New main bearings (STD)
- New big-end bearings (STD)
- New thrust washers (STD + oversize)
- New piston set (complete with 4 rings, gudgeon pin and circlips)

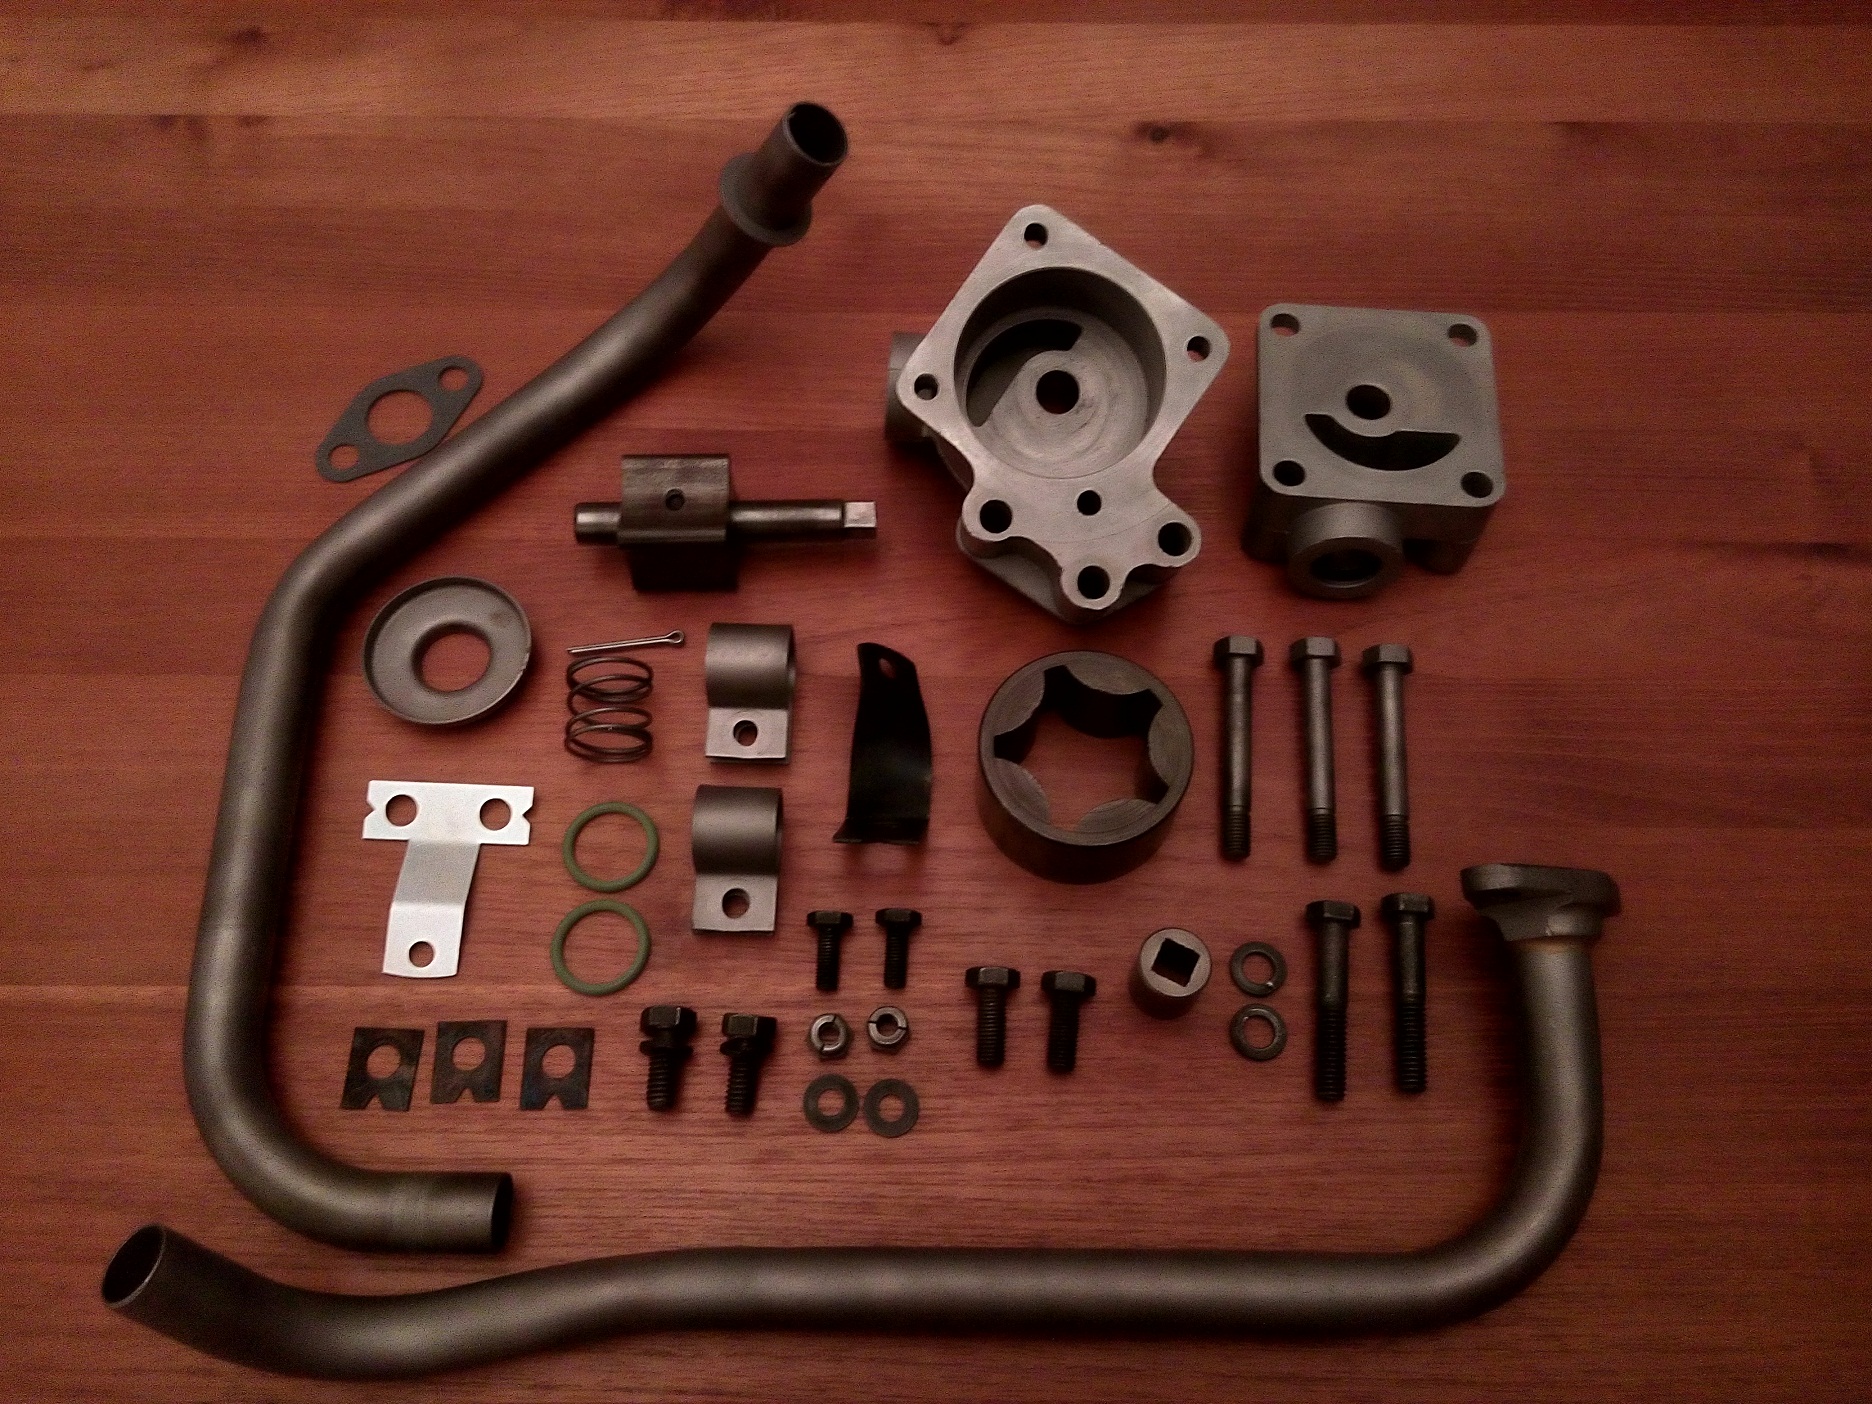
All cleaned and new parts needed to mount the crank shaft and pistons
Remarks:
- Don’t forget the oil sealing ring at the rear block before the crankshaft is mounted.
- Mount the bearing so the indicators will match (they are all numbered and the engine block also has these numbers stamped into the casting) Numbers should be kept at the inlet side.
- The pistons are number from 1 until 6 starting from the backside of the block
- The piston numbers are stamped into the connection rod and the big-end bearing cap
- The piston numbers should be readable from the exhaust side
- The compression piston rings should be mounted in opposite direction 0 and 180 degrees. I also mounted the oil scrapper rings at 90 and 270 degrees.
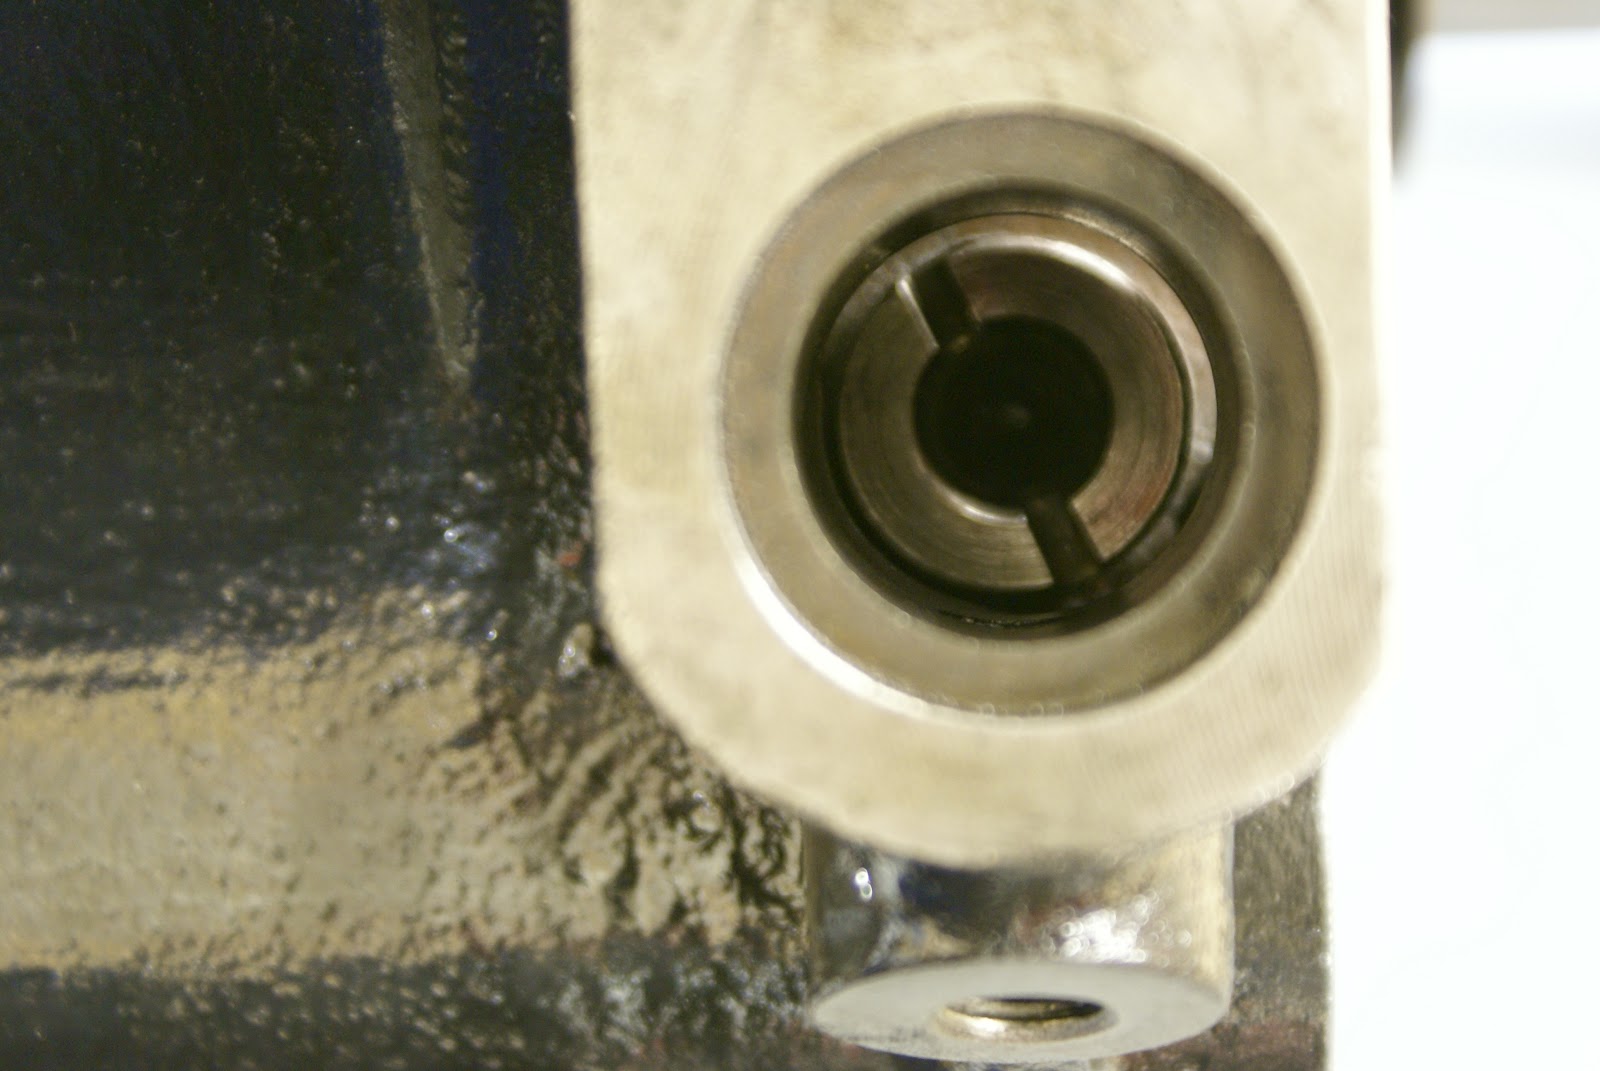
- When piston 1 and 6 are in the TDC position the distributor shaft
 should be positioned at 5 to 5. The distributor shaft will make a half rotation when the crankshaft has made one.
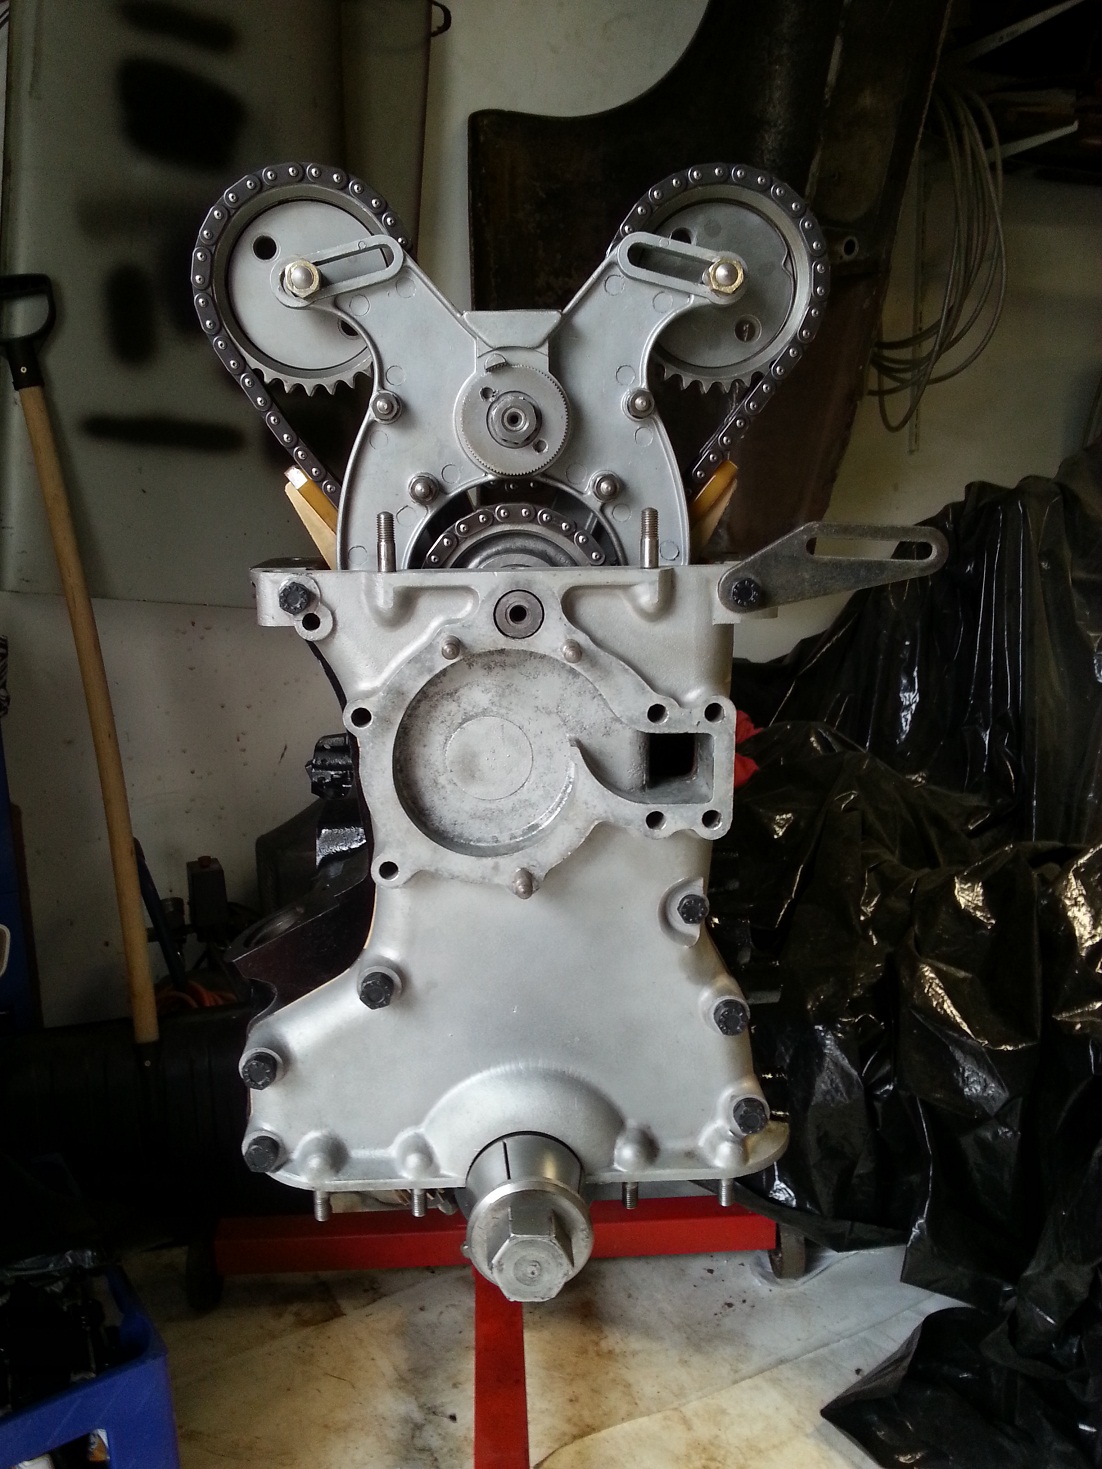
- When the timing chain is connected to camshaft make sure the distributor shaft is positioned as shown on the picture.
(Remark the notch is positioned left from the middle at 5 to 5)
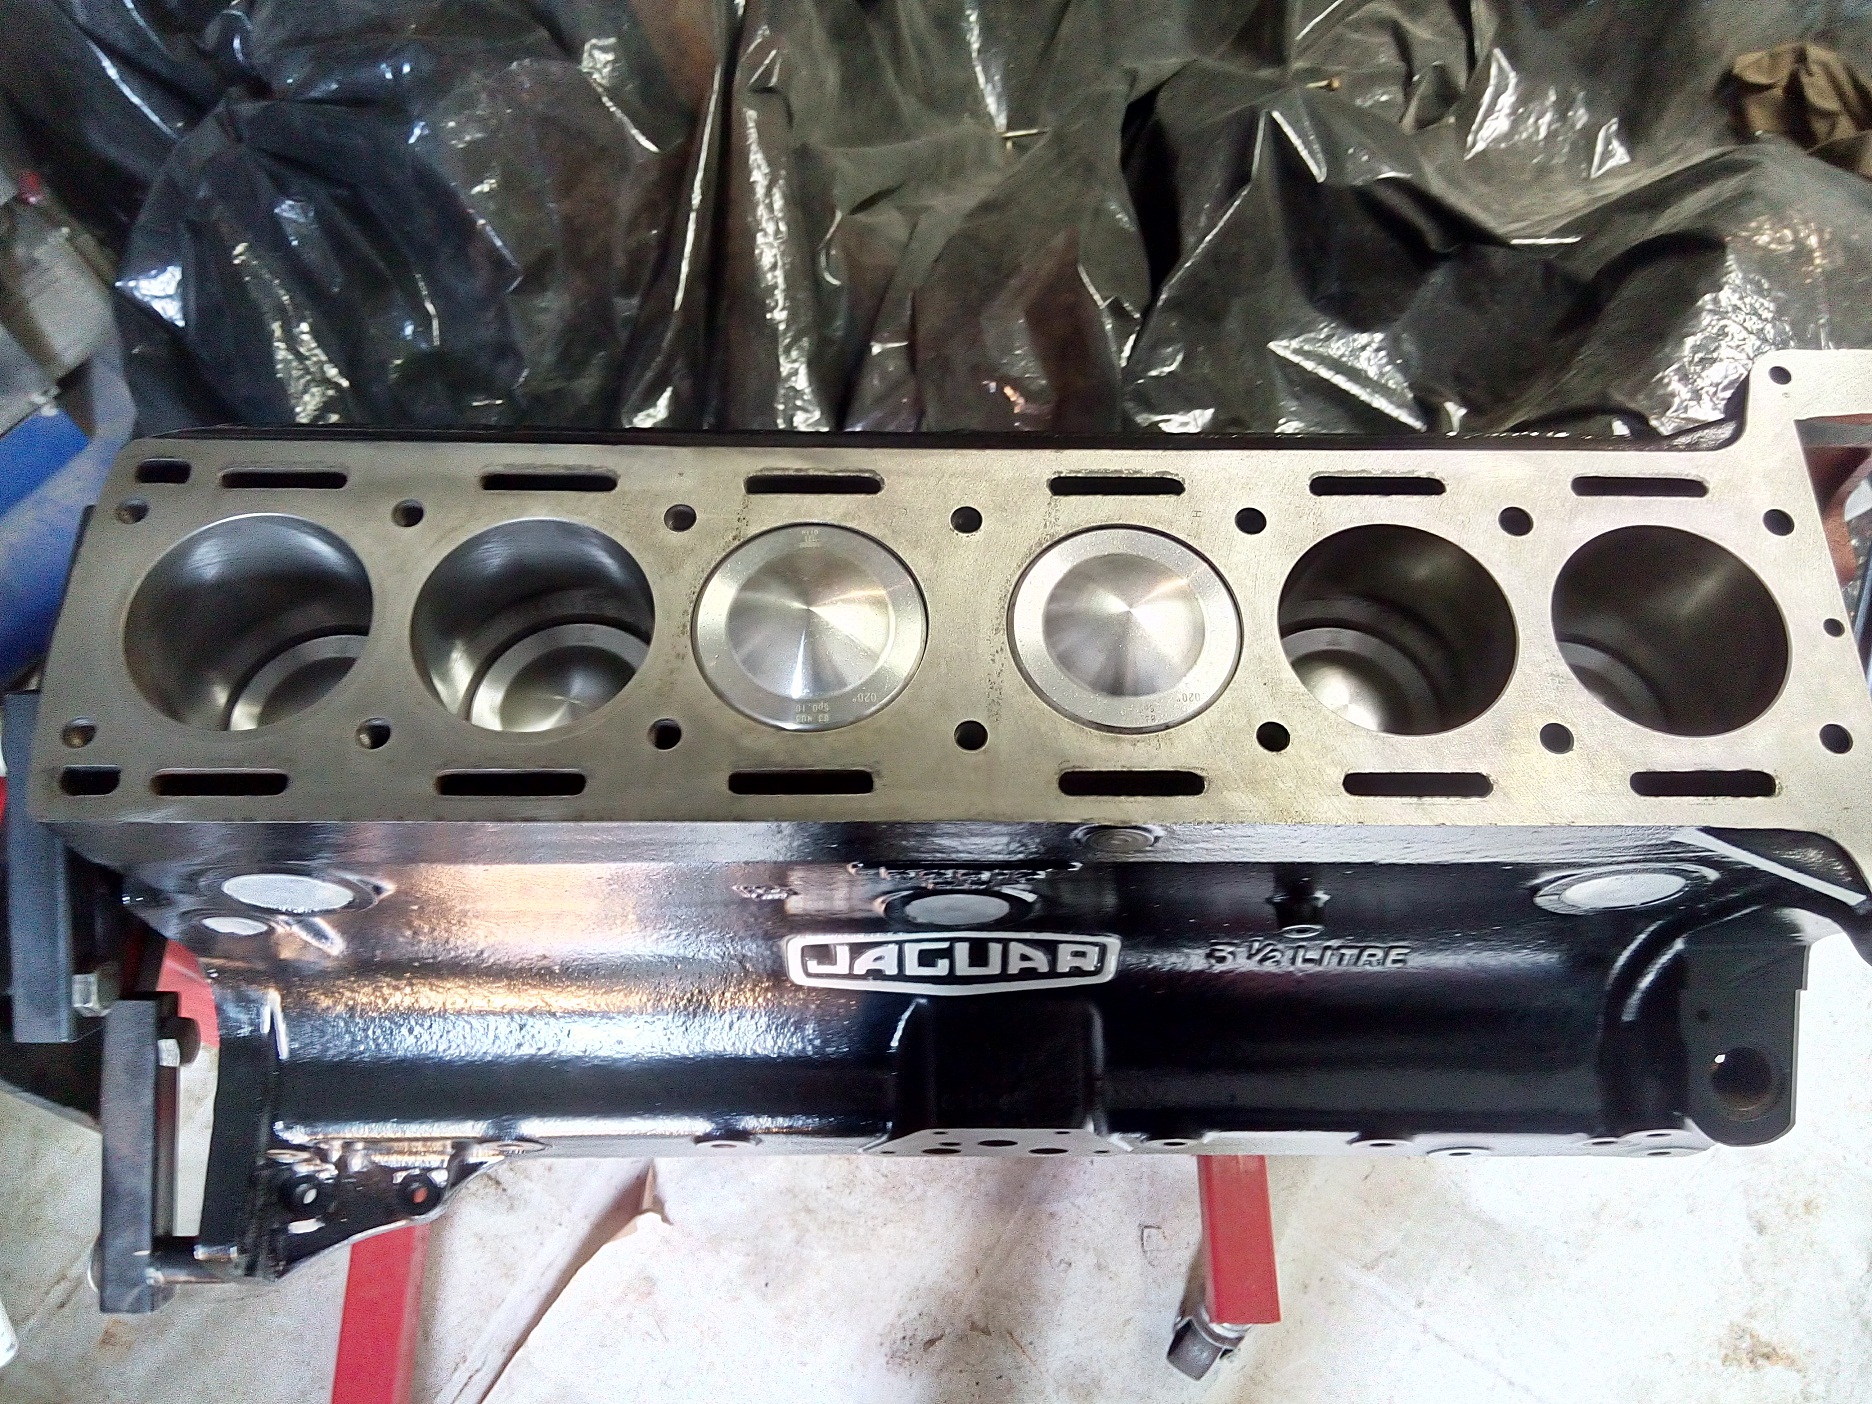
Because I found some pictures, original made in jaguar factory with painted text, I painted the “Jaguar” logo and the text “3 1/2 litre” in white.
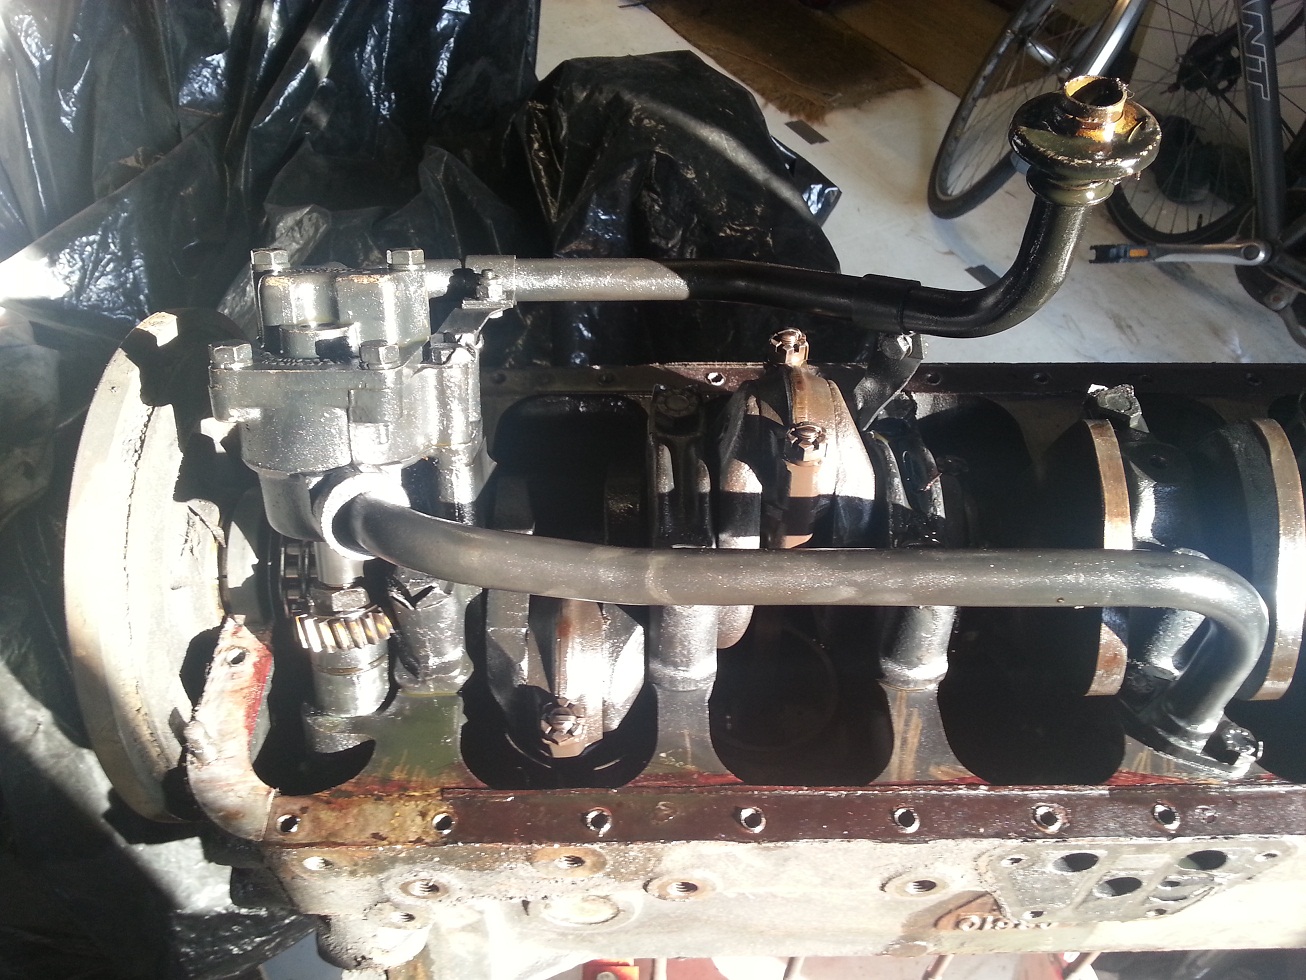
Bellow the engine block with the pistons and crankshaft completely mounted.

Engine with the crankshaft and pistons installed
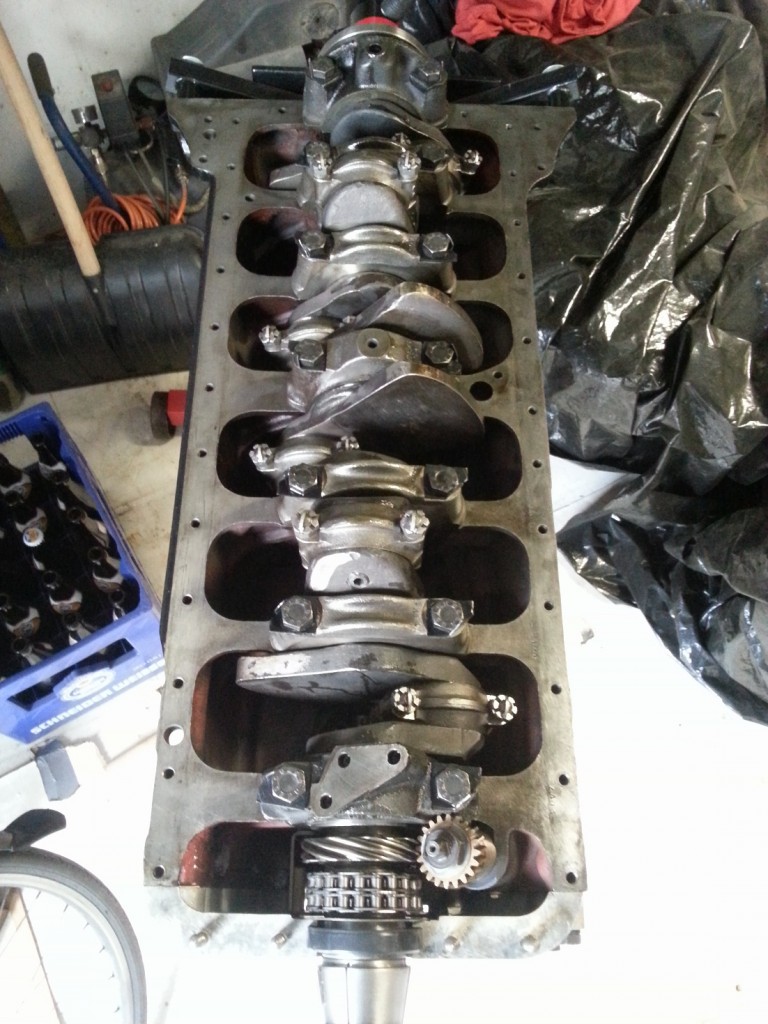
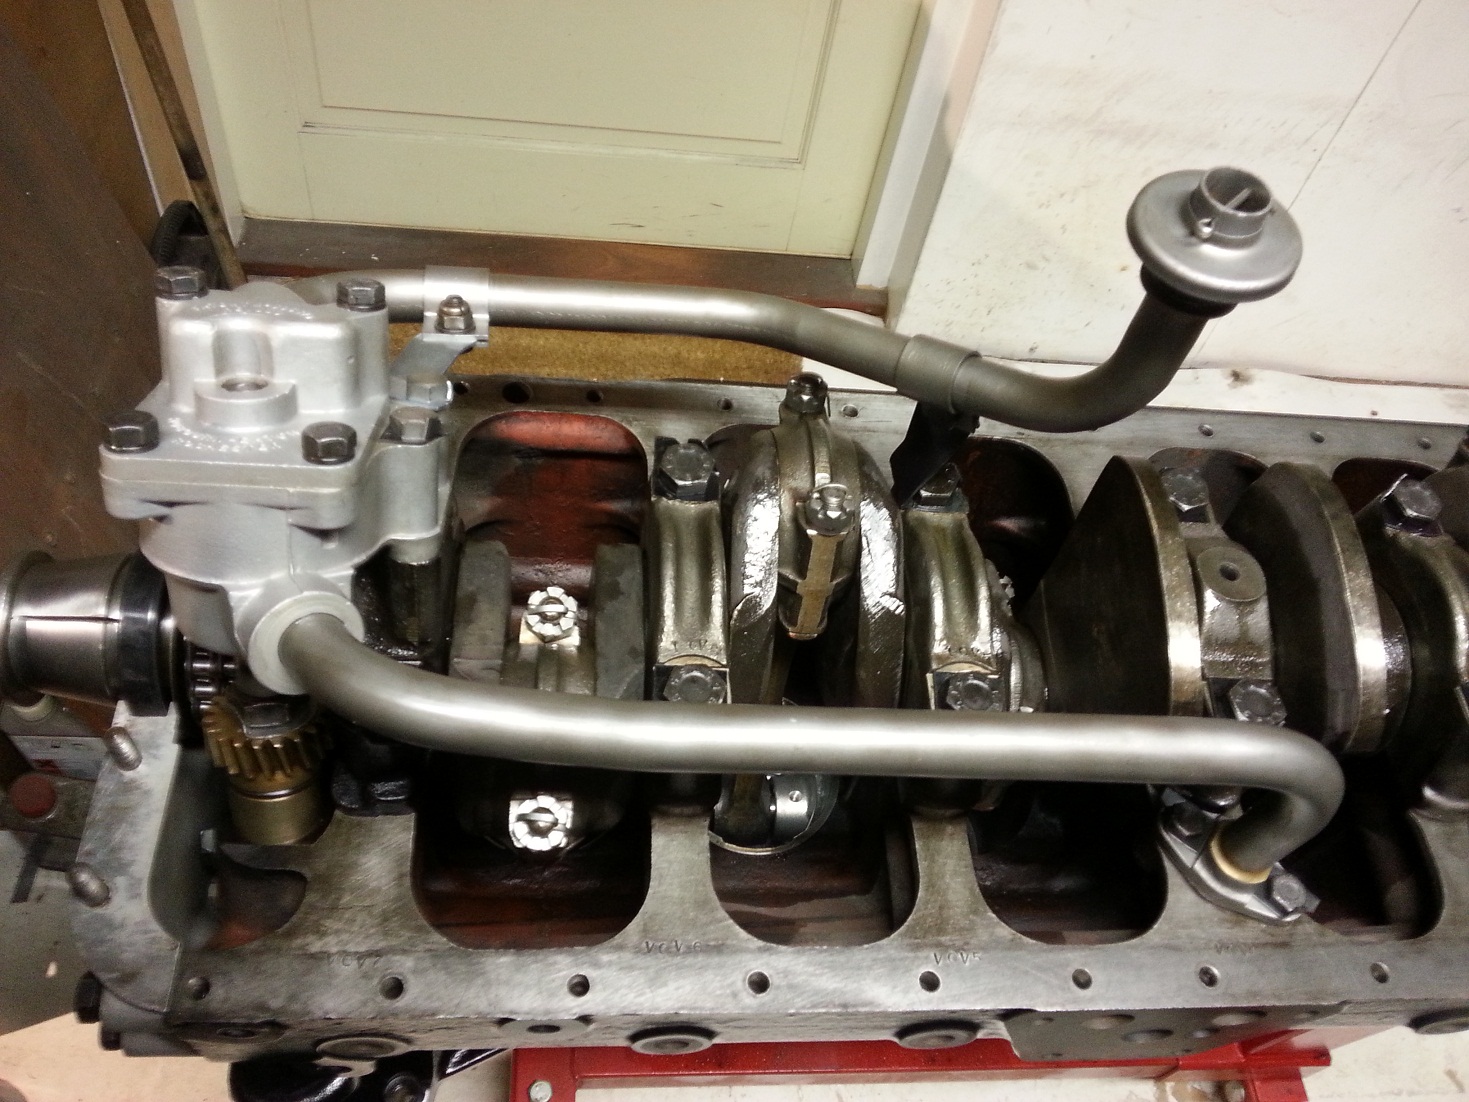
Crankshaft, bearing caps and connecting rods installed