okt 202018
 

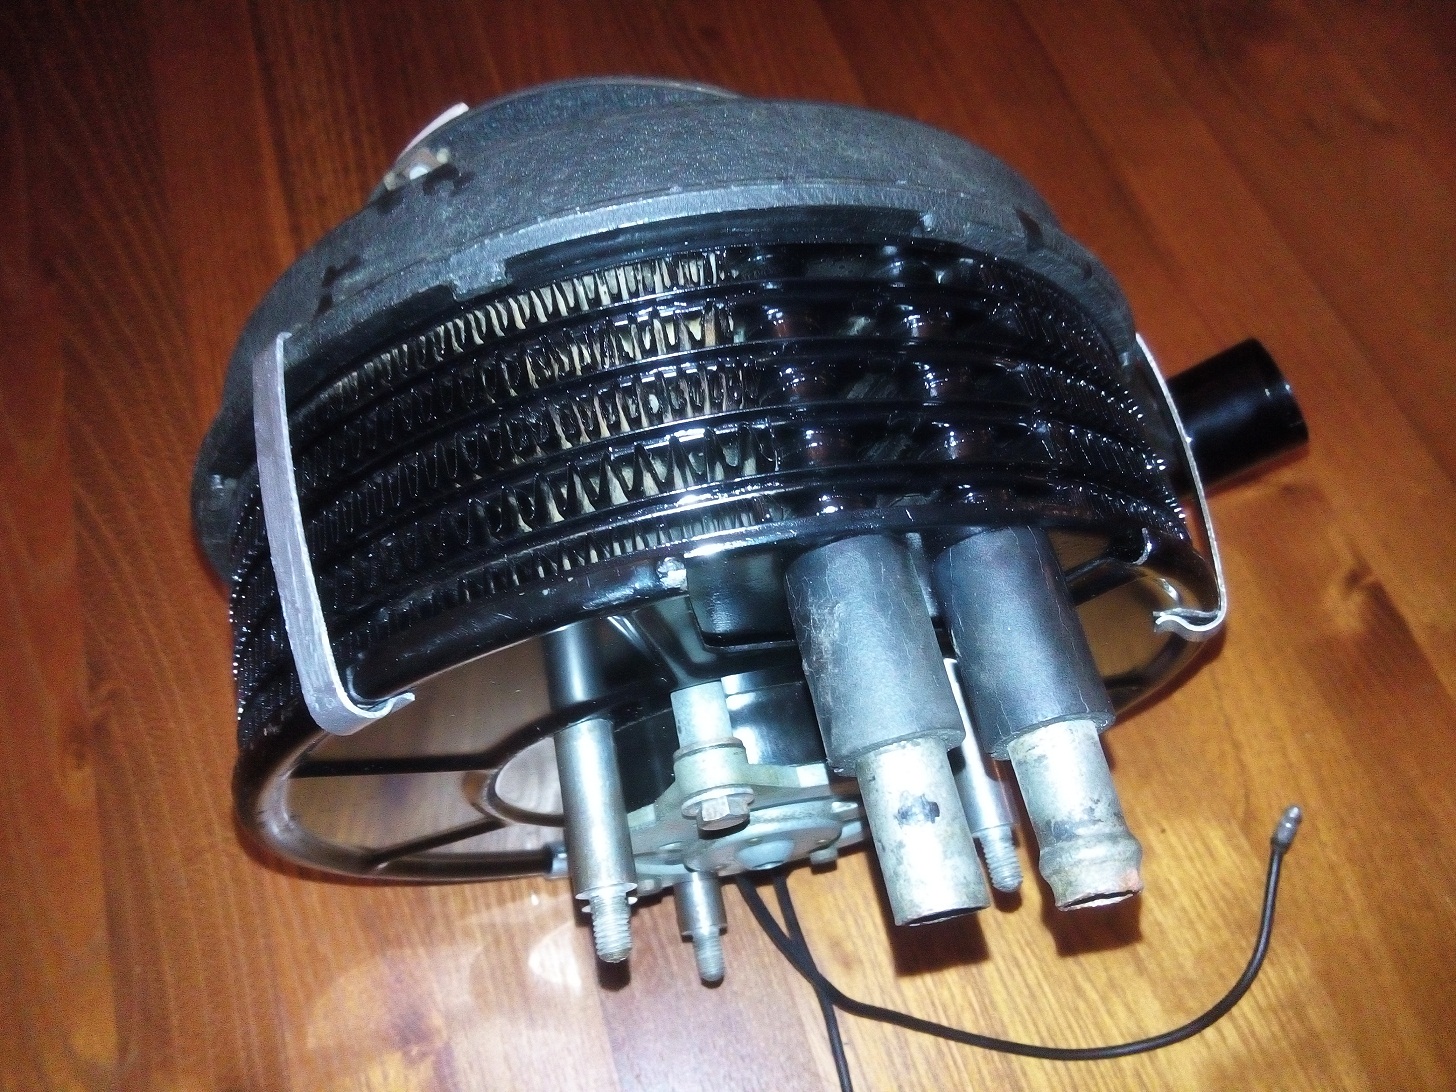
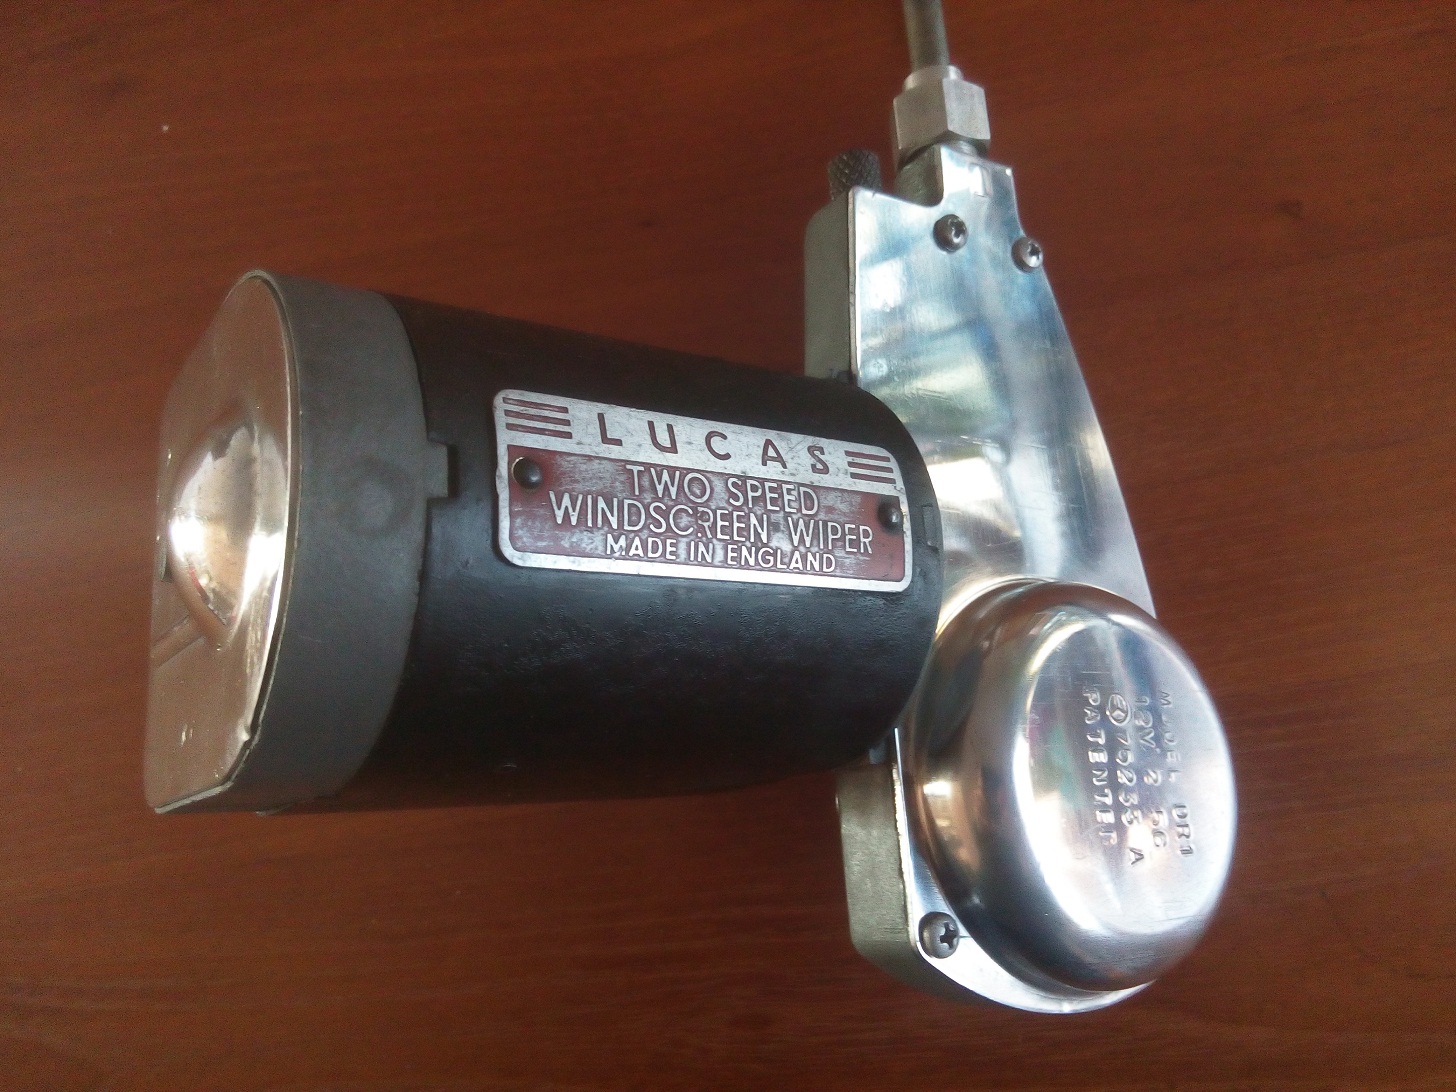
When I bought the car the heater was already removed from the body and placed in one of the many boxes.
After looking at it in more detail I noticed there was a bit of oxidation visible in the area around the connection pipes.


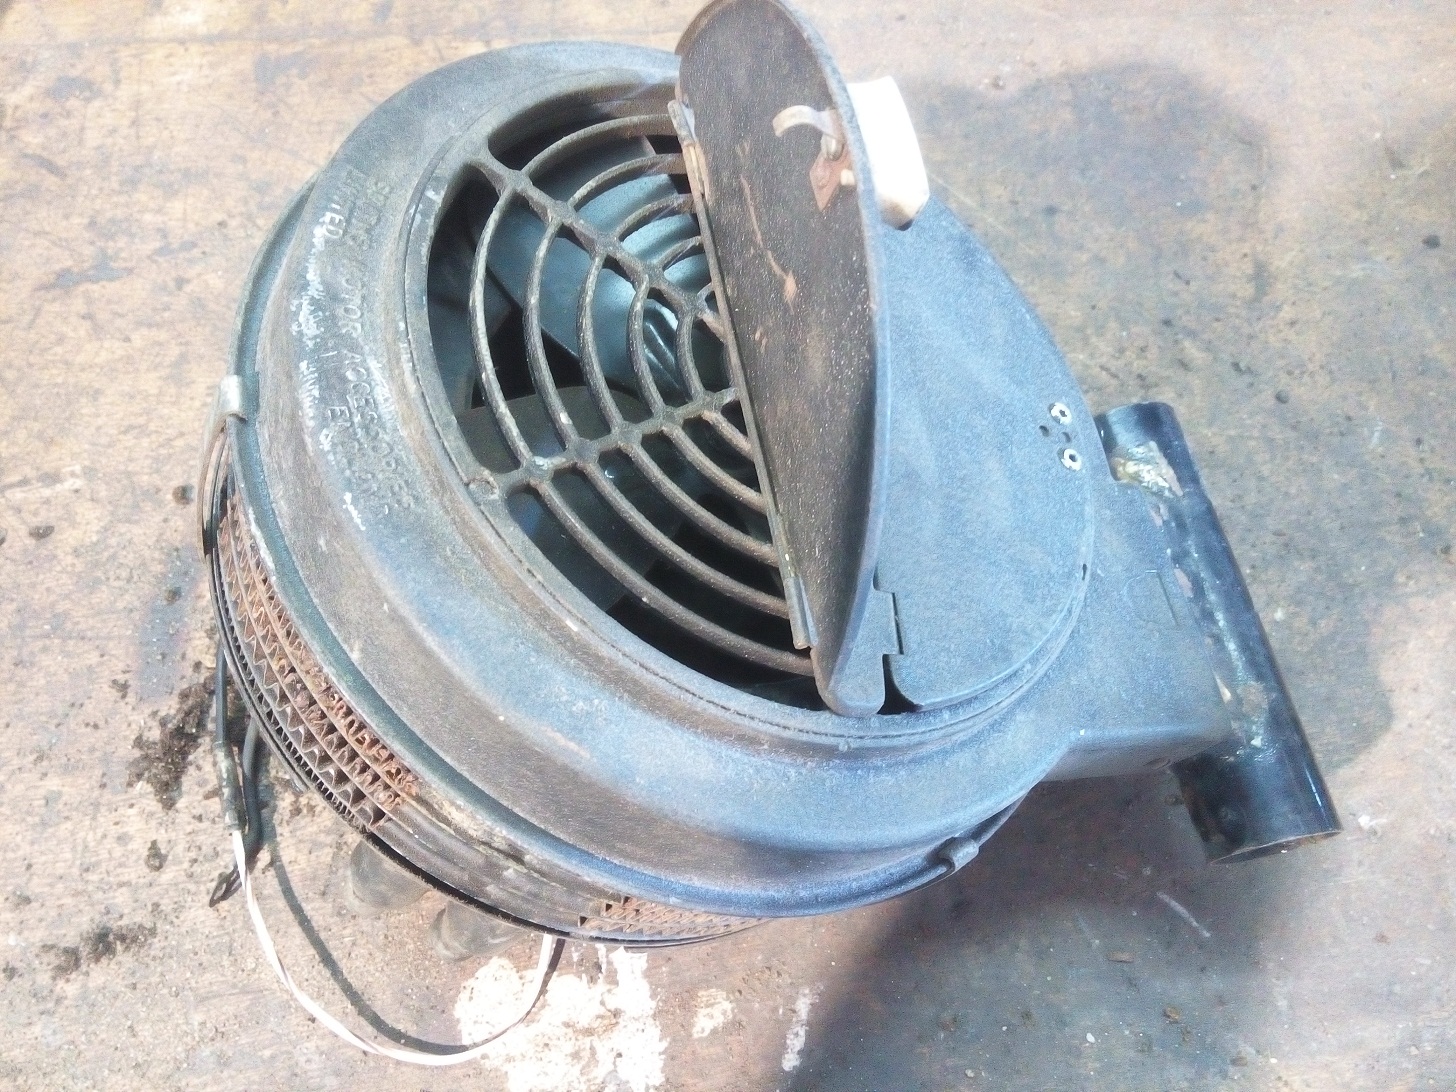
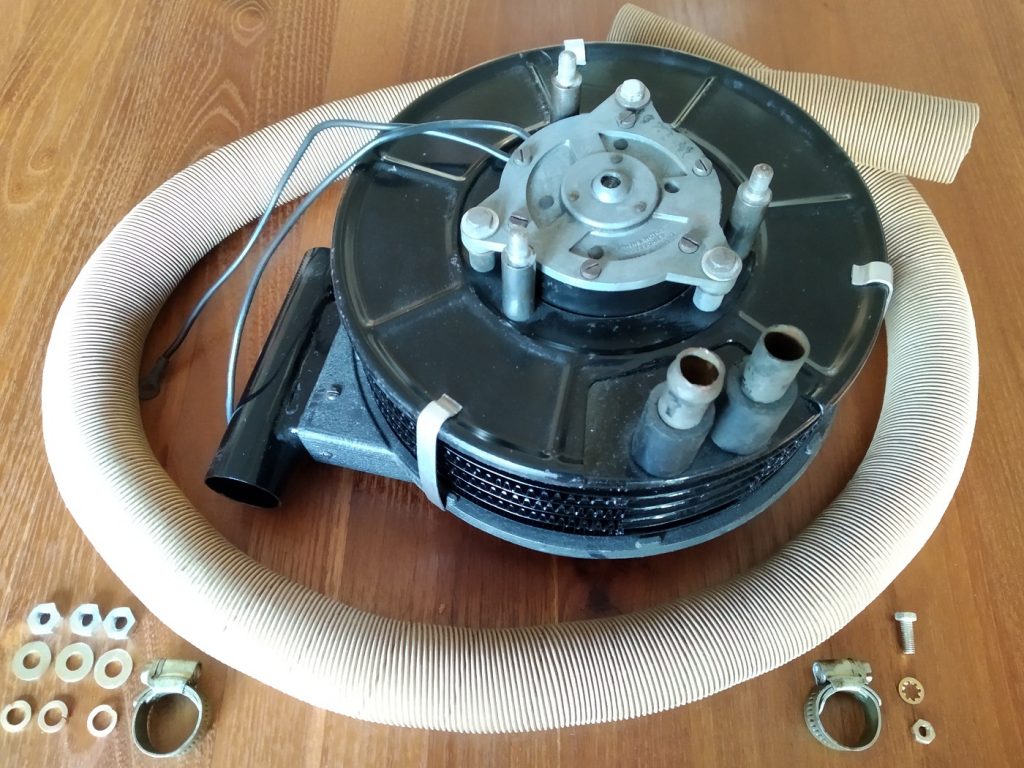
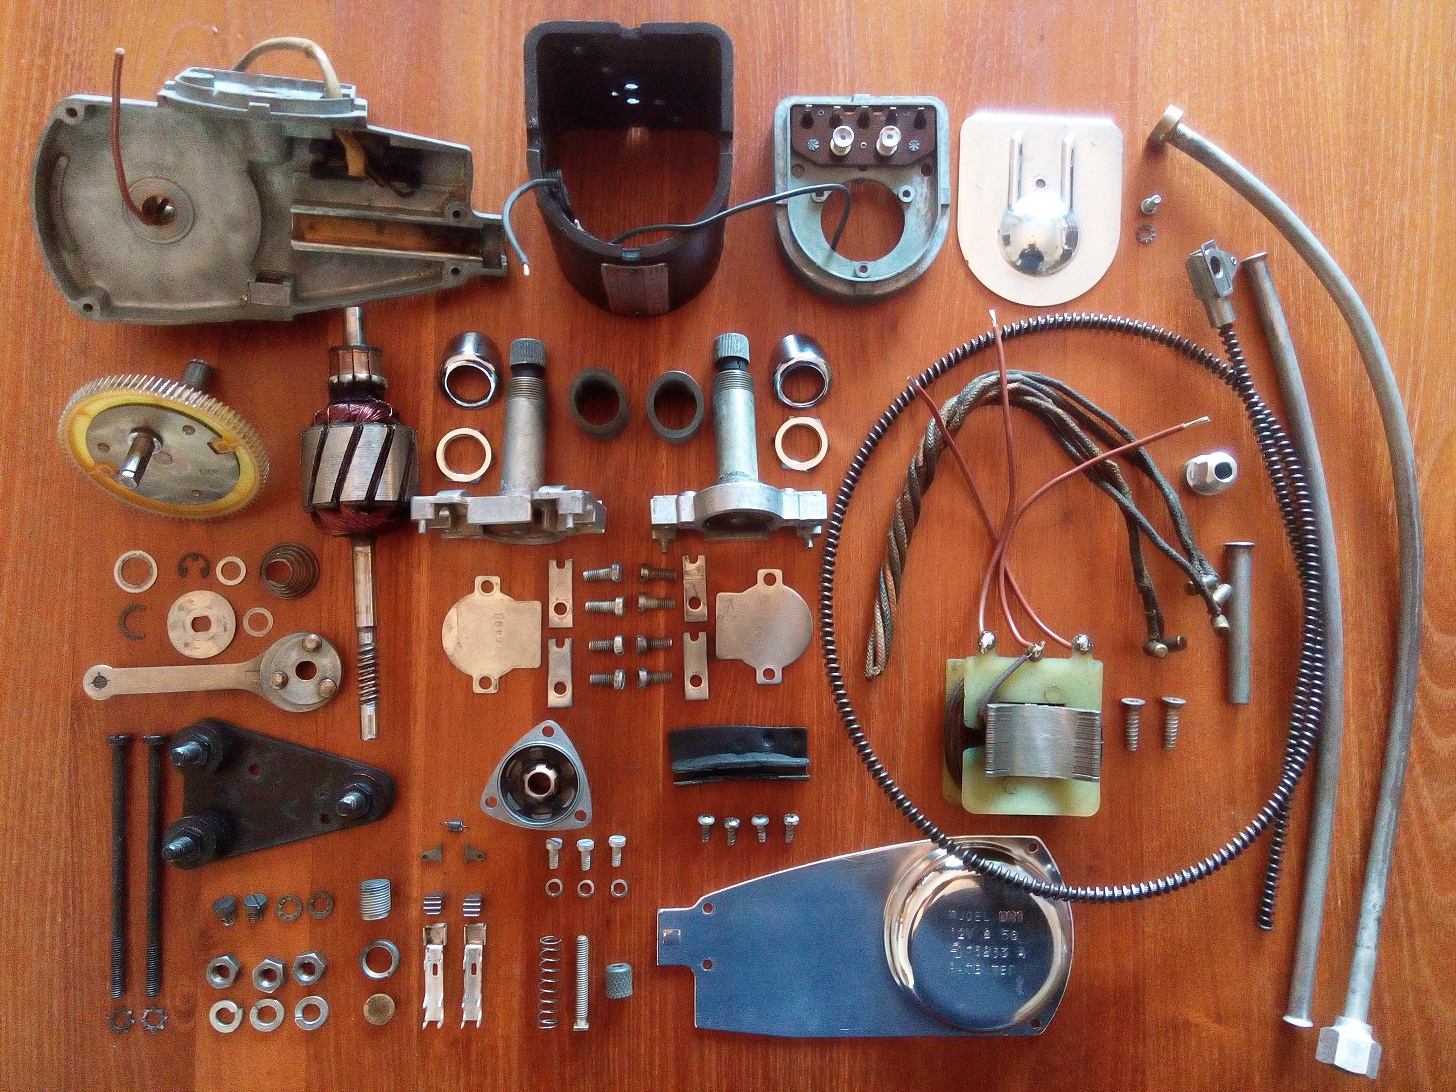
I started with dis-assembling everything. Most parts still looks fine and can be finished with some retouching especially the upper part, which is made of cast aluminium, is finished with special wrinkle paint. The rest of the painted parts are just in gloss black paint. To prevent leakages after installing I pressure test the heater core with 0.5 bar (normally the cool system of the car will not become higher then 4 LBS). Although the heater core has signs of leakage the core is still water tight. After glass beat blasting and cleaning it can be finished with several layers of gloss black paint. The upper part is painted only partly the preserve the numbers painted on it from the factory.

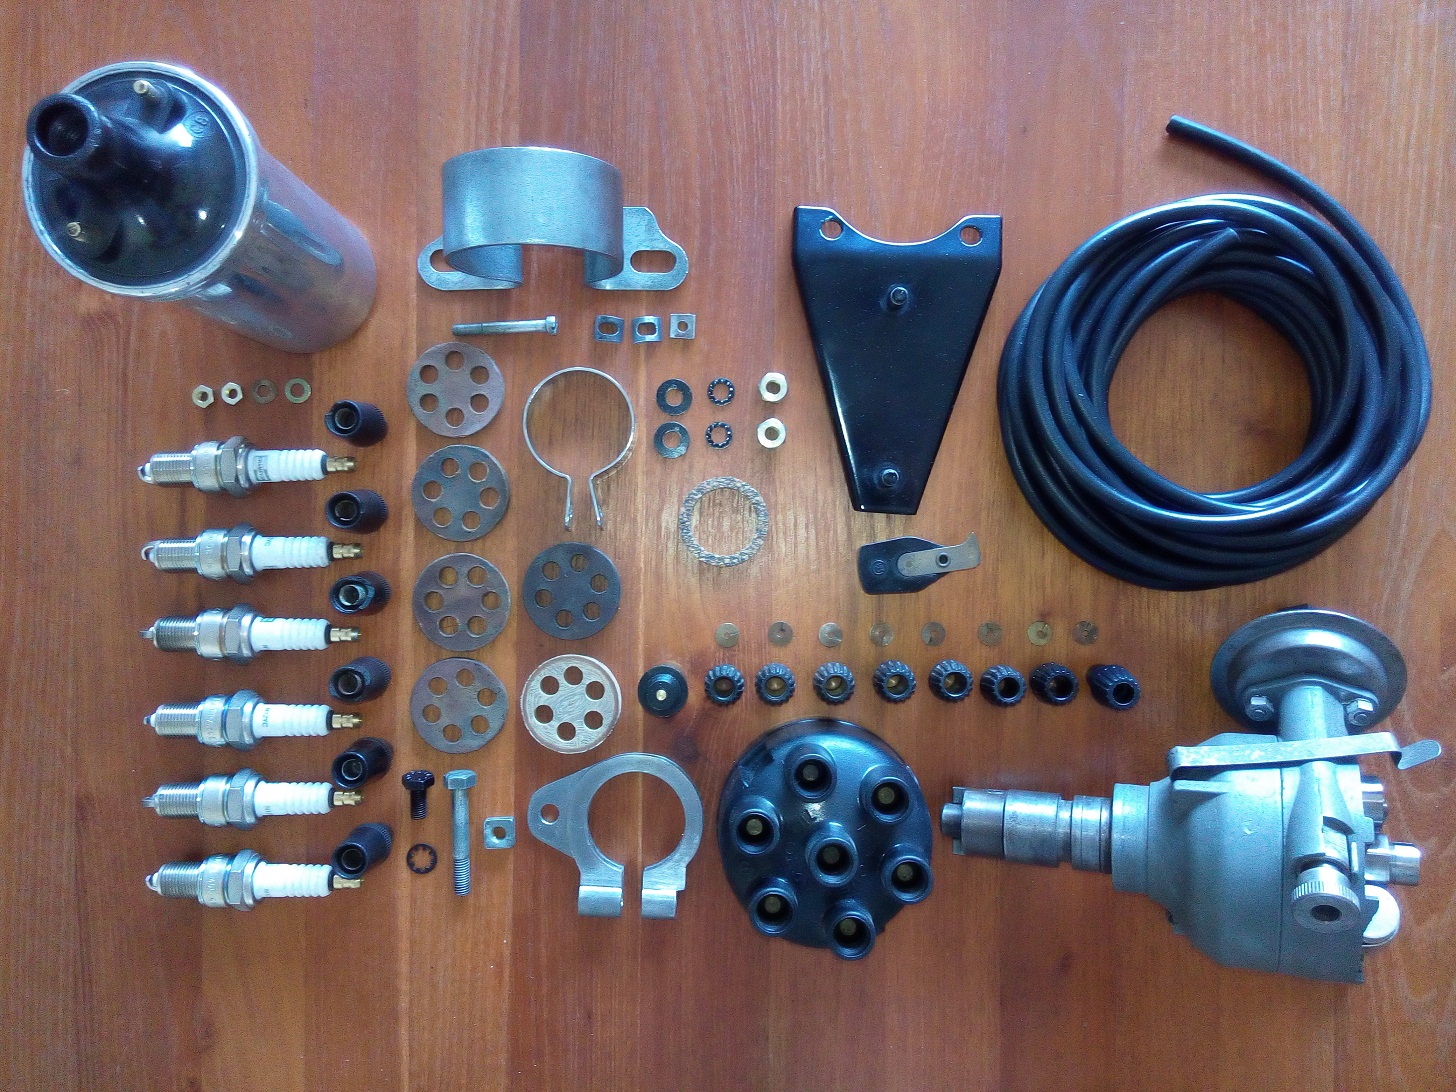
Parts needed to rebuild the heater unit

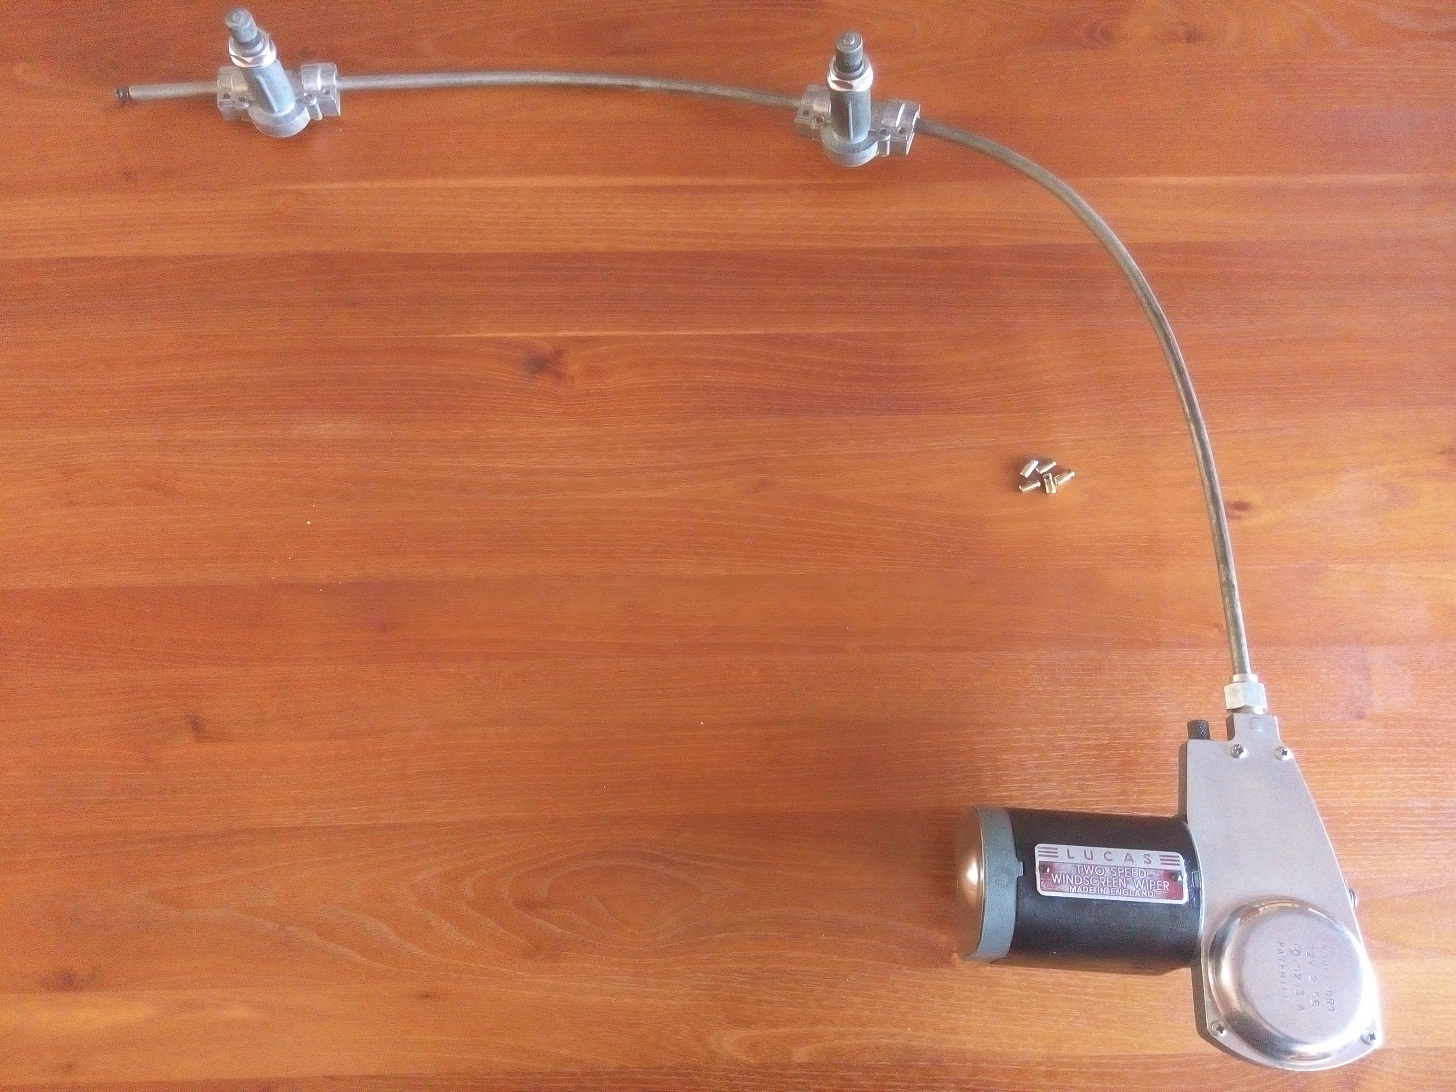
Now that all parts are thoroughly cleaned, painted and retouched everything can be re-assembled again. Also the 12V motor has been tested, after applying some crease inside, it spins without making any noise. (the carbon brushes are OK, and there is no play on the bearings)

 Posted by at 20:20
nov 222020
 

Now the car heater can be mounted onto the car itself, in the first part the car heater itself has been rebuild (see Car Heater I)

When this part has been mounted the water circuit has been finished and can be filled with coolant. The paper hoses will also be mounted but the chrome windshield defrosters, which are connected at the other side, are mounted when the dashboard is fitted.

Parts needed to mount the car heater itself onto the car
In the upper left corner the mounted car heater is shown
 Posted by at 17:07
nov 222020
 

The car originally arrived with an automatic gearbox which is useless with a manual gearbox. Also the gearbox shift cover was missing. I spend a long time looking for one on the internet but when they van be found they are very expensive. To keep the car so authentic as possible the plastic variant are not an option. So I decided to create a Gearbox Cover myself.

Parts needed to rebuild and mount the gearbox cover
Gearbox cover mounted on the left and right floor boards

 Posted by at 16:21
mei 202018
 

One of the last parts needed to start the engine is the distribution and ignition. The last parts will be the fuel pump and some small missing parts around the timing and choke functionality.

Parts needed to rebuild the distribution and ignition

During installation of the ignition coil bracket I found out that the right upper corner should have a chamfered edge. This part has been bought new because the original one was missing. With the current shape the throttle axis hits the bracket at the location mentioned before.

The clamp used to fix the distributor on the engine block was also missing. After several attempts, to buy an used or new one failed, I decided to make one myself. The nut and bolt, shown on the left side of the clamp, are reused from a different wrong model clamp.

Distribution parts mounted

Ignition parts mounted


The ignition sequence is 1, 5, 3, 6, 2, 4. Plug number one is at the rear of the engine, number 6 at the front.
Cylinder 1 and 6, 2 and 5, 3 and 4 are moving synchronous. They also switch between the front three cylinders and rear three cylinders between each ignition. (Most probably to get a good distribution of the forces on the crankshaft) So this is the reason the ignition sequence is a bit strange.

 Posted by at 14:37
nov 042018
 

The original windscreen motor

After inspecting the wiper motor, located inside the left front wing, came to the following conclusion:

  • The paint of the main housing is still in decent condition and therefor I decided to do a simple touch-up.
  • The mounting bracket and motor brushes are replaced by new ones.
  • I decided to keep the Lucas tag original.
  • All wiring needs to be replaced by new silicone rubber type wiring.
    (The isolation material on the internal wiring was completely gone!)
  • All other parts just need to be cleaned thoroughly
    (Especially the outside and the inside of gears housing)

All parts needed to rebuild the windscreen motor

As seen on the last photo two windscreen wipers can be connected and will be set in motion by the gears, located behind  polished  lid. The cable in the parts overview will be pushed and pulled back and forth to get the wiper arms in movement. This engine has 5 electrical connections as shown in the schematic below

Windscreen wiper motor detail

Windscreen wiper motor complete setup

 Posted by at 13:25