feb 282013
 

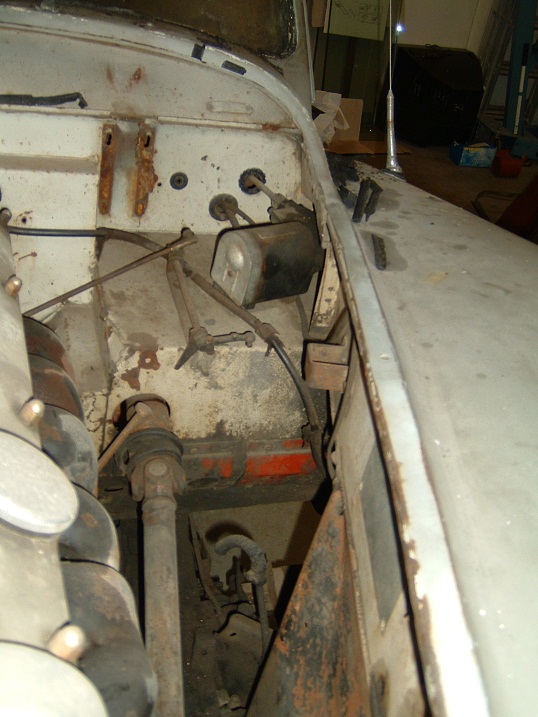
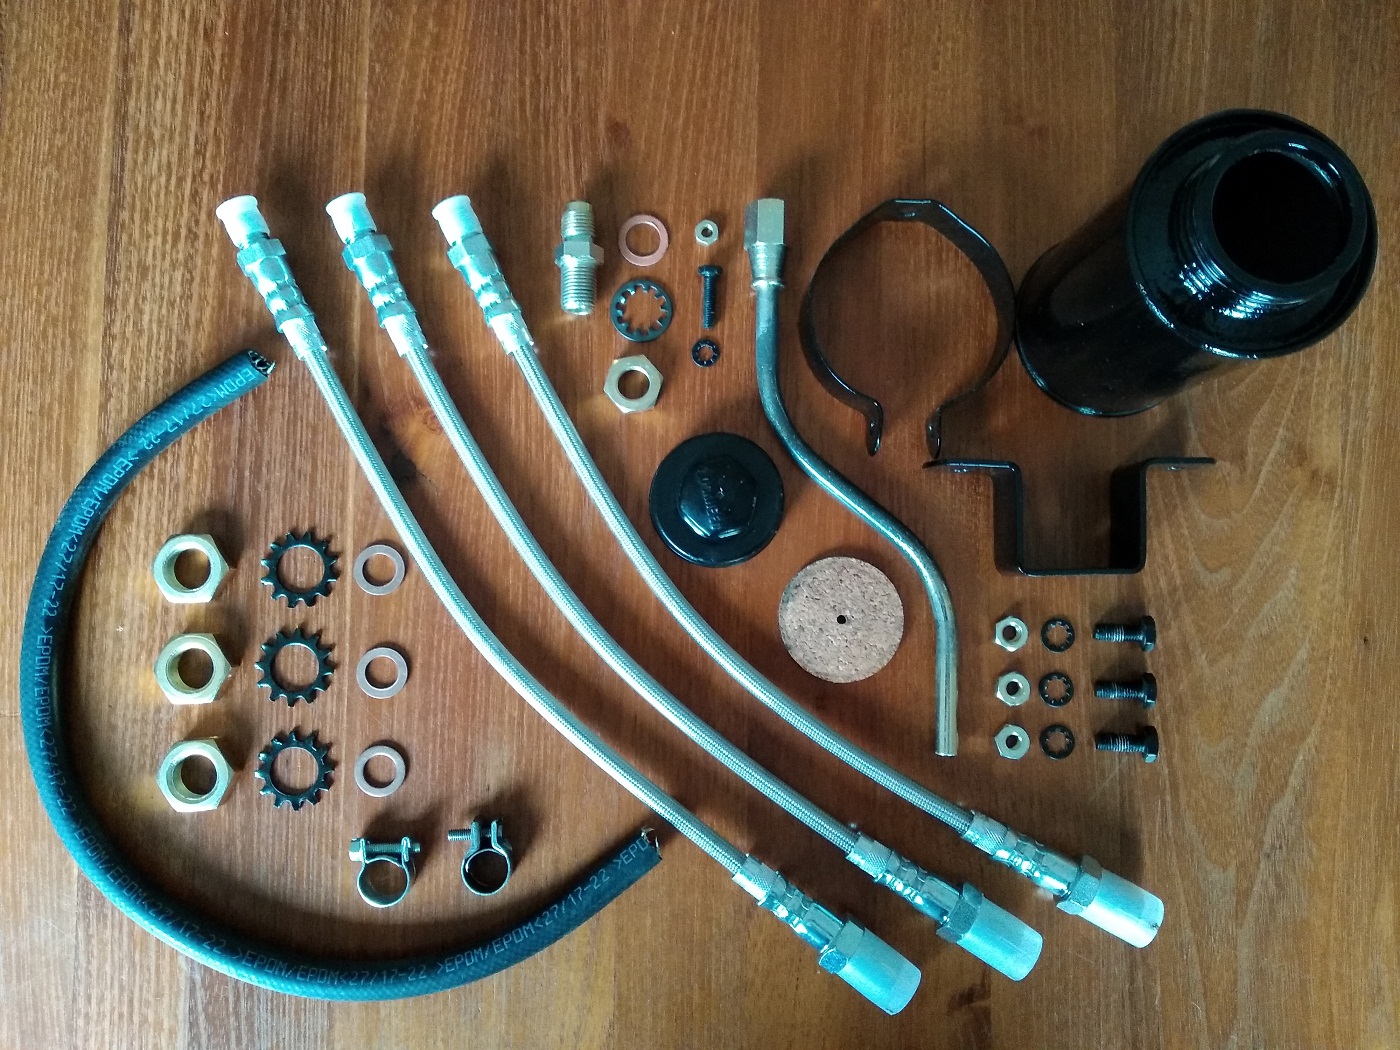
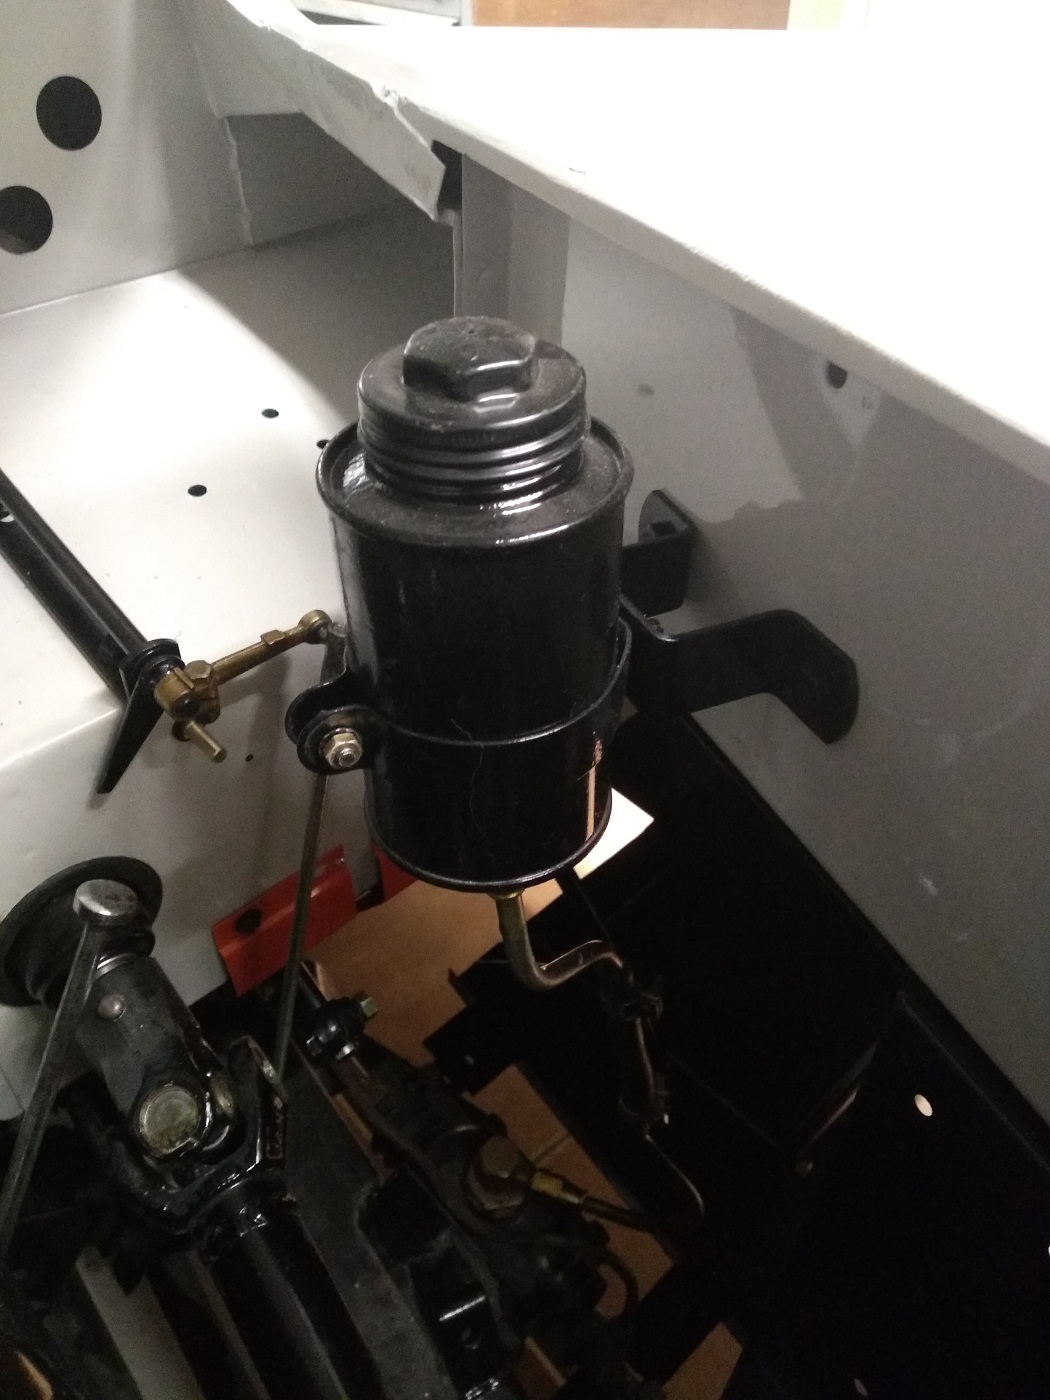
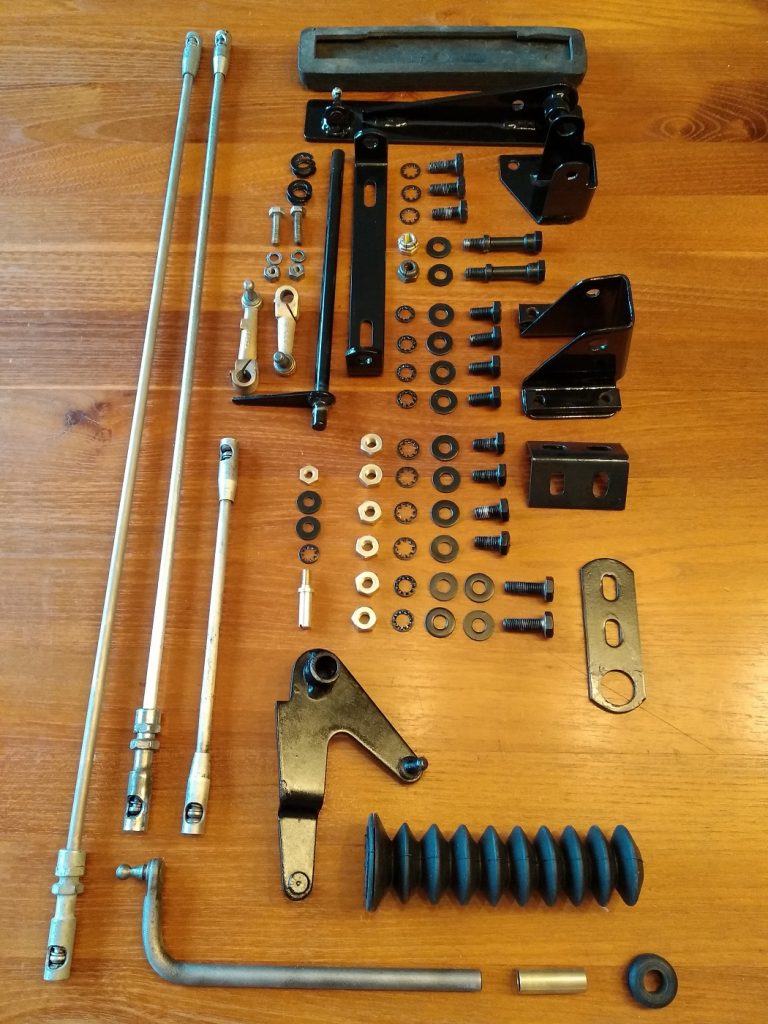
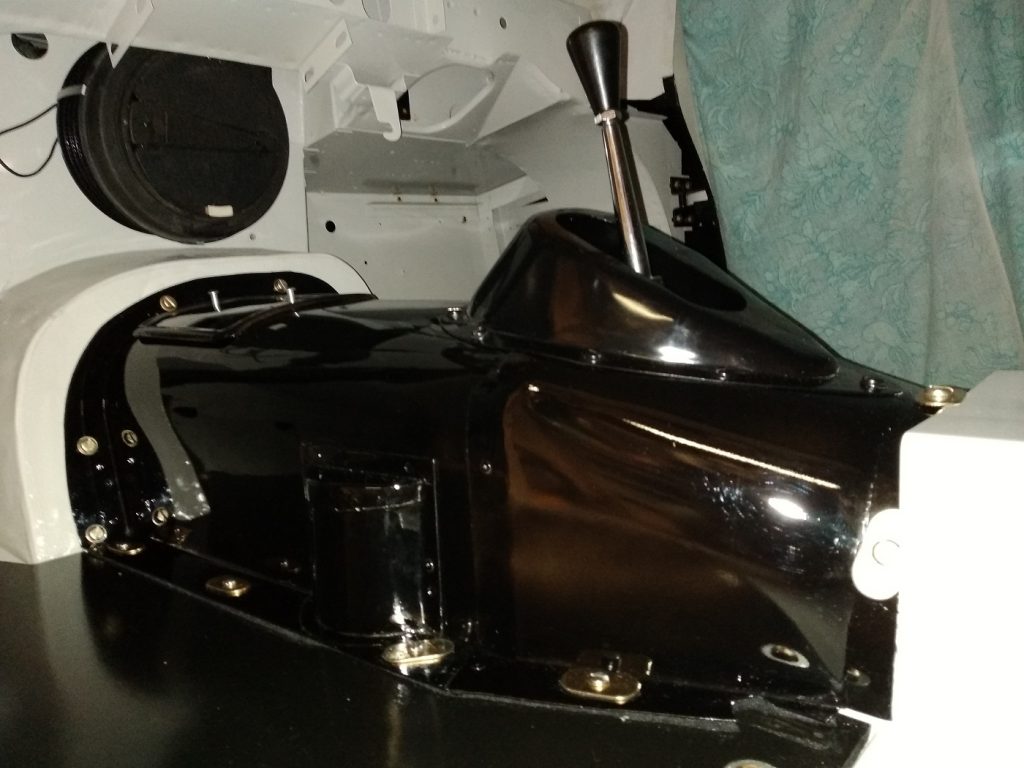
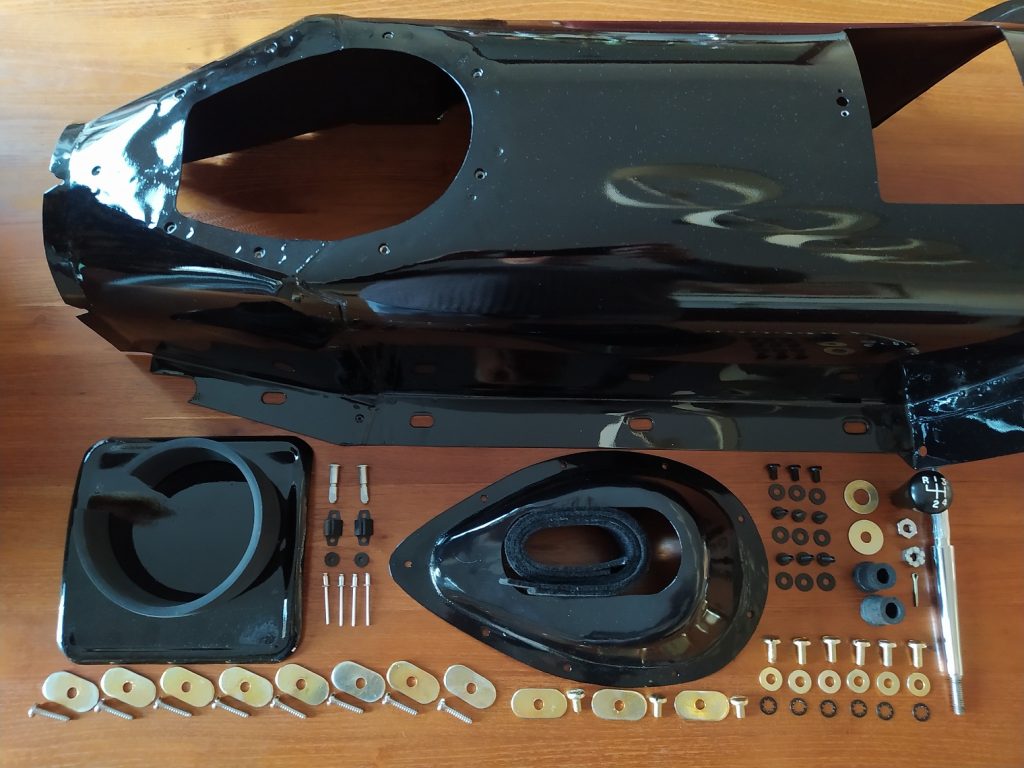
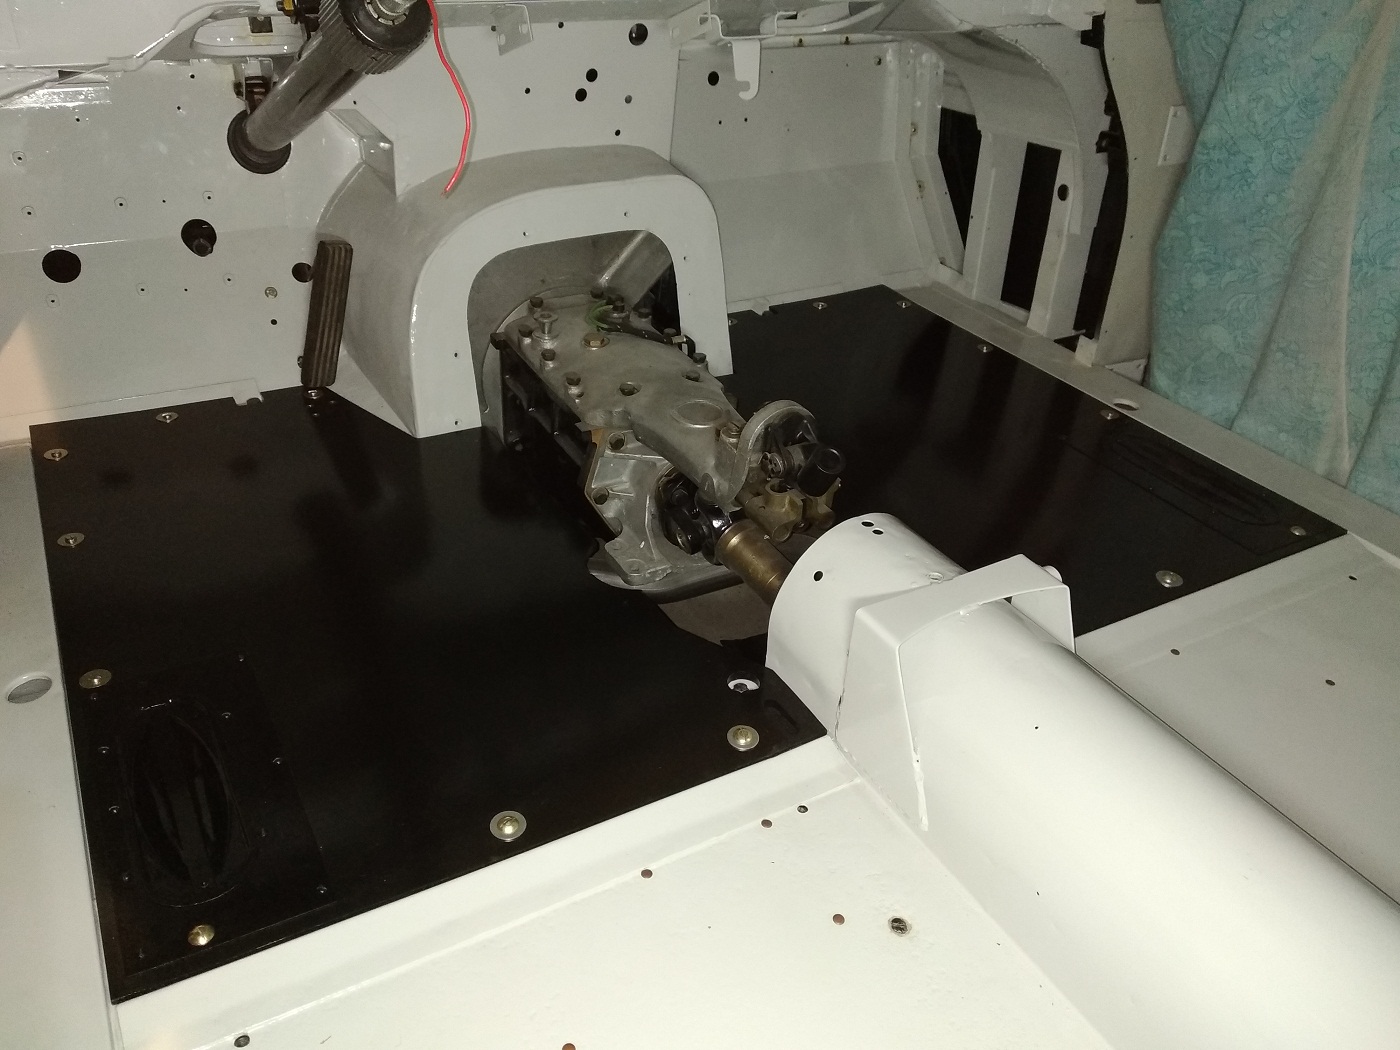
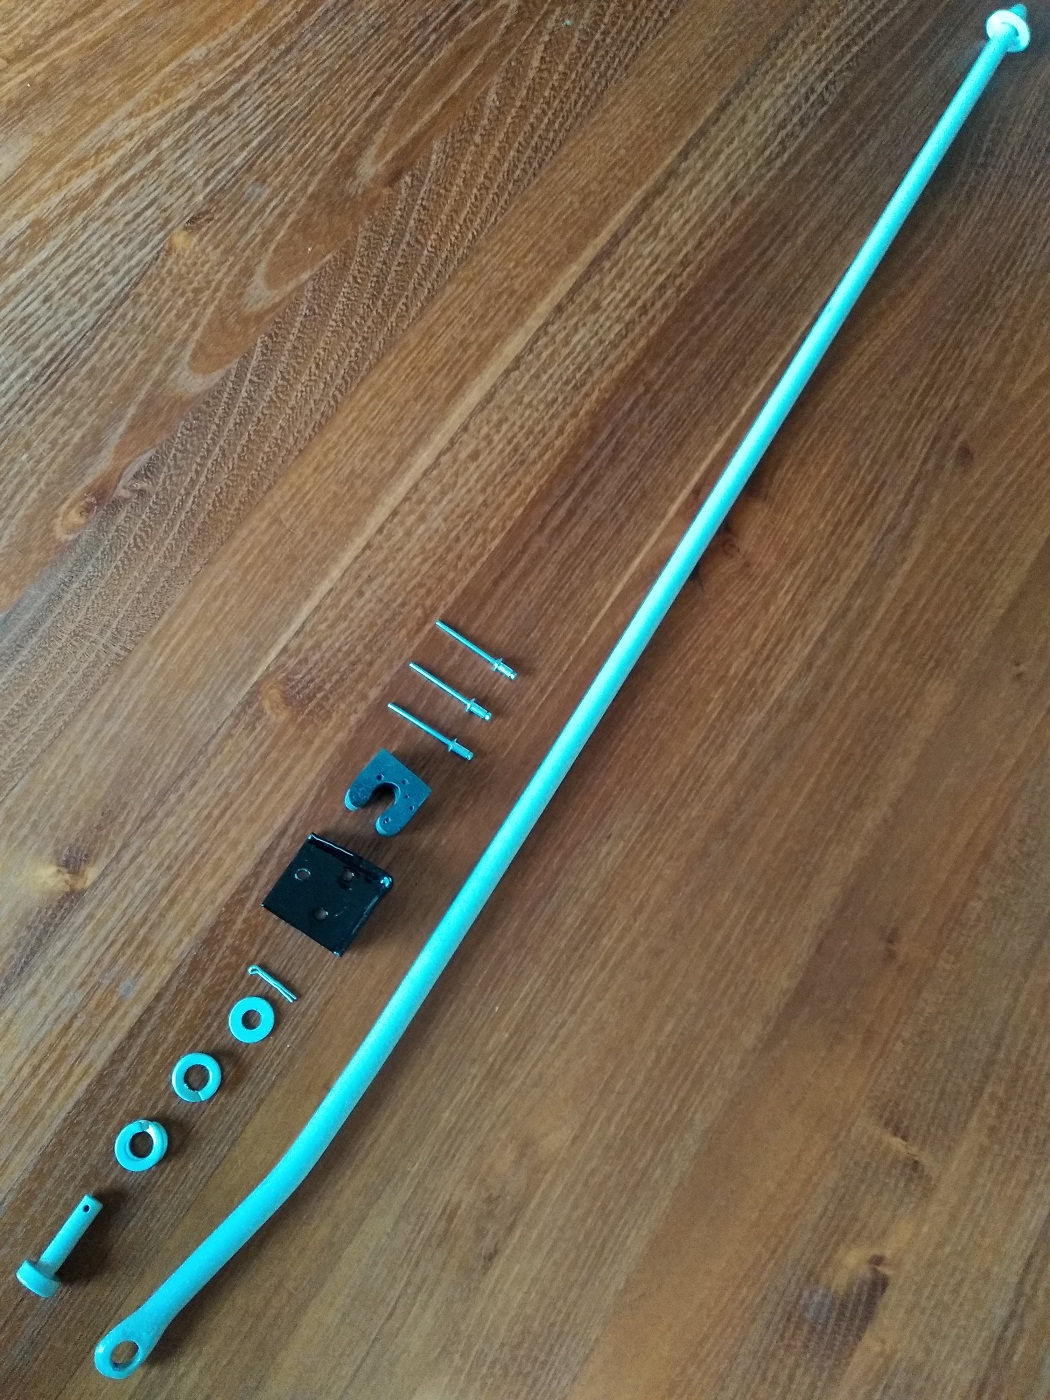
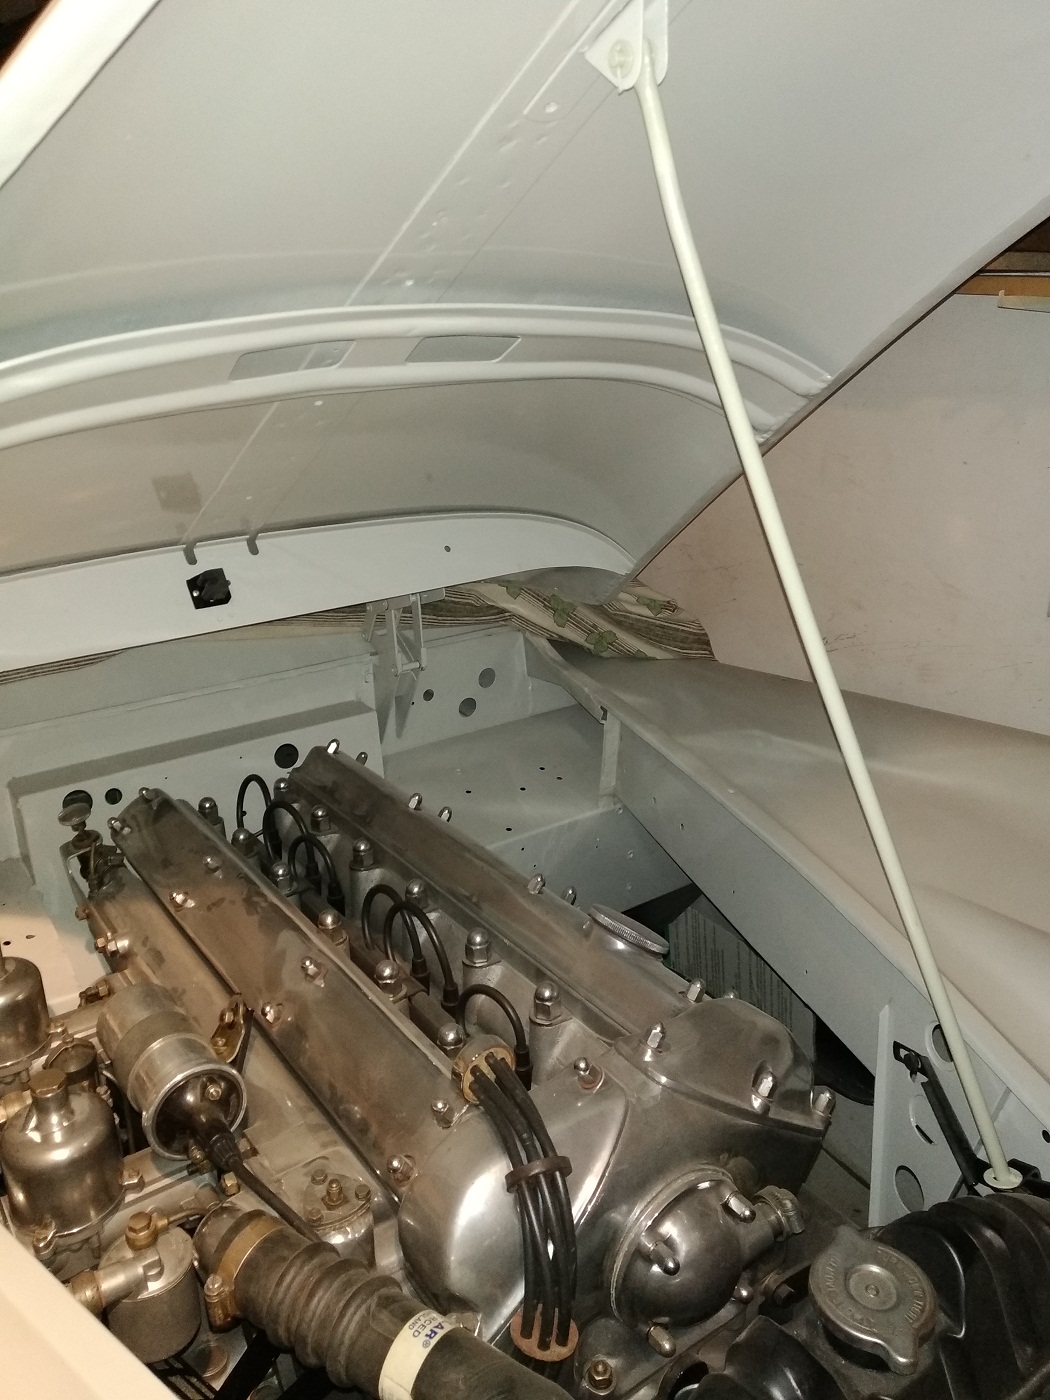
During the restoration process I found out that a number of parts where missing or the mounted parts where incorrect.

A lot of parts are still available in the reproduction market but I prefer second hand original vintage parts instead. Here is a list with the most important parts still missing:

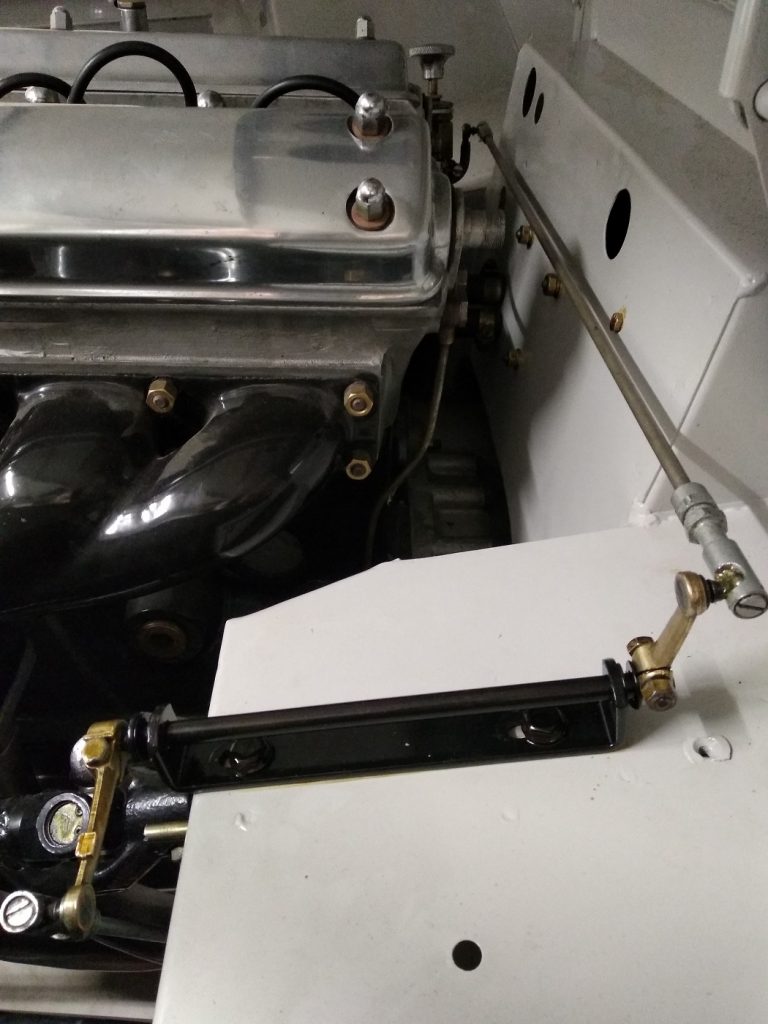
  • 1 x Anti-Blow-Back Valve in Starting Pipe (C4204, Parts manual 2, F-79)
  • 1 x Spring, tension, for Anti-Blow-Back Valve (C7470, Parts manual 2, F80)
  • 1 x Sleeve over Tension Spring (C8455, Parts manual 2, F81)
  • 1 x Lever on Operating Shaft (C2483, Parts manual 5,N-12)
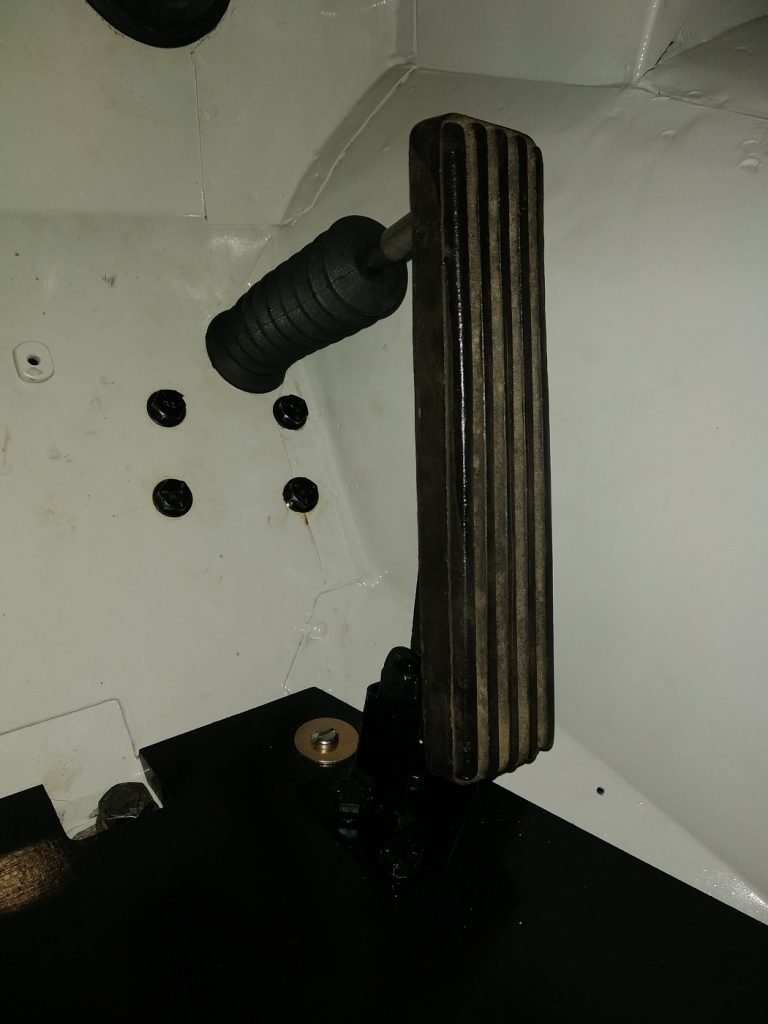
  • 1 x Clutch Pedal (C8878, Parts manual 5, N-16)
 Posted by at 17:00
aug 072021
 
All parts need to restore the petrol filler box and connection to the fuel tank

On the parts overview I forgot to place the overflow tube which drops spilled liquids inside the petrol filler box. (Same as the tube used between brake reservoir and brake cylinder. This tube can also been seen on the “Petrol filler box new” photo.

The cover has 8 holes but the car one show 6, so the two screw in the front bottom are not place originally.

The hose clamp around the overflow pipe was originally not place but was not sure if it will stay in place under all conditions. (Petrol inside the car is not a very reassuring thought, better safe than sorry)

 Posted by at 16:58
aug 072021
 

Because the compartiment inside the Jaguar can get very hot during long drives in the summer, they created the possibility to bring fresh air into the car via the so called ventilator box. In the front wing a small rectangular shaped recess door has been created which can be opened/closed from the inside of the car. In open position the air is forced to go into the car. A metal filter will prevent small objects like bugs or stones will reach the compartment.

The rectangle shaped ventilator box in the right front wing (in closed position)
All parts needed to rebuild the ventilator boxes

 Posted by at 16:22
aug 072021
 

When I received the the brake reservoir was not available anymore, only the brakes was partly mounted on the inner wing. Via ebay I was able to find a nice original brake fluid reservoir.

Brake reservoir bracket as originally on my car

After everything has been painted and new parts bought (brake hose and clamps) everything can be mounted on the car again.

All parts needed to rebuild the brake fluid reservoir and the flexible connection from the brake lines and front wheels / rear axle
 Posted by at 15:05
jan 282021
 

When I bought the car the accelerator linkage was not complete. The following parts were missing:

  • The three linkage rods
  • Accelerator Pedal and pedal bracket
  • The lower throttle bracket and lever

All missing parts where found over the years and the accelerator pedal bracket I made myself. The last missing part, the vertical rod (C9951) was still missing. Because I found out that the rod can be shorten, from the side where the two 7/17 nuts are located, I bought one from an e-type (C17870). Because the rod it much longer it can be cut to the correct length.

All parts needed to rebuild the accelerator linkage (Middle rod not yet shortened)

 Posted by at 12:20
nov 222020
 

Now the car heater can be mounted onto the car itself, in the first part the car heater itself has been rebuild (see Car Heater I)

When this part has been mounted the water circuit has been finished and can be filled with coolant. The paper hoses will also be mounted but the chrome windshield defrosters, which are connected at the other side, are mounted when the dashboard is fitted.

Parts needed to mount the car heater itself onto the car
In the upper left corner the mounted car heater is shown
 Posted by at 17:07
nov 222020
 

The car originally arrived with an automatic gearbox which is useless with a manual gearbox. Also the gearbox shift cover was missing. I spend a long time looking for one on the internet but when they van be found they are very expensive. To keep the car so authentic as possible the plastic variant are not an option. So I decided to create a Gearbox Cover myself.

Parts needed to rebuild and mount the gearbox cover
Gearbox cover mounted on the left and right floor boards

 Posted by at 16:21
nov 012020
 

When I bought the car the original wooden floor boards where not available anymore. The openings where closed with a very thin piece of cheap plywood. All needed mounting material was also not available anymore.

I was able to borrow an original left and right side floorboard. With the help of these floorboards i was able to buy all missing parts. I also uses them as template for the new floorboards.

All small parts needed to mount the floor boards
Left side floor board
Right side floor board

The left and right floorboards mounted on the body
 Posted by at 17:15
mei 062020
 
All parts needed to rebuild the doors and lock the battery into position.

To prevent water will reach the battery the openings are closed with a door. On one side the door is hold into position with a metal clip, and on the other side two “dzus” fasteners are used to lock them into there position. The doors are made water proof with by placing a rubber strip on the inside.

The battery is placed onto a rubber block and locked into position with two brass bolts and a metal strip.

 Posted by at 15:35
apr 292020
 

This mechanism is used to open, close and lock the bonnet. With a cable, operated from the dash, this mechanism can be released. To prevent the bonnet jumps open during driving an extra hook is mounted which must be pulled forward by hand before the bonnet can be opened.

Parts needed to rebuild the bonnet catch and release mechanism

The metal strips between the bonnet and catch plate are installed to divert the air flow. The radiator is only 16″ wide while the opening in the grill is only 8″wide. The “air deflectors” should make it possible to cooling down the whole radiator surface. This was not an optimal solution because most cars suffer from overheated cooling systems, during hot summer days.

Bonnet catch and release mechanism with the air deflectors

 Posted by at 15:12
apr 272020
 

The bonnet prop consist of two brackets and a rod. When the bonnet is open the rod is place on the bracket nearby the radiator. When the bonnet is closed the rod is placed in the rubber clamp in the middle of the bonnet nearby the hings. (See photo)

Parts needed to rebuild the bonnet prop

Bonnet prop mounted

On internet I see different type of clamps for the “closed position”. But the original pop rivet holes are different and the original bracket looks original to me. I removed the metal clip (left side) and replaced it with a rubber clip, which I removed from a new one bought on internet (right side)

Original one mounted on my car
New ones found on internet

 Posted by at 20:08