aug 302017
 

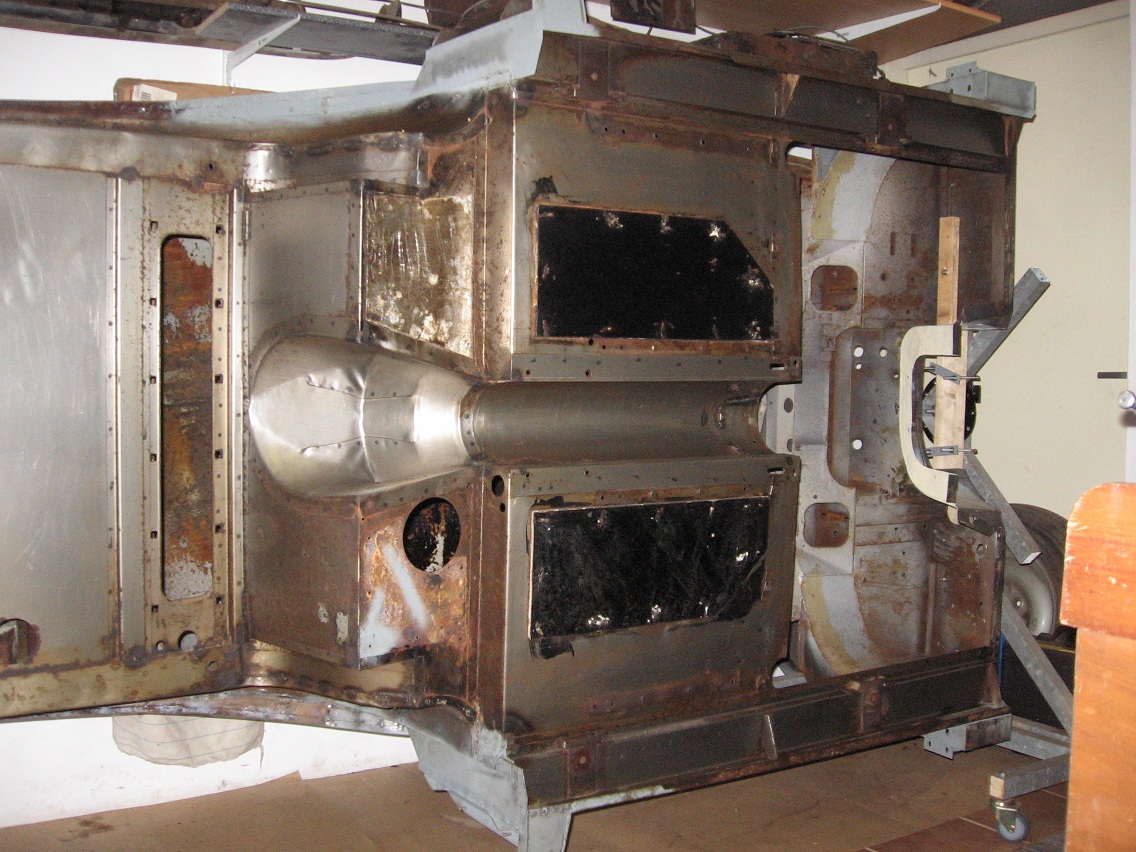
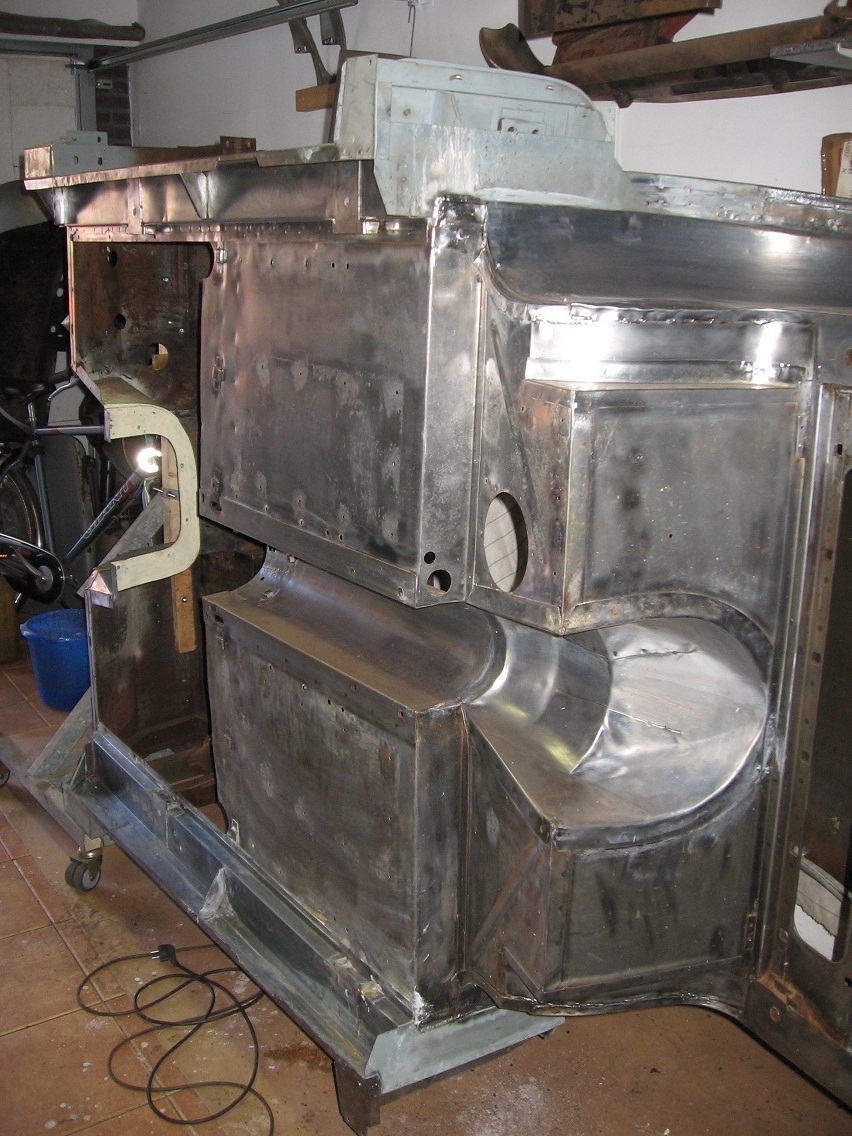
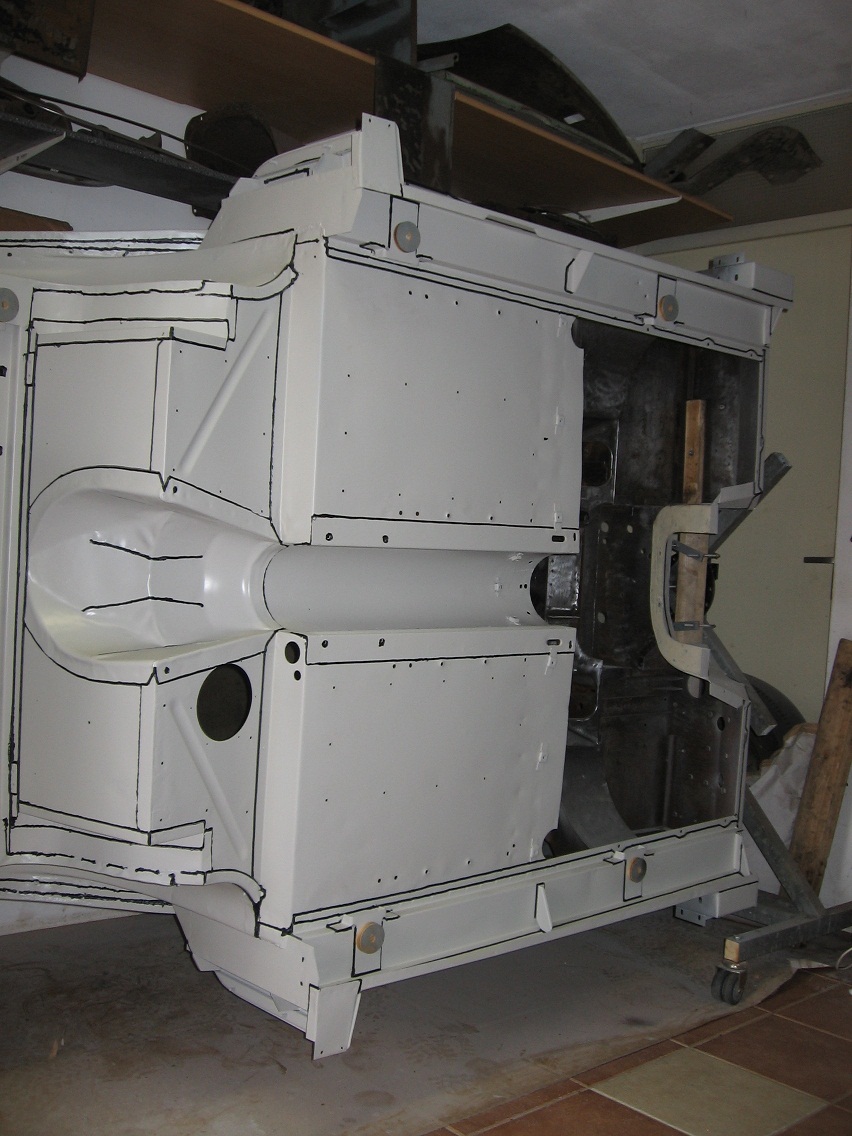
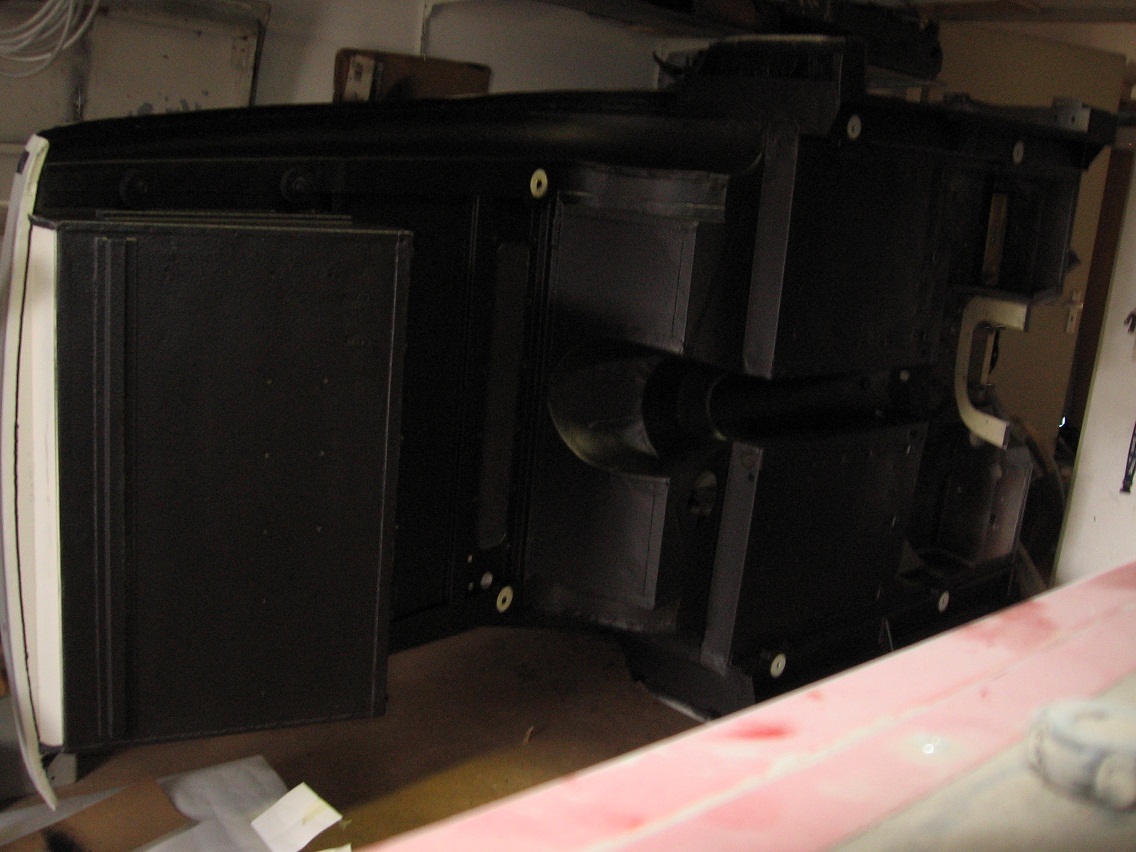
When I bought the car 8 years ago the body was already removed from the chassis. Today they will be reunited again. The chassis was already ready and the body has been finished on the underside in the past few weeks.

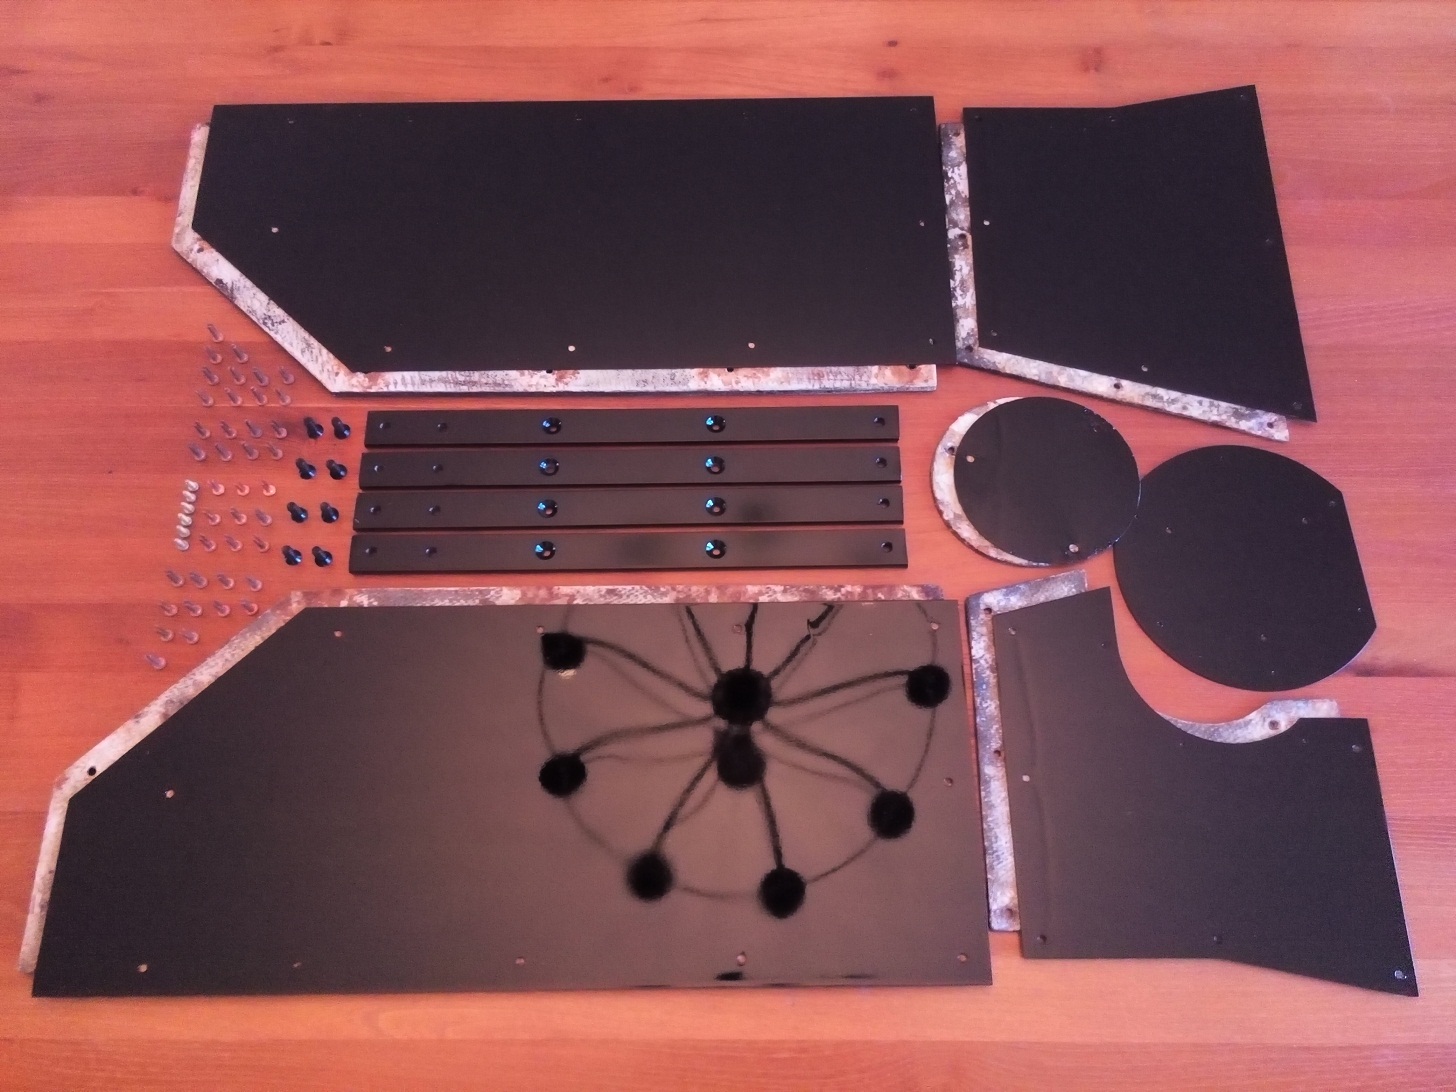
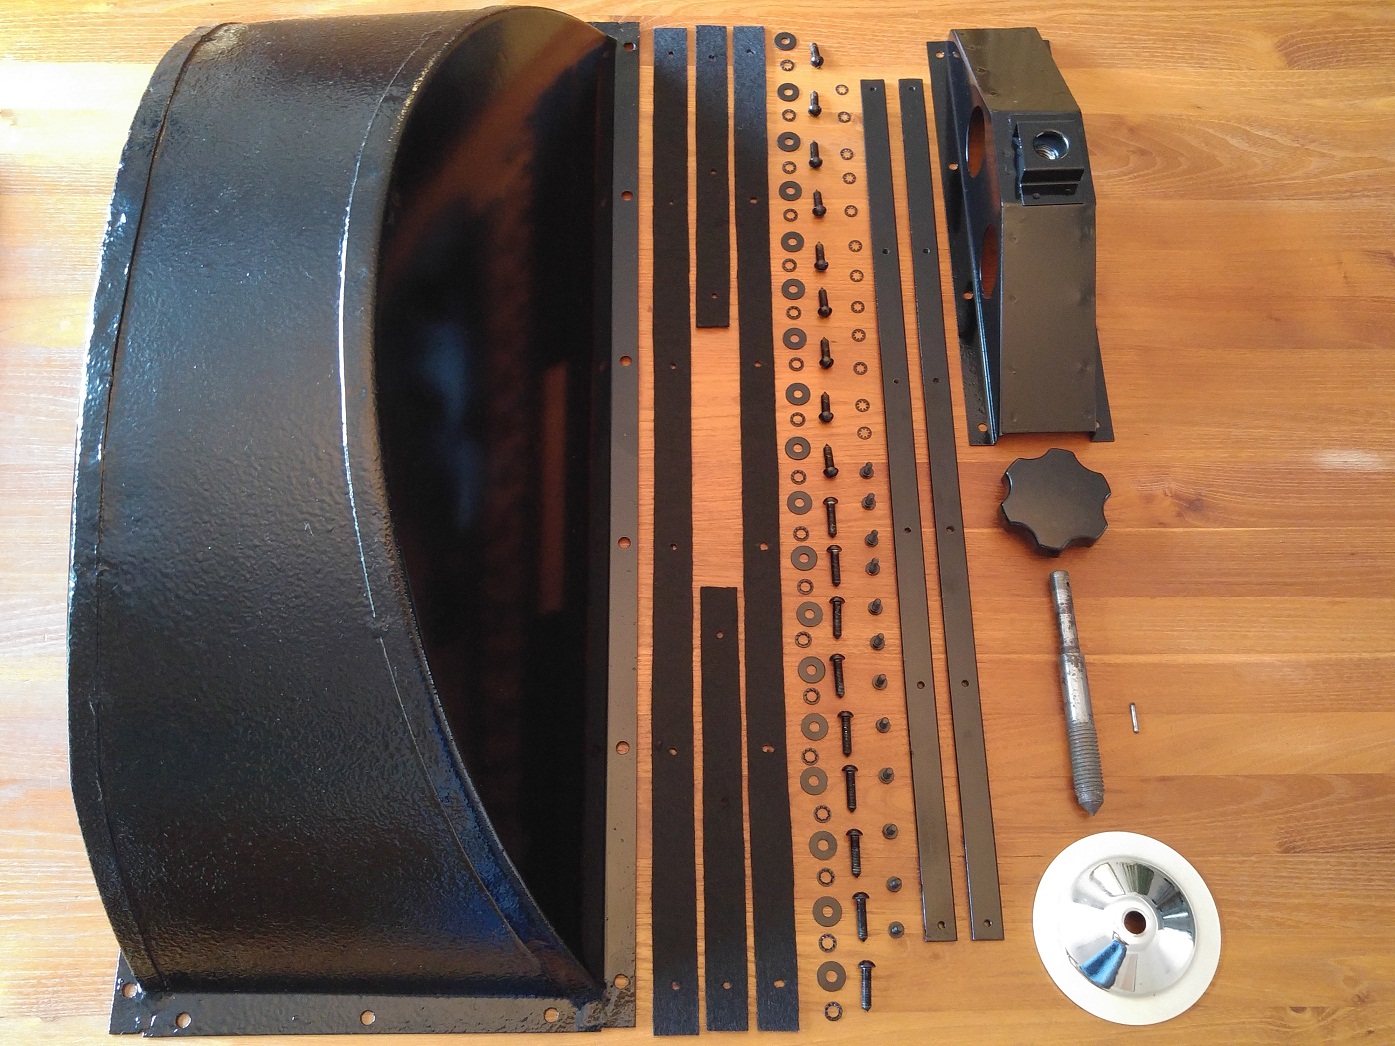
Parts needed to mount the body onto the chassis

The previous owner has kept a good administration of where all the distance pieces originally belong.
It is very important that they will be placed back on the exact same place.

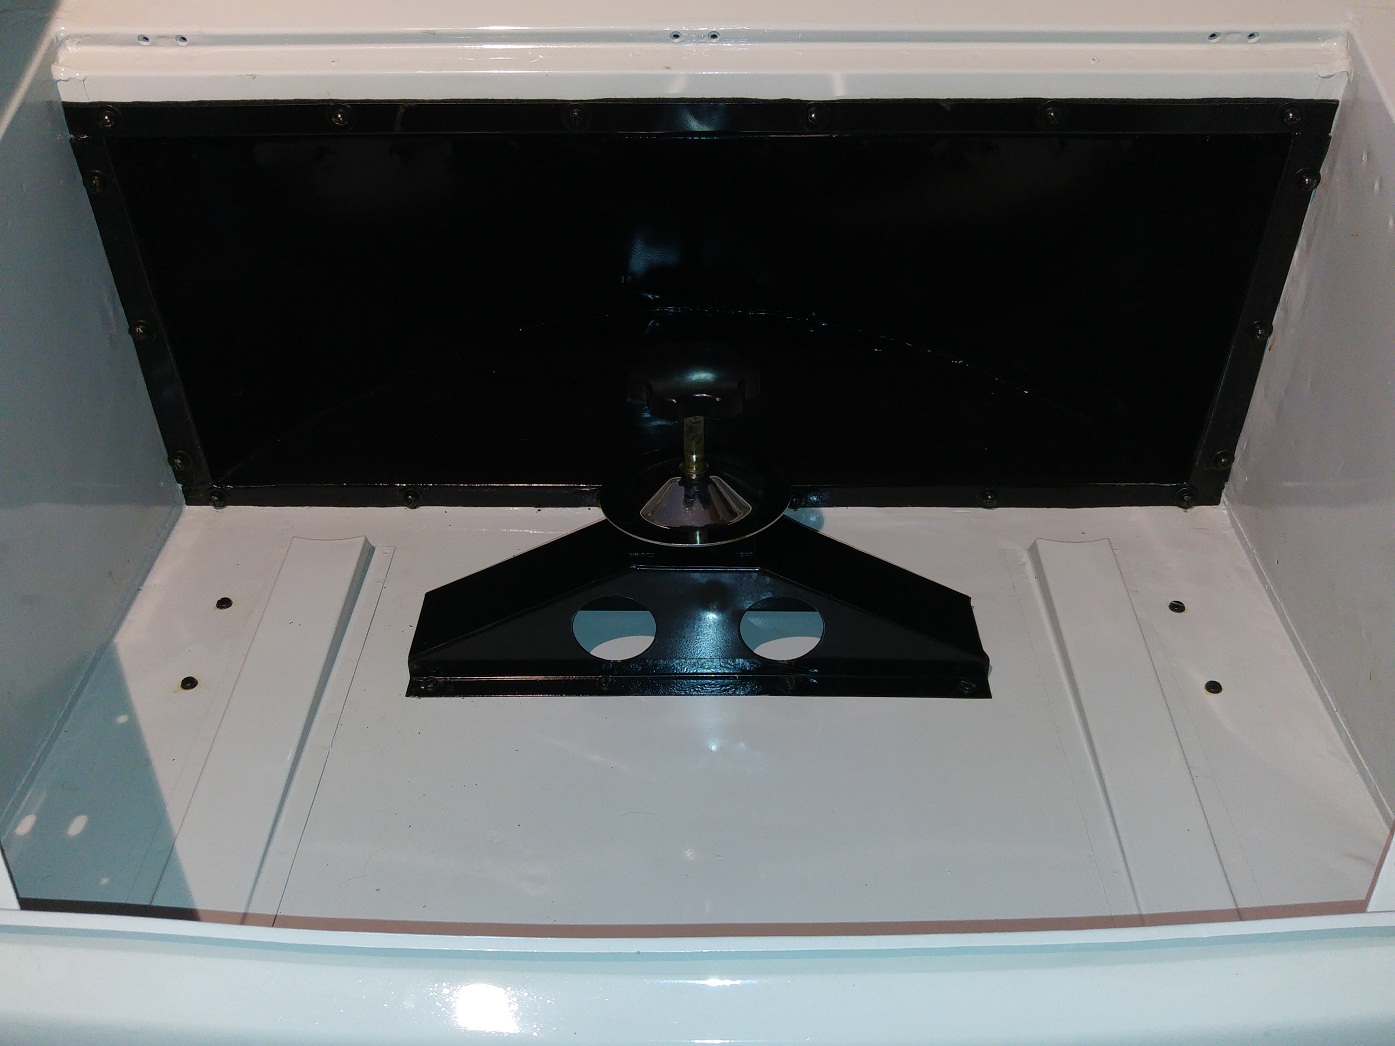
This car has 18 places where the body will be mounted unto the chassis;

  • 4 on the Front Wing Support (2 on each side)
  • 4 on the fixed floor (short bolts, with square aluminium distance pieces)
  • 4 on the door sill (medium bolts, with round distance pieces)
  • 2 nearby rear chock absorber (pointed bolts, with round distance pieces)
  • 4 on the rear end of the body (large bolts, with round distance pieces)


 Posted by at 08:25
aug 292017
 

To prevent that the heat from the outlet will heat up the floor, heat shields are provided on the underside. The heat shields are made from asbestos and are covered by a thin layer of aluminium to prevent the asbestos from crumbling. These aluminium asbestos protection plates where corroded and need to be replaced by new ones. The asbestos shields are still in good usable condition and will be reused.


Because the rivets, used to mount the asbestos and aluminium sheets to the steel floor, can only be used one-time I started to search for them on the internet. After some time I discovered a bunch of brand new, by Jaguar so called, “Bifurcated Rivets”

 Posted by at 14:27
aug 182010
 

The lower body side was partly covered with dirt and undercoating. The undercoating had already been released in many places and must be removed completely to be able to remove all rust.

LowerBodyClean

Dirt and undercoating removed

Now all rust in the above picture must be removed. With the help of some chemicals and steel brushes the job was finished successfully.

LowerBodyRustRemoved

All rust on the bottom side removed

Now the fun part could start, spraying the underside body with Epoxy primer. But before the spraying could start we finished the whole surface with sand paper, en just before spraying removed all dust with thinner.

LowerBodyExpoxy LowerBodySealer
After the epoxy primer is  thoroughly dried all seams are filled with 3M seal-kit. This kit, the small black lines in the above right picture, will creep between  the different layers of sheet metal. When the procedure is performed on both sides the space between different layers of sheet-metal will be hermetically sealed. So hopefully no rust anymore 🙂

LowerBodyAntiChipping LowerBodyPainted
 The last process step is adding a thick layer of anti chipping material and last but not least two layers of black paint. The last layer of paint will make it more easily to remove dirt from the underside in the near future.

 Posted by at 12:37
sep 092017
 

The spare wheel tray is the area at the back of the car where the spare tire is stored. This area can be closed with a wooden lid.

The bracket, which is used to secure the wheel firmly, is bolted onto the floor. On the backside of the floor massive steel strips, with threaded holes, are used to reinforce the floor. Between the body and the recess panel (half round shaped part) a small strip of felt is mounted to prevent rubbing of the two separate parts.

 Posted by at 17:16