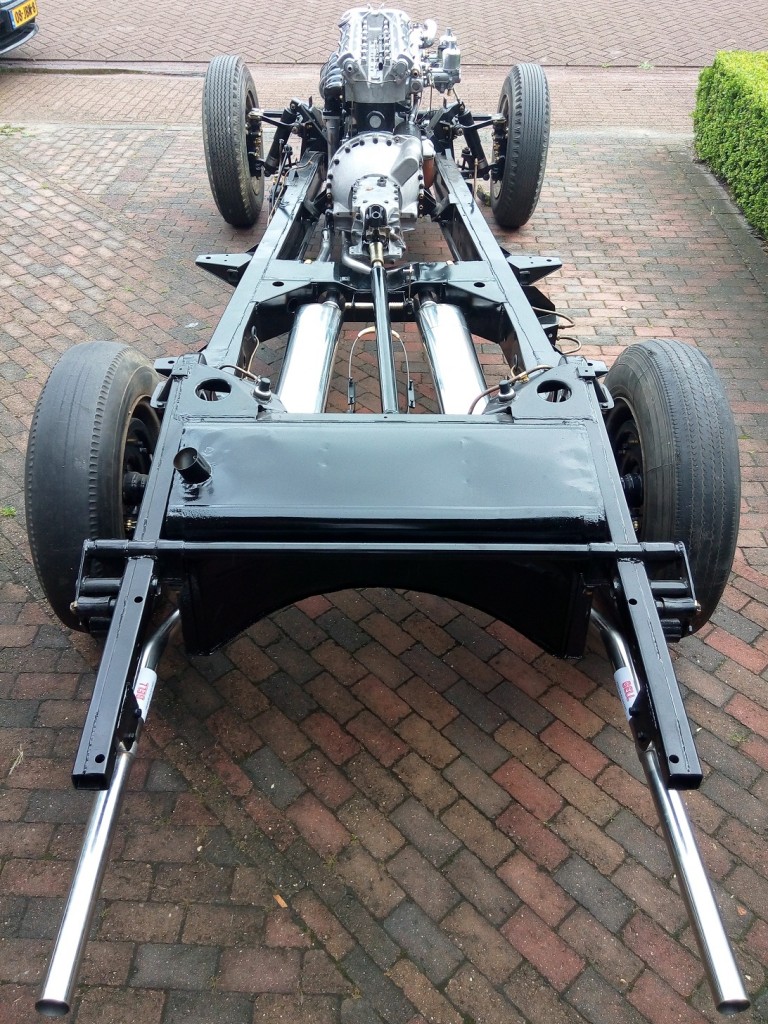
After I bought the car I discovered that the fuel tank was missing. This proves that, even for a big part as a fuel tank, as already mentioned earlier, it is very difficult to see a car is complete.
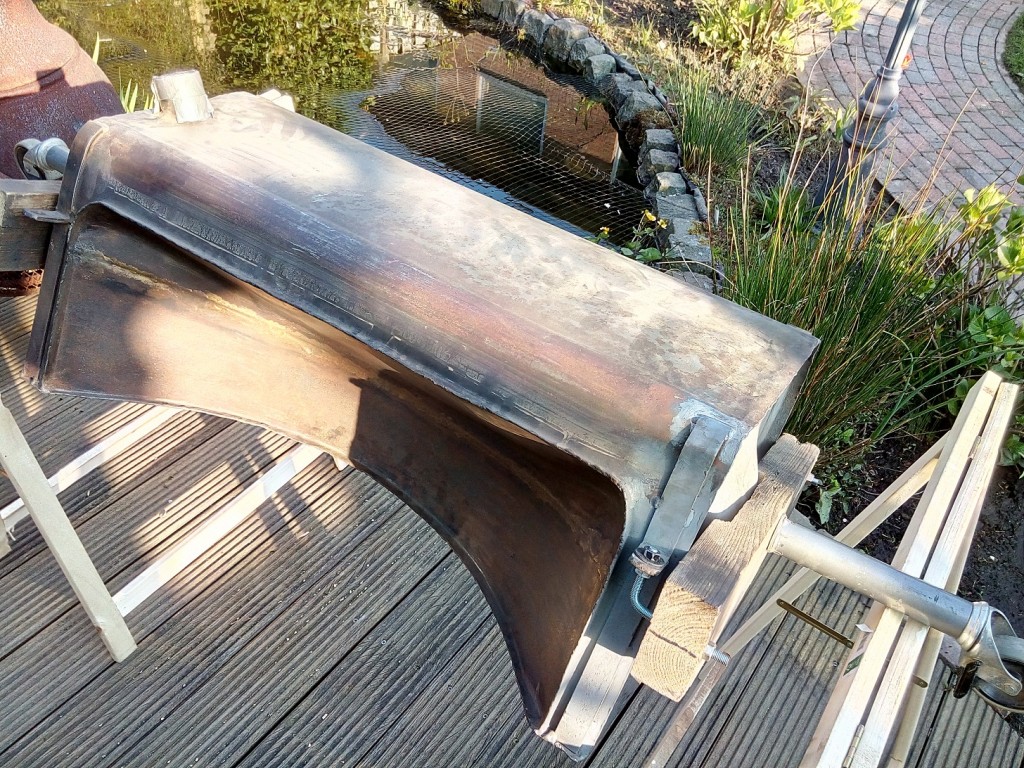
A friend of mine, also the owner of a XK140 FHC, has one extra fuel tank in his pile of car parts. This tank is original but has two small issues:
- Small dent in the underside of the tank nearby the filter element
- Small hole just underneath the mounting bracket (grey area on the right side)
To make the cleaning and sealing process more convenient, I connected two extension on which the tank can turn freely.
After both issues where solved the tank is ready for the internal cleaning and coating in the following steps.
- Turn the fuel tank, backwards and forwards, filled with small sharp stones
- Rinse thoroughly with clean water to remove dust residue.
- Fill the fuel tank with “Metal Prep 1/4 gallon” from POR15 and rotate the tank for one hour.
- Remove the Metal Prep remaining and rinse thoroughly with clean water to remove. (I used a pressure washer)
- Let the tank dry completely (Outside in the sun)
- Fill the fuel tank with “Fuel Tank Sealer 1/4 gallon” from POR15 and rotate the tank for one hour.
- Drain the fuel tank for one hour to remove excess sealer from the tank.
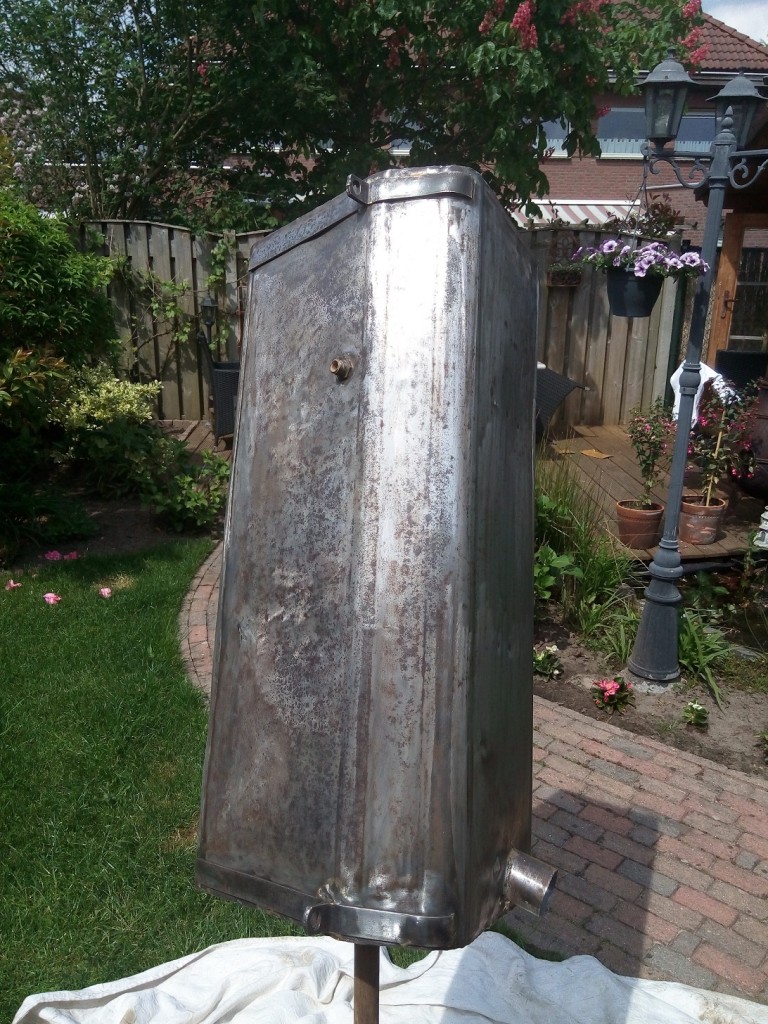
With sandpaper the outside of the tank is cleaned and prepared for painting.
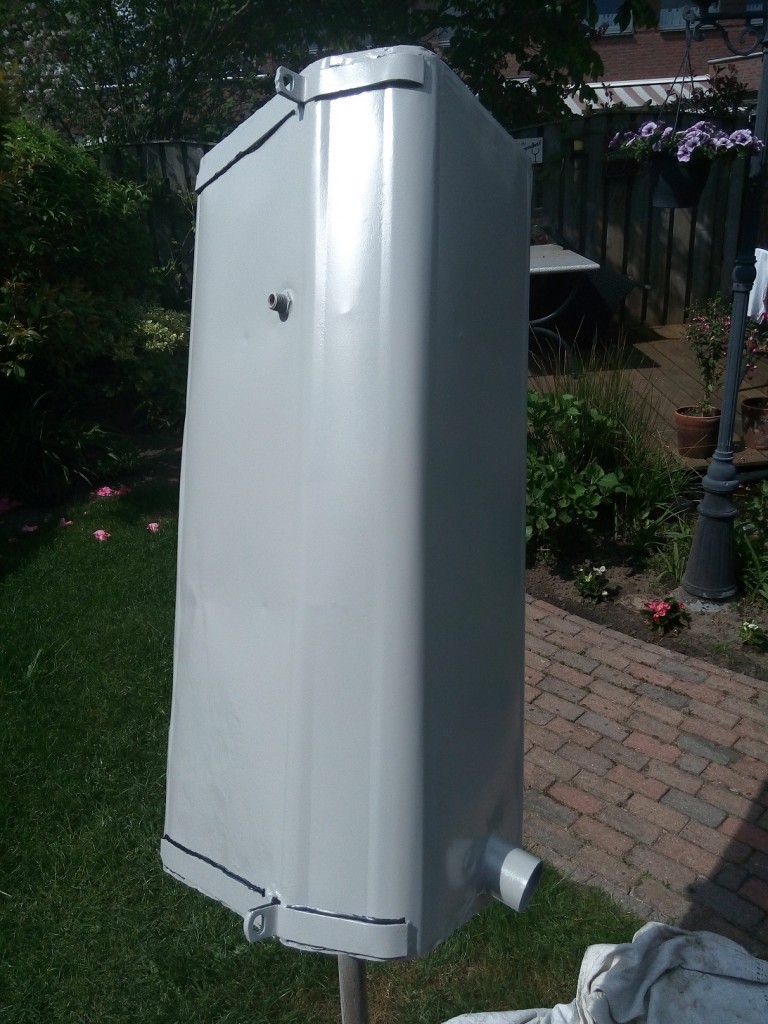
After the tank is painted (epoxy primer) the outside seams are sealed (3M body sealer).
Now the “Body shuts spray” from 3M can be aplied. To be able to clean the tank easily a last layer of satin black paint is applied.
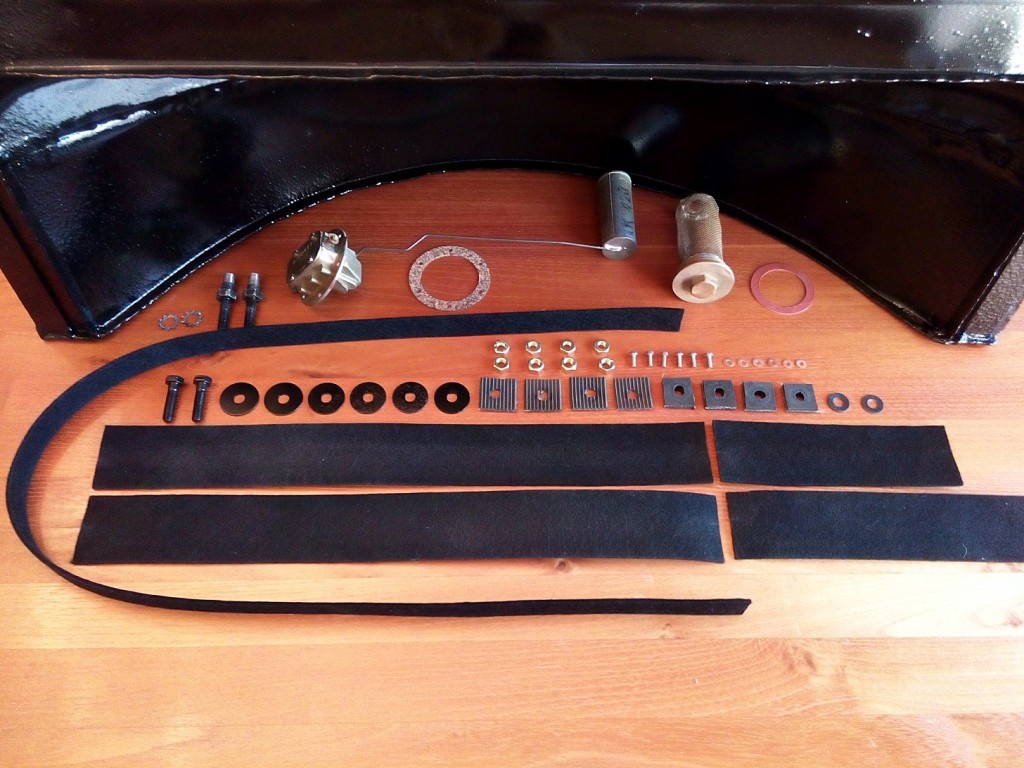
Now only the felt must be mounted (On the fuel tank and the chassis) and the rolling chassis is almost finished.
