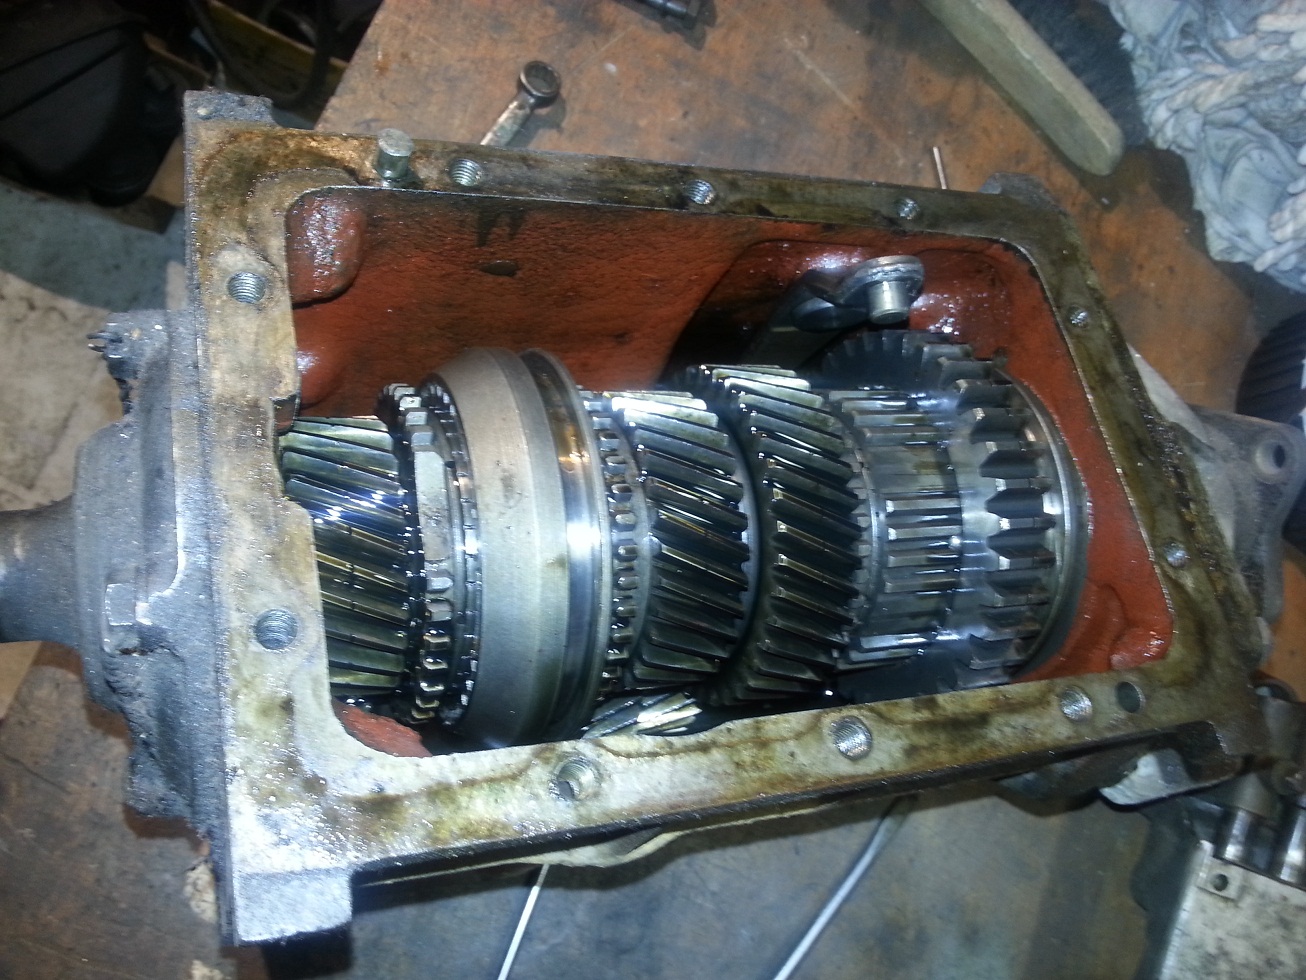
 After removing the gearbox cover I was pleased to see that there was still 0,5 liter of oil inside. All the gears looks still great.
The bearing of the incoming axle was blocked for some reason but I already planned to replace all bearing anyway.
The needles bearings where also not so good but the bearing surface was still in good shape.
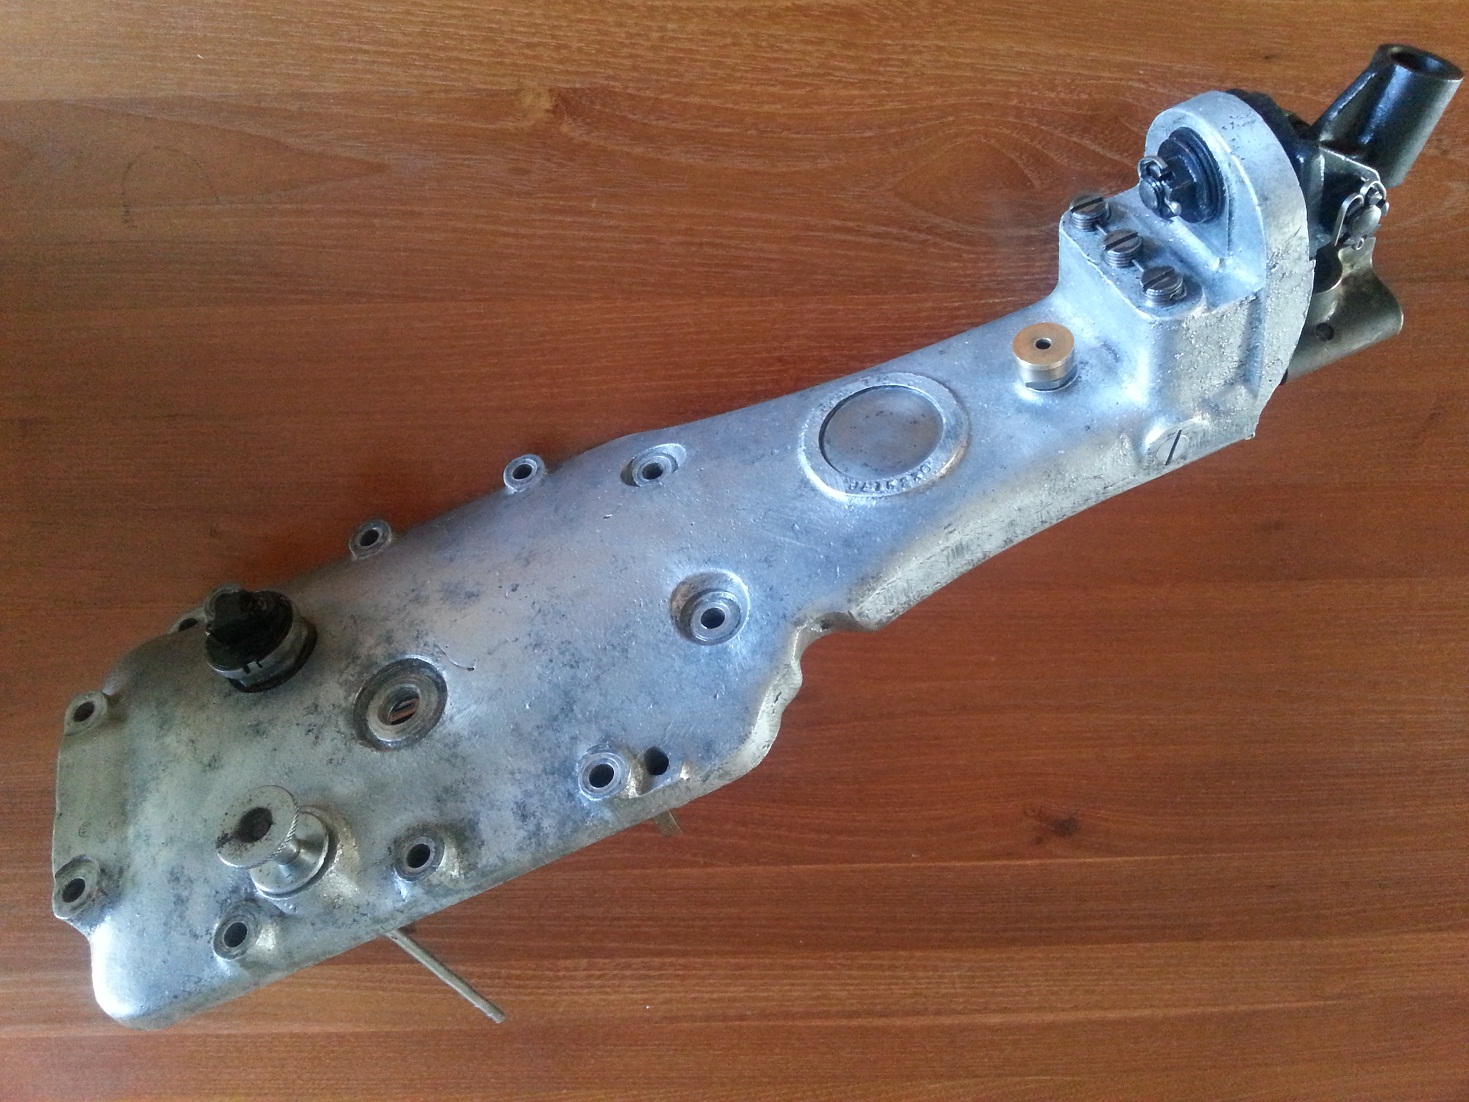
After all internals where cleaned, checked and stored I started with cleaning the gearbox cover.
I will leave the gearbox cover as it is for the time being. I don’t want to disassemble to much at the same time be able to assemble everything as it should.
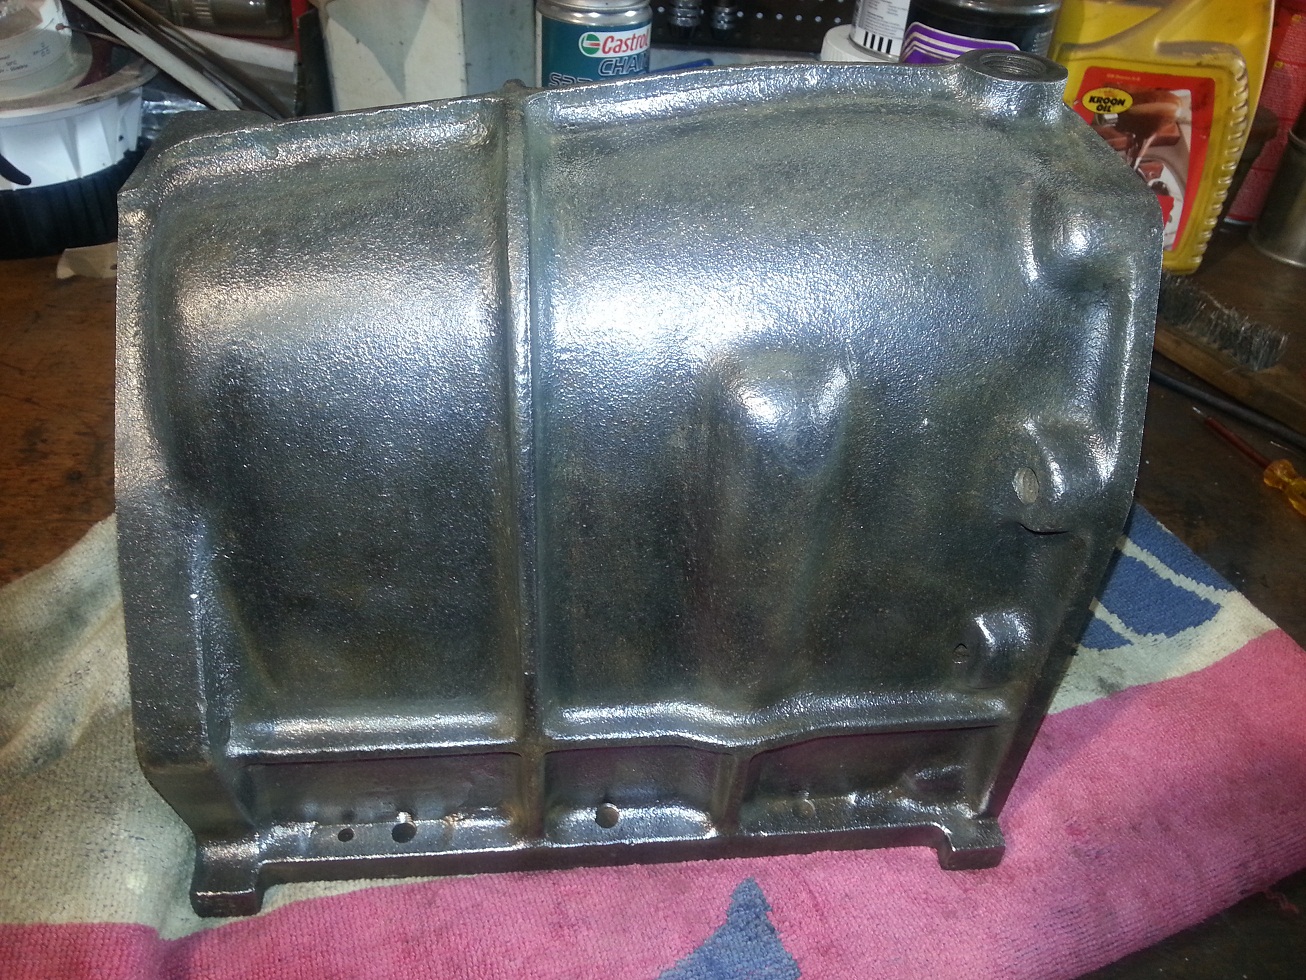
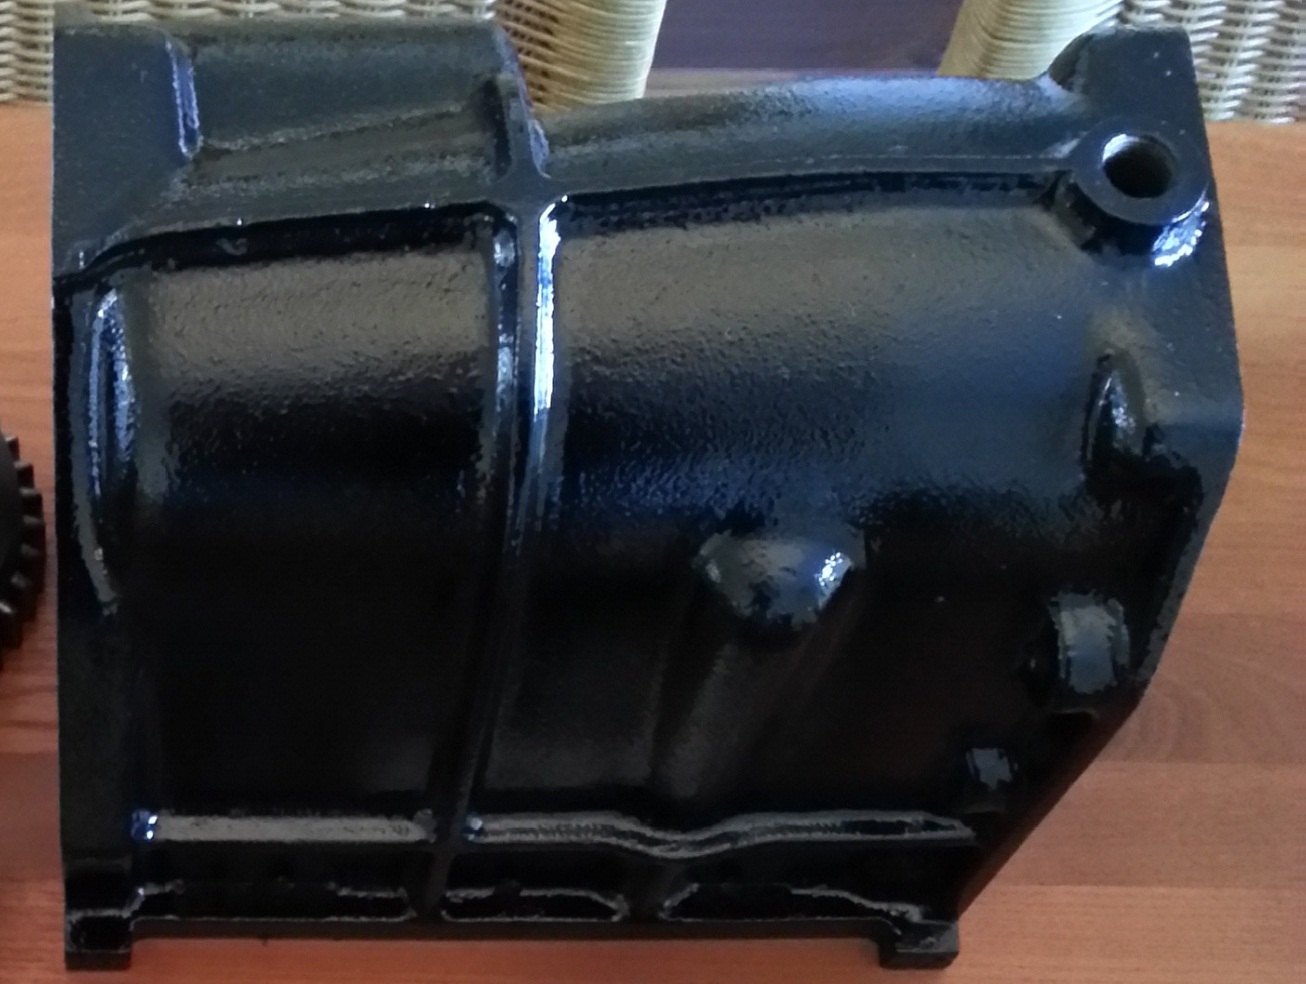
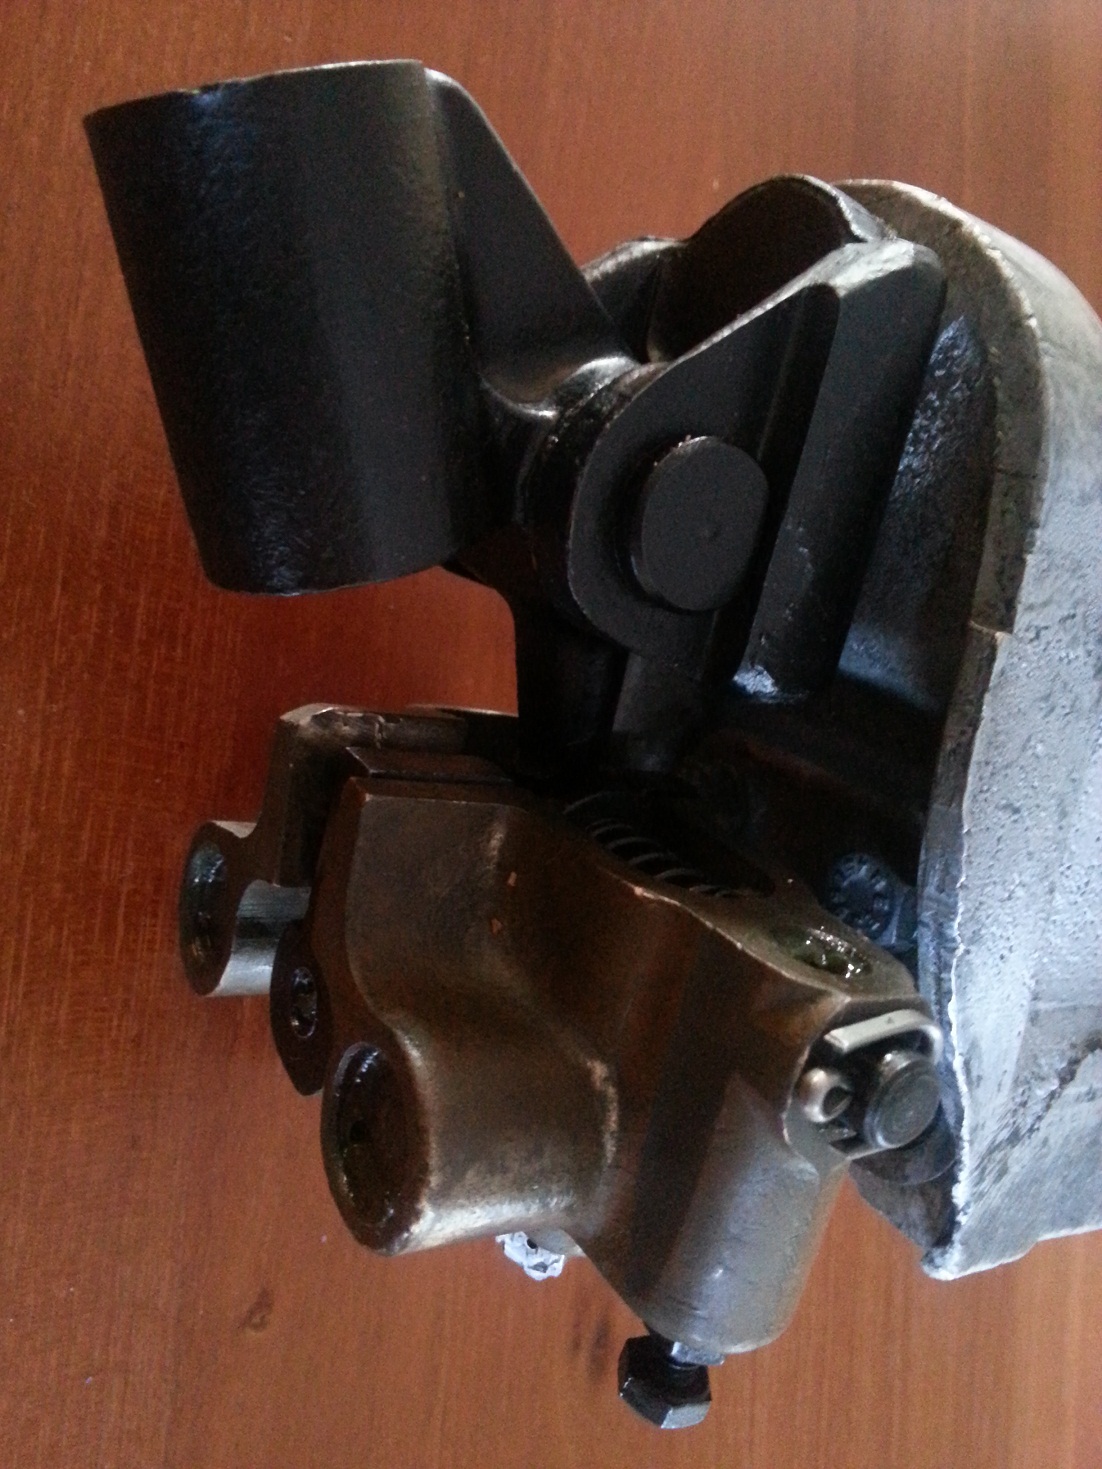
After the outside gearbox cover was decreased and all rust removed, it could be painted epoxy primer and several layers of black paint.
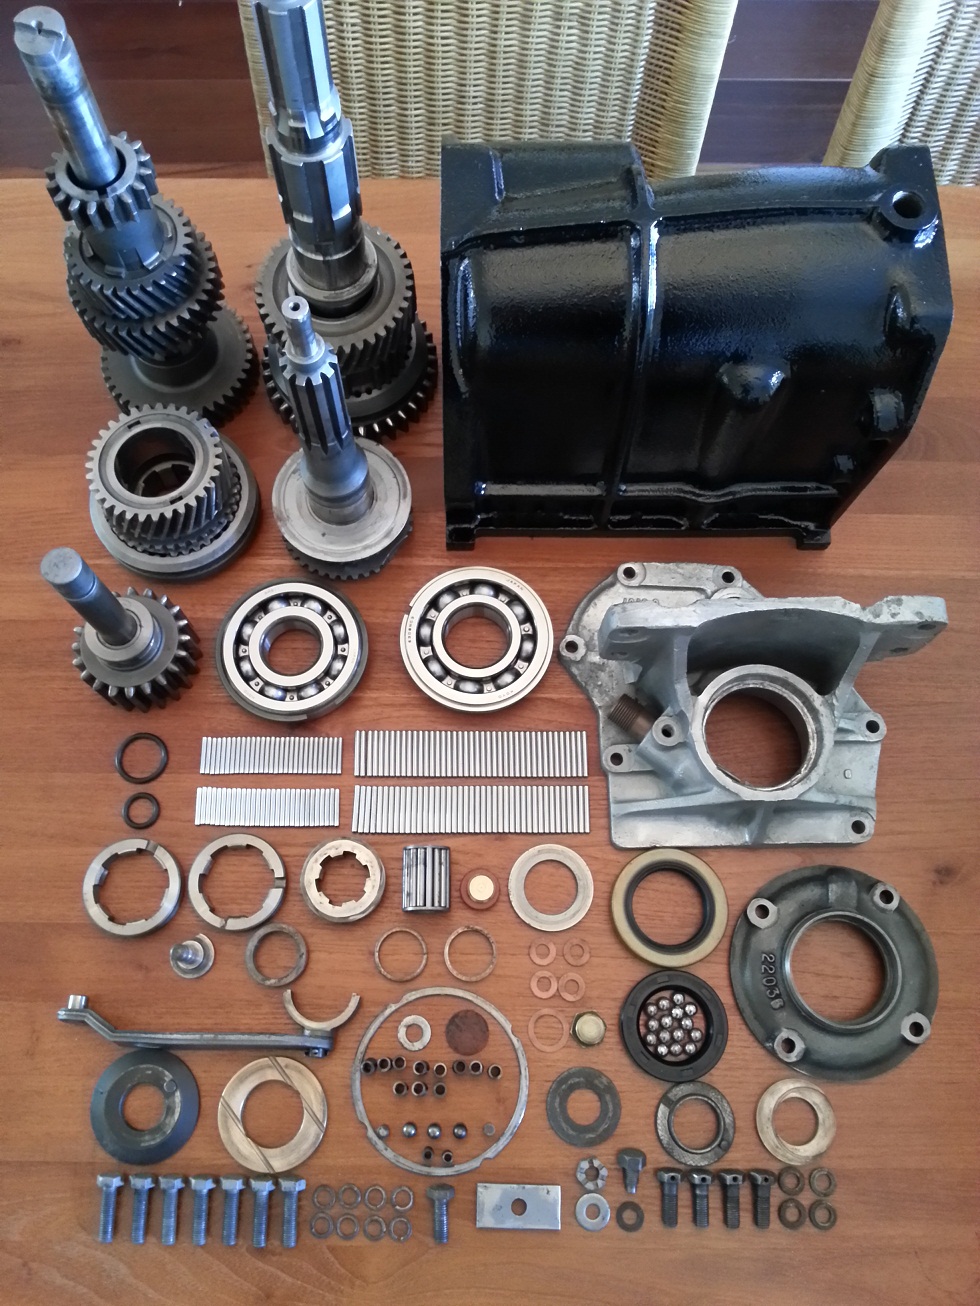
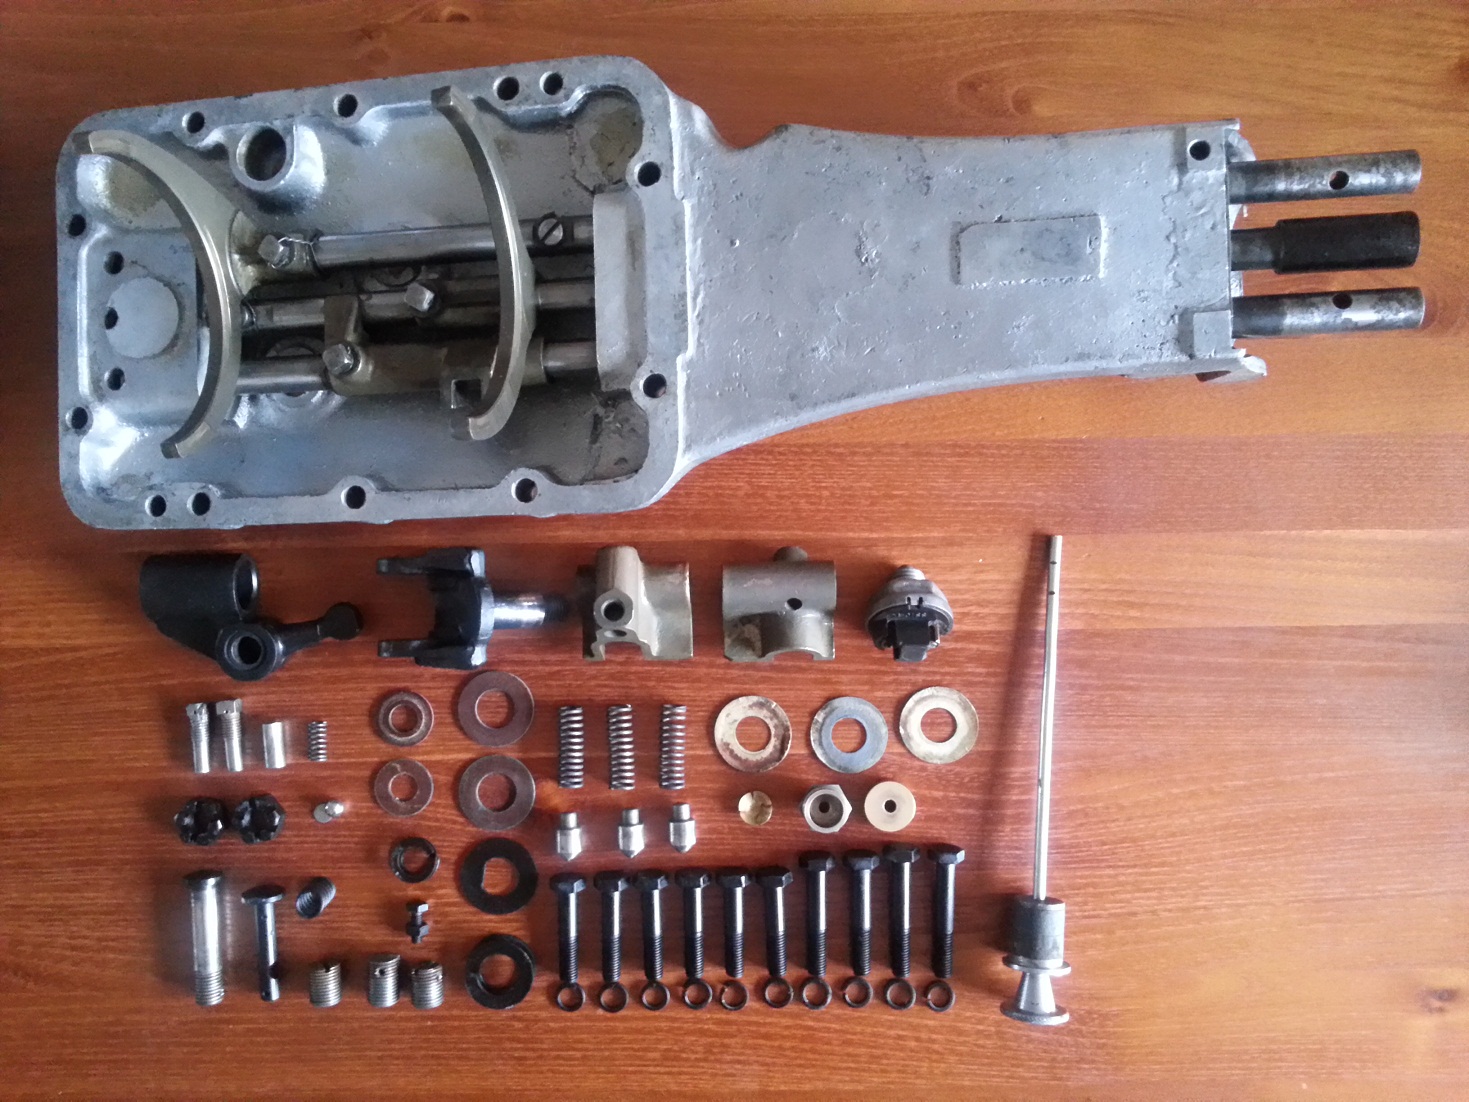
All separate parts used to rebuild the gearbox without cover
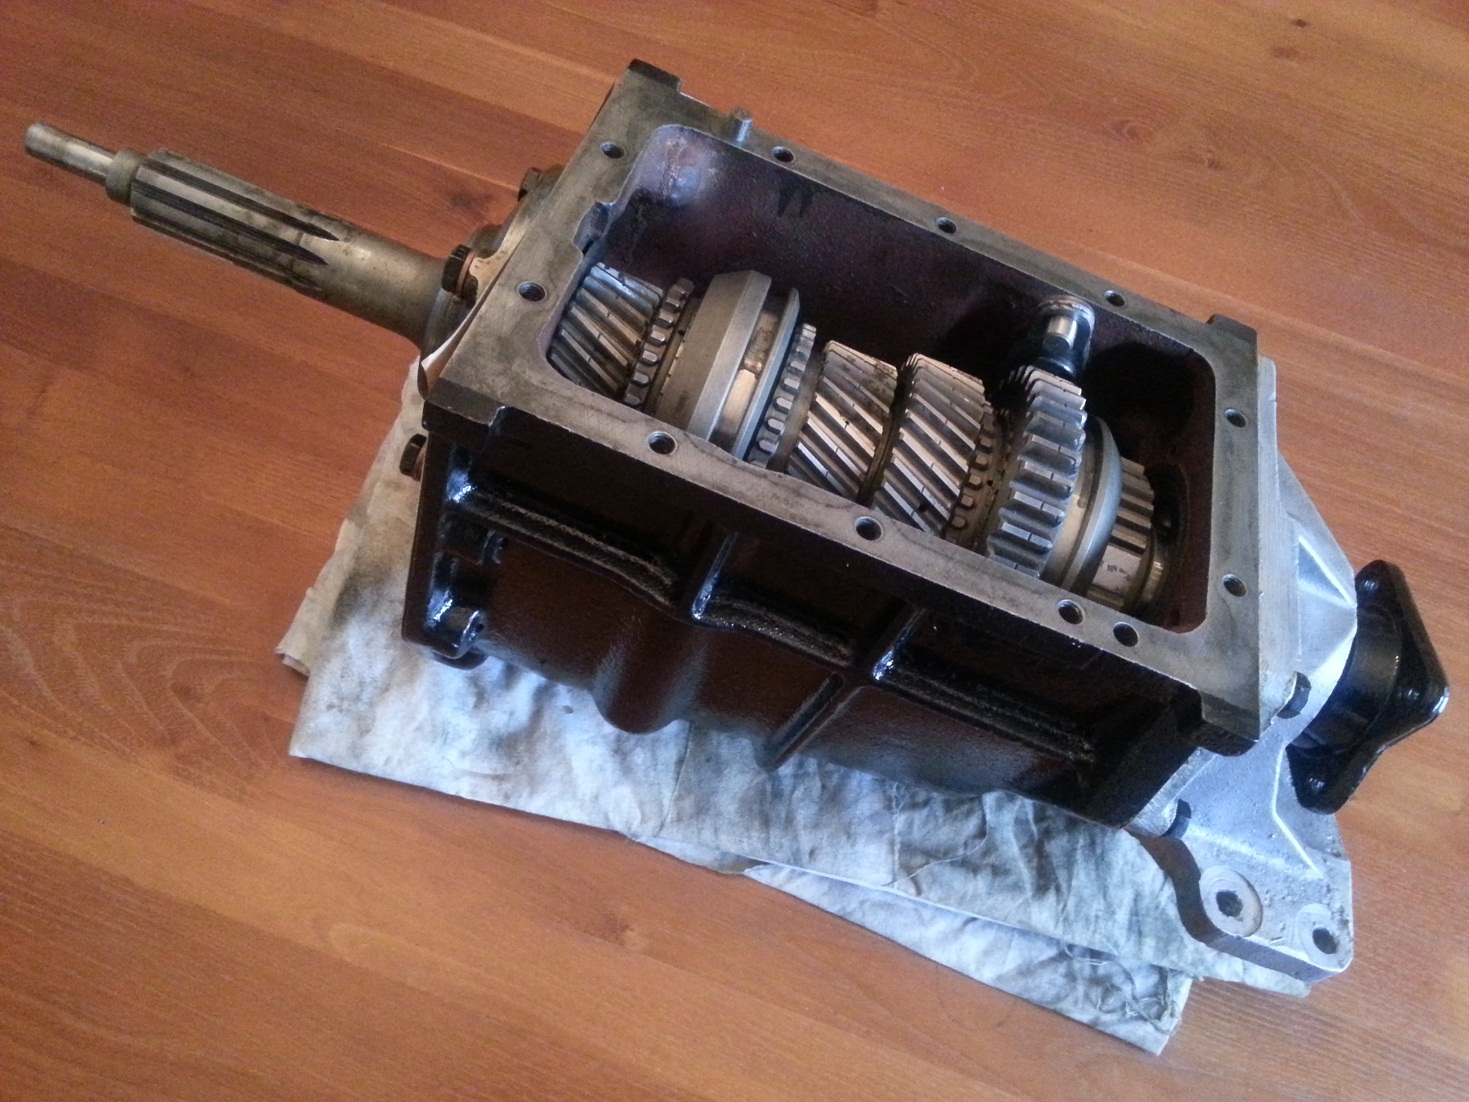
Gearbox (without cover) mounted