Peter

feb 012008
 

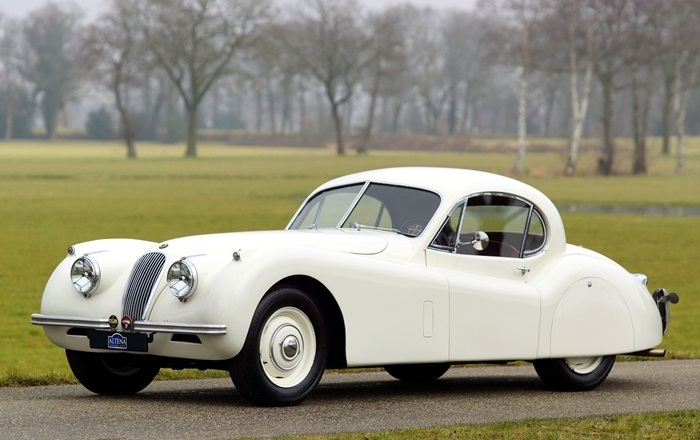
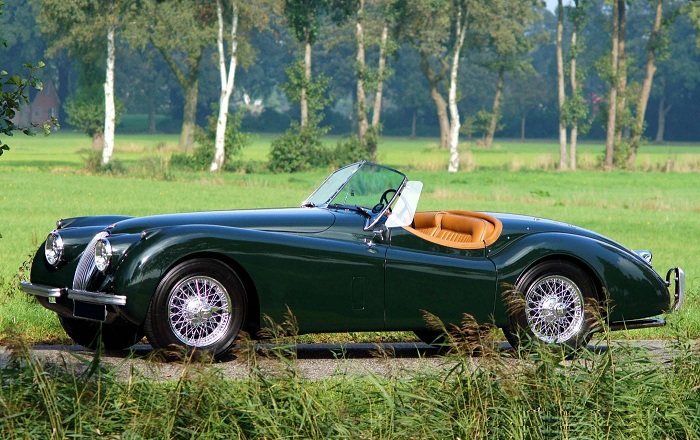
The XK140 was introduced in late 1954 and sold as a 1955 model. Exterior changes that distinguished it from the XK120 included more substantial front and rear bumpers with overriders, and flashing turn signals (operated by a switch on the dash) above the front bumper.

The grille remained the same size but became a one-piece cast unit with fewer, and broader, vertical bars. The Jaguar badge was incorporated into the grille surround. A chrome trim strip ran along the centre of the bonnet (hood) and boot (trunk) lid. An emblem on the boot lid contained the words “Winner Le Mans 1951–3”.

The interior was made more comfortable for taller drivers by moving the engine, firewall and dash forward to give 3 inches (76 mm) more legroom. The single battery was relocated from behind the seats to inside the wing (fender) on the inlet side.
The XK140 was powered by the Jaguar XK engine with the Special Equipment modifications from the XK120, which raised the specified power by 10 bhp to 190 bhp (142 kW) gross at 5500 rpm, as standard. The C-Type cylinder head, carried over from the XK120 catalogue, and producing 210 bhp (157 kW) gross at 5750 rpm, was optional equipment.

When fitted with the C-type head, 2-inch sand-cast H8 carburettors, heavier torsion bars and twin exhaust pipes, the car was designated XK140 SE in the UK and XK140 MC in North America.
In 1956 the XK140 became the first Jaguar sports car to be offered with automatic transmission. As with the XK120, wire wheels and dual exhausts were options, and most XK140s imported into the United States had wire wheels. Cars with the standard disc wheels had spats (fender skirts) over the rear wheel opening.
 Posted by at 13:00
feb 012008
 

XK120OTS

 Production numbers for the Jaguar XK120 OTS

        Year Drive       1949-6195019511952195319541954-8
RHD660001660028660519660935661046661154661176
27491416111108221175
LHD670001670071671097671797673389674592676438
701026700159212031846 6437
Total7612
 Posted by at 12:03
feb 012008
 

XK120DHC

Production numbers for the Jaguar XK120 DHC

        Year Drive       1952-1195319541954-8
RHD667001667002667169667295
167126294
LHD677001678103678472
11023691471
Total1765
 Posted by at 12:02
feb 012008
 

XK120FHC

 Production numbers for the Jaguar XK120 FHC

        Year Drive       1951-91952195319541954-7
RHD669001669003669005669112669195
2210783194
LHD679001679215680572681309681485
21413577371762484
Total2678
 Posted by at 12:01
feb 012008
 

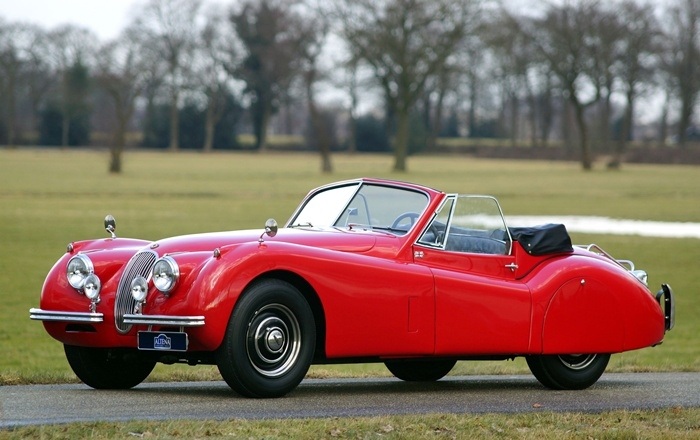
The XK120 was launched in roadster form at the 1948 London Motor Show as a testbed and show car for the new Jaguar XK engine. The display model was the first prototype, chassis number 670001. It looked almost identical to the production cars except that the straight outer pillars of its windscreen would be curved on the production version. The roadster caused a sensation, which persuaded Jaguar founder and design boss William Lyons to put it into production. In 1949 the first customer car, chassis number 670003, was delivered to Clark Gable.

The “120” in its name referred to its 120 mph (193 km/h) top speed (faster with the windscreen removed), which made the XK120 the world’s fastest standard production car at the time of its launch. It was available in two open versions, first as the roadster (designated OTS, for open two-seater, in America), then also as a drophead coupé (DHC) from 1953; and also as a closed, or “fixed-head” coupé (FHC) from 1951. The DHC was a more deluxe open model, with wind-up windows, and wood-veneer dashboard and interior door caps, as on the FHC. A smaller-engined version intended for the UK market was cancelled prior to production.

In 1950 and 1951, at a banked oval track in France, XK120 roadsters averaged over 100 mph for 24 hours and over 130 mph for an hour, and in 1952 a fixed-head coupé took numerous world records for speed and distance when it averaged 100 mph for a week. Roadsters were also successful in racing and rallying.

 Posted by at 12:00
jan 012008
 

The first idea to start with the restoration of a classic was born in 2002.
I was particular interested in cars from the post war period.
Some nice specimens are;
– Jaguar XK120 (1949-1954)
– Jaguar XK140 (1954-1957)
– Forst Mustang (1964-1967)
– Chevrolet C1 or C2 (1953-1967)
– Mercedes 190SL (1955-1963)
– BMW 507 (1956-1959)
– MGA (1955-1962)
– Triumph TR2 or Tr3 (1953-1957)
– Porsche 356 (1948-1965)

From 2002 on I started with searching the internet for one of the above types, within my budget 🙂
I have seen several very rotten ones so it was not an easy job.

A friend of mine bought his car from Jan Arets in Budel and decided to pay him a visit. I was lucky because that day he received two very nice Jaguar XK’s (XK120 FHC and a XK120 DHC). I asked him the price and was shocked by the asking price off about 19k euro. After struggling a couple of days about this in my eyes huge amount I decided to make the call, but the FHC was already sold and he was negotiating about the other XK(DHC). (so this was a dead end…)

In the upcoming time period I found a lot of cars from the above list on www.marktplaats.nl but never found a good restoration object. During the searching process my preference for the Jaguar XK kept increasing and decided to narrow my search criteria.

On 9 September 2008 I found a good restoration object on marktplaats from a guy called Cees van Ouwerkerk (car broker)
The only big dis-advance with this car, it was almost completely disassembled. After checking all photo material I decided to take the chance and bought the car.

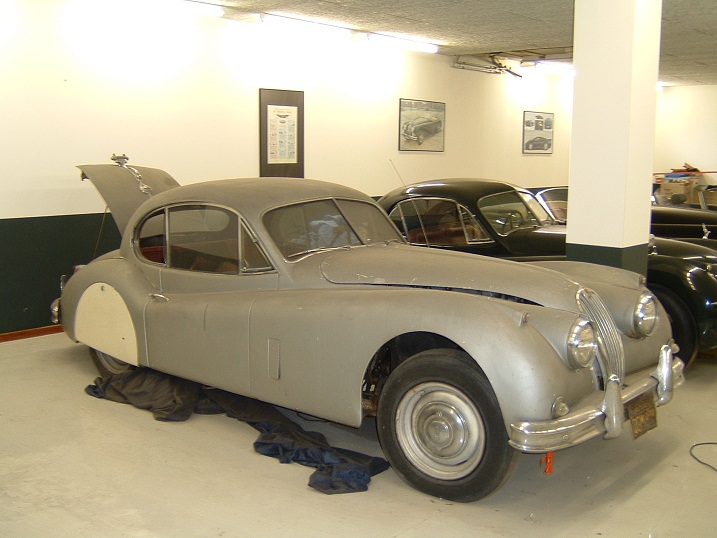
This is how the car looked before it was disassembled by the previous owner

This is how the car looked before it was disassembled by the previous owner

 Posted by at 12:00
jan 012008
 

Do’s

  1. Make a lot of pictures from the disassembling and assembling process.
  2. Only buy bearings from the original brand (e.g. Timken)
  3. Buy all rubber parts from a good quality (e.g. Metalastik)
  4. Keep the body mounted onto the chassis during welding activities on the body to prevent warping or twisting of the structure
  5. Keep track of all spacers placed between chassis and body and make sure they are placed back on the same location.
    The spacers all look the same but they are all customized for the specific location.
  6. Make identification marks before removing the bearing caps from crankshaft and camshafts.
    It is a very expensive job to fix this afterwards.
  7. For replacing parts I use the 70% rule;
  8. a)  if the basis material is less then 70% replace with new sheet metal (complete or partly)
    b) If the basis material is better then 70% repair and keep the original sheet metal


Dont’s

  1. Be careful with dissembling the pinion and crown gears from differential casing.
    This job can only be done by specialists, and is not always needed.
  2. Be careful with removing the hubs from the rear axle. Don’t use pulling devices which attaches on the outside of the hubs, it better to use one connected to the wheel mounting studs.
 Posted by at 12:00
jan 012008
 

1) Always buy a complete car, it is almost impossible to see if a car is complete from a pile of boxes. The parts which are missing are always very difficult to find and they can be very expensive.

2) If you are looking for a complete restoration object don’t buy one who is looking to nice. It will be to expensive at the end because your are going to replace everything after all. It is cheaper to buy one with a lot of work because the object selling price is will be much lower then a cosmetic good looking car.

3) …

 Posted by at 12:00