Peter

jul 312017
 

Repair

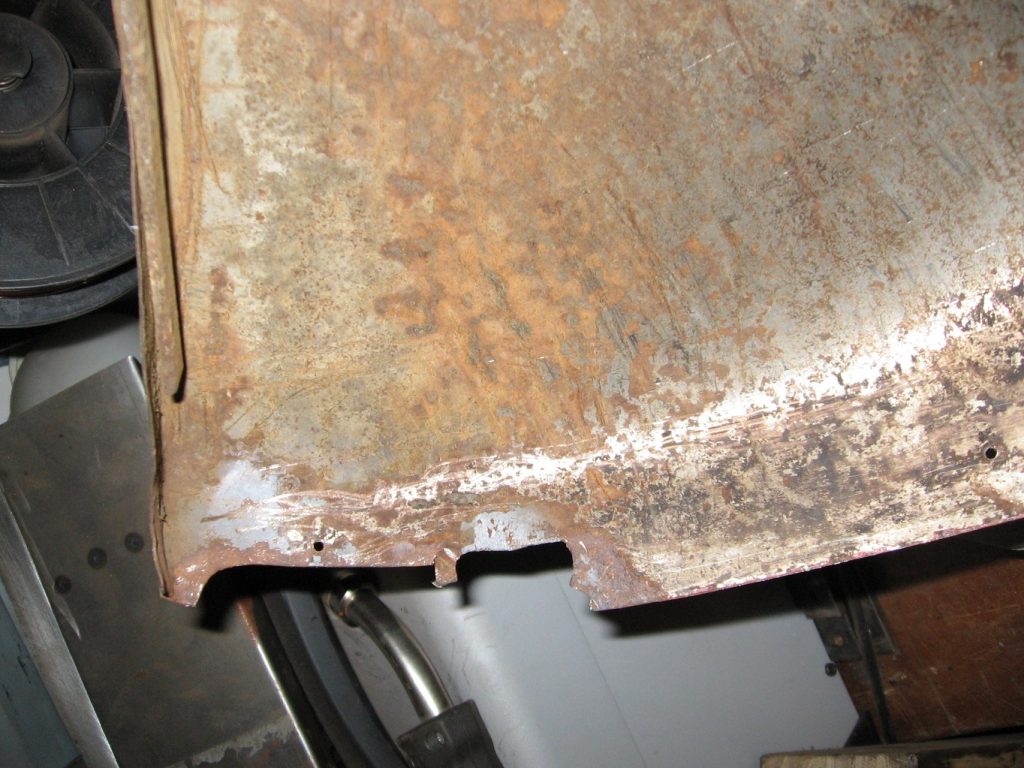
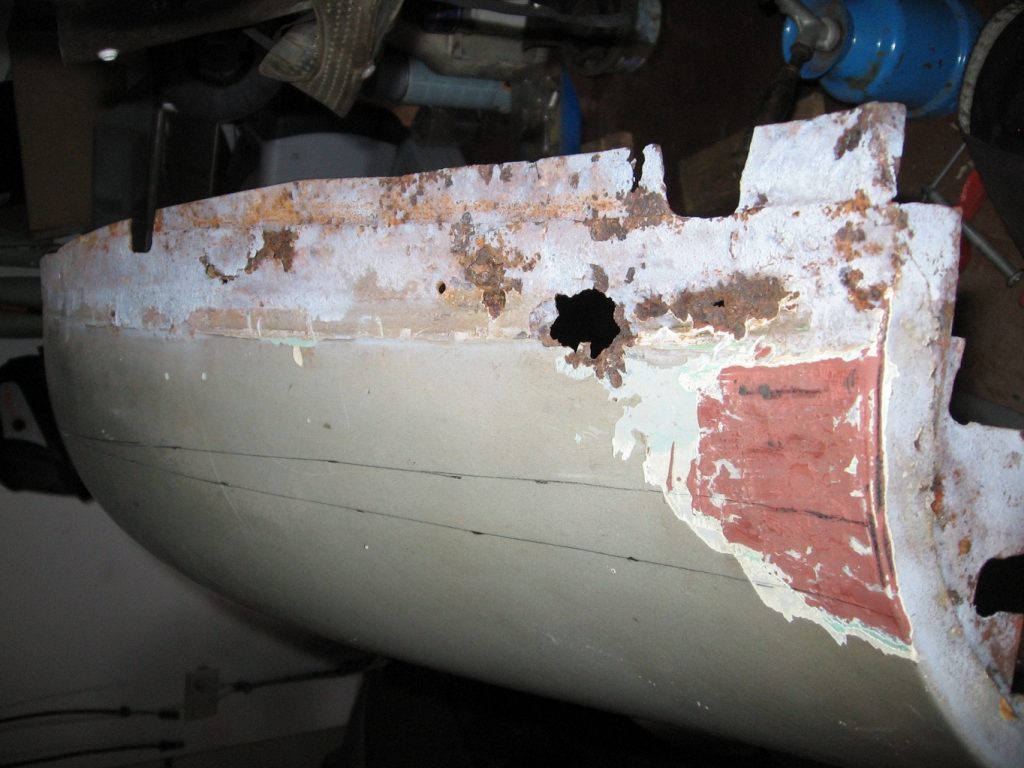
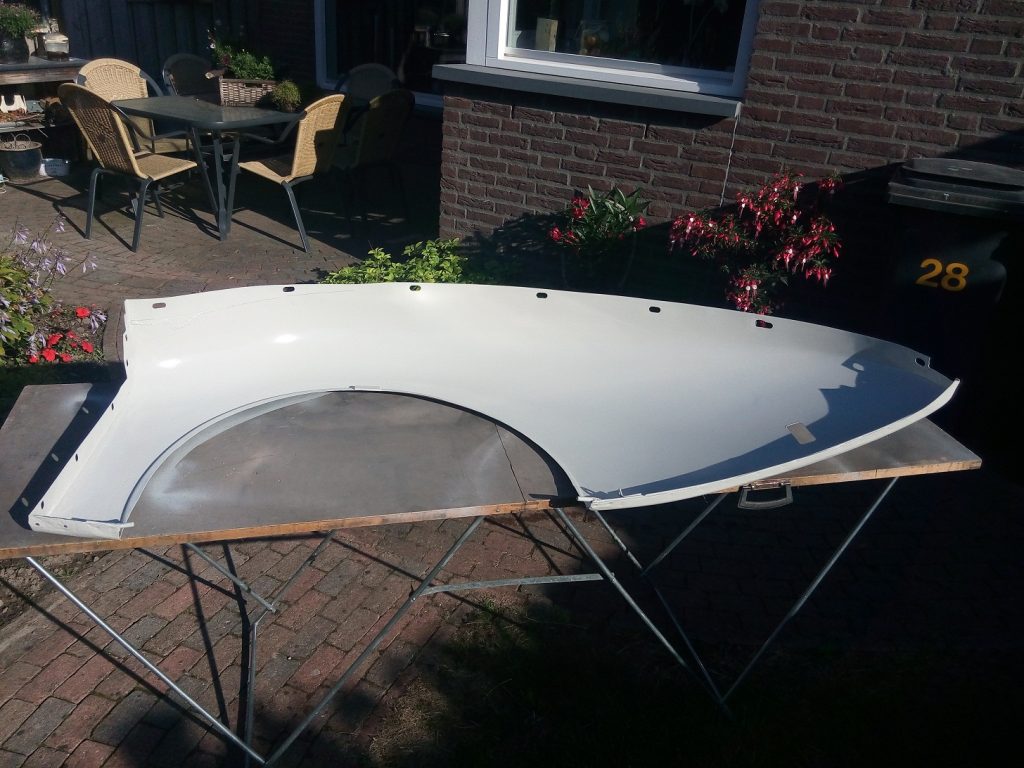
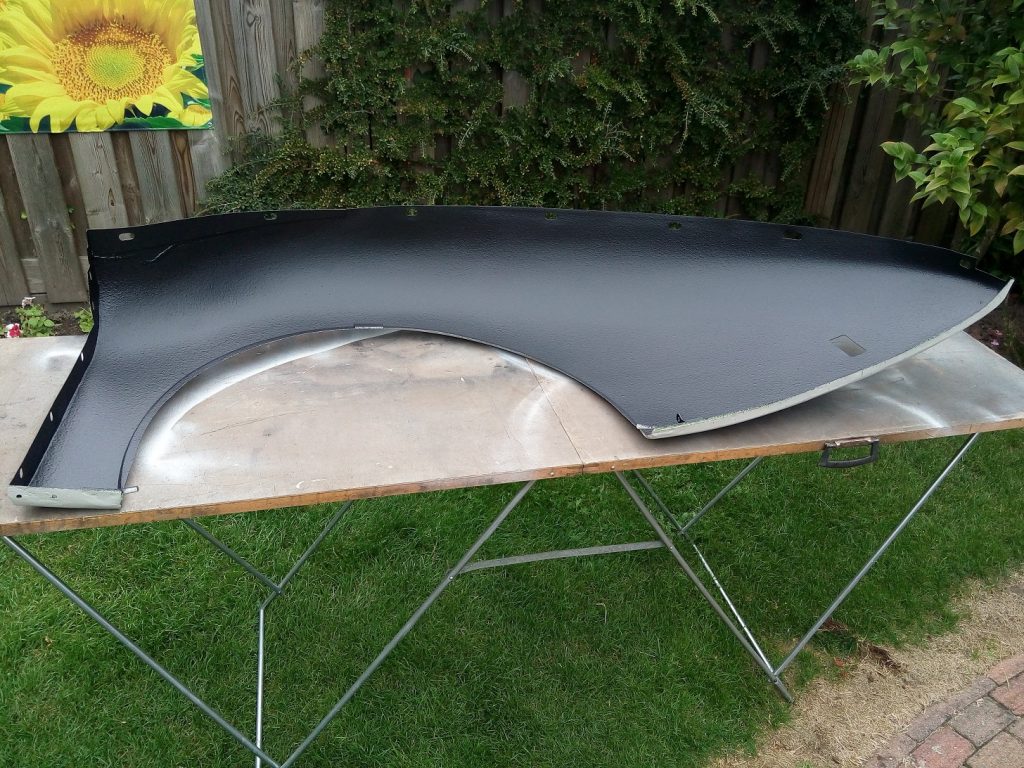
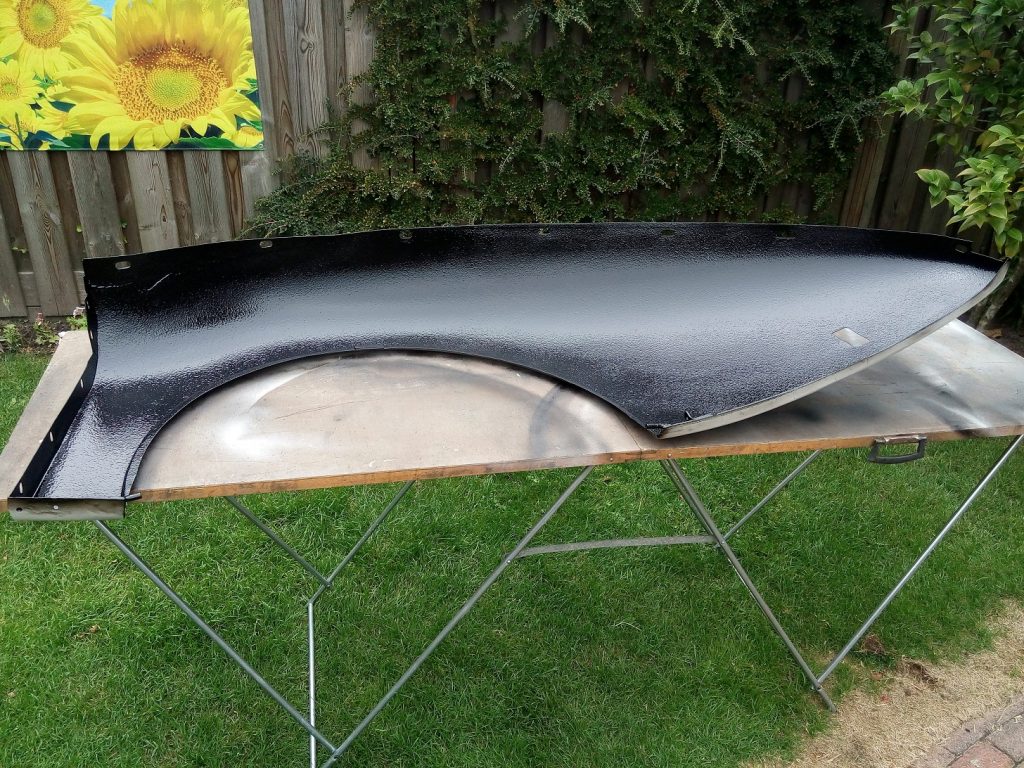
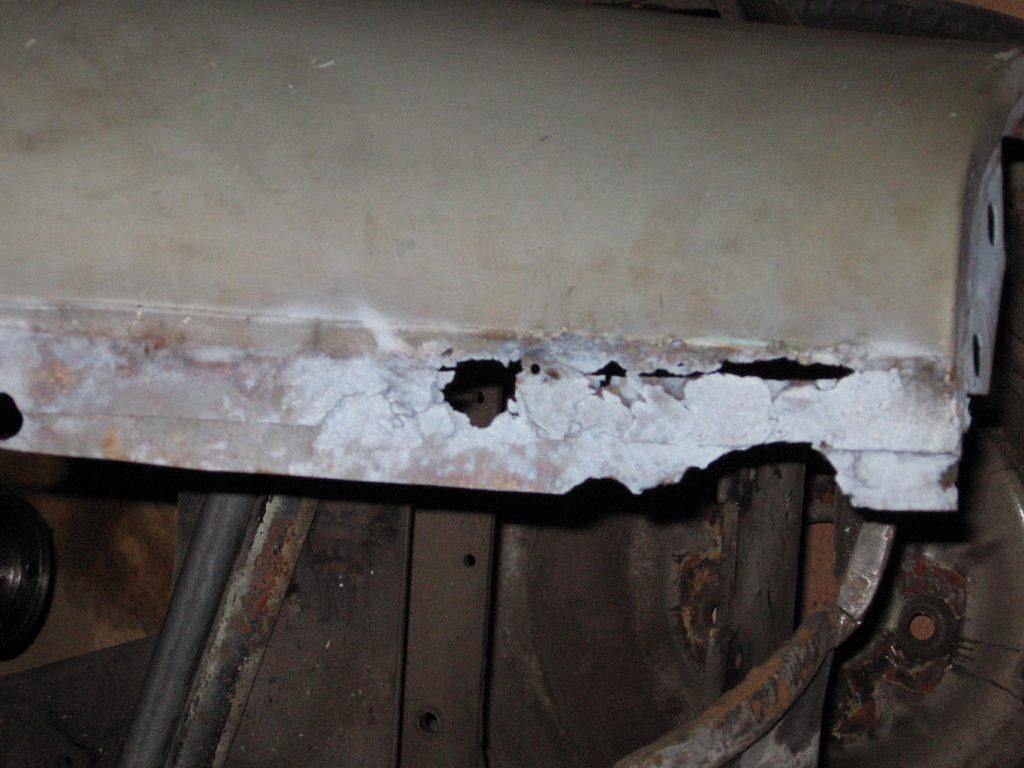
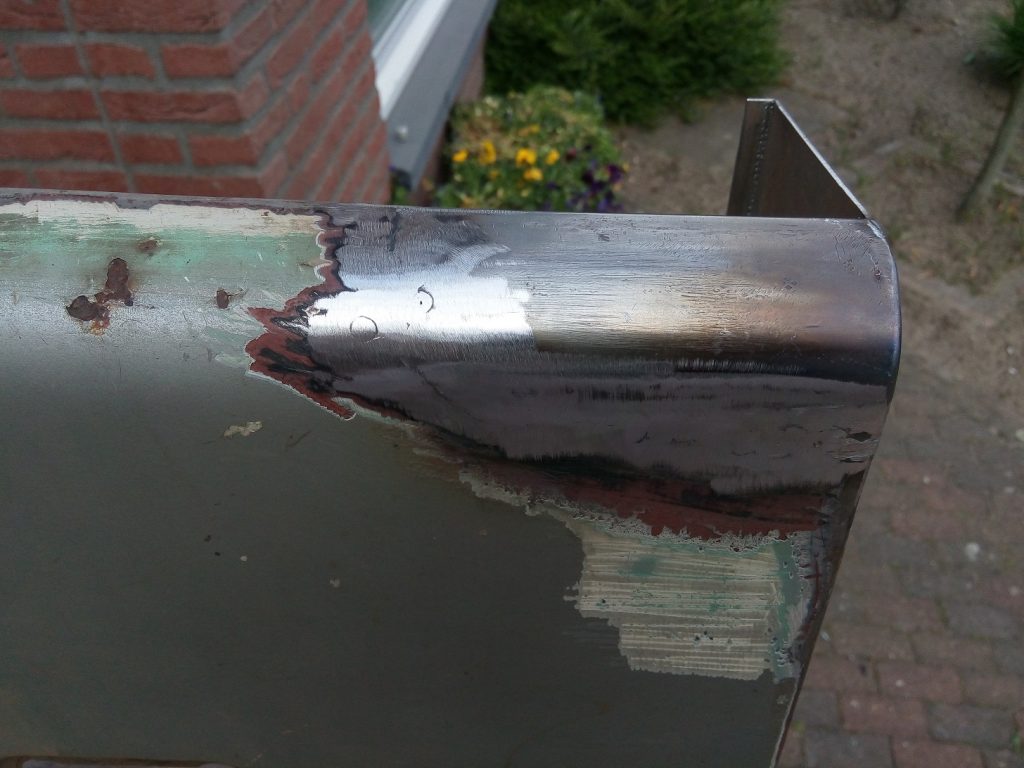
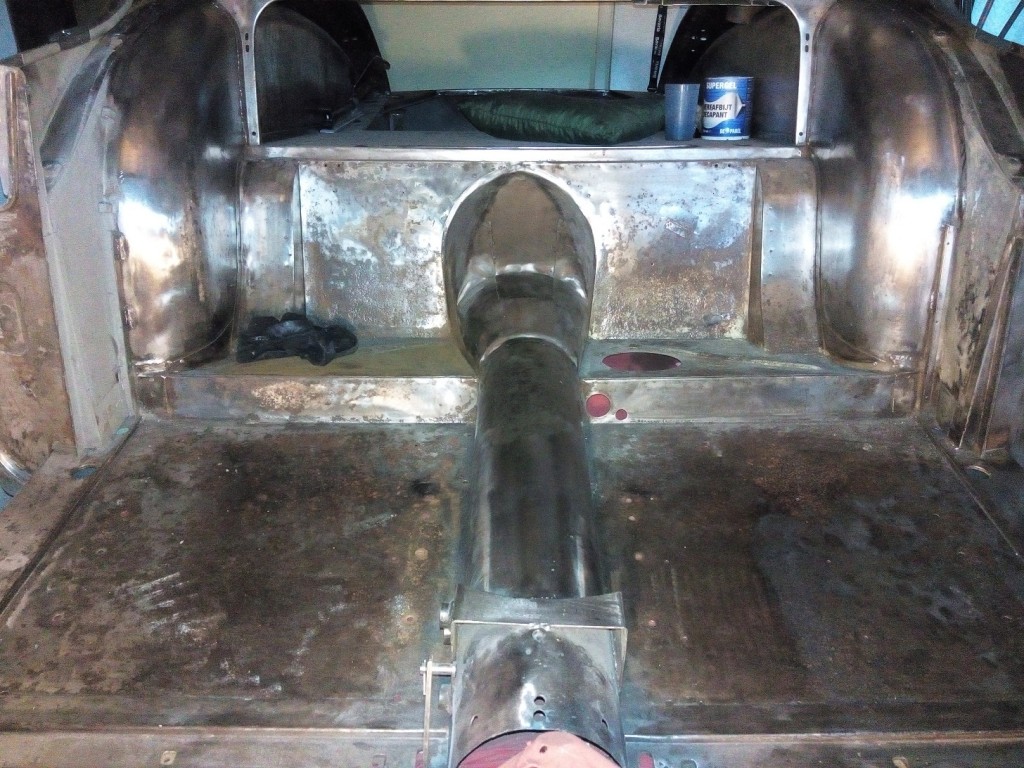
The right rear wing has three attention areas;

  • The lower edge at the door side
  • The upper part also at the door side
  • the lower edge on the backside of the car


The repair areas marked with grey paint

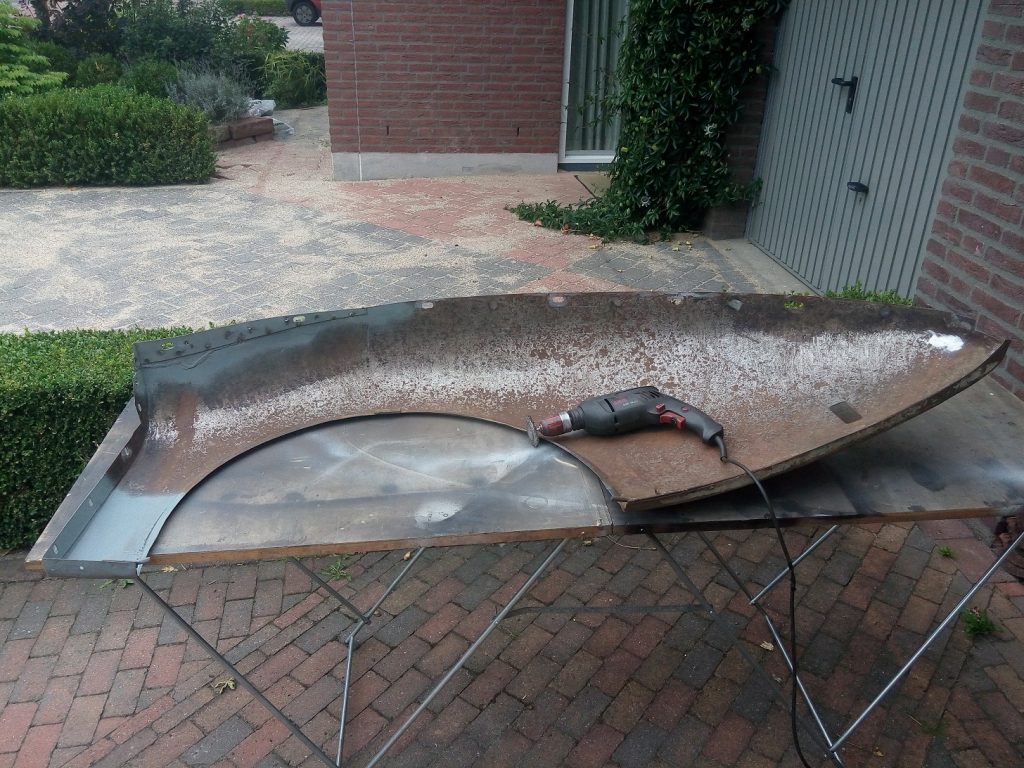
Cleaning

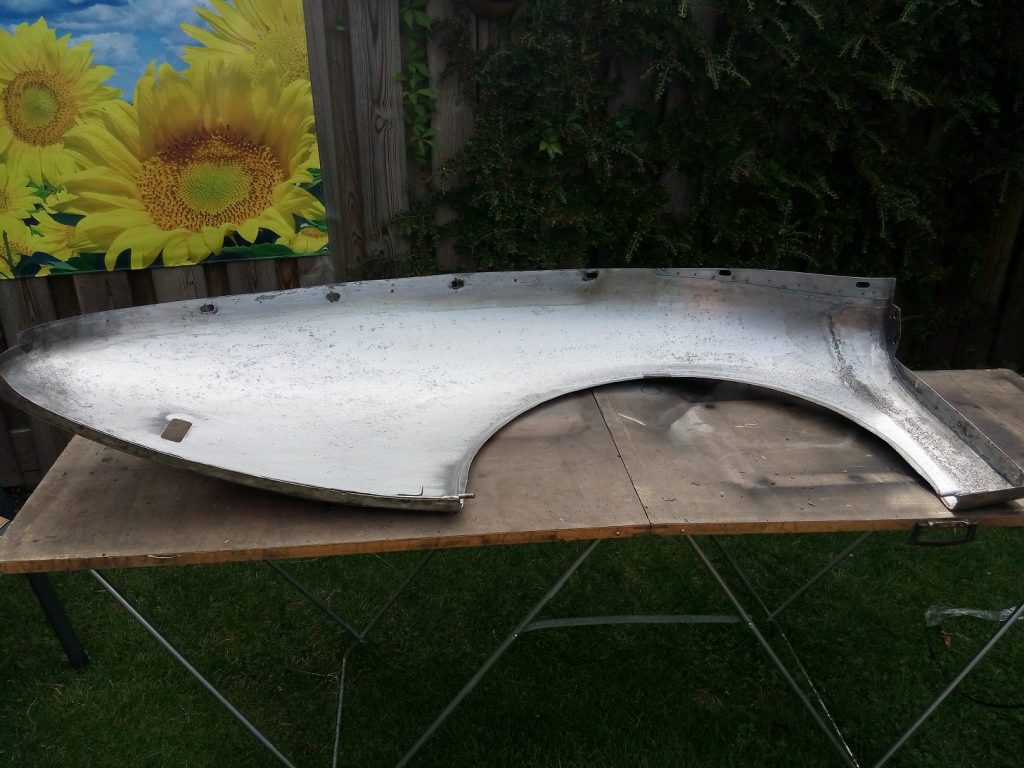
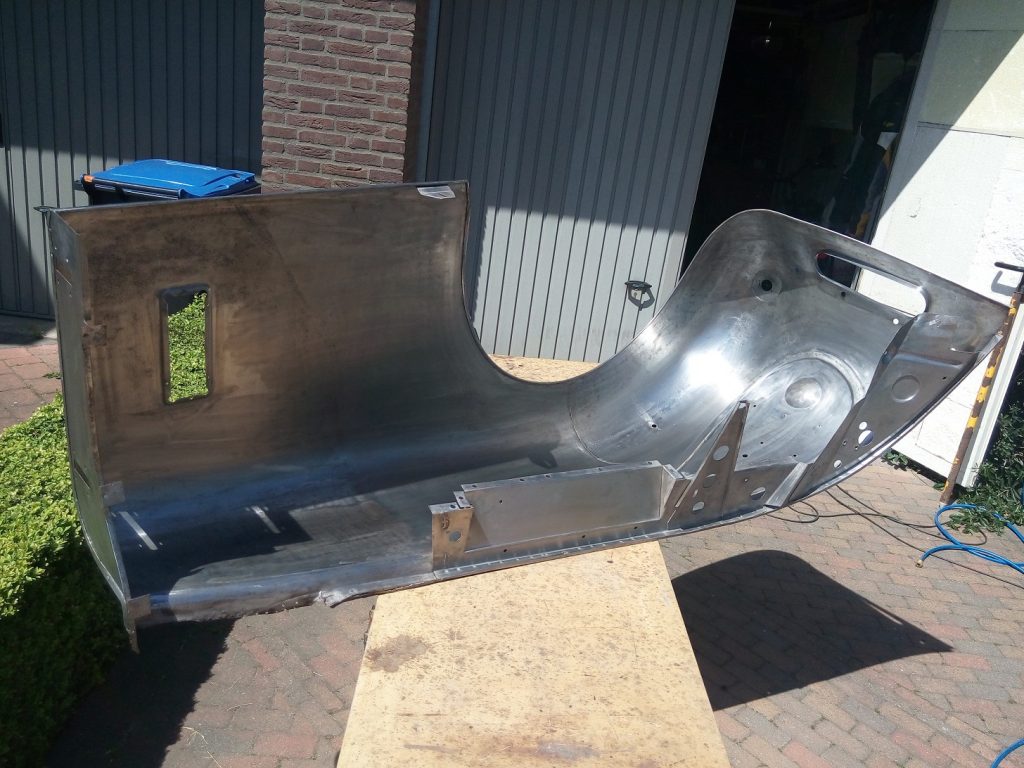
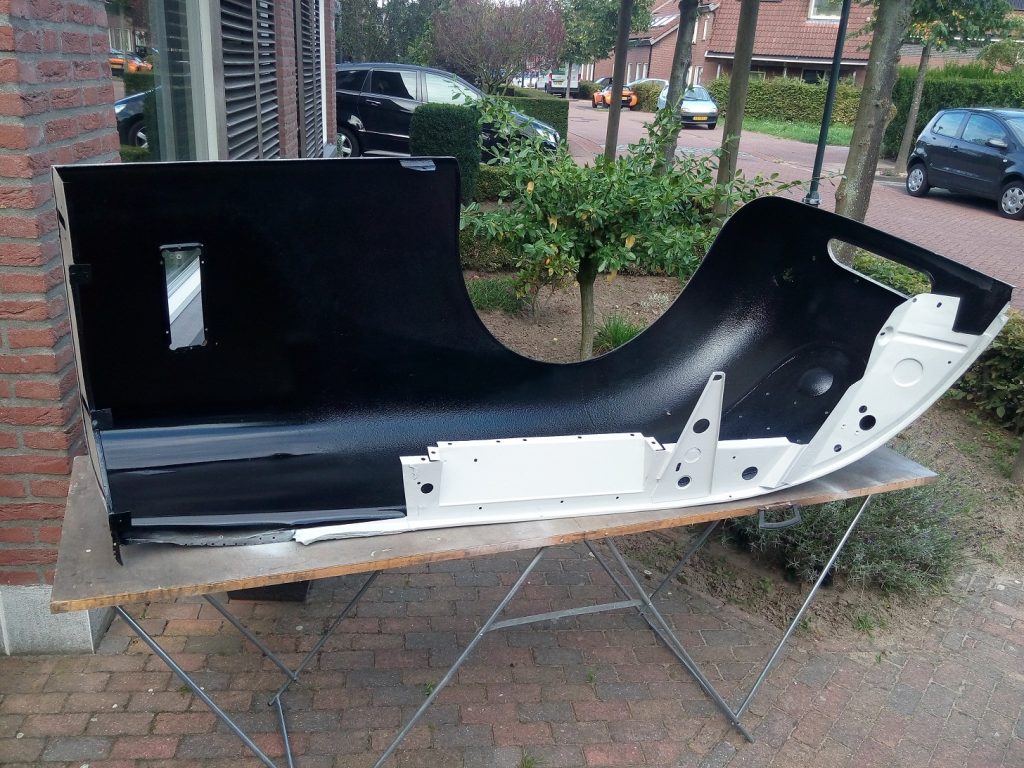
Now that the rear wing has been repaired the thin layer of rust can be easily removed with a wire brush and some sand paper.

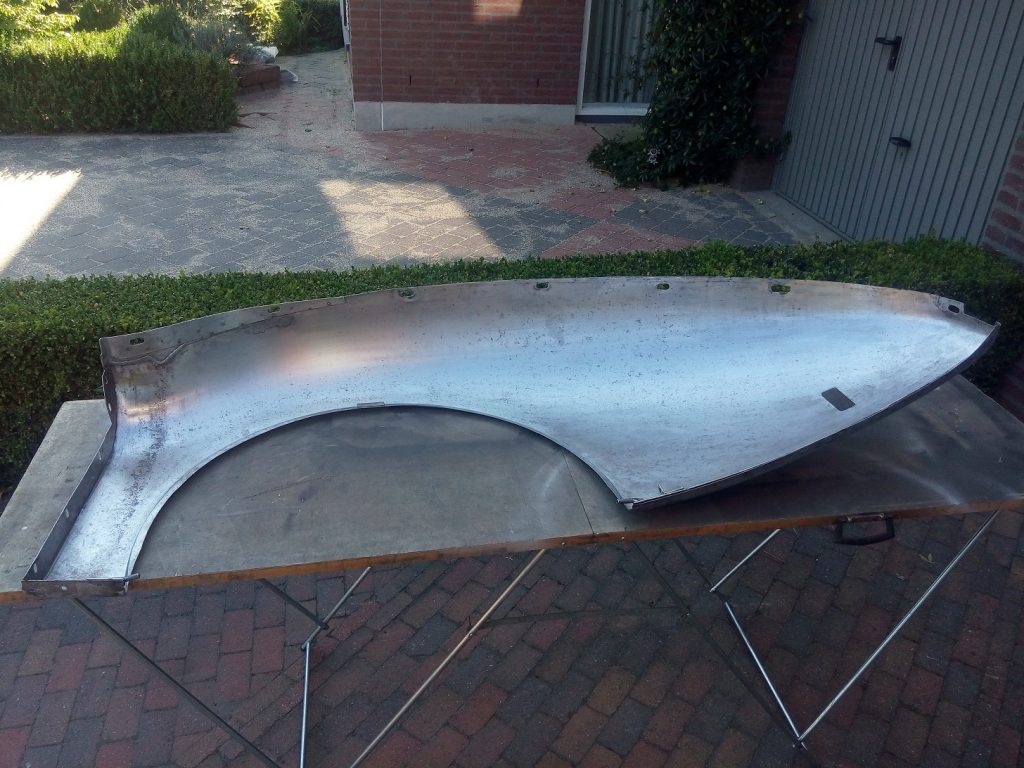
Painting

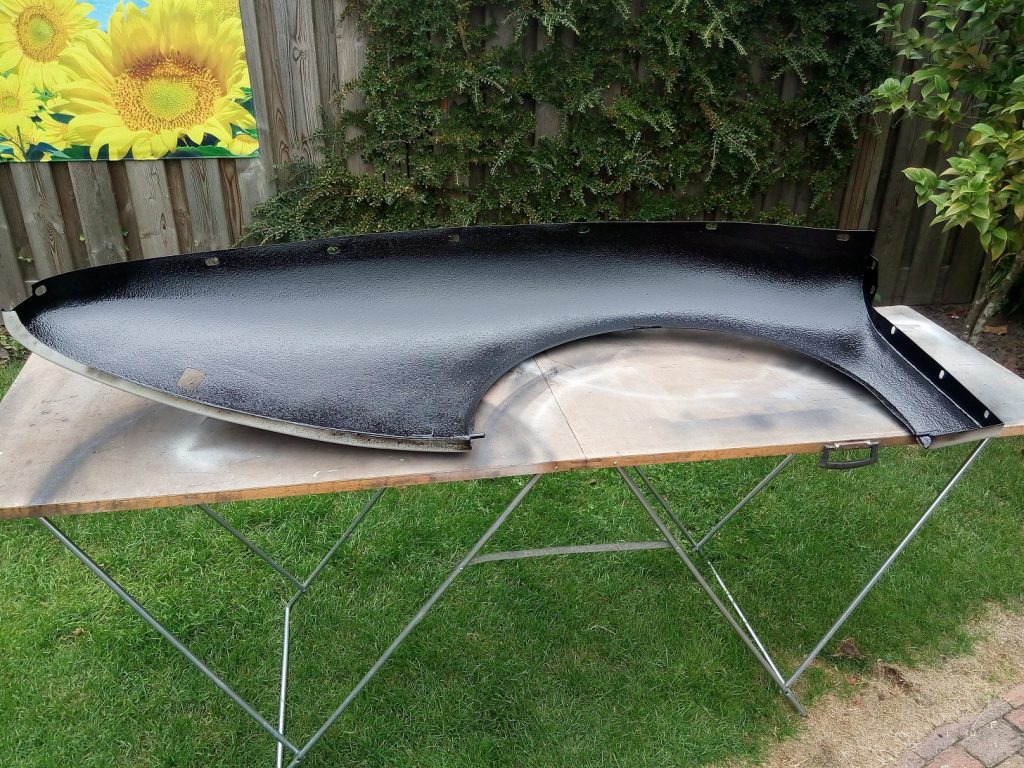
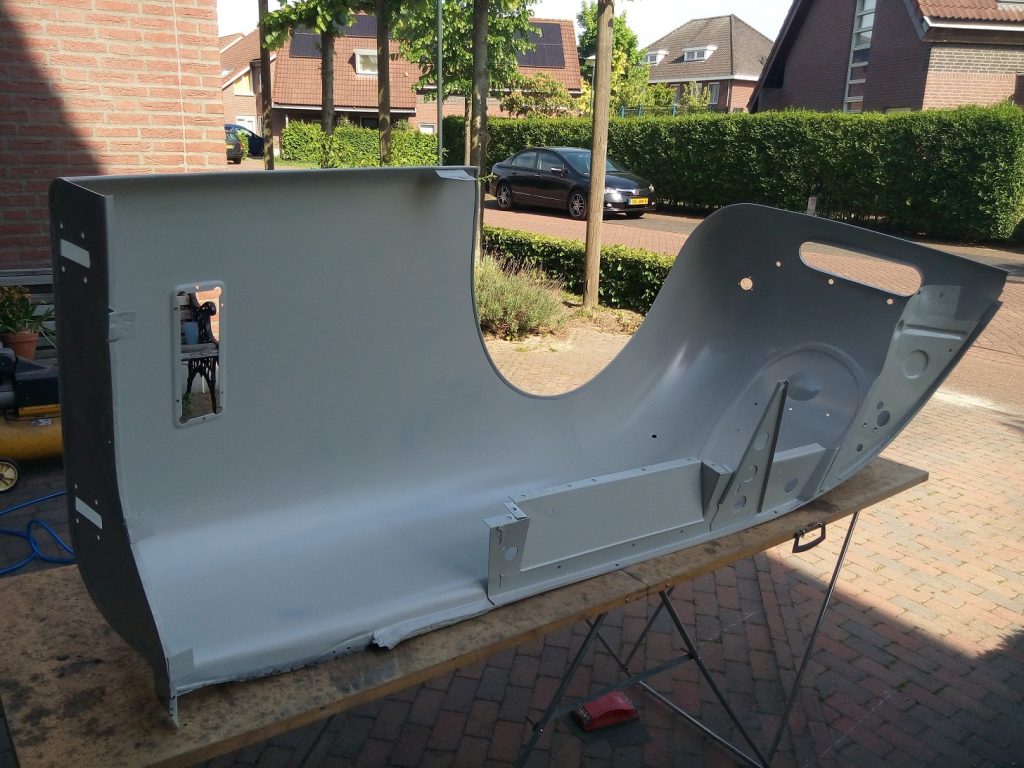
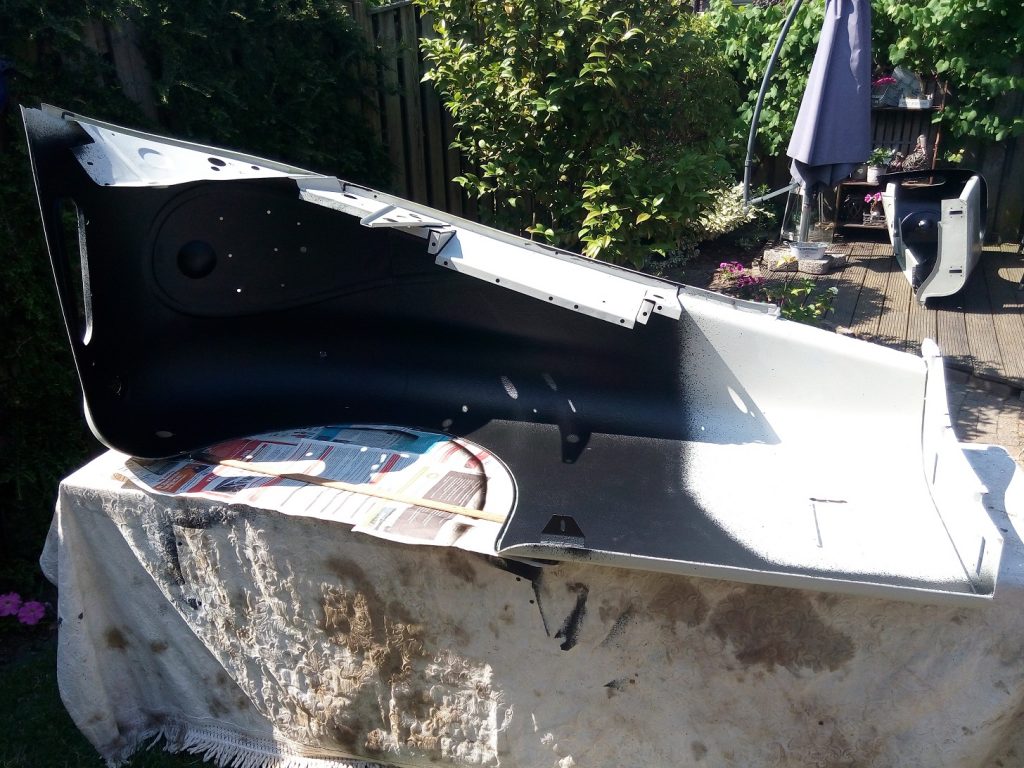
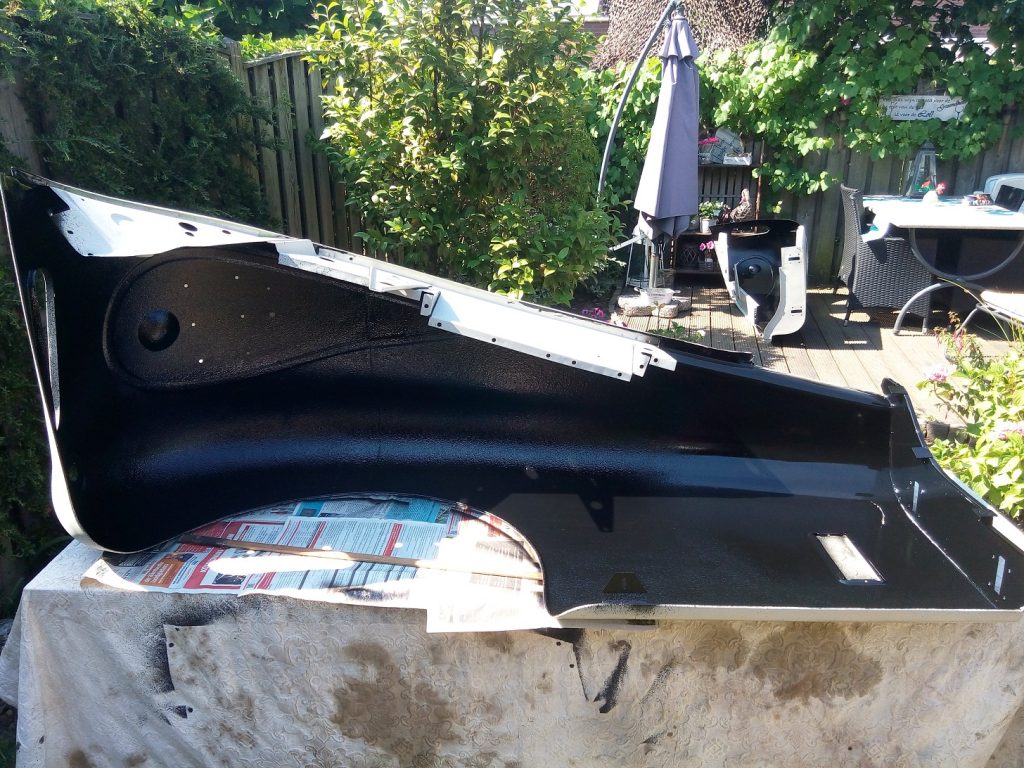
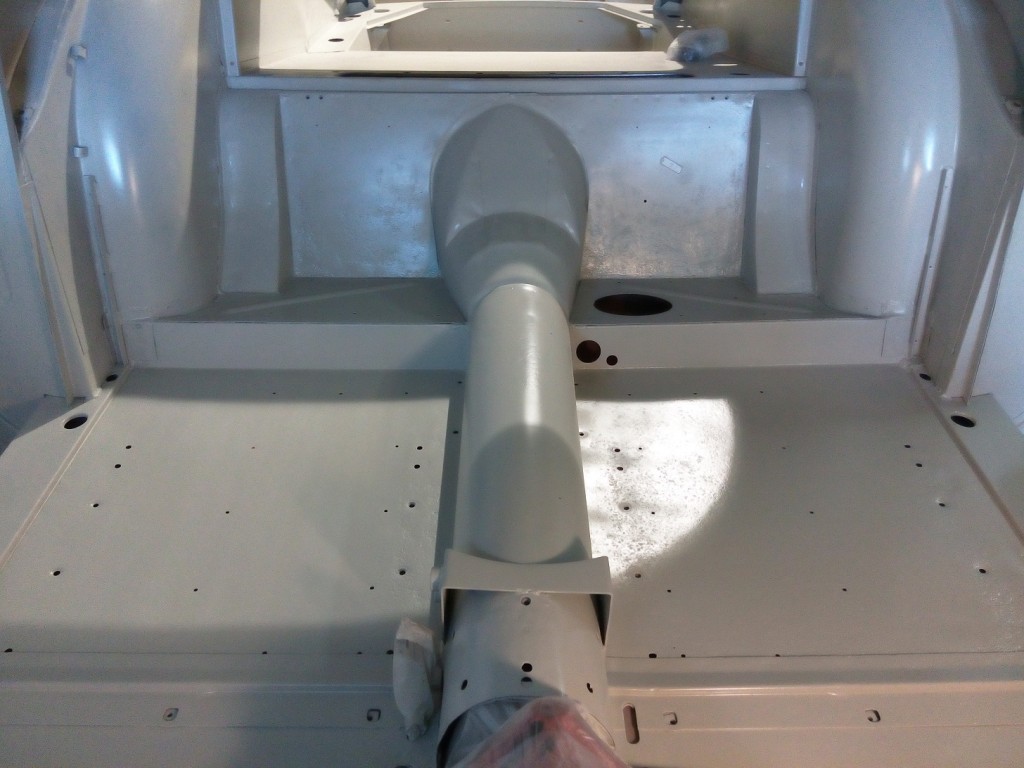
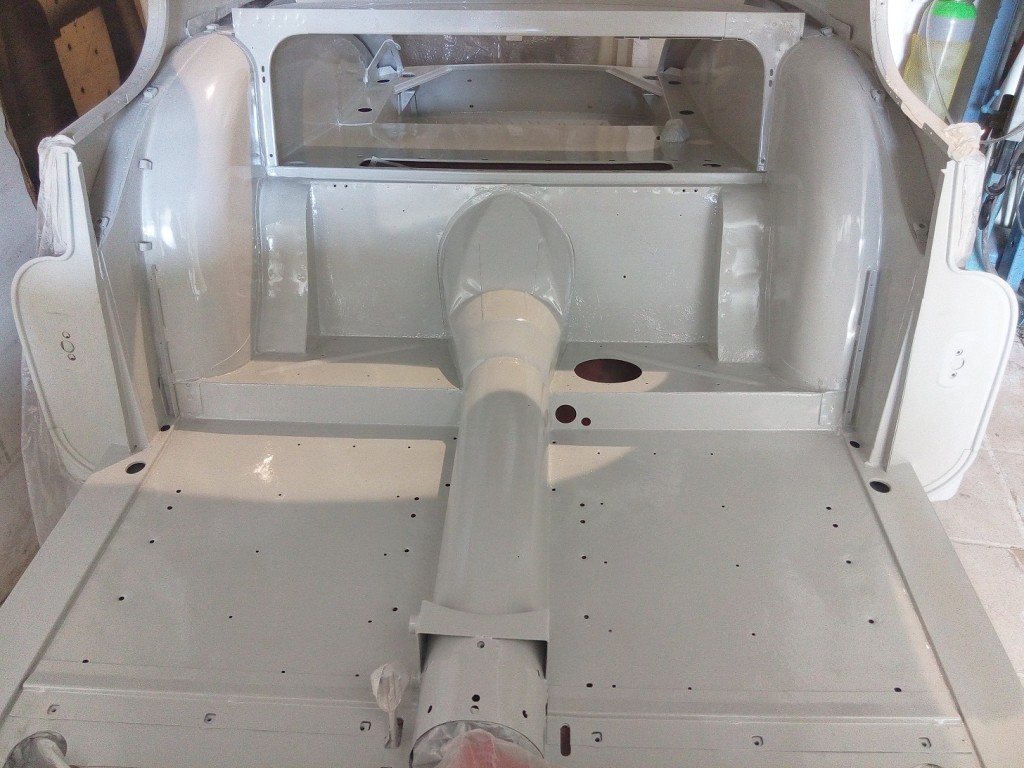
Now that the inside is nicely shining again the following activities can take place;

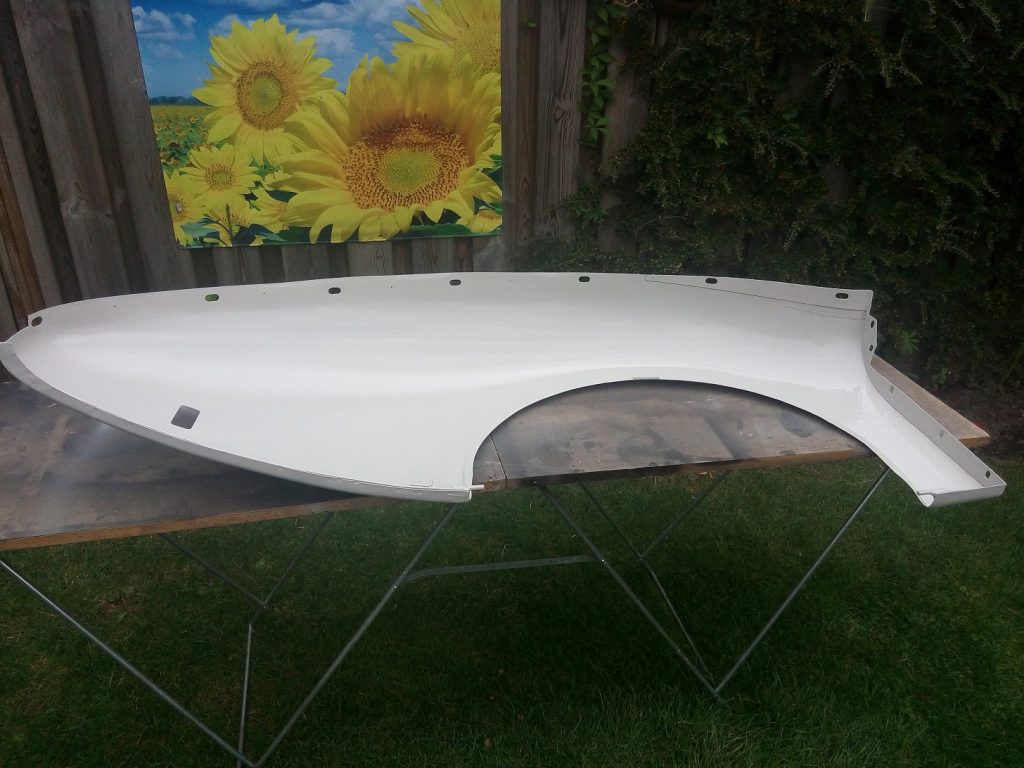
  • Apply a fresh layer of Epoxy primer.
  • Make sure all seals are seamed. (3M Heavy Drip-Chek Sealer)
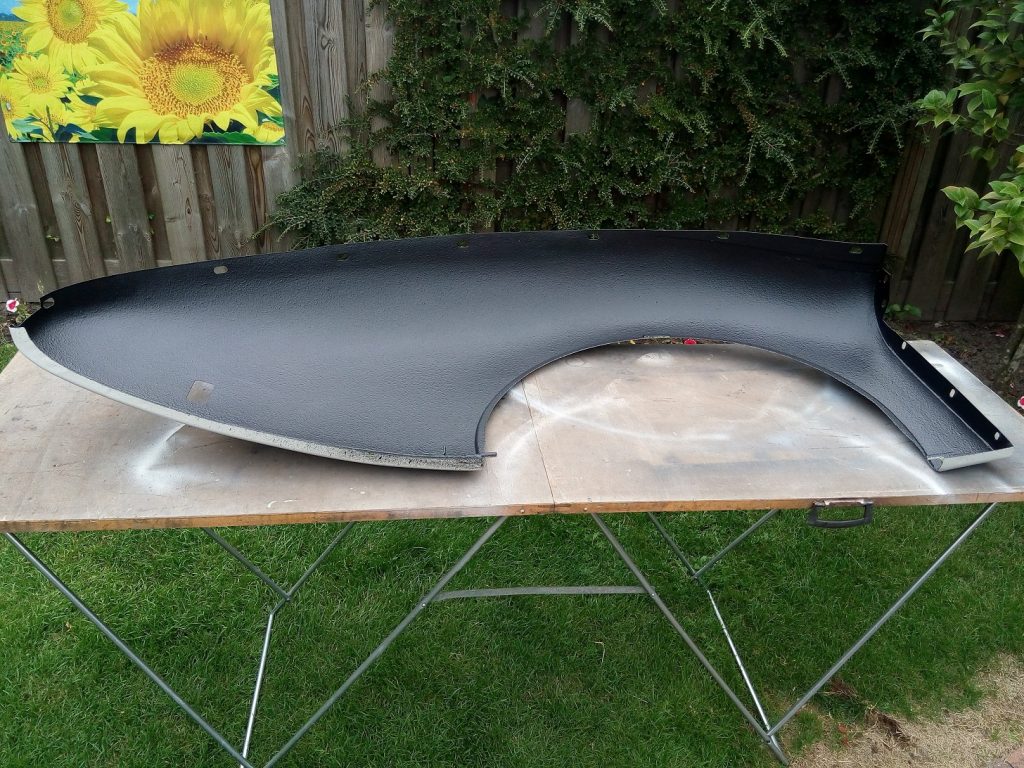
  • Apply a protective layer to prevent chipping. (3M Textured Anti-chip Coating)
  • Last but not least a layer of satin black paint to make it easier to clean the inside.


 Posted by at 20:20
jul 312017
 

Repair

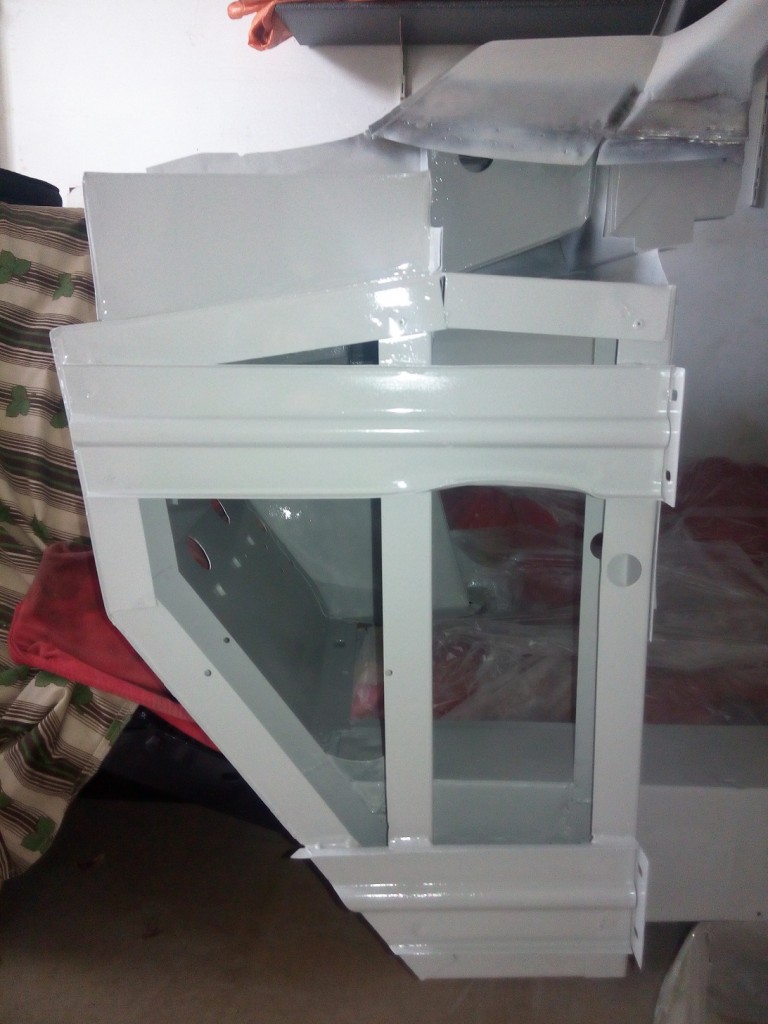
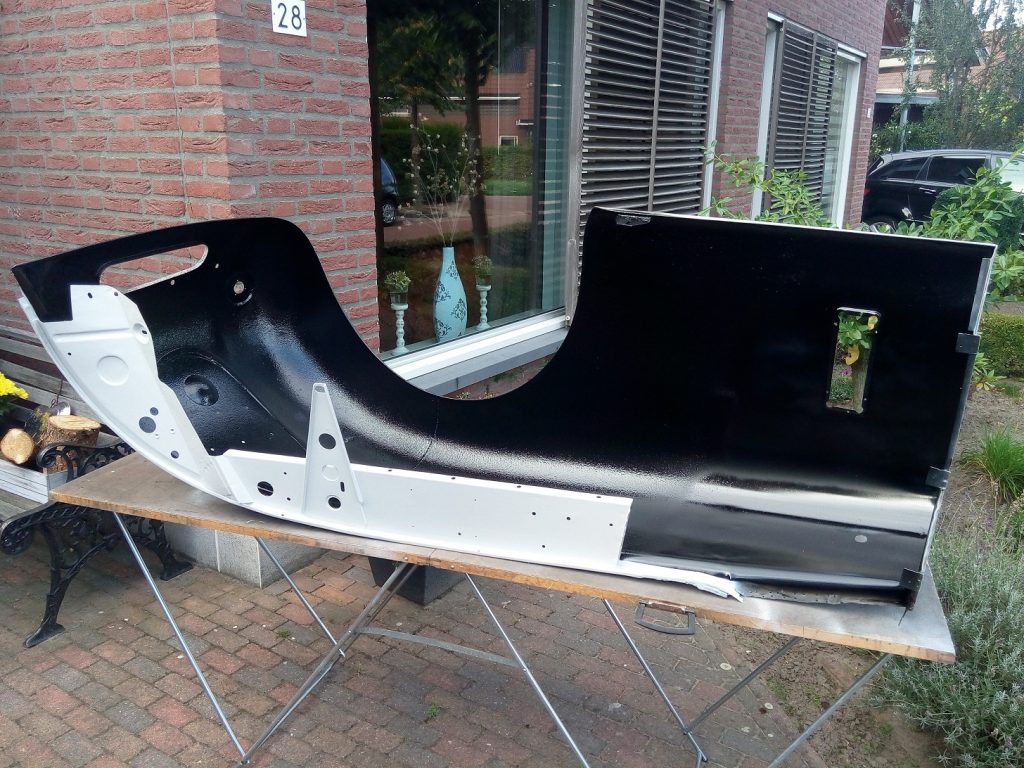
The left rear wing has two attention areas;

  • The lower edge at the door side
  • The upper part also at the door side


The repair areas marked with grey paint

Cleaning

Now that the rear wing has been repaired the thin layer of rust can be easily removed with a wire brush and sand paper.

Painting

Now that the inside is nicely shining again the following activities can take place;

  • Apply a fresh layer of Epoxy primer.
  • Make sure all seals are seamed. (3M Heavy Drip-Chek Sealer)
  • Apply a protective layer to prevent chipping. (3M Textured Anti-chip Coating)
  • Last but not least a layer of satin black paint to make it easier to clean the inside.


 Posted by at 20:17
apr 222017
 

One of the last big metal work pieces are the front wings. After the right front wing was cleaned thoroughly the following repairs need to be done before the wing can be painted inside. The right front wing is in a much better state the the left one so this repair is rater easy.

  • Dents in the area around the flashing light (due to badly repair after a collision in the past)
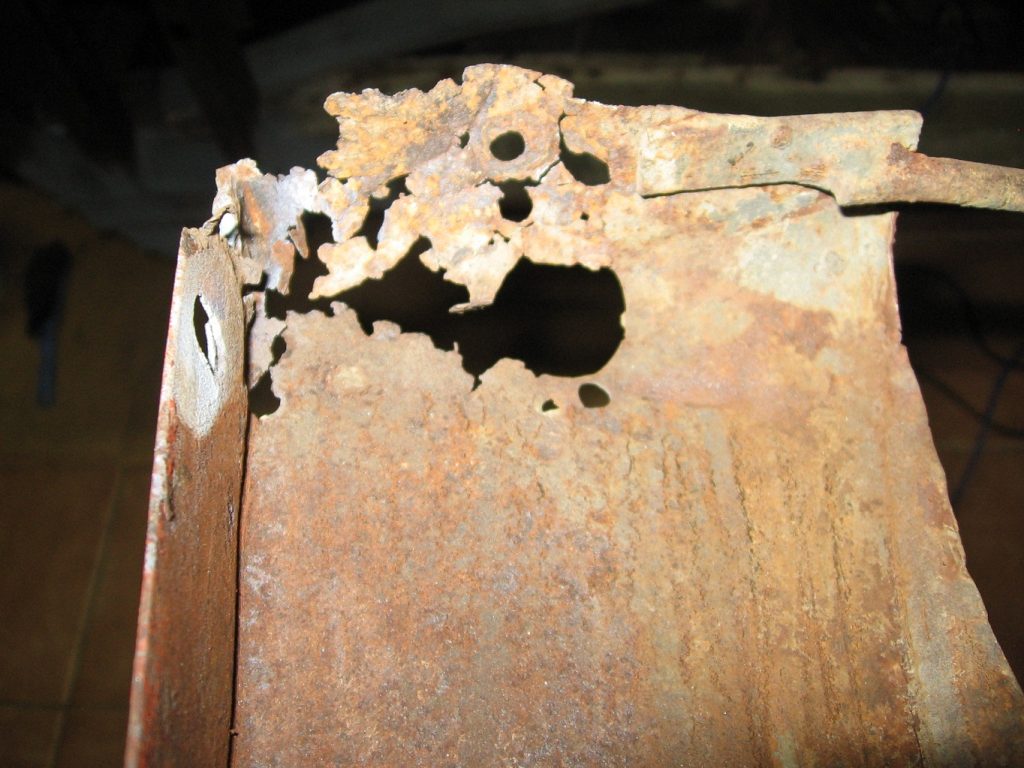
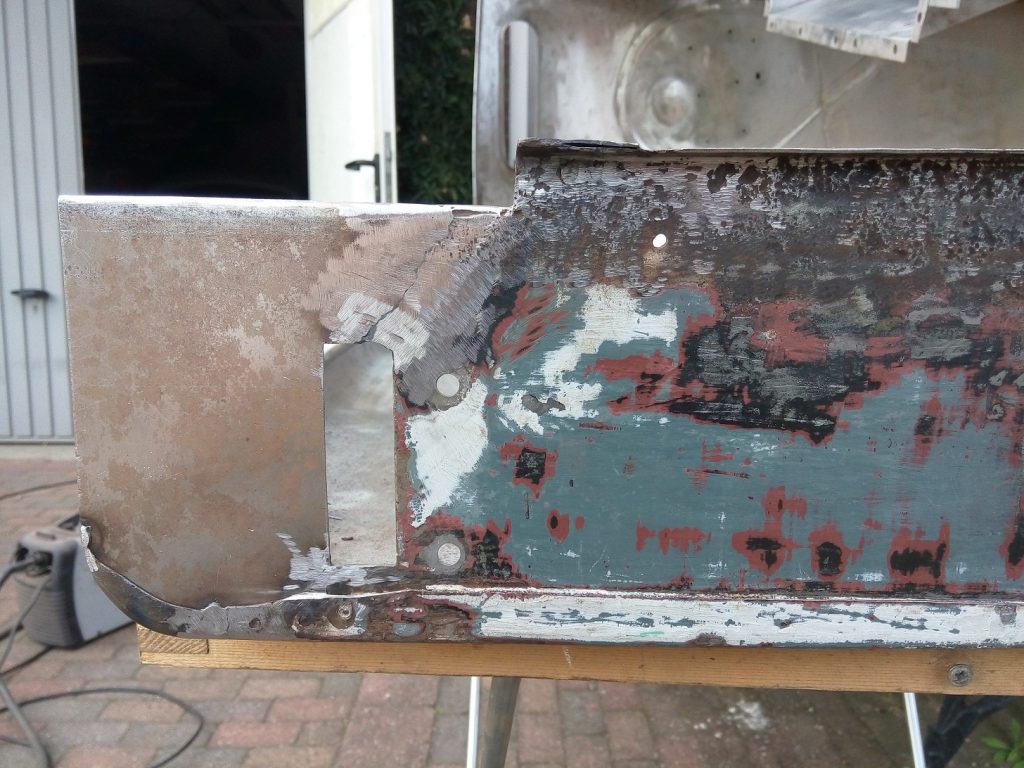
  • The lower edge of the wing nearby the right door has a lot of rust. This together with the lower part of the door hinge plate needs to be repaired with new pieces of metal.

Cleaning the inside

After I followed the same procedure as with the left front wing this wing also looks like new again.


The lower wing edge

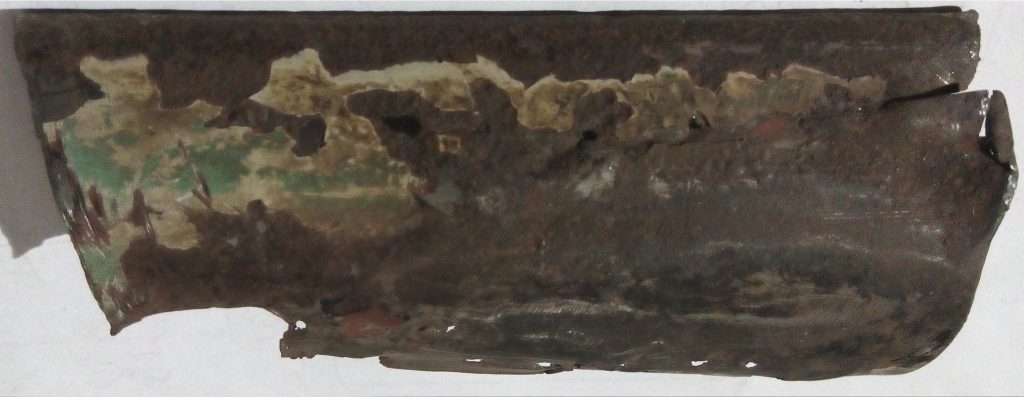
The state of the lower front wing edge partly rusted away and replacing this whole area is inevitably.

Cut out of the rusted part


Painting

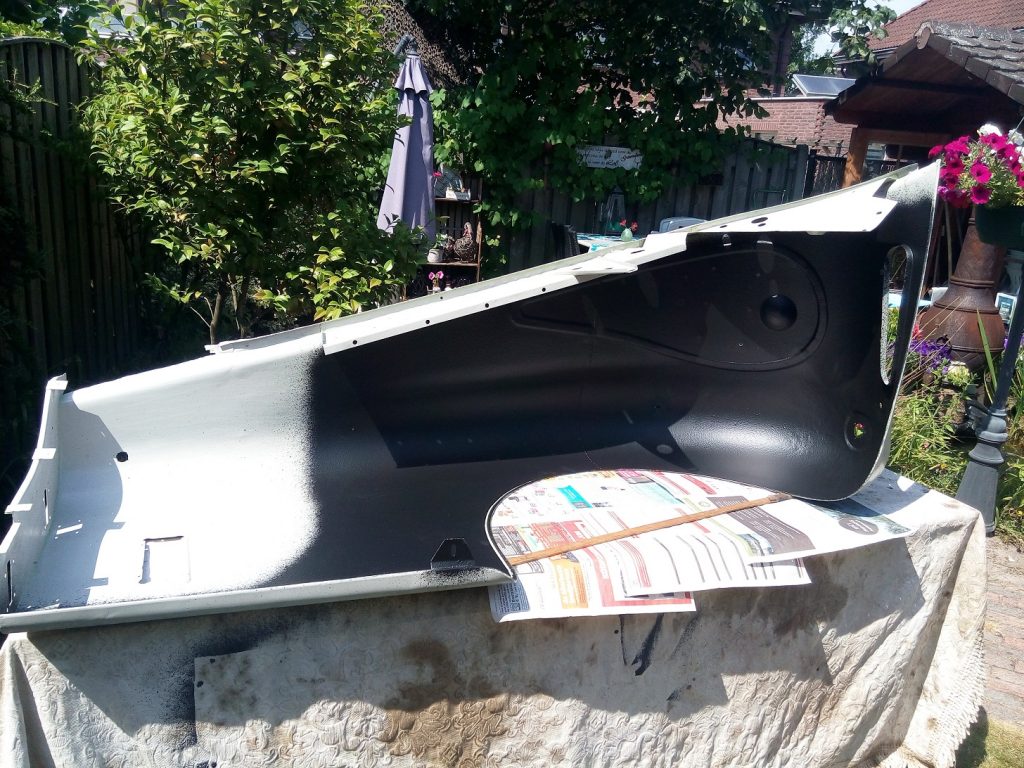
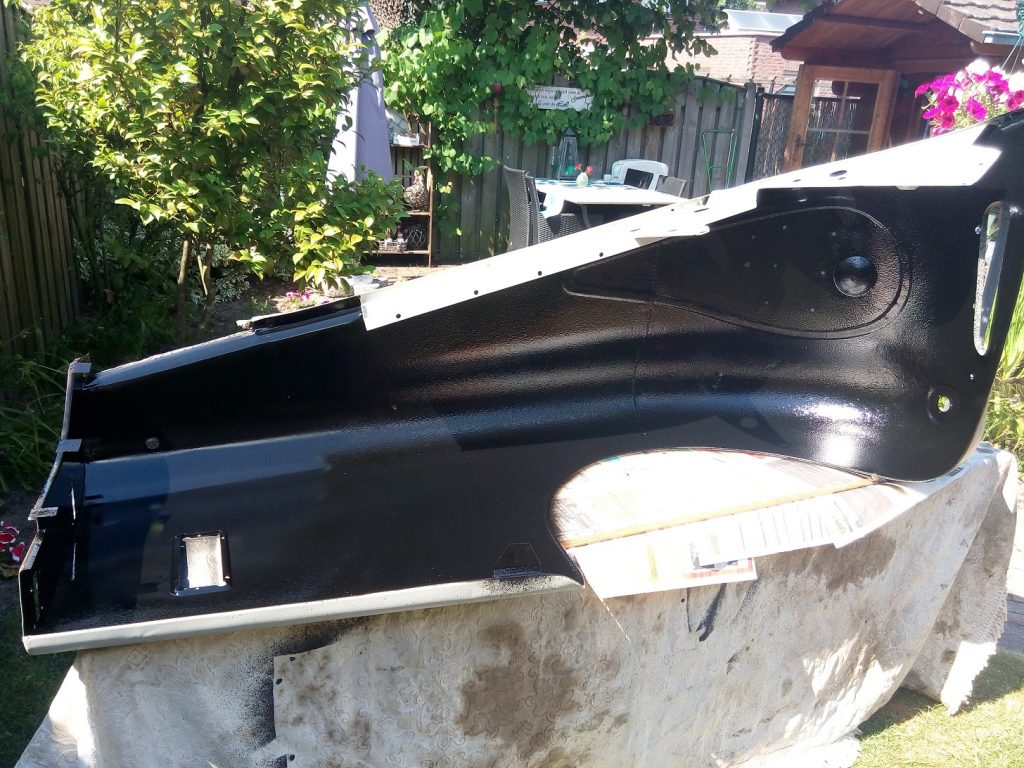
Now that the right front wing has been cleaned and repaired it can be painted. We start with Epoxy primer followed by a protective layer to prevent chipping and as last a layer of black paint. This last layer of paint will make it easier to clean the inside. The parts visible from the engine compartment will be painted in the car color.


 Posted by at 16:03
apr 172017
 

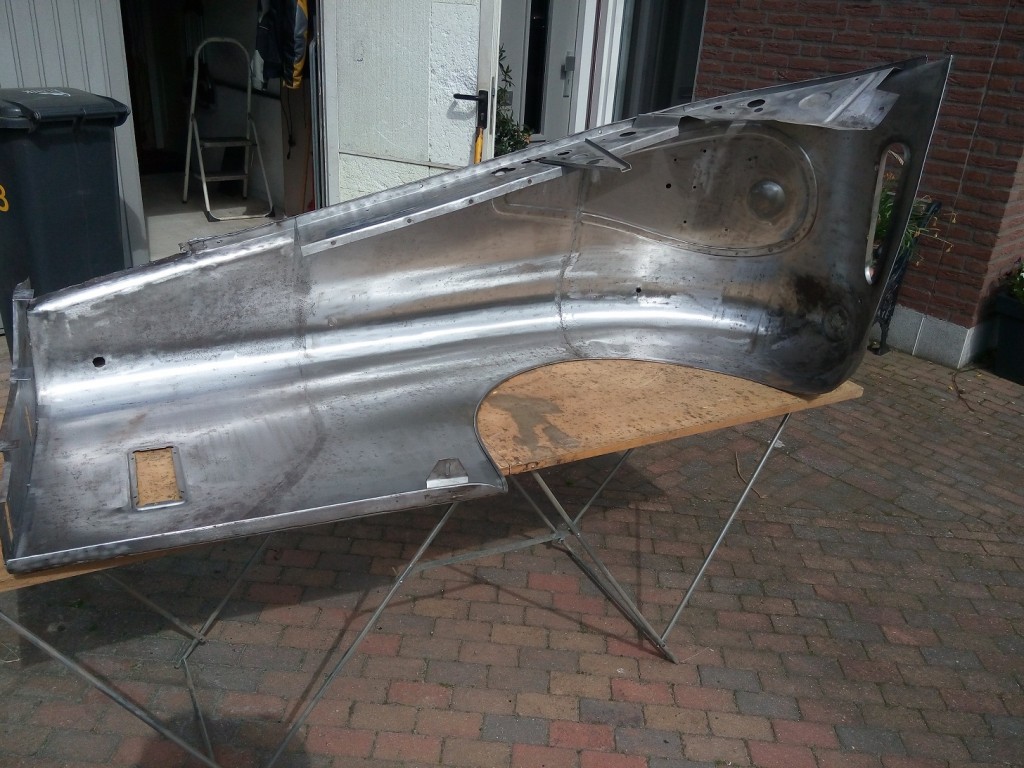
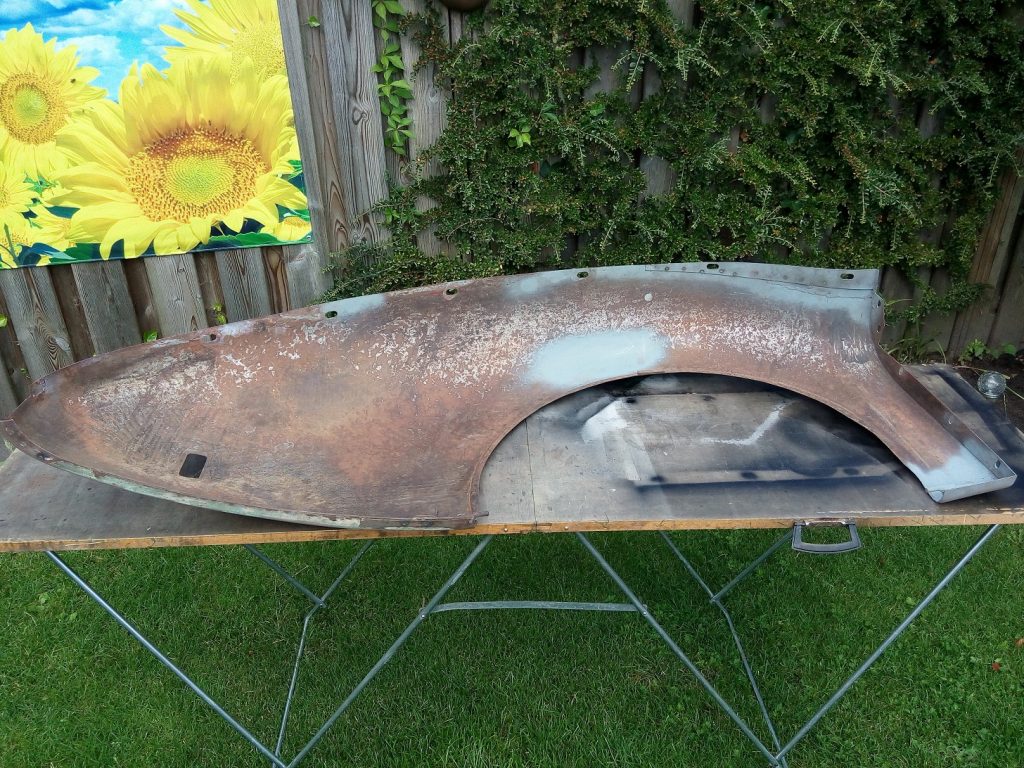
One of the last big metal work pieces are the front wings. After the left front wing was cleaned thoroughly the following repairs need to be done before the wing can be painted inside.

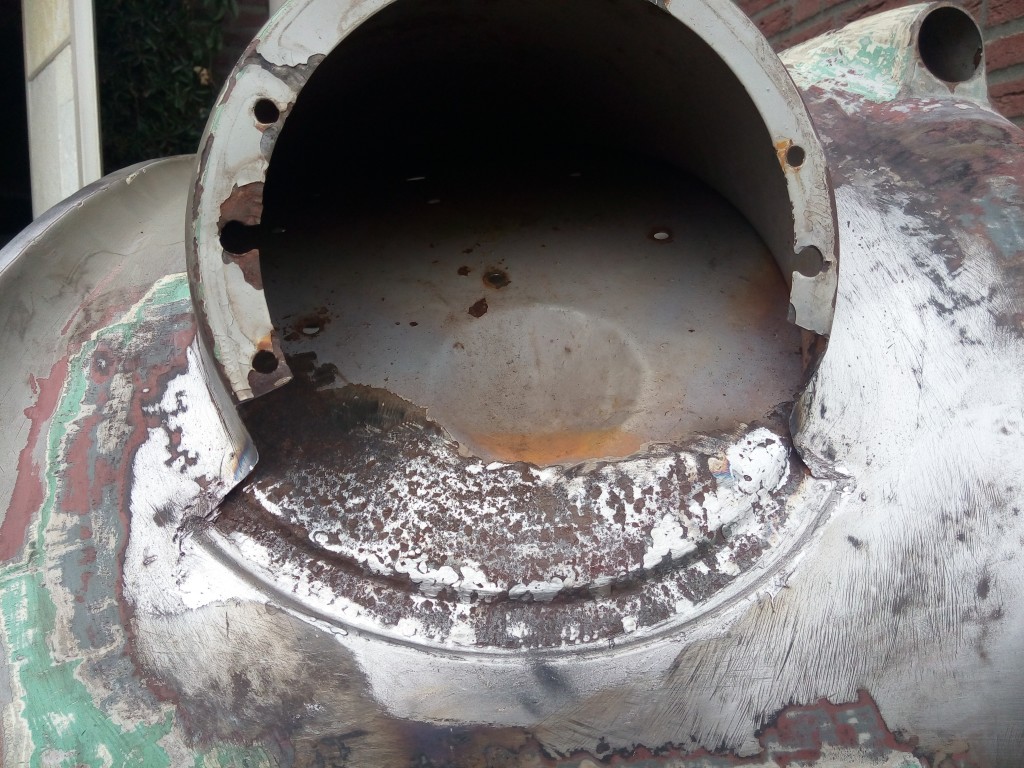
  • The valance assembly has several holes of 1″”  drilled for some unknown reason.
  • Headlight pod has extensive rust in the under side of the headlight mounting area.
  • The lower edge of the front side has a small hole due to rust (about 2″ by 1/4″)
  • The steady bracket which mount to the battery box has some rust
  • Dents in the area around the flashing light (due to badly repair after a collision in the past)

Cleaning the inside

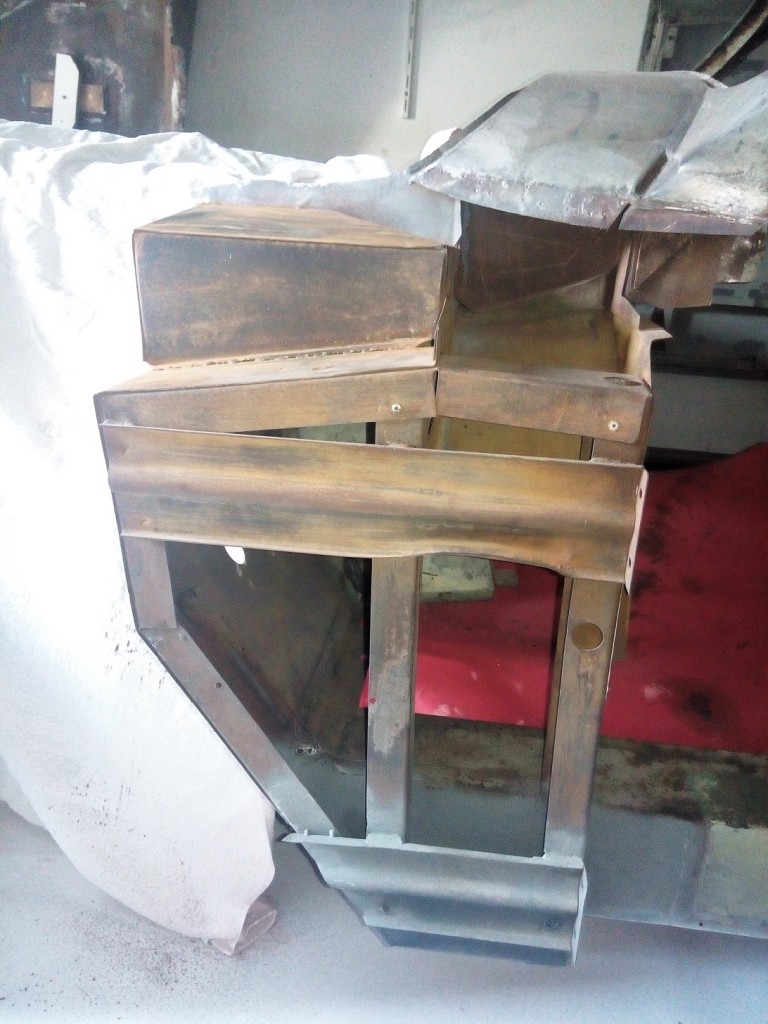
The inside of the wings are protected with a very tick layer of tar which protected the inside from rust.
From the photo it is clearly visible that it did his you very well. The right side, the part behind the mud shield, which was not protected is much more affected by rust.
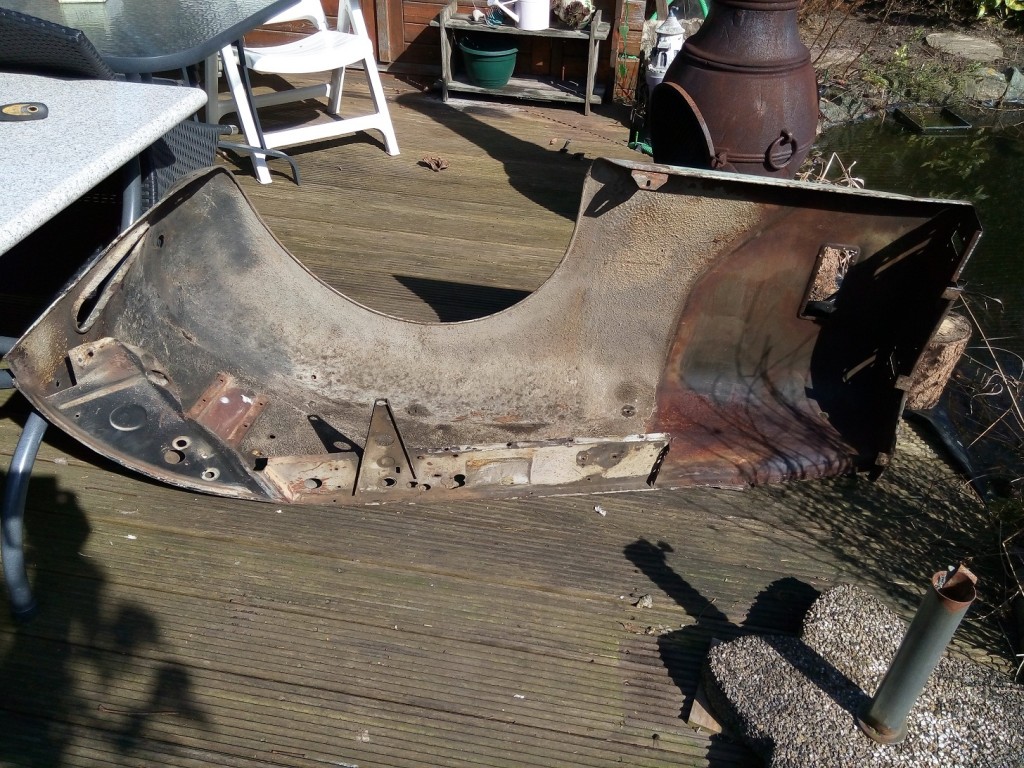
LeftFrontWingOriginal

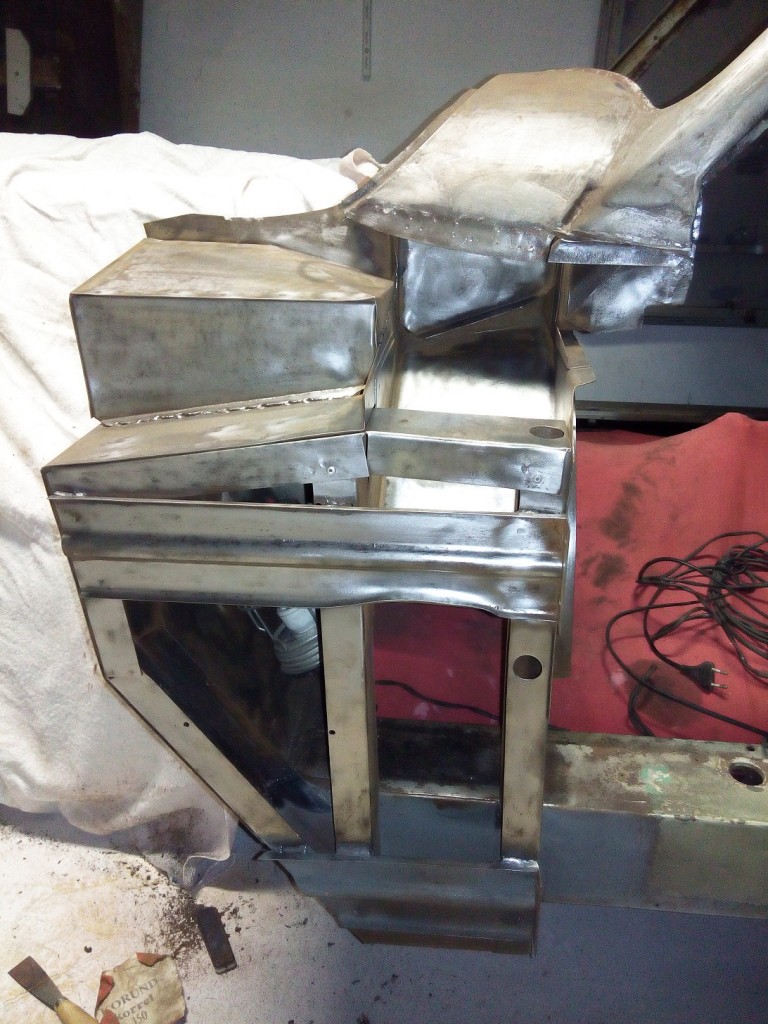
After the layer of tar was removed with a small torch and a putty knife the undamaged metal became visible.LeftFrontWingProtectionRemoved
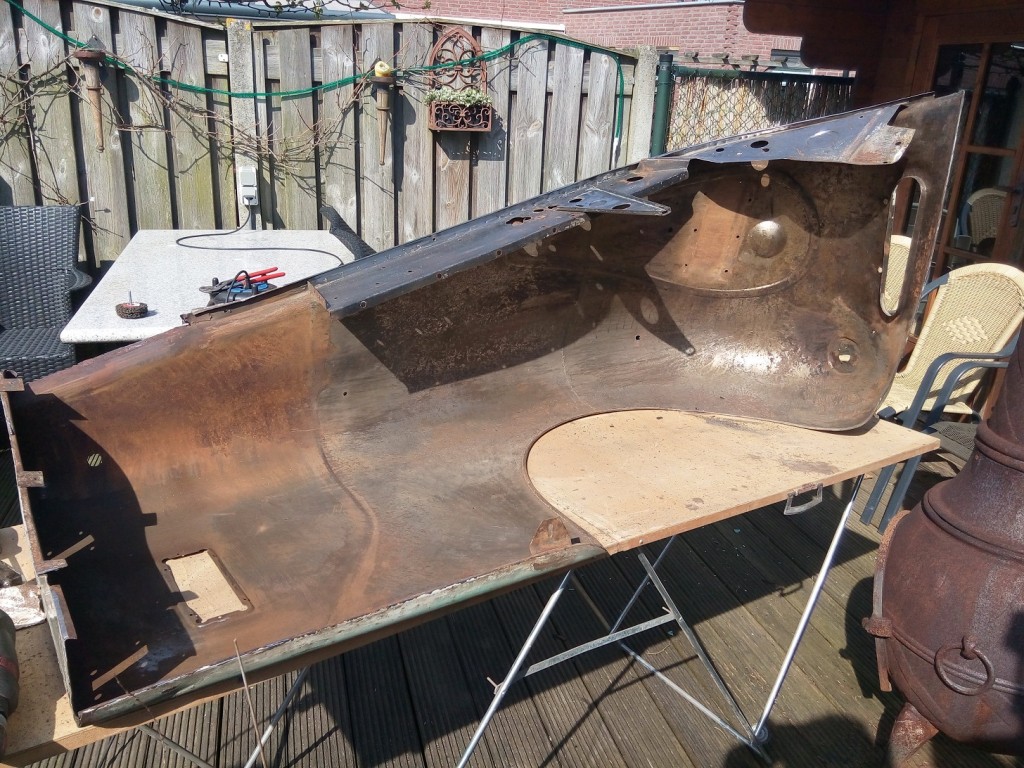
When the whole surface was cleaned with a poly-carbide steel brush the front wing looks like new again. All difficult to reach area’s are now sandblasted so the inside is now ready to receive the first layer of epoxy primer.LeftFrontWingCleaned
 Headlight pod

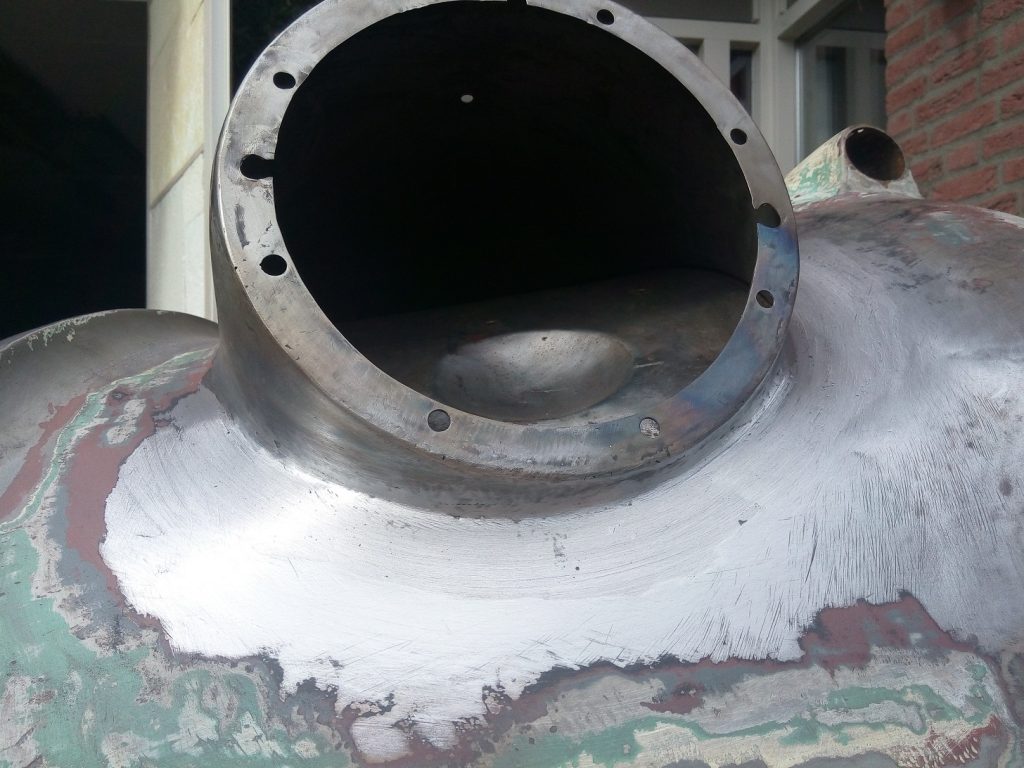
Due to long lasting condensation inside the headlight pod the lower part has been damaged by extensive rust. First the lead, used to smooth up the connection between headlight pod and front wing, is removed. Now all by rust affected material is removed and the holes in the front wing are welded. Now we know how much material is missing we can start with producing the new pieces.
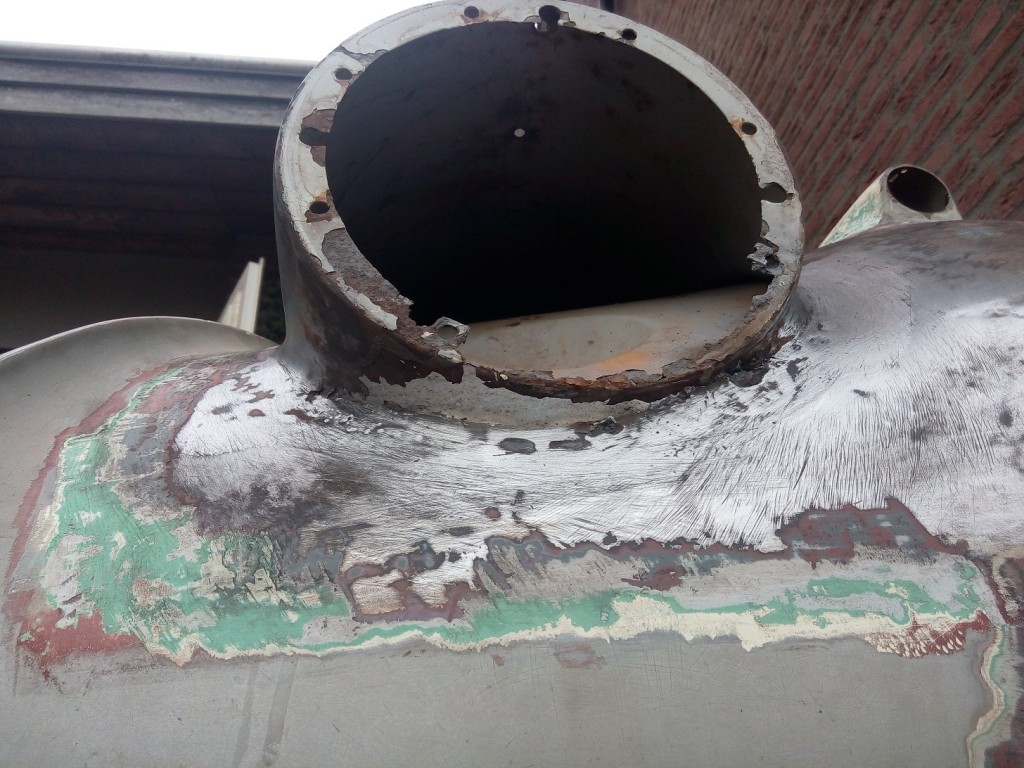
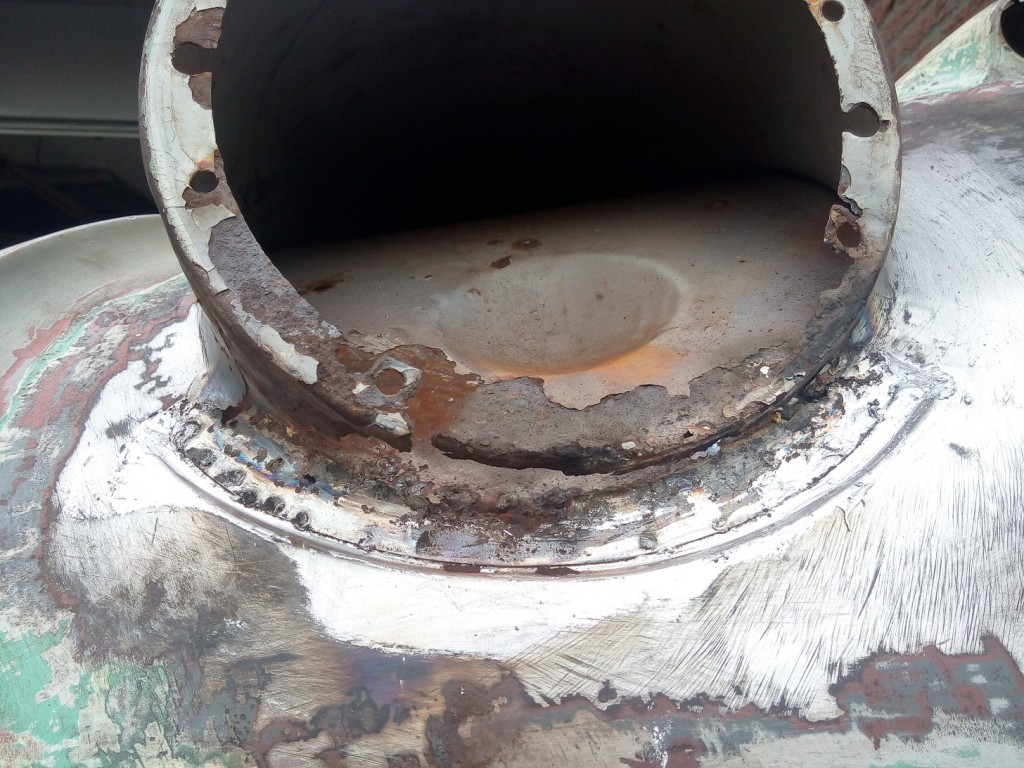
LefHeadlampPodStrip LeftHeadlightPodLead LeftHeadlighPodRemoved

The new pieces are fitted for the last time and welded unto the headlight pod. The last step is reapply the lead to smooth out connection between the wing and headlight pod.
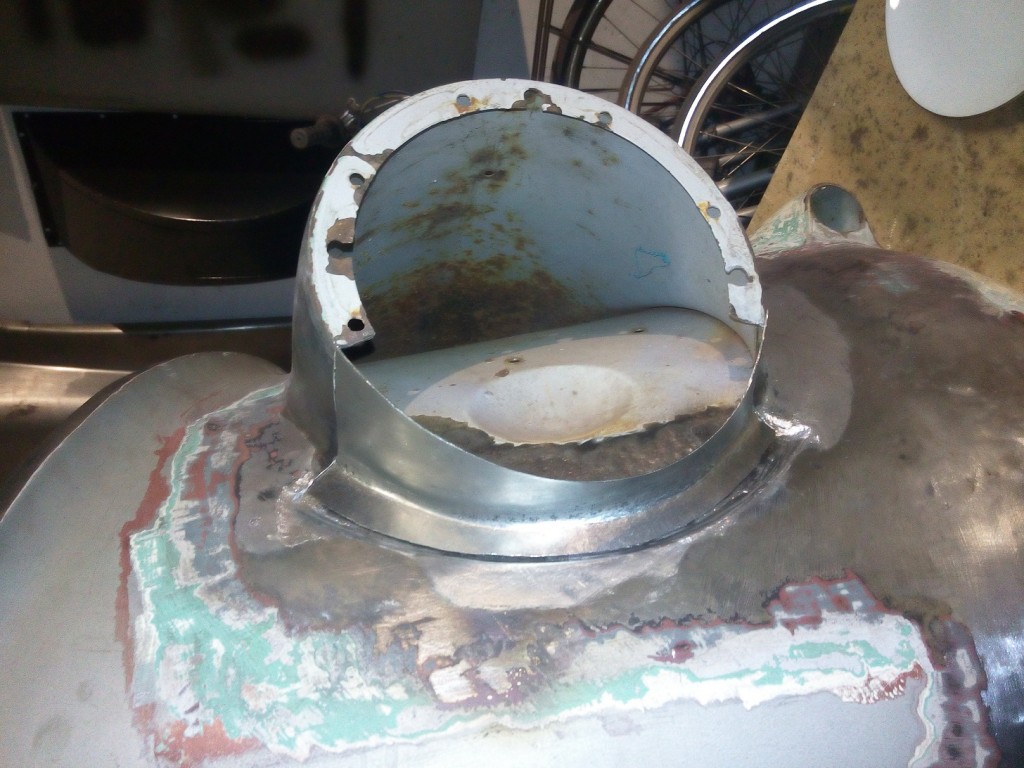
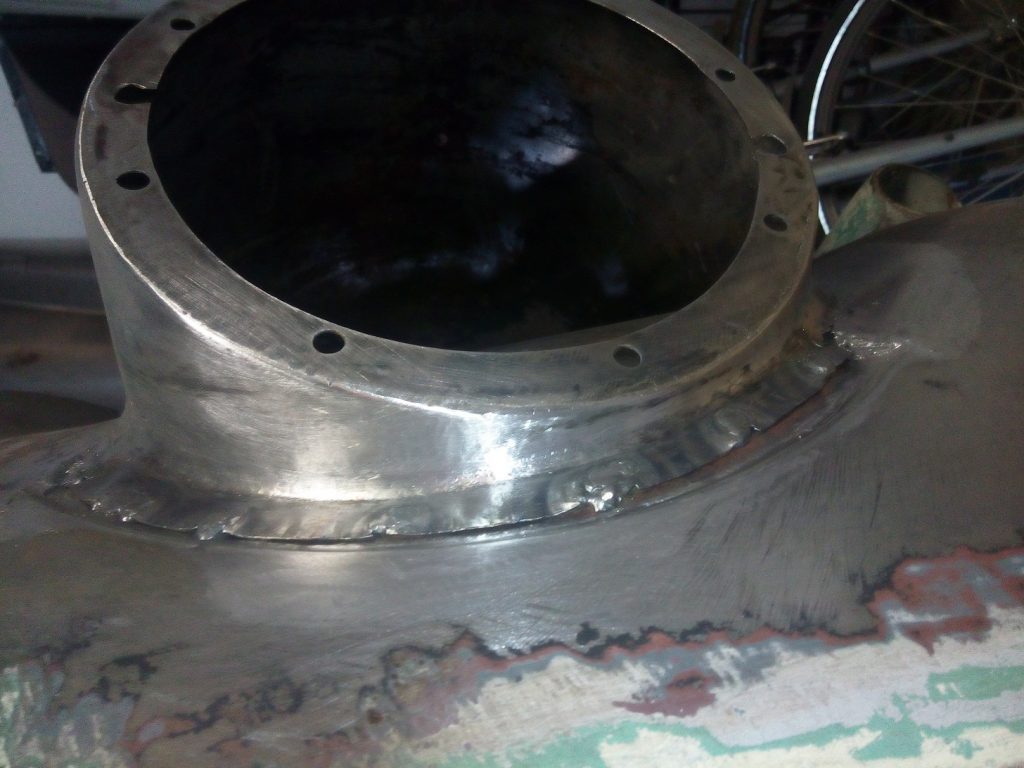
LeftHeadlampPodPrepare  

When I was investigating the headlight pod from the right side front wing (which is not rusted at all) i found a small hole in the lowest part. My first impression was that there was a small hole due to rust but after looking in more detail to the inside area it looks like a small hole to drain water. I will make such a hole in the left headlight pod as well.

The valance assembly

The holes in the left front valance, which are certainly not original, needs to be removed.  In total 9 holes where drilled. With this amount of holes it is better to just remove the hole affected area as one piece and remove it for a new piece.
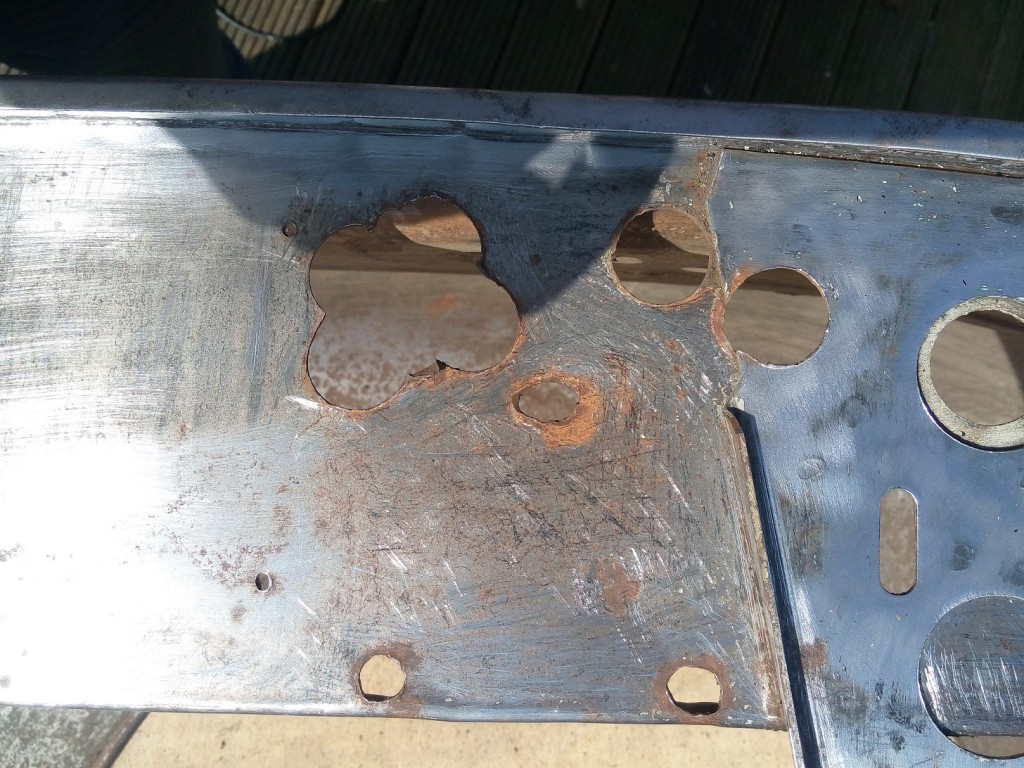
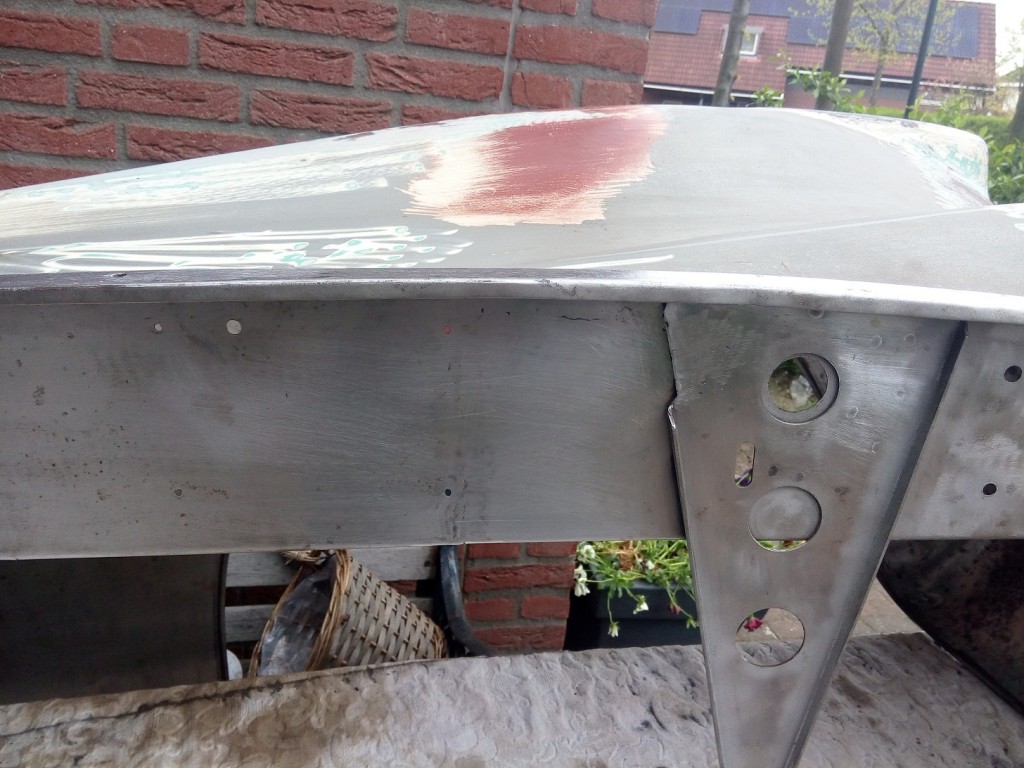
LeftValanceDetail  LeftValanceRepaired

Painting

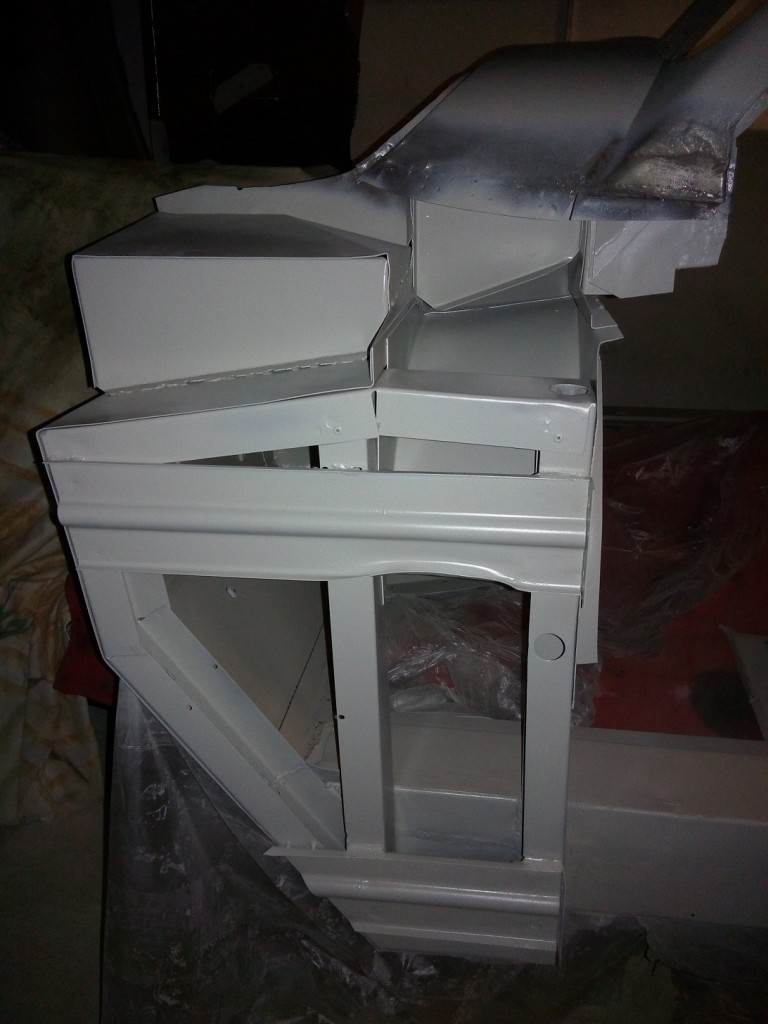
The inside inclusive the valance will be painted in the following order:

  • Epoxy primer
  • Body schutz (Protective coating helps protect from corrosion and chips)
  • The inside will be painted satin gloss
  • The following parts are painted in Pearl grey
    • Valance assembly (both sides)
    • Headlamp light unit container (inside)
    • Side lamps casing (inside)


 Posted by at 12:23
jan 152017
 

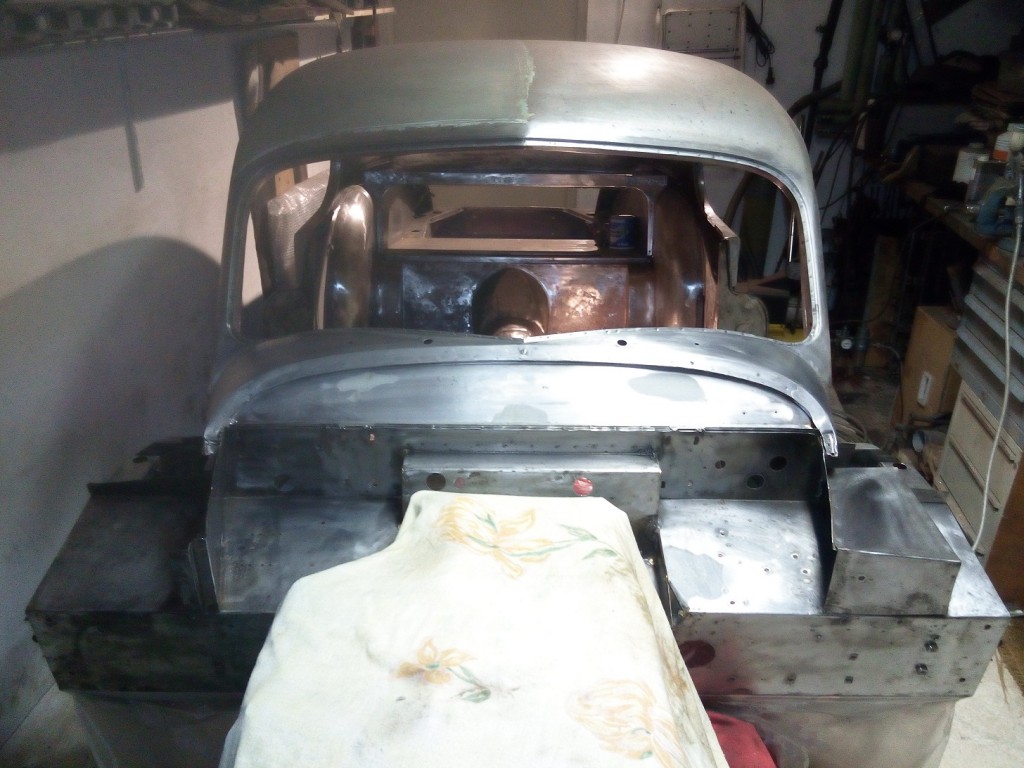
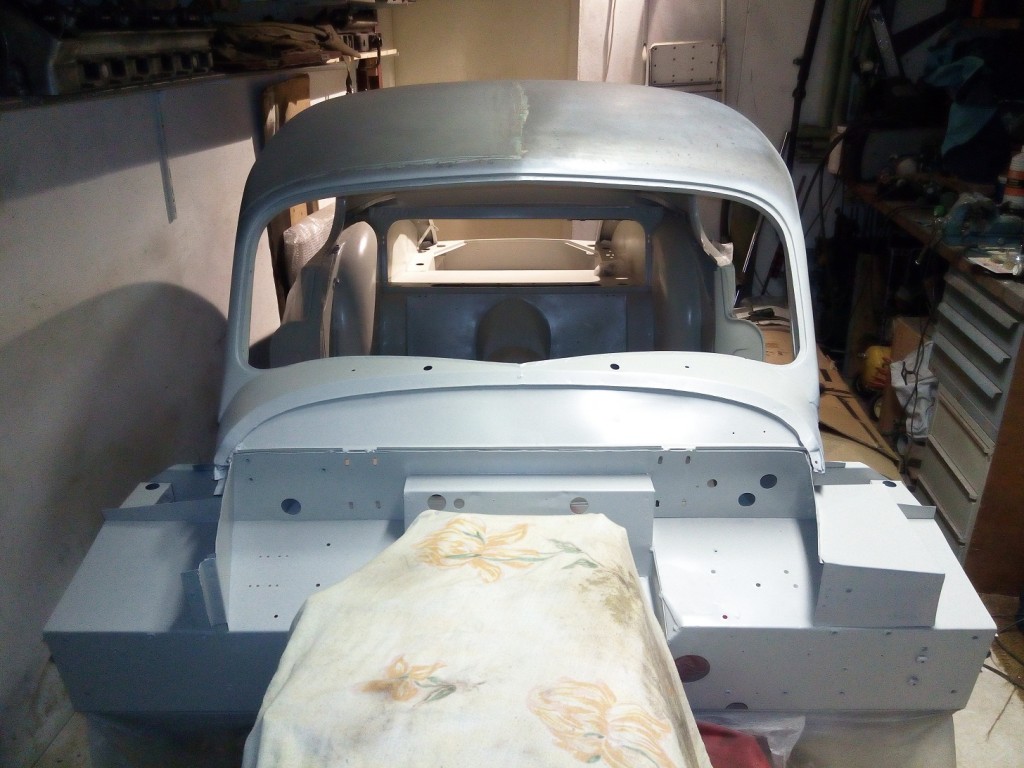
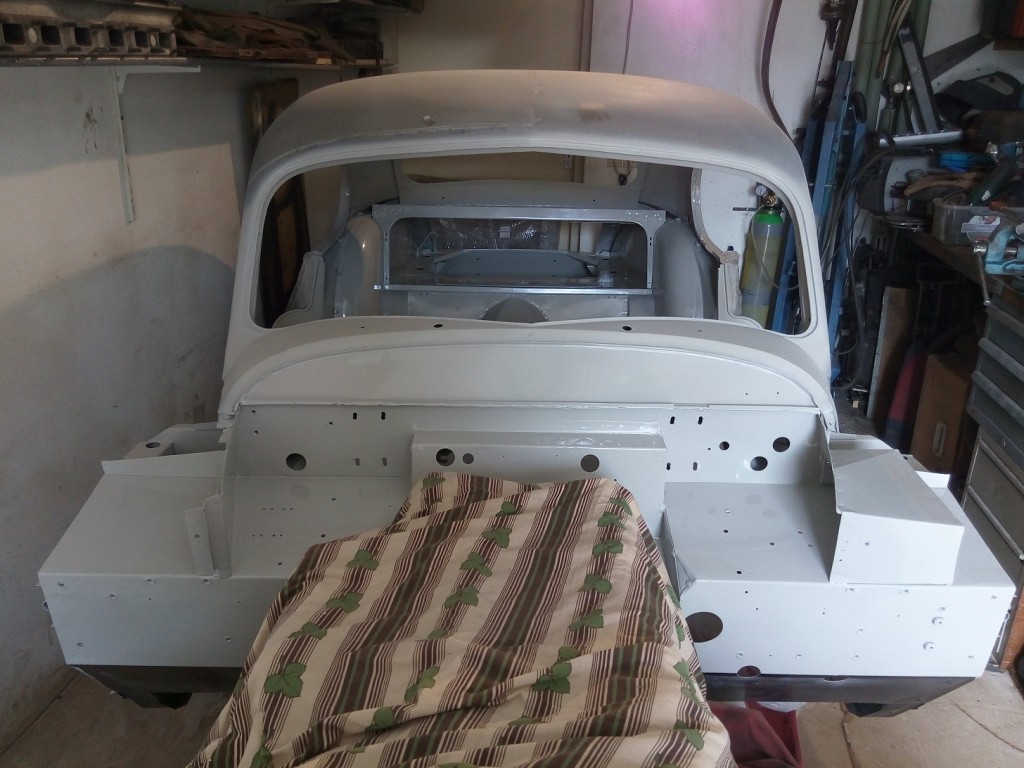
The front wings, which where remove due to the extensive rust in the Dashside Strengthener area, can only be placed back when this area and the inside of the front wings are painted. This area between the front wing and the dashside strengthener is very difficult to reach when the front wings are mounted.

I decided to paint the whole inside of the upper body shell together with the area around the dashside strengthener. I must first rid the body of paint and rust before the paint process can start . This was an enormous amount of work and I spent about 8 weeks in total to finish this job. (That why the blog was not updated for some time 🙂 )
Metal work

In the next places I need to do some sheet metal repair before the painting process could start:

  • In the front and rear windscreen profiles I found three places where the rust made openings in sheet metal.
    All rust has been removed and the openinghas been welded and everything has smoothed with a grinder.
  • The left and right door sills have several holes which don’t belong there (previous owner has used them most probably to fix the floor carpet)
    Also these holes are welded and smoothed with a grinder. The left door sill had some dents so I used some putty to straighten it. (removing the dent in the sills is very dificult)

The Dashside Strengtener

DashStrengthRepaired  DashStrengthCleaned  DashStrengthPainted  DashStrengthSprayed

The Firewall and front windscreen

BodyCleaned  BodyPainted  BodySprayed

The Floor and occasionally seat area

  FloorPainted  FloorSprayed

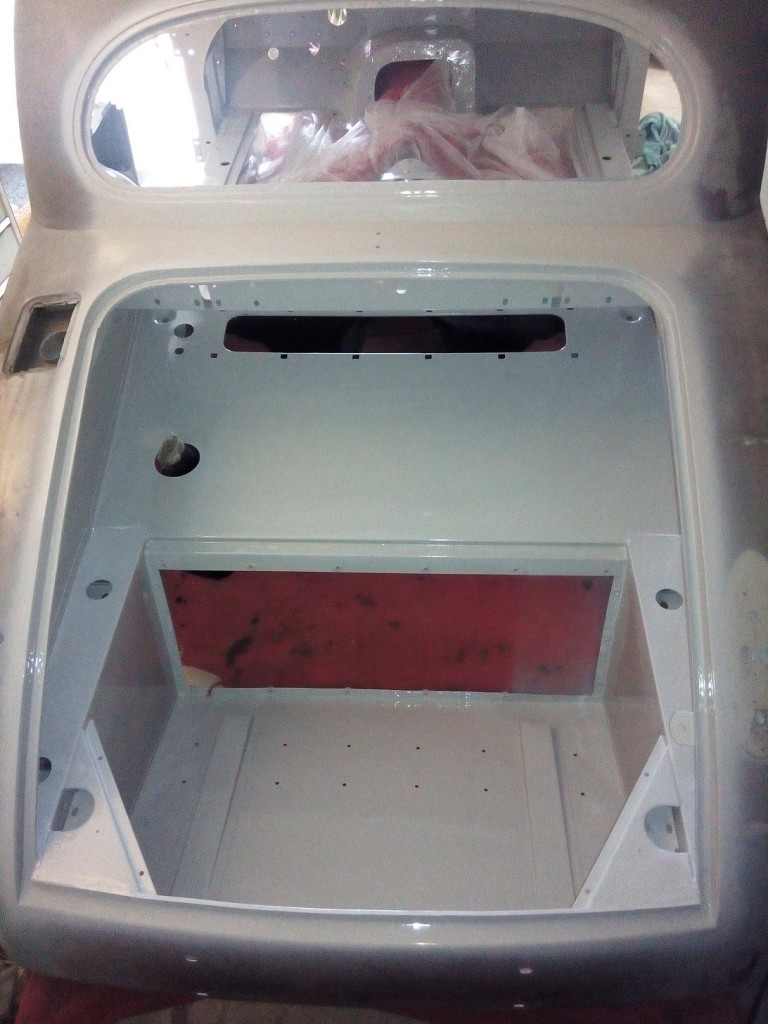
The Trunk and rear windscreen

 TrunkPainted  TrunkSprayed

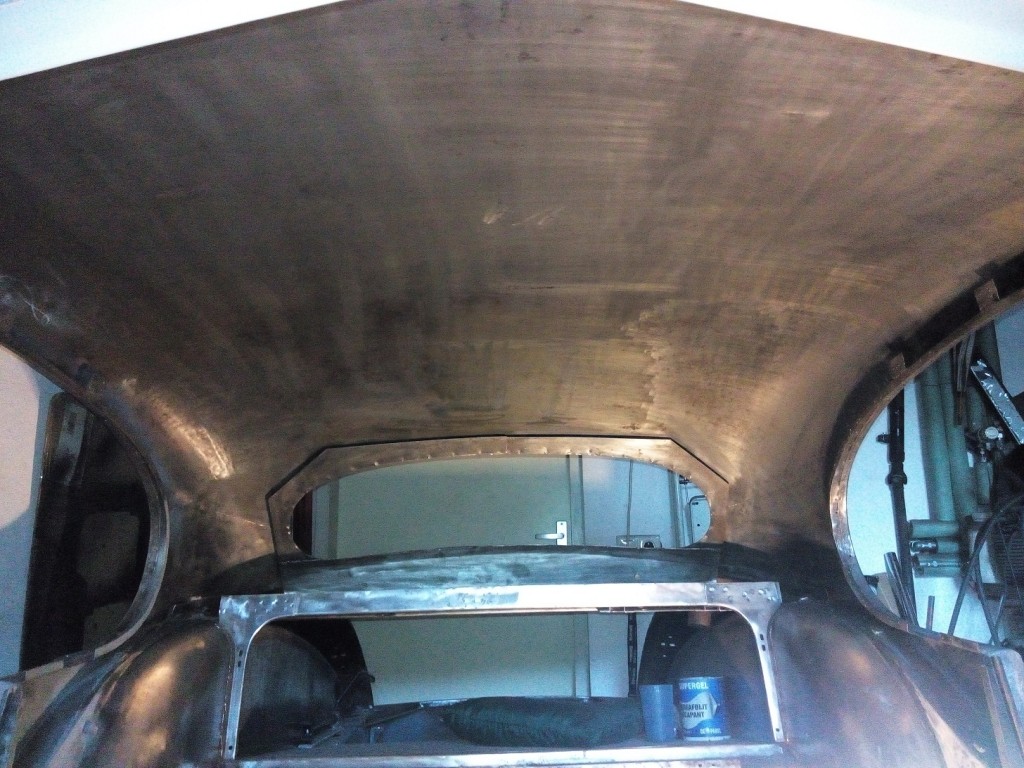
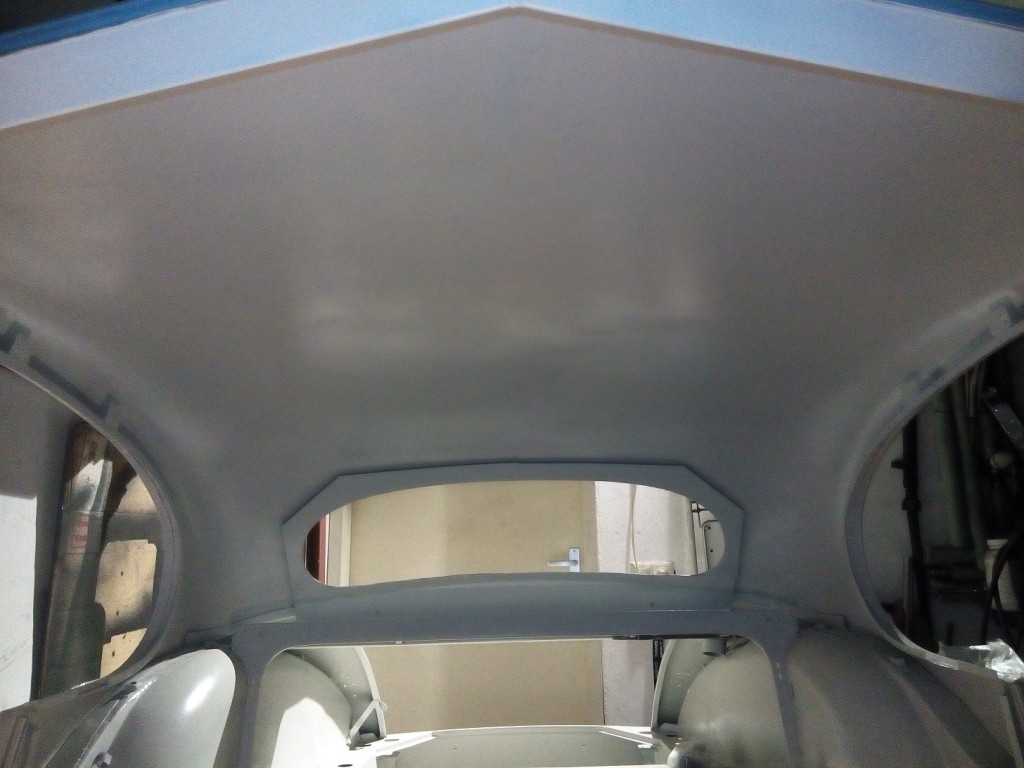
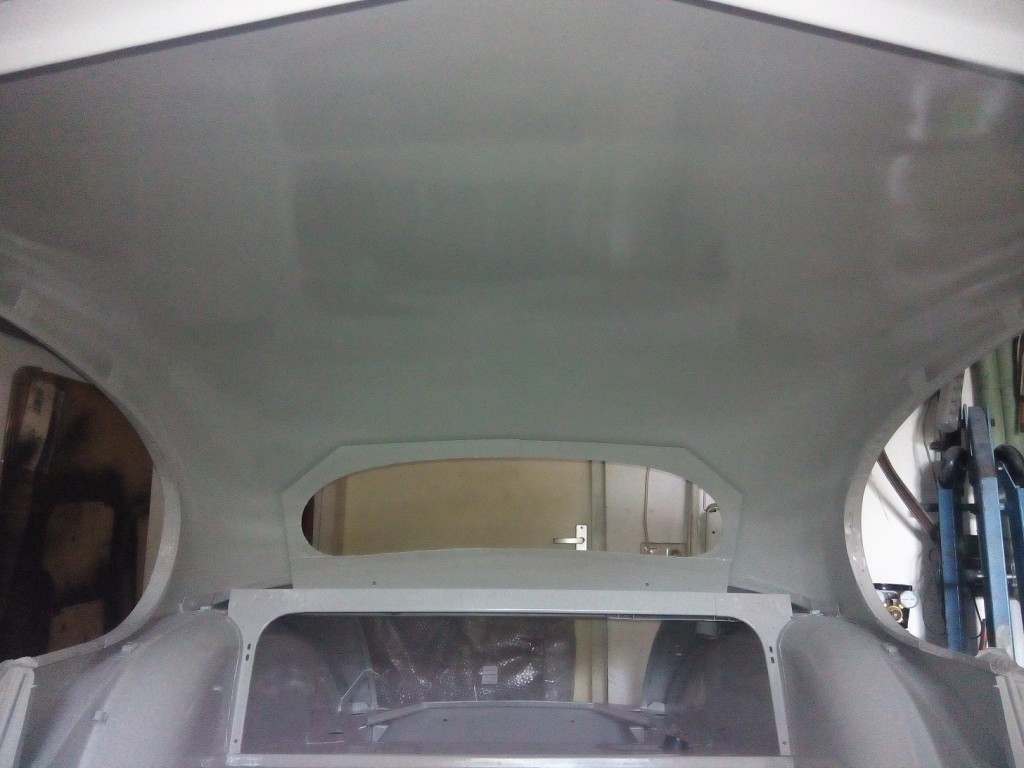
The Roof

RoofCleaned  RoofPainted   RoofSprayed

 Posted by at 21:06
sep 102016
 

The restoration process has now passed the point where the color is really needed. The rolling chassis has been finished almost completely, and we are ready for the next phase “the body”.

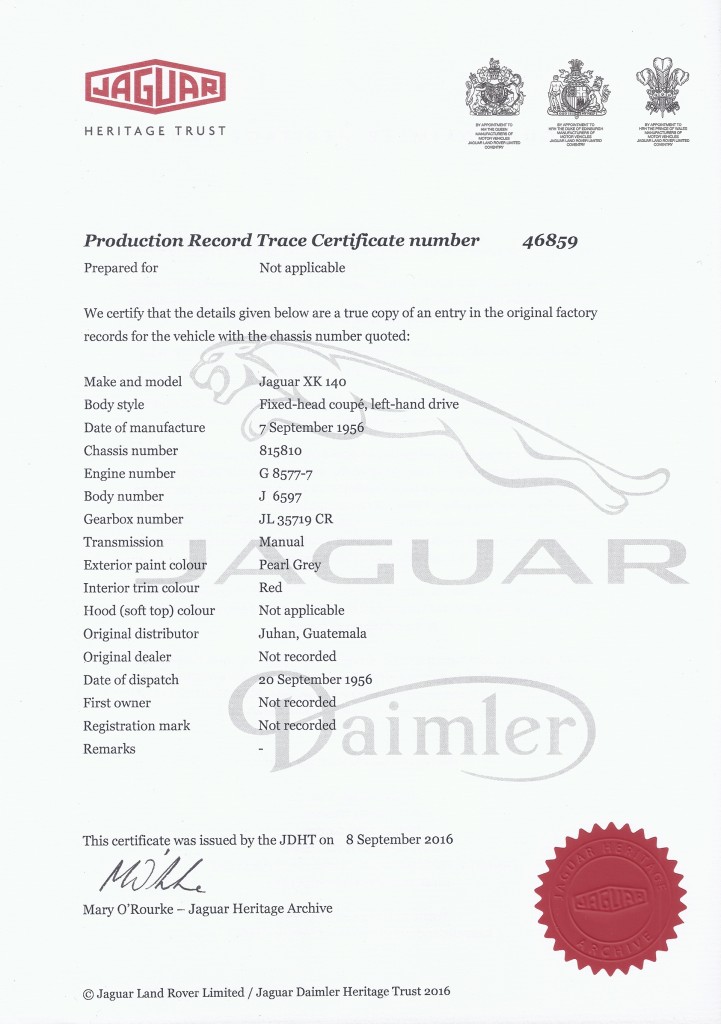
Certificate web

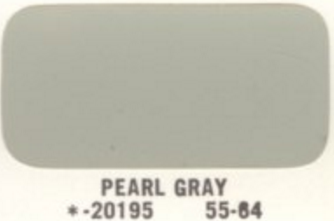
From the certificate we can read that the original color for the body is “Pearl Grey” and the interior is “Red”. Also the production date and dispatch date was new information to me. I also did not know that the was car originally dispatched to Guatemala.

PearlGrey

RedLeather


That the car is dispatched to Guatemala explains that:

– Steering wheel is positioned on the left side
– Units for speed are expressed in km/h
– Units for temperature is expressed in °C

Same as we use in Europe!

I always found this strange because the previous owner told me that the car was a original “California” black plate car. In the USA they use Miles and Fahrenheit instead of Km and °C. So this mystery has be resolved.

California Black Plates

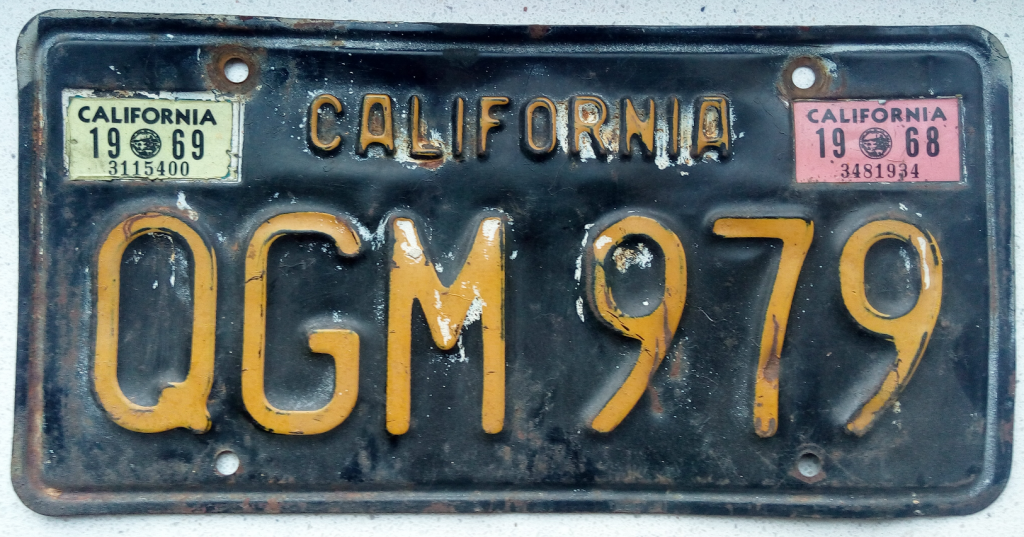
The California black license plate where introduced in 1963 and are still in use in the USA. They are allowed on cars if the registration was issued between 1963 and 1969. One year ago they are reproducing them again for owners who have a classic car which came originally from this time period.

The license plate itself measure 12″ by 6″ and are painted black. The registration number and state name are pressed into the steel and painted yellow/gold. With Two of the four 1/4″ holes the plat can be mounted to the car.

From the original licence plates we can see that the registration fee was last paid in 1969. The intention was to place the sticker on the right sticker well, but the owner of this car was probably not aware of this rule.

LicensePlate

YearSticker ColorCharacter Color
1963No sticker issuedNo sticker issued
1964WhiteBlack
1965OrangeBlack
1966YellowBlack
1967BlueBlack
1968PinkBlack
1969WhiteBlack

Car History

So it is now clear that:
– The car has been sold to the first owner living in Guatemala in 1956
– In 1964 the car has been sold to the new owner living in California (date is stated on the pink slip)
– That the car has been used on the road until approximately 1969
– The car has been abandoned for almost 30 years (from 1969 until 1998)
– The car has been imported to the Netherlands in 1998 by the Noblehouse (date is stated on the customs form)
– The car has been sold to the previous owner somewhere before 2008
– I bought the car in 2008

 Posted by at 17:29
aug 102016
 

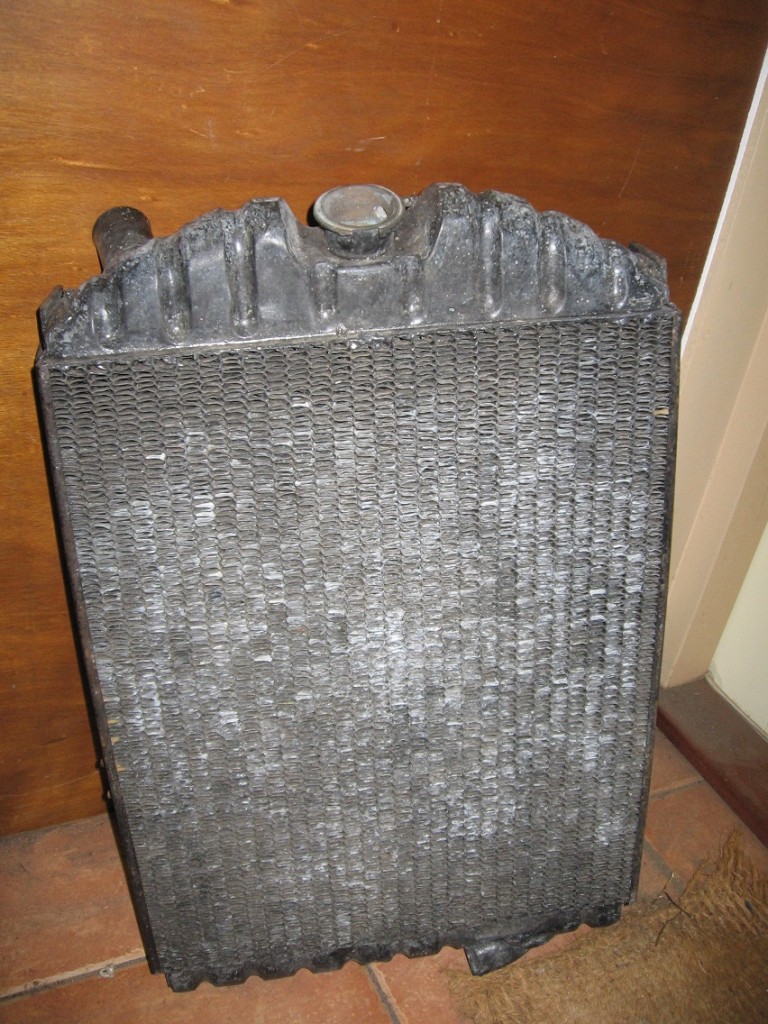
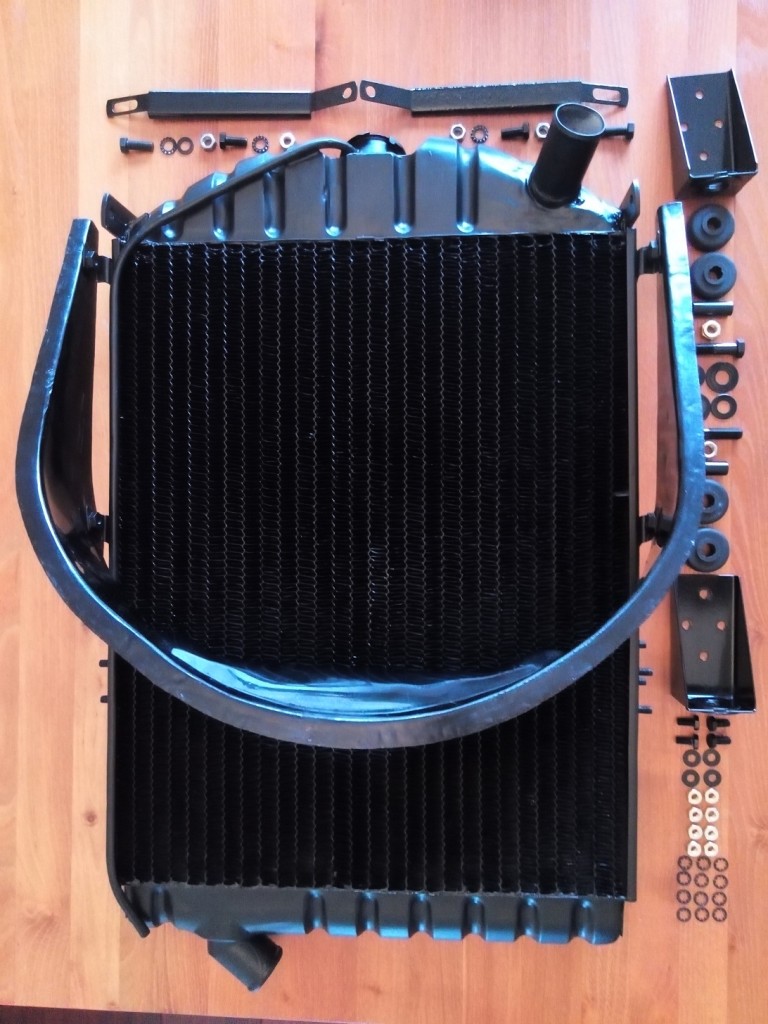
The radiator was, together with many more parts, not present with the car. During the last 6 years I was able to buy two radiators, (C9616)  together with the corresponding cowl (C7651) The first radiator has considerable damage in the top and bottom parts. The second radiator misses the mounting studs on both sides.

RadiatorOrg

One of the two original radiators

I have to combine parts from both radiators to be able to make one nice one.

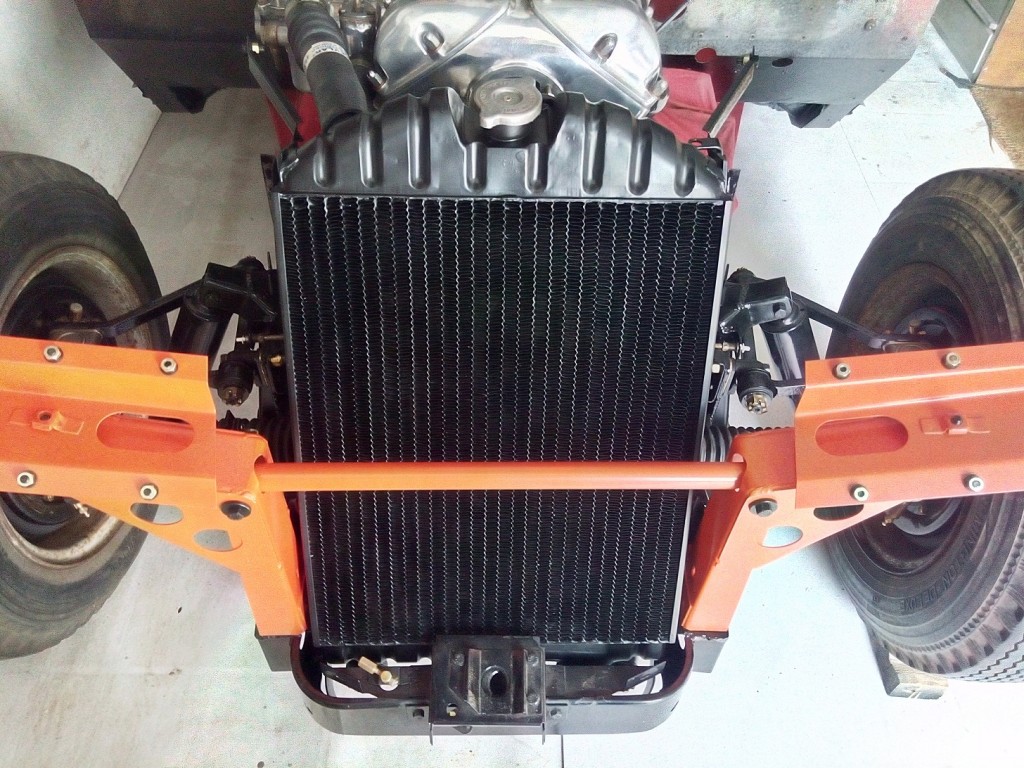
First I started with removing the left and right side (where the stud are in) on both radiators. Now, due to the fact that the good radiator has still some dents in the upper part, I also removed that part. From the inside all dents are cautious removed and soldered back onto the radiator core. The thin metal reinforcement soldered to the left side of the core must also be replace, due to rust, with a fresh new one. Now the left and right sides can be soldered back onto the radiator. Last be not least I tried to realign and straighten all fins, to improve the cooling capacity. After the radiator was thoroughly cleaned it can be painted in two layer of paint (epoxy primer and satin black paint)

RadiatorParts

Parts needed to mount the fresh painted radiator

The almost as new radiator fitted as a clove between the two new mounted front wing supports.

hdr

The radiator mounted onto the car

 Posted by at 14:31
aug 102016
 

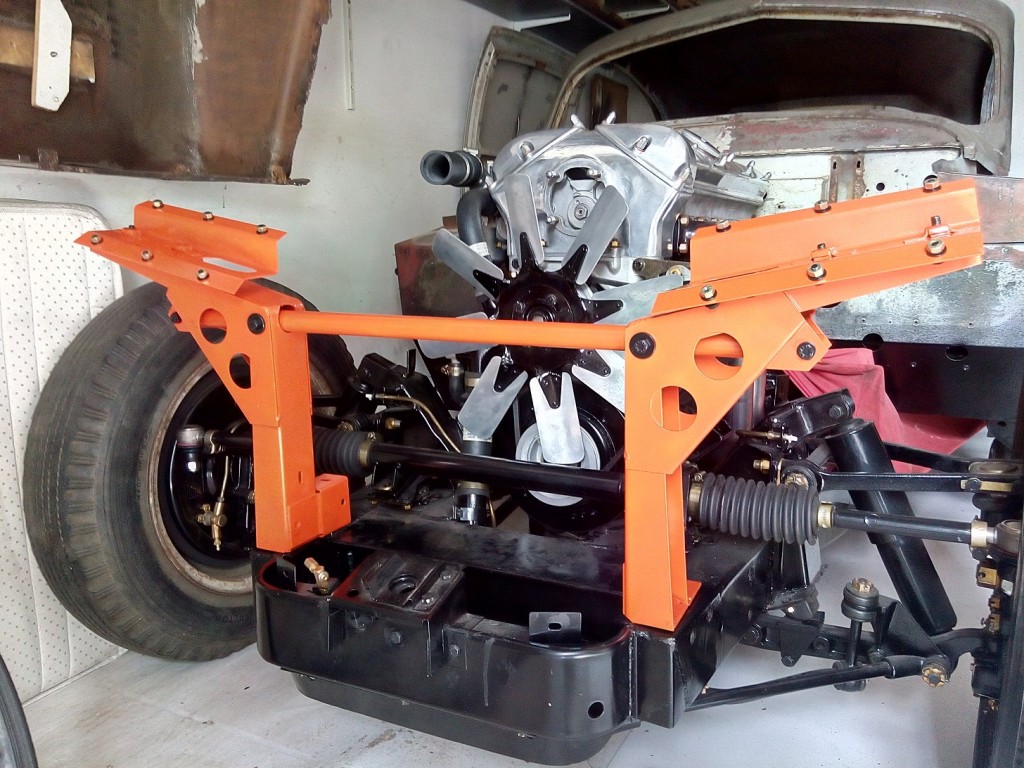
The front wing supports are used for the following purposes;

  • Keeps the the front wings on the right place in front og the car
  • Mounting of the radiator
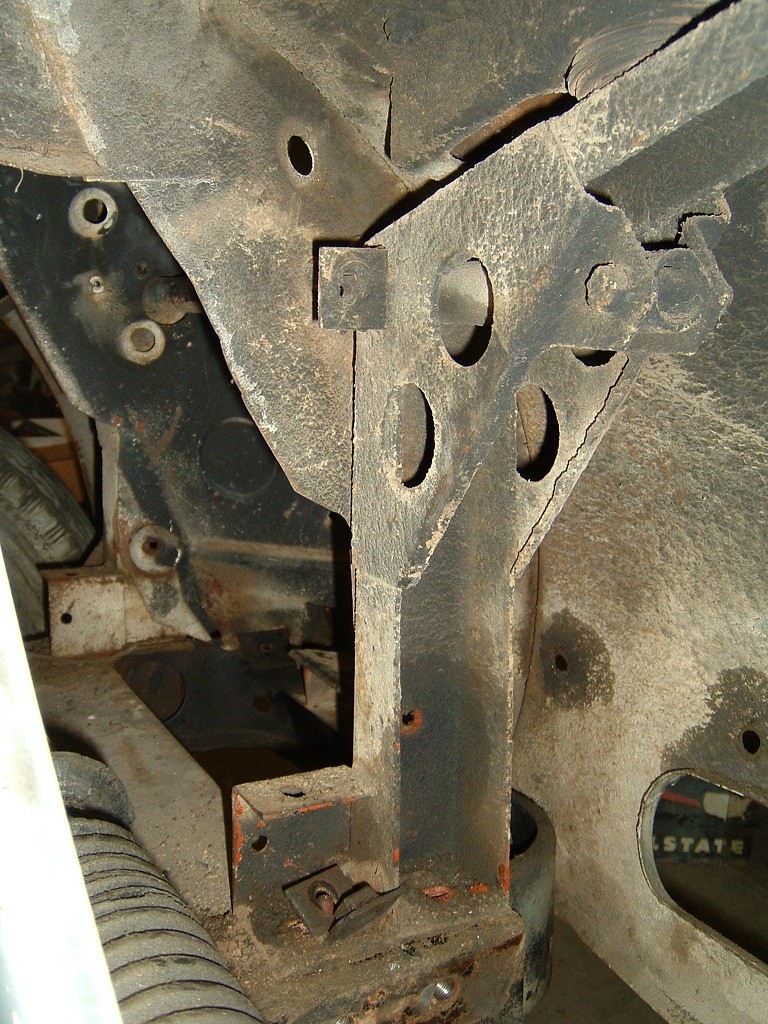
FrontWingSupportOrg

Original front wing support on the right side

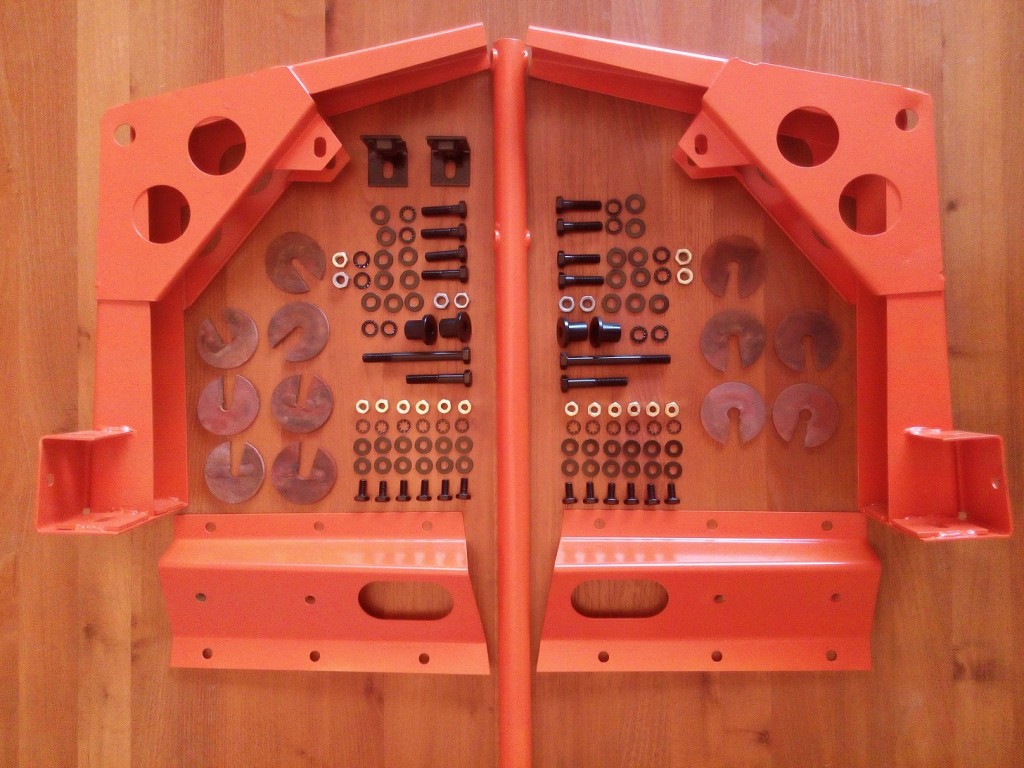
The front wing supports are only painted in some sort of orange undercoat, as can be seen on the original photo above. The complete body was leveled out in the factory with aluminium or plastic(kautex) distance pieces. (See dish shaped parts in the next photo)

FrontWingSupportParts

Front wing support parts

On the right side we also have to mount two mounting brackets which are used for fixing the distributor shield.

hdr

Front wing support mounted on the body

The tie bar which connect the two front wing supports with each other must be removed when the front wings are mounted. The tie bar is running through the front wings and there must be mounted when bot front wings are in place. (See original photo)

 Posted by at 14:31
jun 152016
 

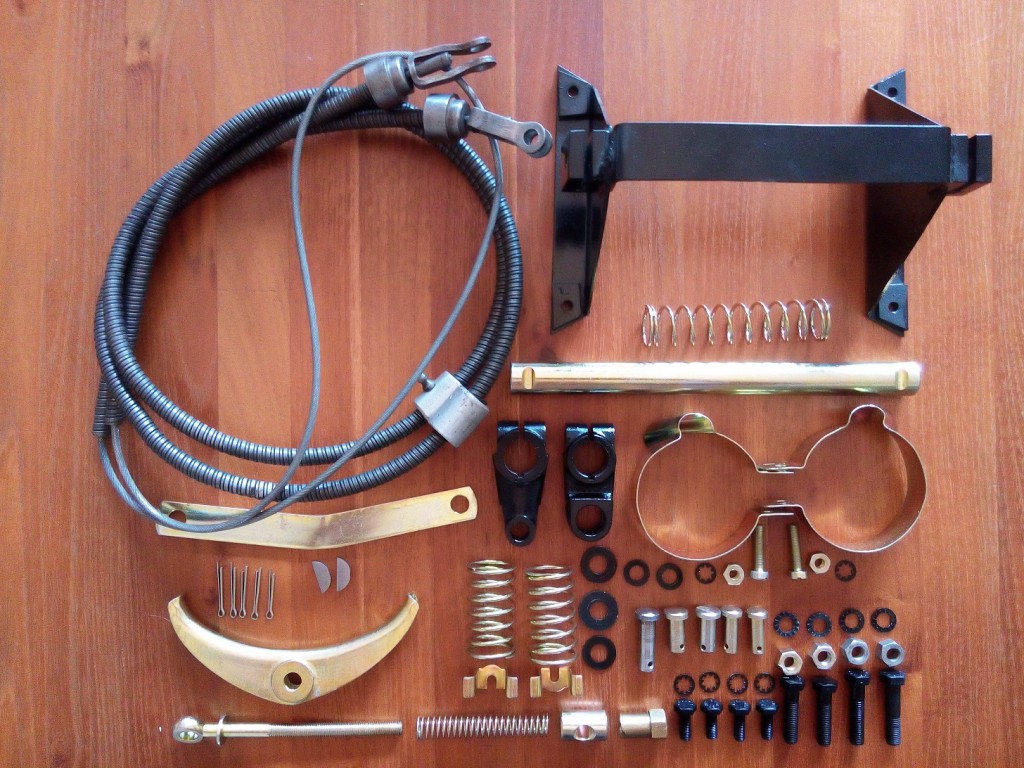
The last part which should be mounted, before the body can be placed back onto the chassis, is the hand brake cable mechanism. The parts inside the rear brake drums are already mounted (see Rear Brakes / Wheels) but the connection between the rear drums and hand brake lever not yet.

HandBrakeParts

Parts needed to rebuild the handbrake cable mechanism

The cable itself was still in very good condition. After it was thoroughly cleaned it’s ready for a next round.

HandbrakeFinished

Handbrake mechanism mounted onto the chassis 

 Posted by at 16:11
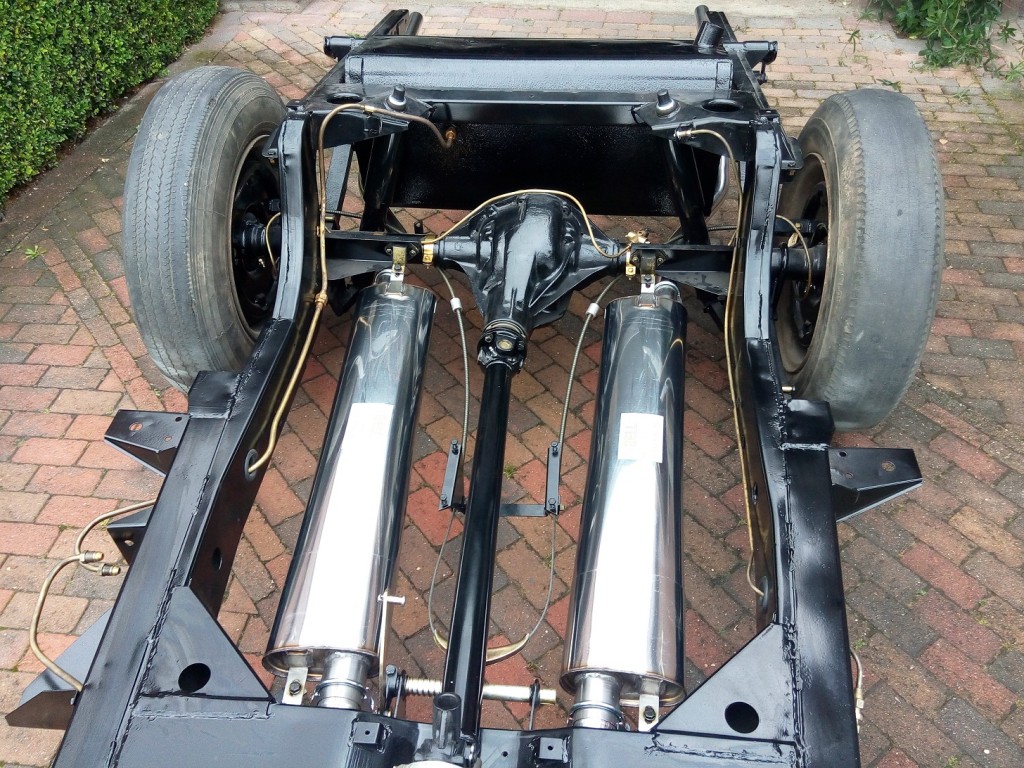
jun 122016
 

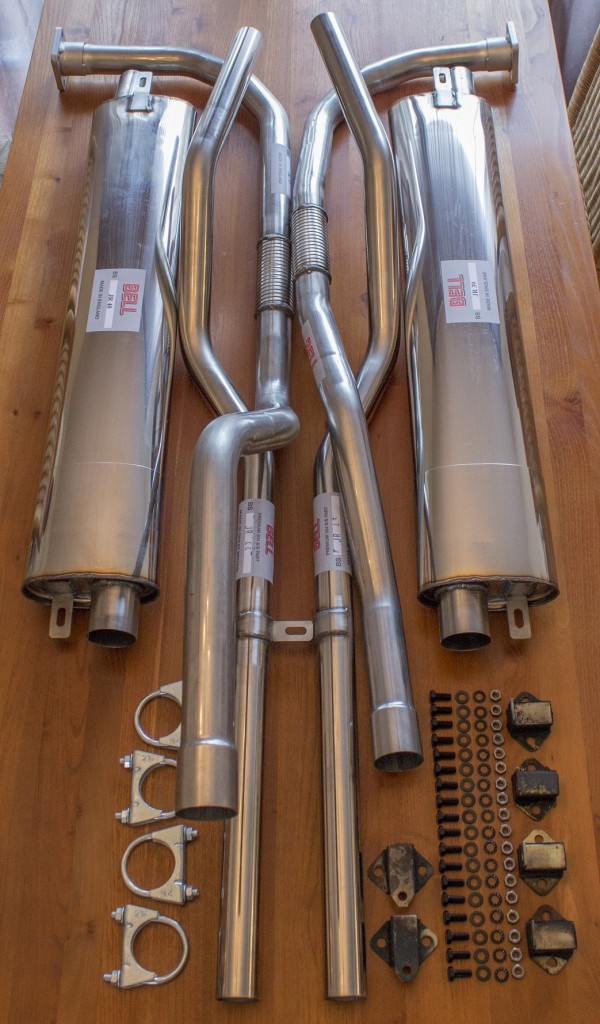
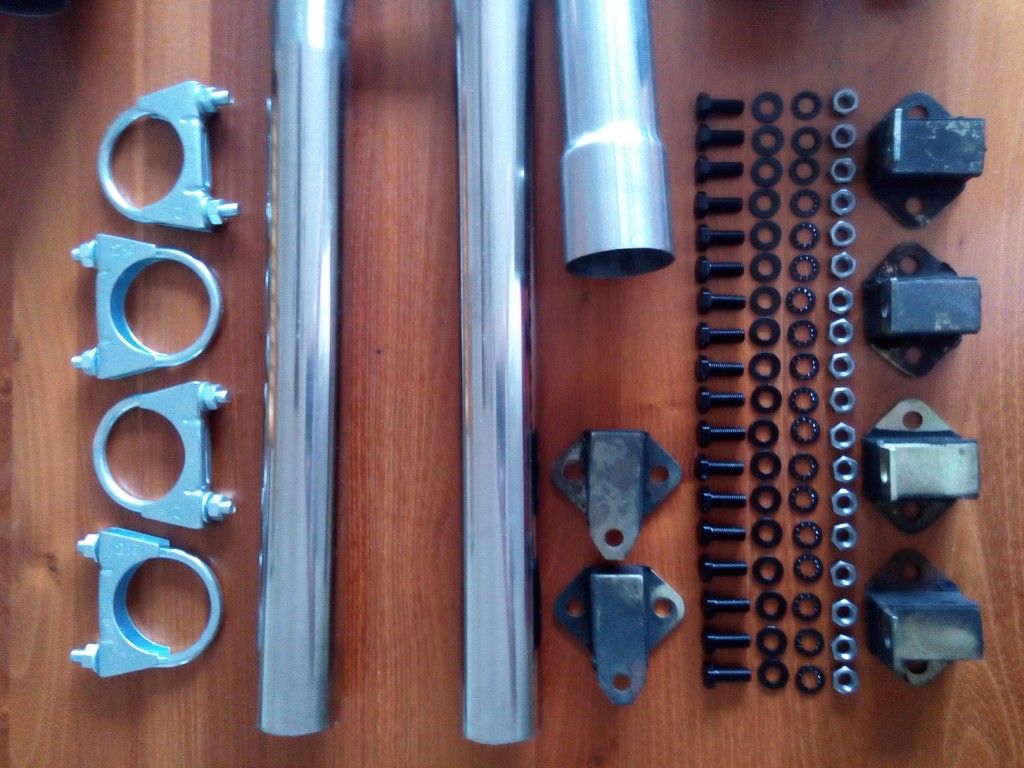
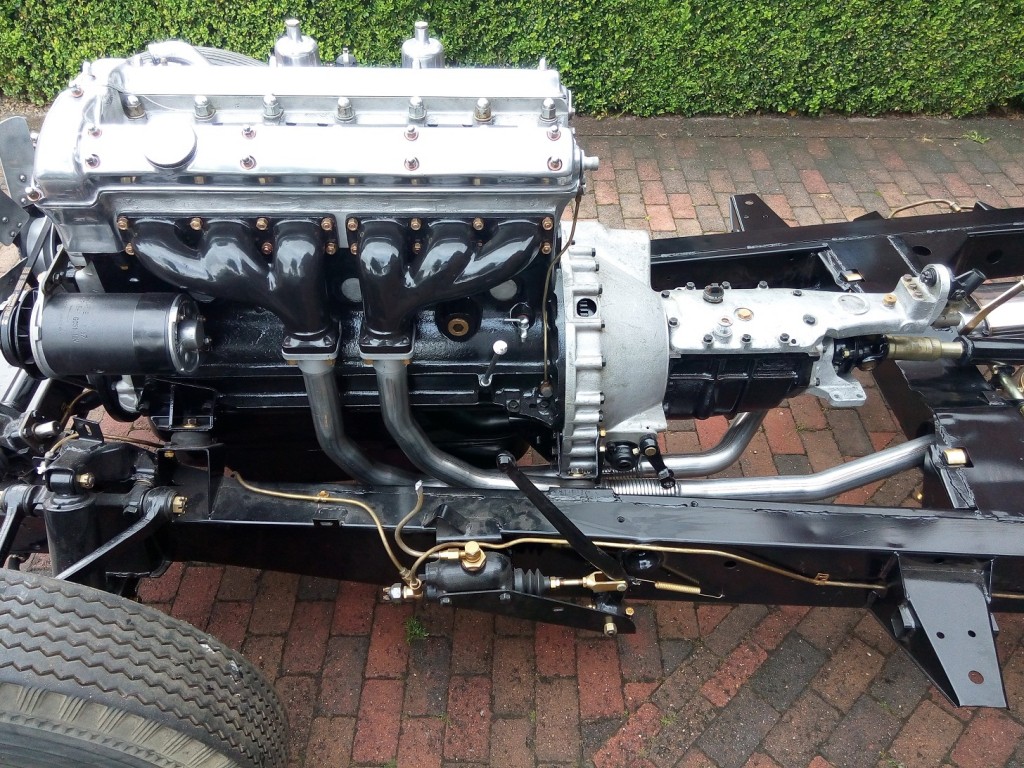
The original exhaust which came with the car was completely rusted away and should be replaced. Originally the car was equipped with a single exhaust but I think a dual exhaust looks much better. With respect to originality this should’t be problem because it is a replacement part. (A single exhaust can be mounted in the future is needed)

The new dual exhaust from Bell (BSS-JR-003, XK140/XK150 LHD manual) consists of:

  • BSJR37 Front pipe left
  • BSJR38 Front pipe right
  • BSJR39 Silencer left
  • BSJR40 Silencer right
  • BSJR43P Tail Pipe left
  • BSJR44P Tail Pipe right
DualExhaustPartsDetail

Nuts, Bolts and Clamps

The clamps, needed to fasten the exhaust pipes to each other have different diameters, 58mm for the front side of the silencer and 48 for the rear side.

ExhaustFinished

Dual exhaust mounted onto the manifold 

 Posted by at 17:49