The boot lid itself has been cleaned (all original paint has been removed) before it is painted again in epoxy primer and the inside is also finished with Pearl grey gloss. Also all parts needed for the rebuild has been restored.
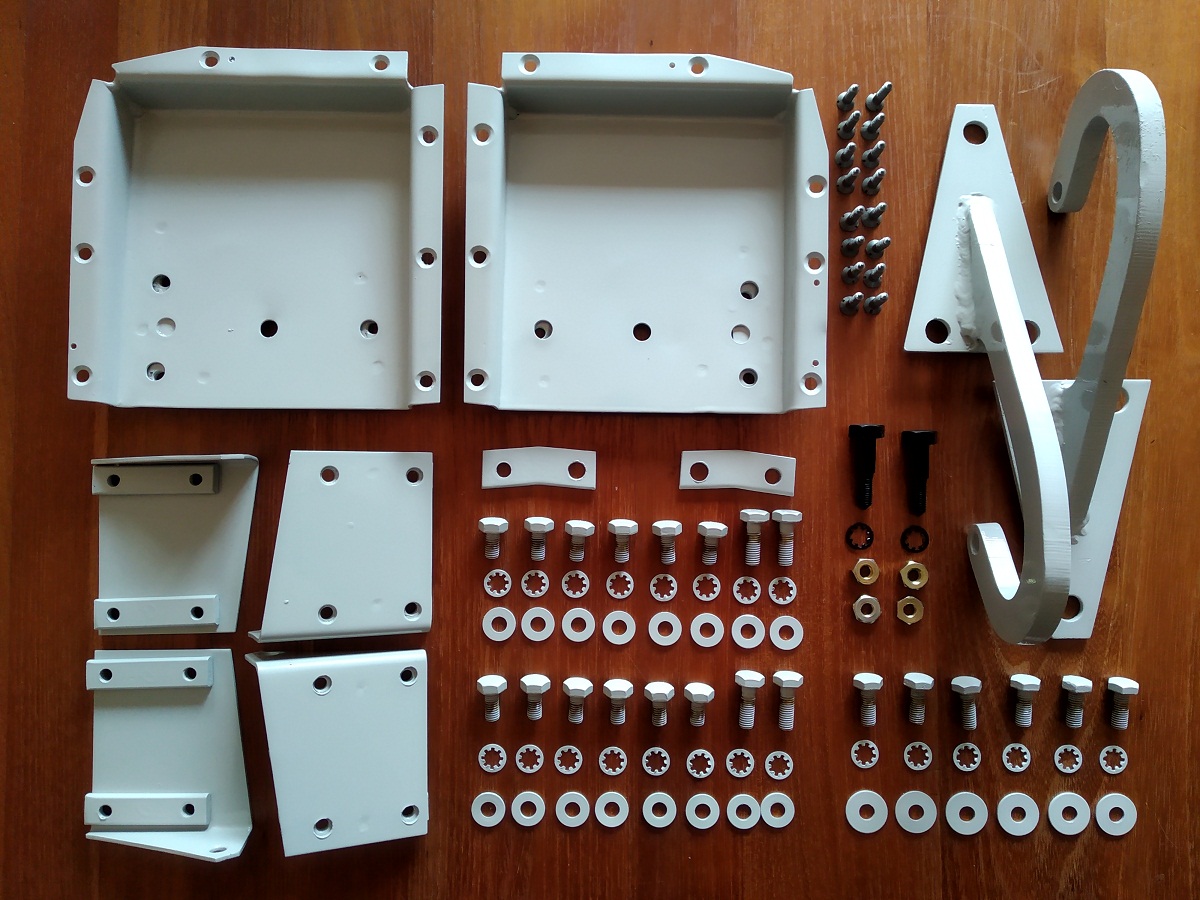
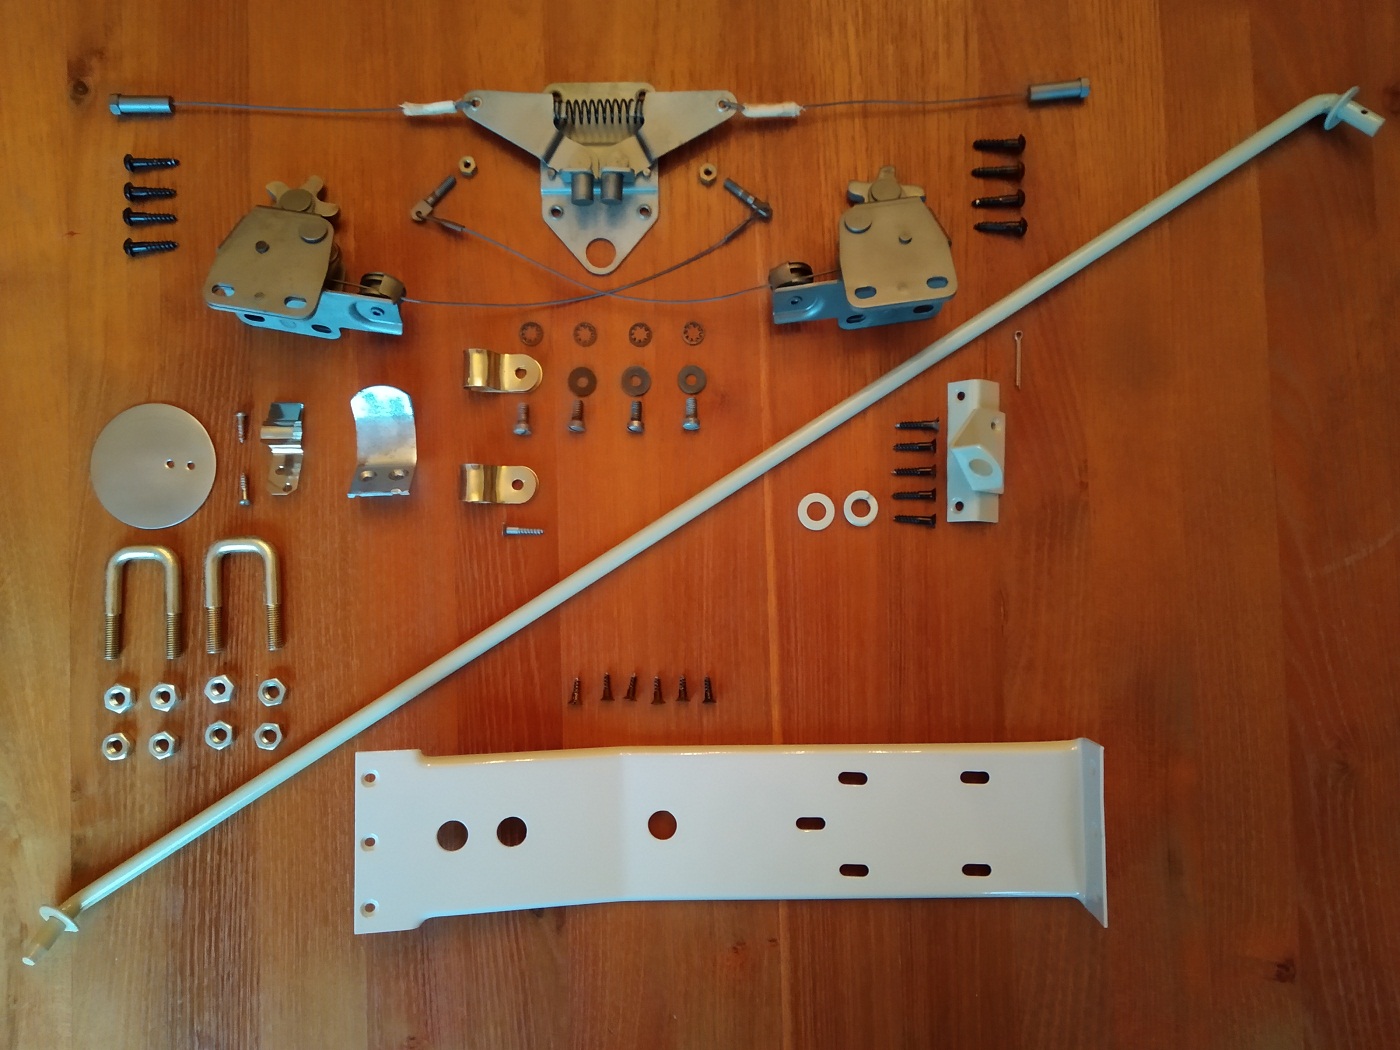
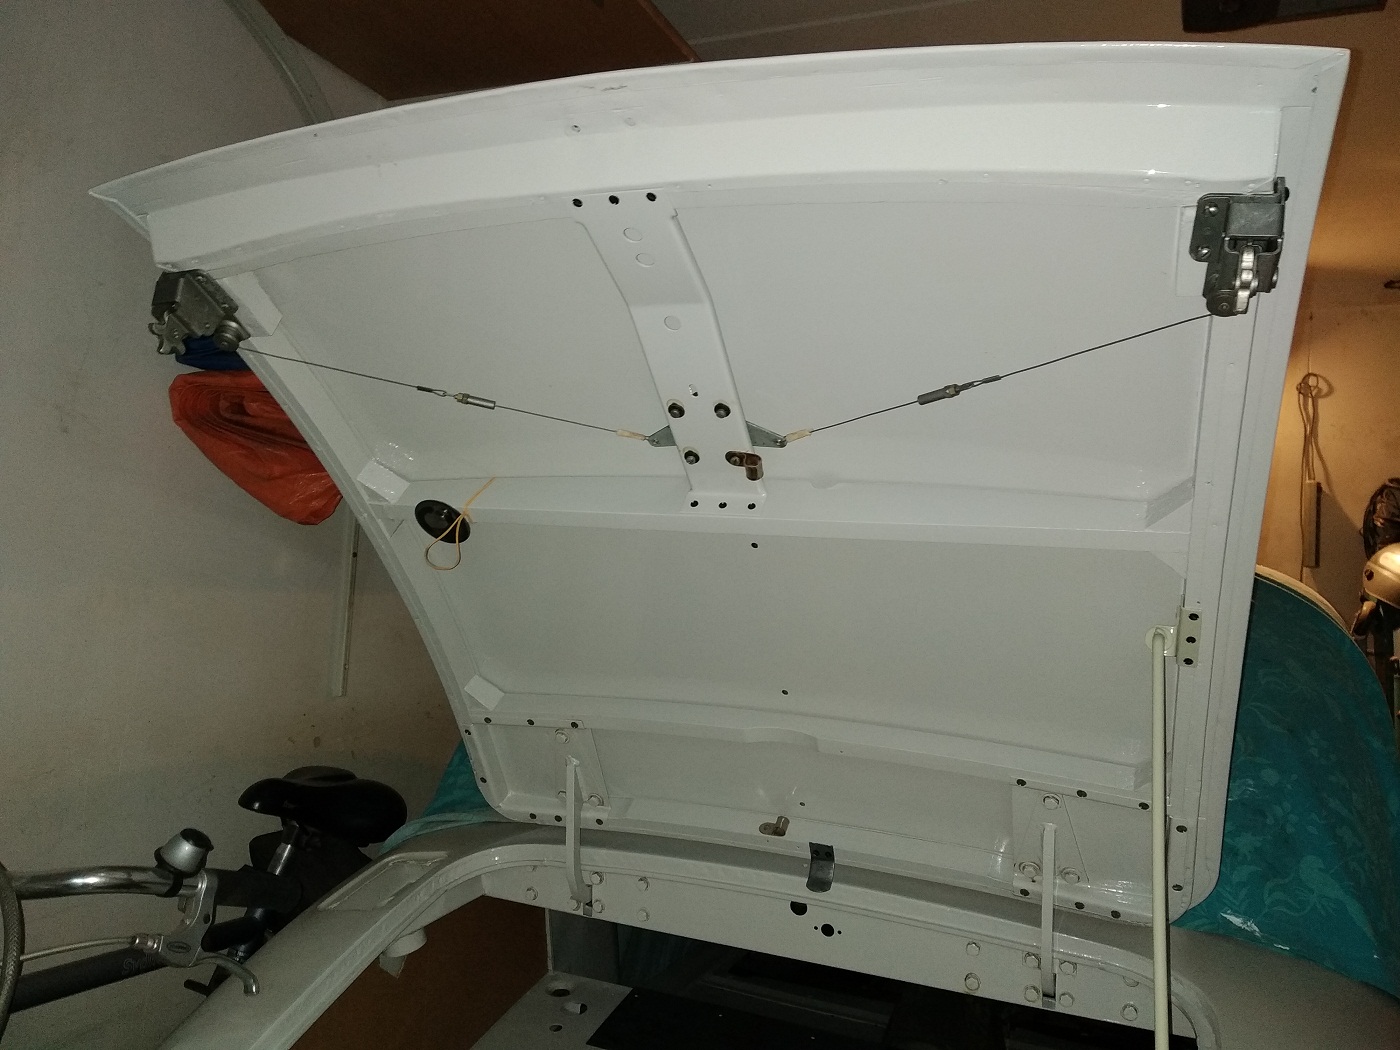
The boot lid itself has been cleaned (all original paint has been removed) before it is painted again in epoxy primer and the inside is also finished with Pearl grey gloss. Also all parts needed for the rebuild has been restored.
Before
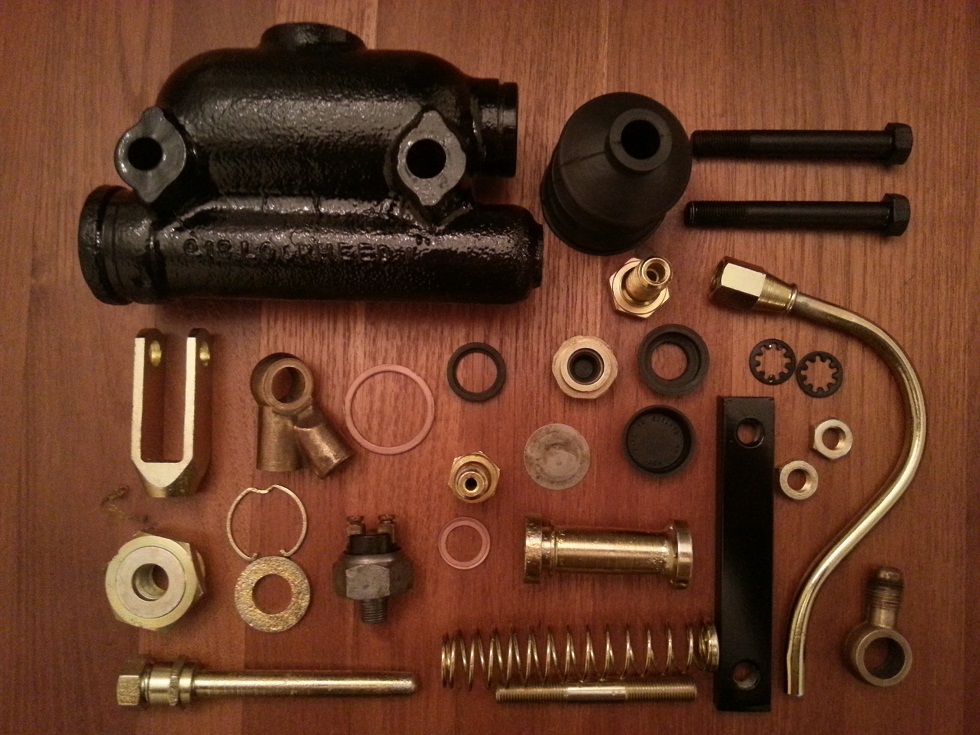
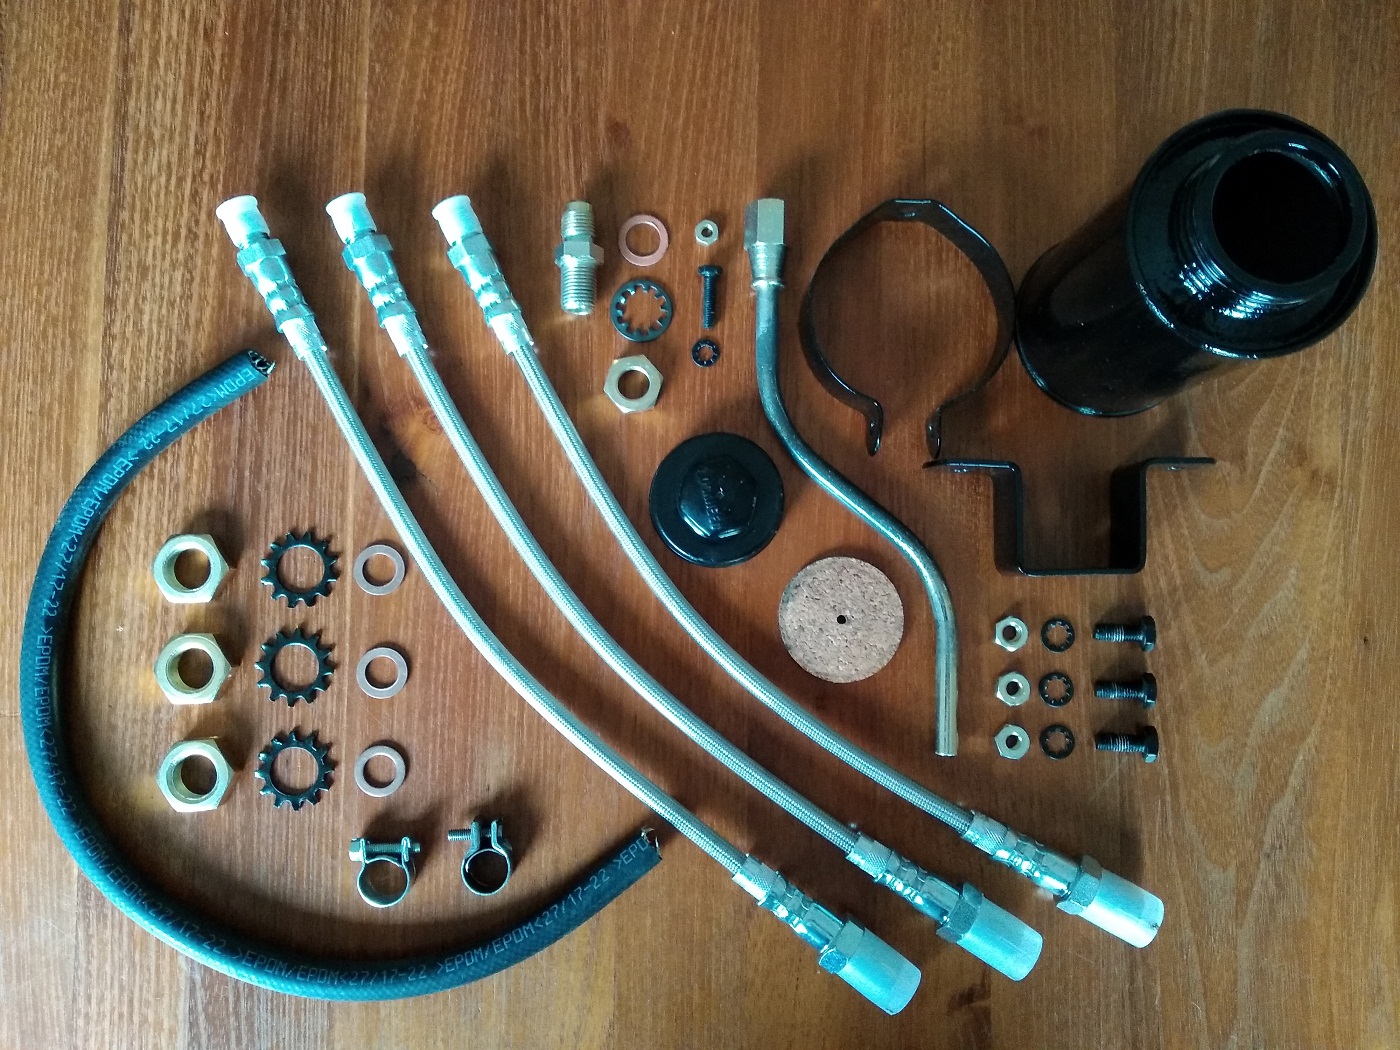
All separate parts used to rebuild the brake cyclinder
After
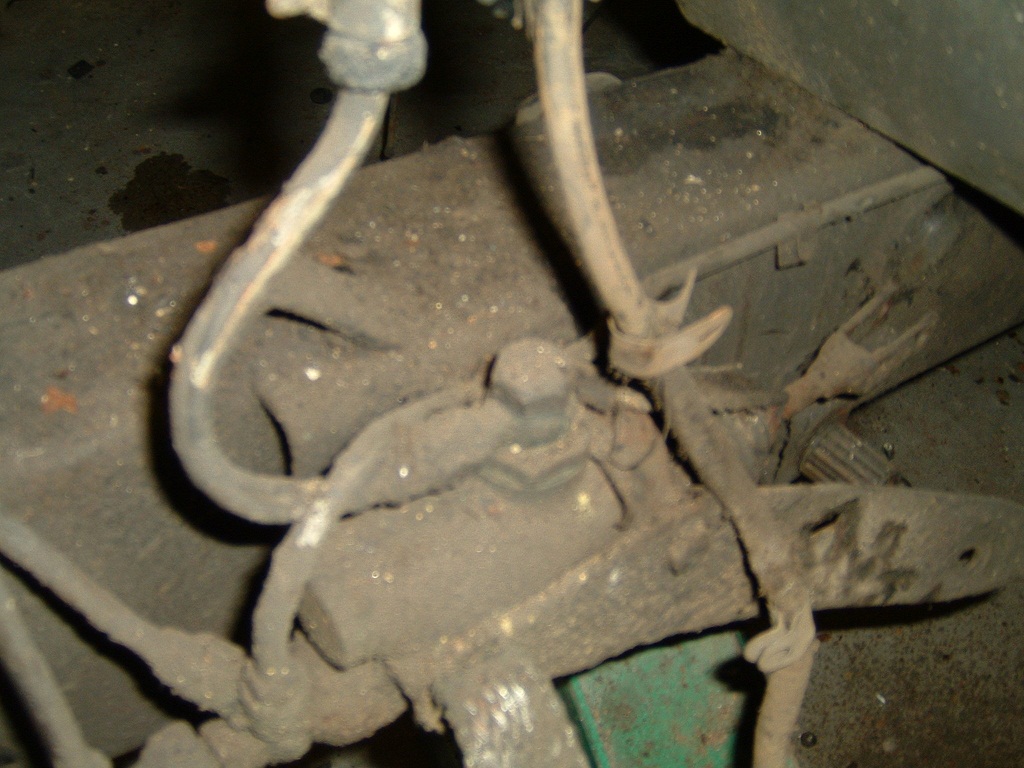
When I received the the brake reservoir was not available anymore, only the brakes was partly mounted on the inner wing. Via ebay I was able to find a nice original brake fluid reservoir.
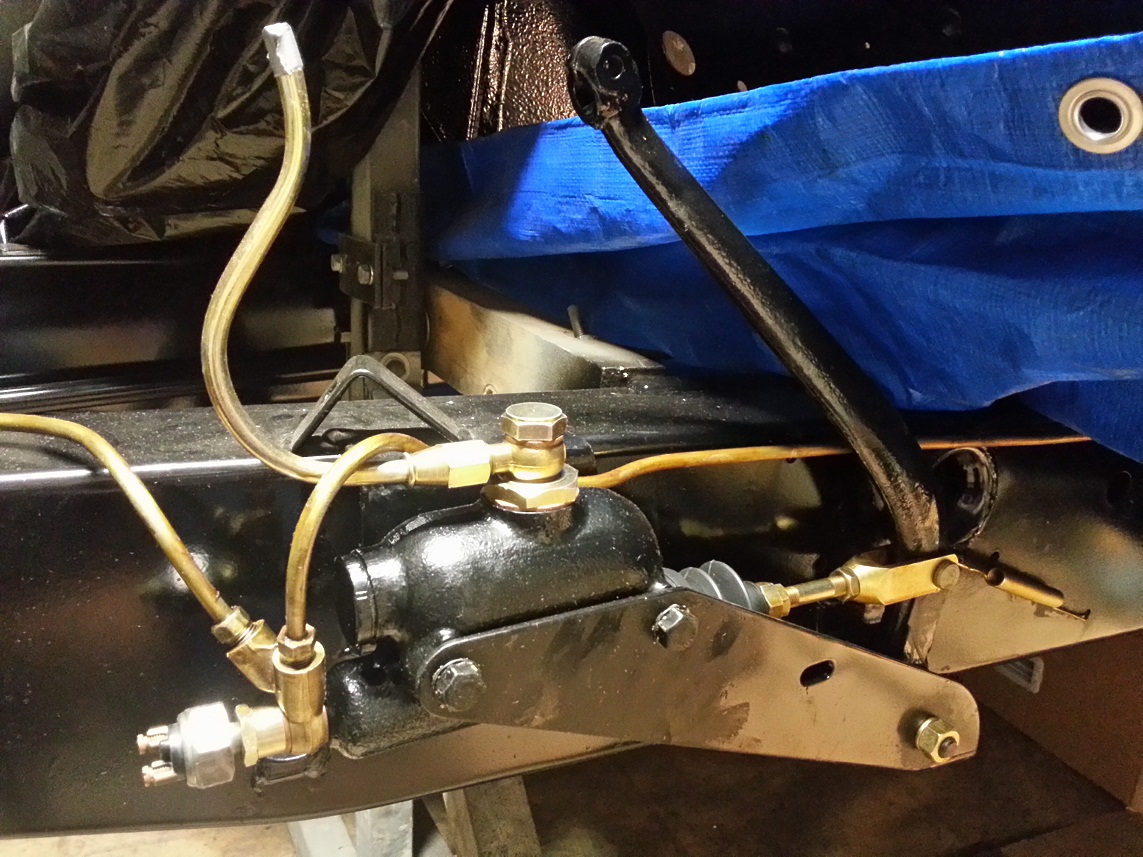
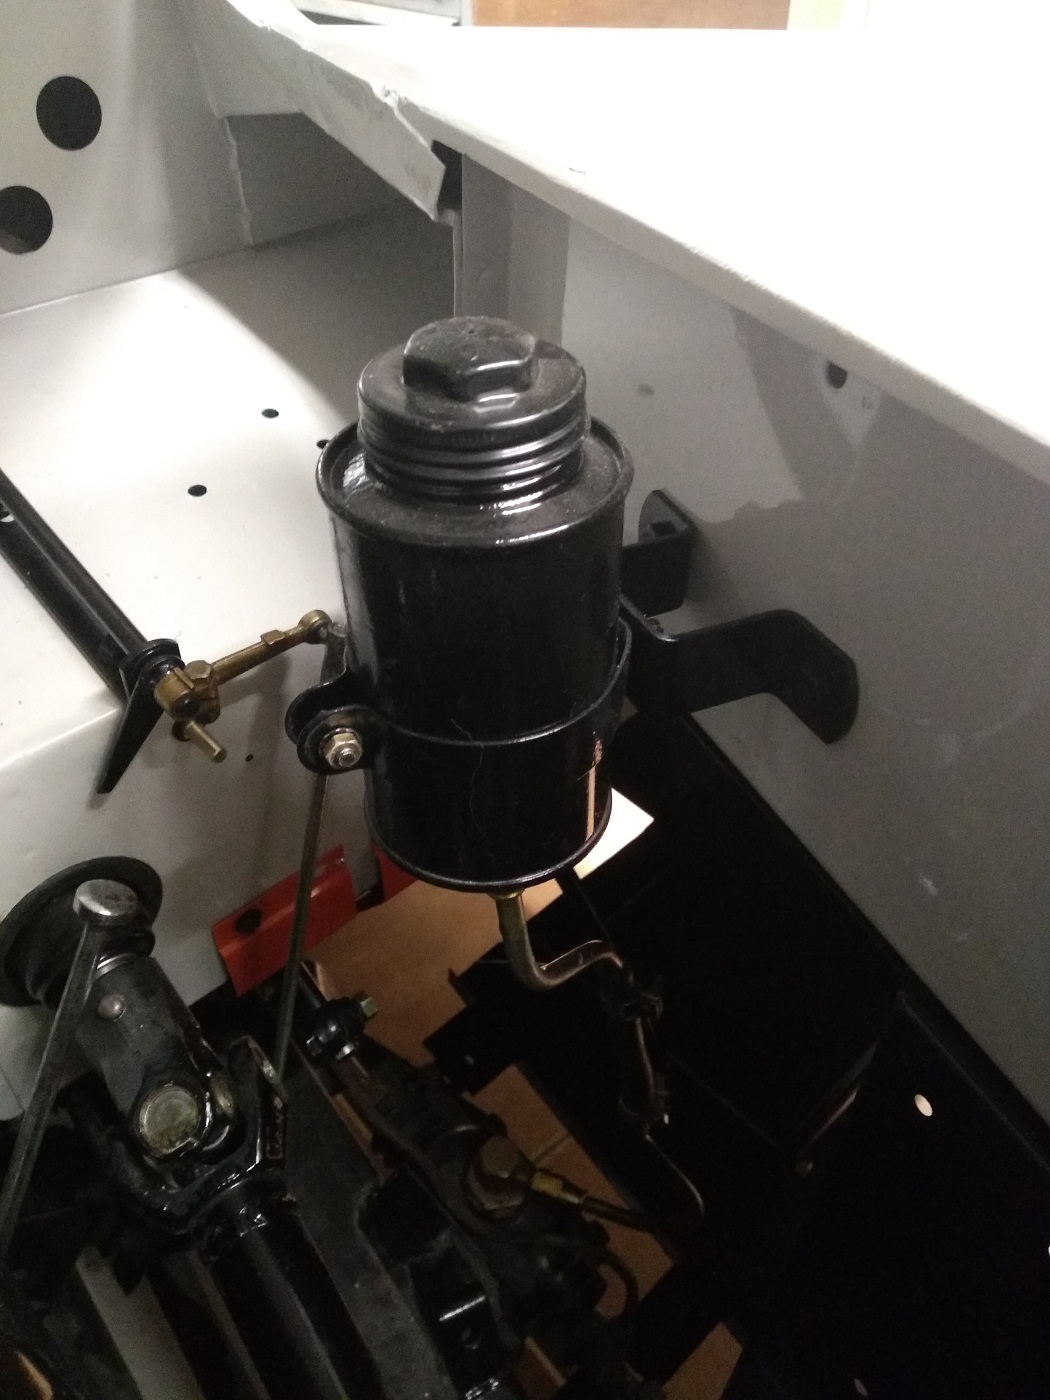
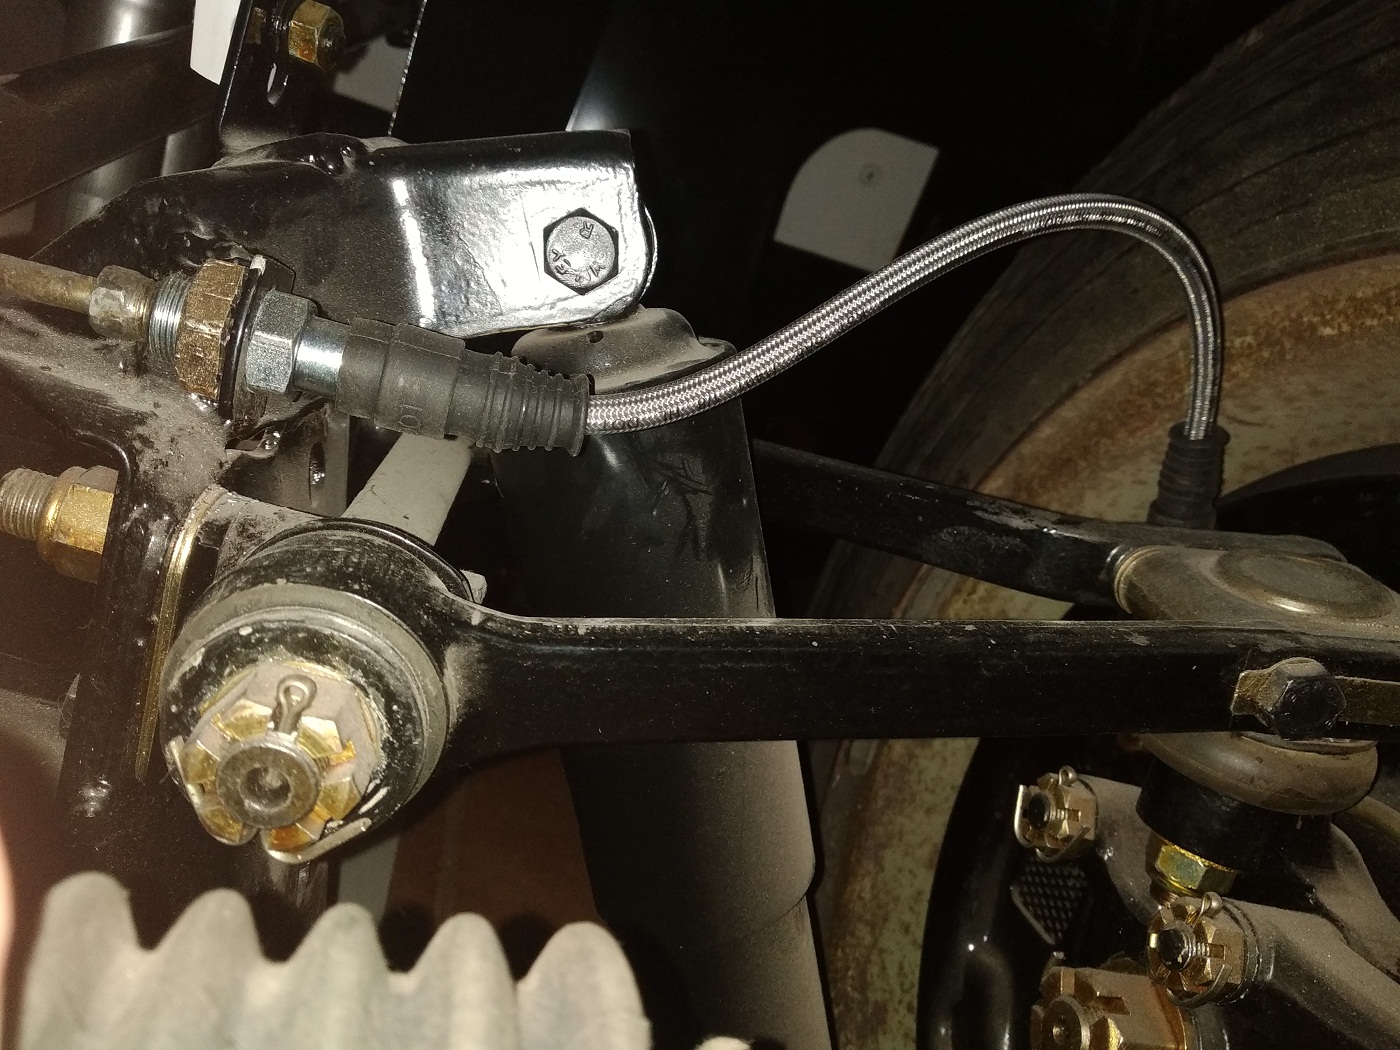
After everything has been painted and new parts bought (brake hose and clamps) everything can be mounted on the car again.
The first idea to start with the restoration of a classic was born in 2002.
I was particular interested in cars from the post war period.
Some nice specimens are;
– Jaguar XK120 (1949-1954)
– Jaguar XK140 (1954-1957)
– Forst Mustang (1964-1967)
– Chevrolet C1 or C2 (1953-1967)
– Mercedes 190SL (1955-1963)
– BMW 507 (1956-1959)
– MGA (1955-1962)
– Triumph TR2 or Tr3 (1953-1957)
– Porsche 356 (1948-1965)
From 2002 on I started with searching the internet for one of the above types, within my budget 🙂
I have seen several very rotten ones so it was not an easy job.
A friend of mine bought his car from Jan Arets in Budel and decided to pay him a visit. I was lucky because that day he received two very nice Jaguar XK’s (XK120 FHC and a XK120 DHC). I asked him the price and was shocked by the asking price off about 19k euro. After struggling a couple of days about this in my eyes huge amount I decided to make the call, but the FHC was already sold and he was negotiating about the other XK(DHC). (so this was a dead end…)
In the upcoming time period I found a lot of cars from the above list on www.marktplaats.nl but never found a good restoration object. During the searching process my preference for the Jaguar XK kept increasing and decided to narrow my search criteria.
On 9 September 2008 I found a good restoration object on marktplaats from a guy called Cees van Ouwerkerk (car broker)
The only big dis-advance with this car, it was almost completely disassembled. After checking all photo material I decided to take the chance and bought the car.
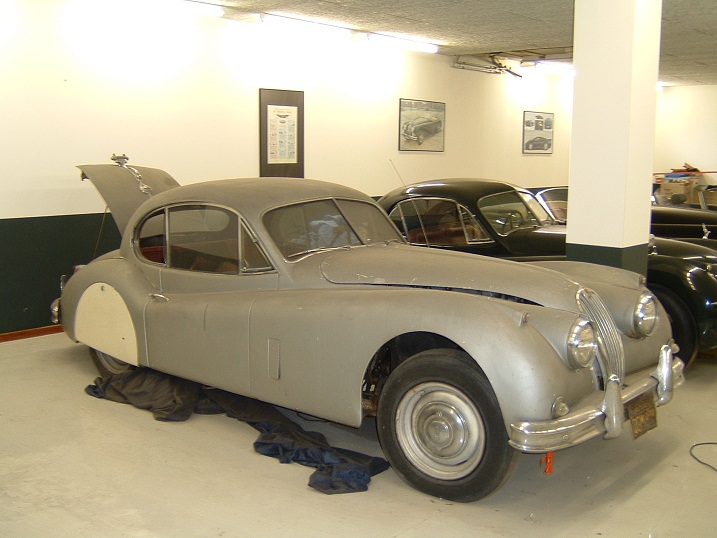
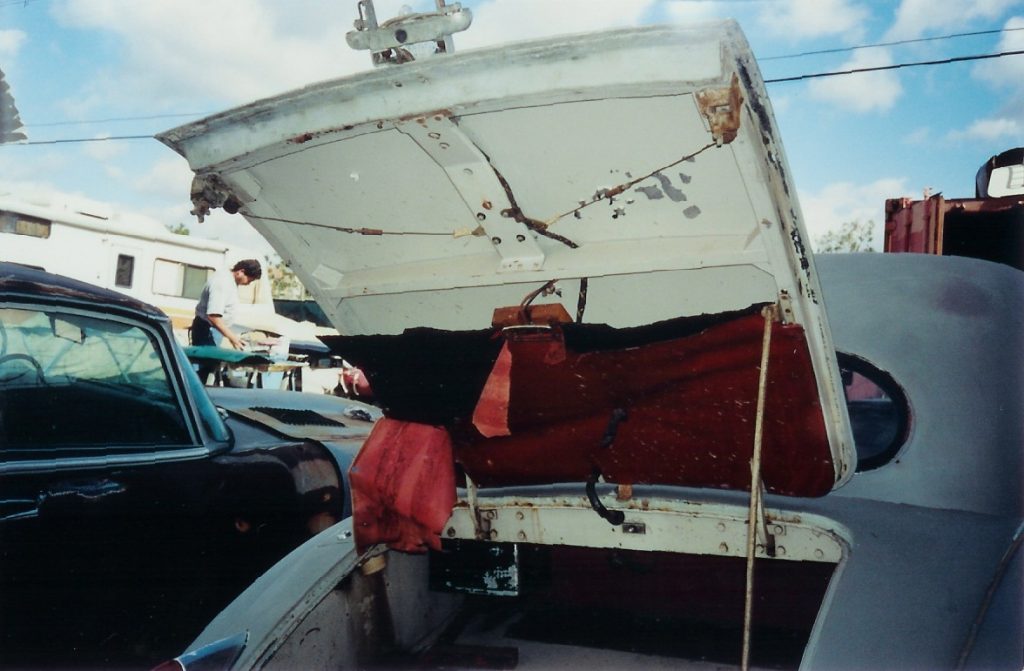
This is how the car looked before it was disassembled by the previous owner
1) Always buy a complete car, it is almost impossible to see if a car is complete from a pile of boxes. The parts which are missing are always very difficult to find and they can be very expensive.
2) If you are looking for a complete restoration object don’t buy one who is looking to nice. It will be to expensive at the end because your are going to replace everything after all. It is cheaper to buy one with a lot of work because the object selling price is will be much lower then a cosmetic good looking car.
3) …
When I bought the car the heater was already removed from the body and placed in one of the many boxes.
After looking at it in more detail I noticed there was a bit of oxidation visible in the area around the connection pipes.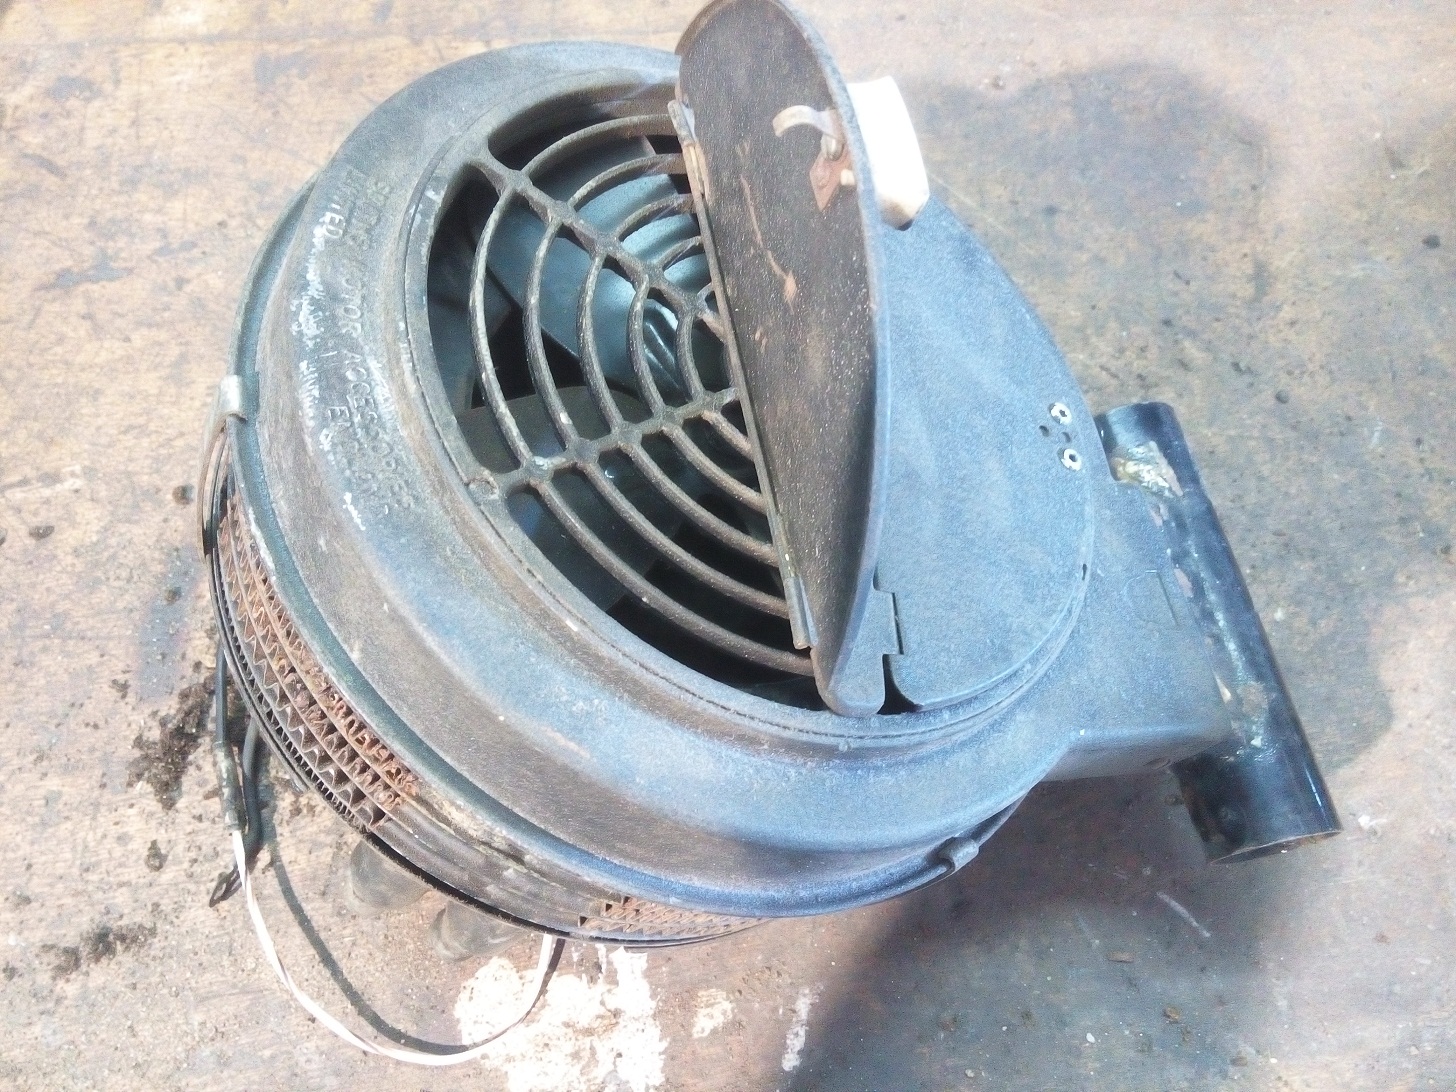

I started with dis-assembling everything. Most parts still looks fine and can be finished with some retouching especially the upper part, which is made of cast aluminium, is finished with special wrinkle paint. The rest of the painted parts are just in gloss black paint. To prevent leakages after installing I pressure test the heater core with 0.5 bar (normally the cool system of the car will not become higher then 4 LBS). Although the heater core has signs of leakage the core is still water tight. After glass beat blasting and cleaning it can be finished with several layers of gloss black paint. The upper part is painted only partly the preserve the numbers painted on it from the factory.

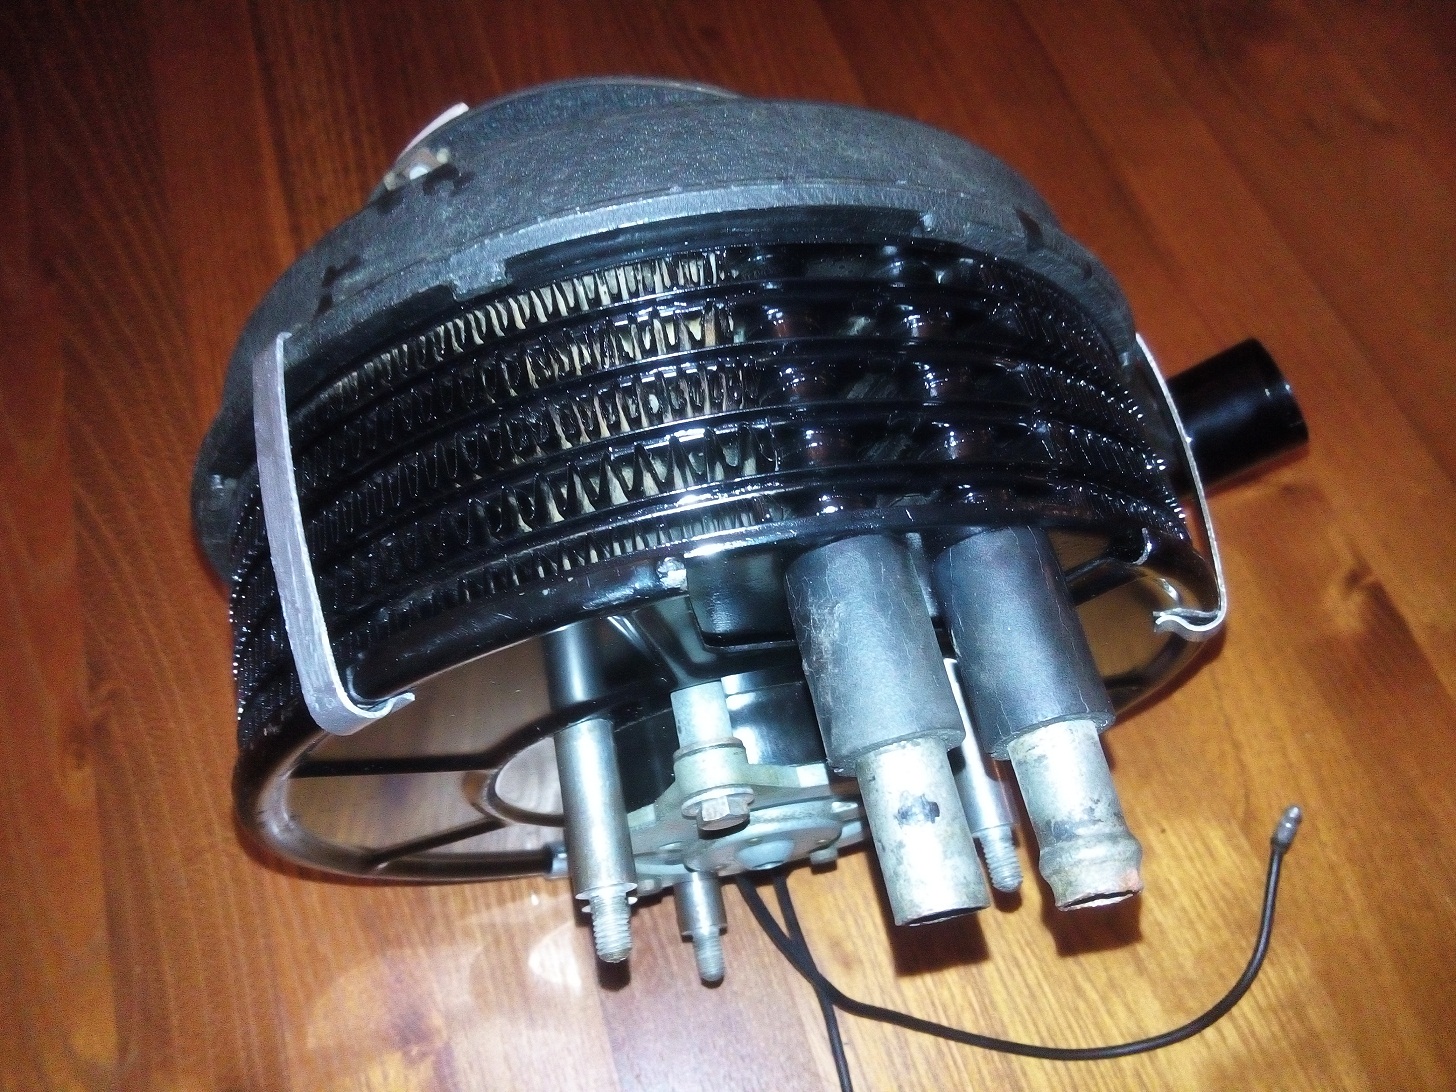
Parts needed to rebuild the heater unit
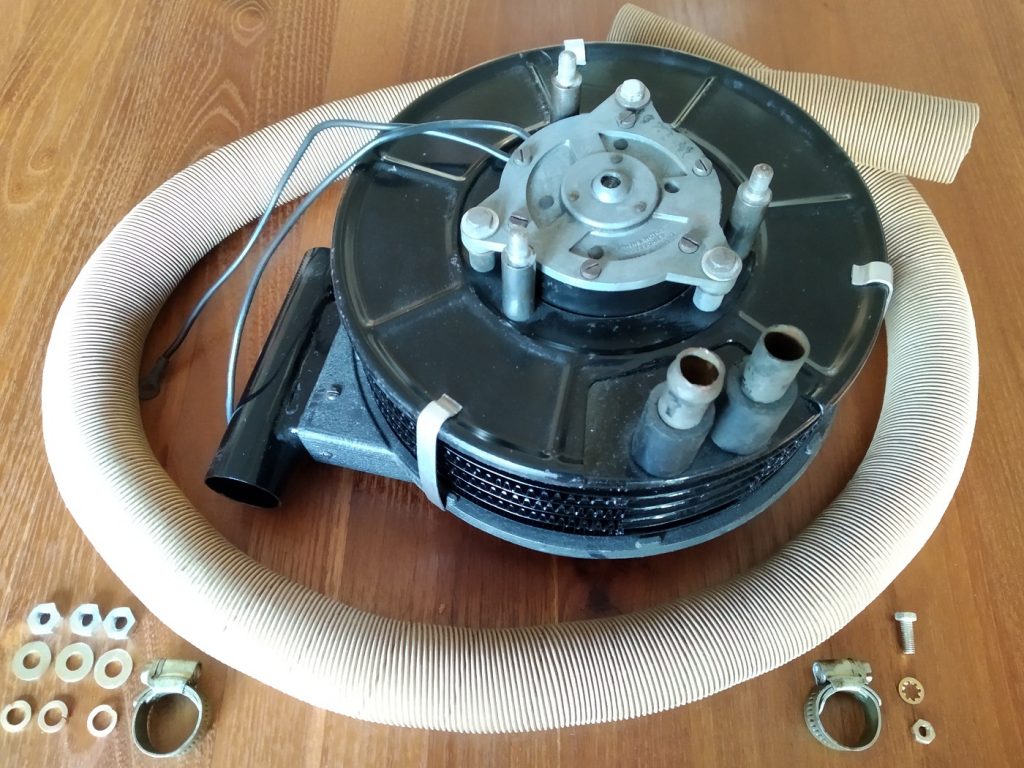
Now that all parts are thoroughly cleaned, painted and retouched everything can be re-assembled again. Also the 12V motor has been tested, after applying some crease inside, it spins without making any noise. (the carbon brushes are OK, and there is no play on the bearings)

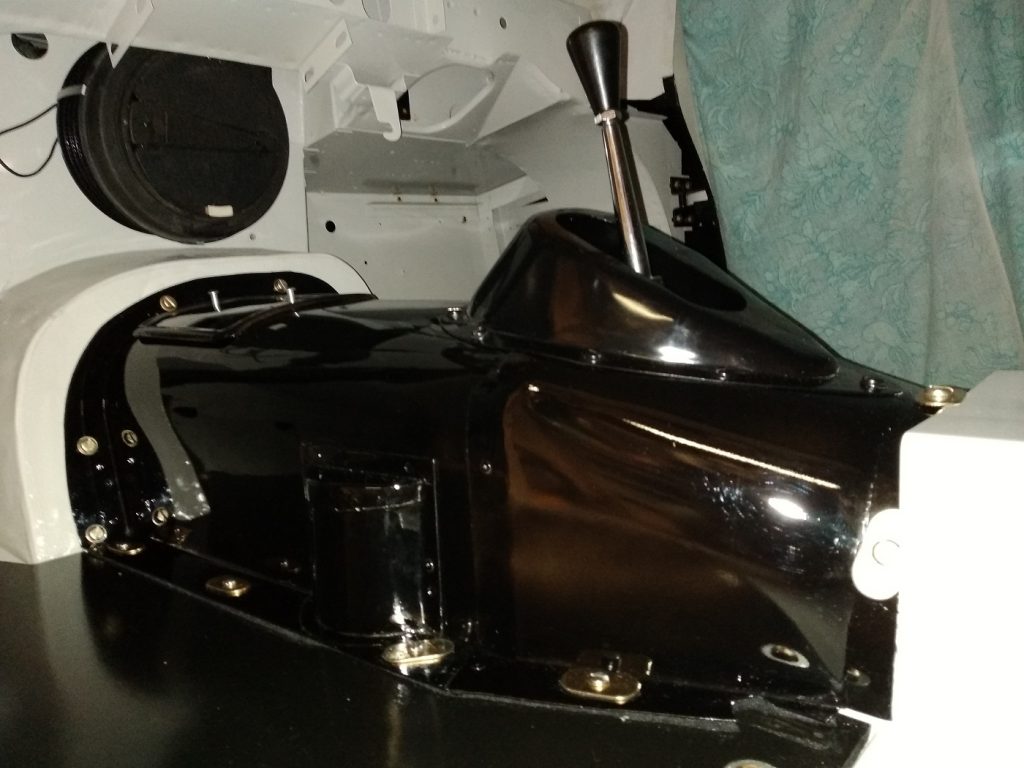
Now the car heater can be mounted onto the car itself, in the first part the car heater itself has been rebuild (see Car Heater I)
When this part has been mounted the water circuit has been finished and can be filled with coolant. The paper hoses will also be mounted but the chrome windshield defrosters, which are connected at the other side, are mounted when the dashboard is fitted.
The carburettor mounted on the engine when I bought the car was not fully complete.
It was missing the;
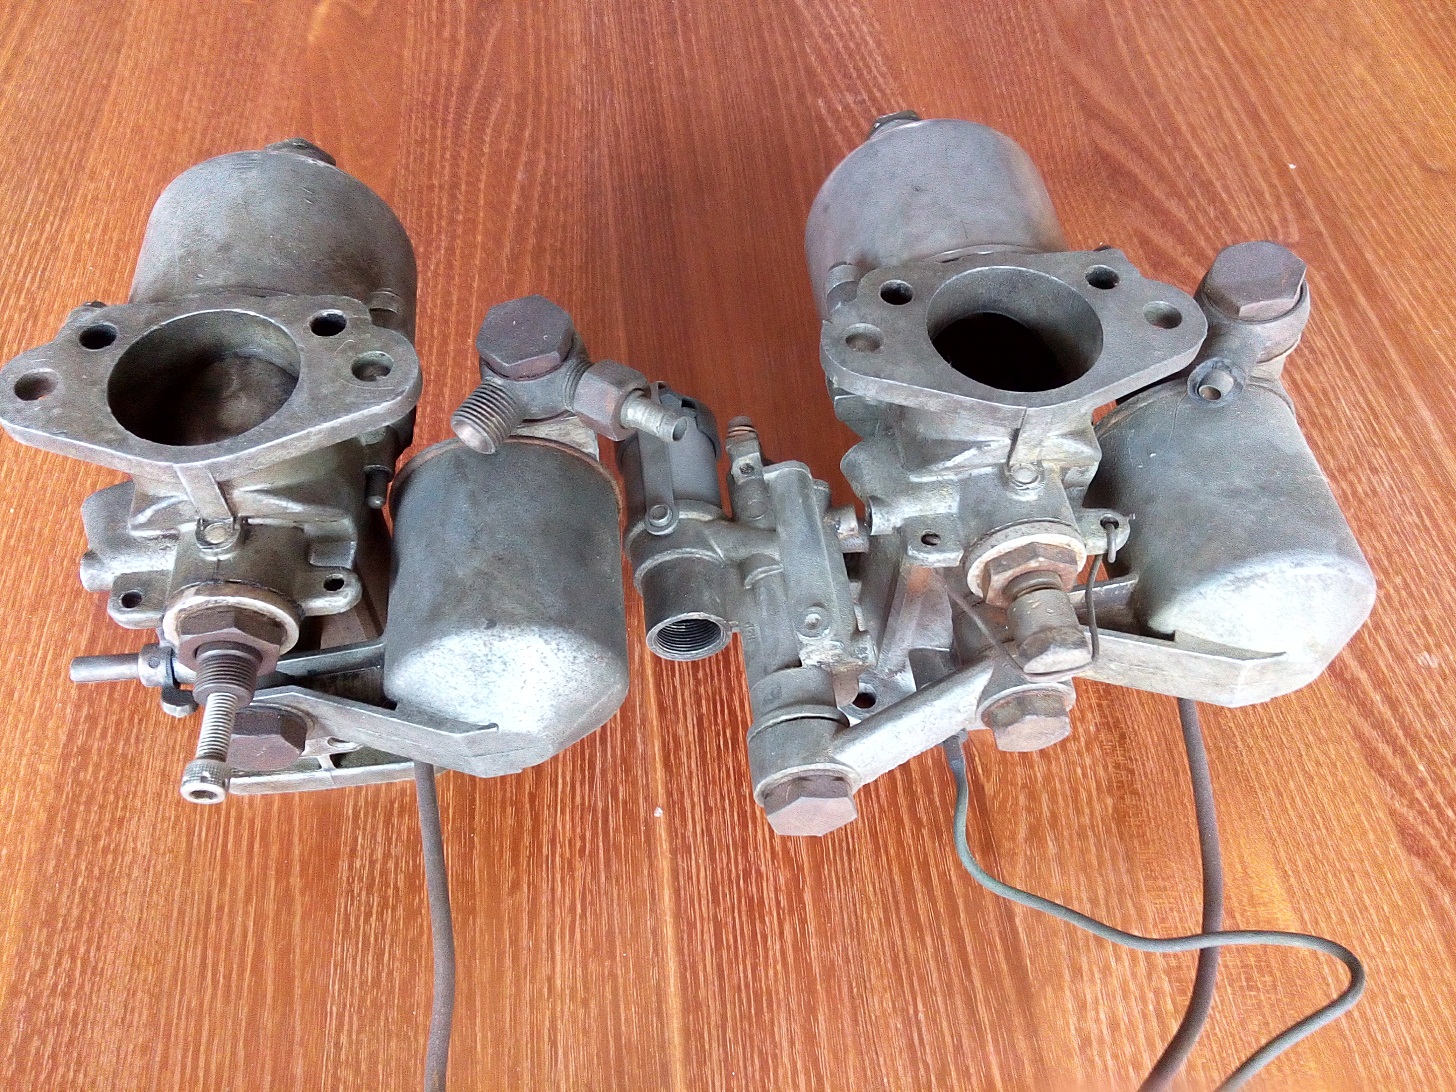
Original front and rear carburettor
Some missing parts are bought via ebay, and via a jaguar garage in Helmond.
Together with two sets of service kits for a H6 carburettor (CSK24), I completed the set of parts needed to assemble both carburettors. All aluminium and messing parts are bead blasted to give them the original satin surface finish. The aluminium suction chambers are polished to give them the original glossy appearance.
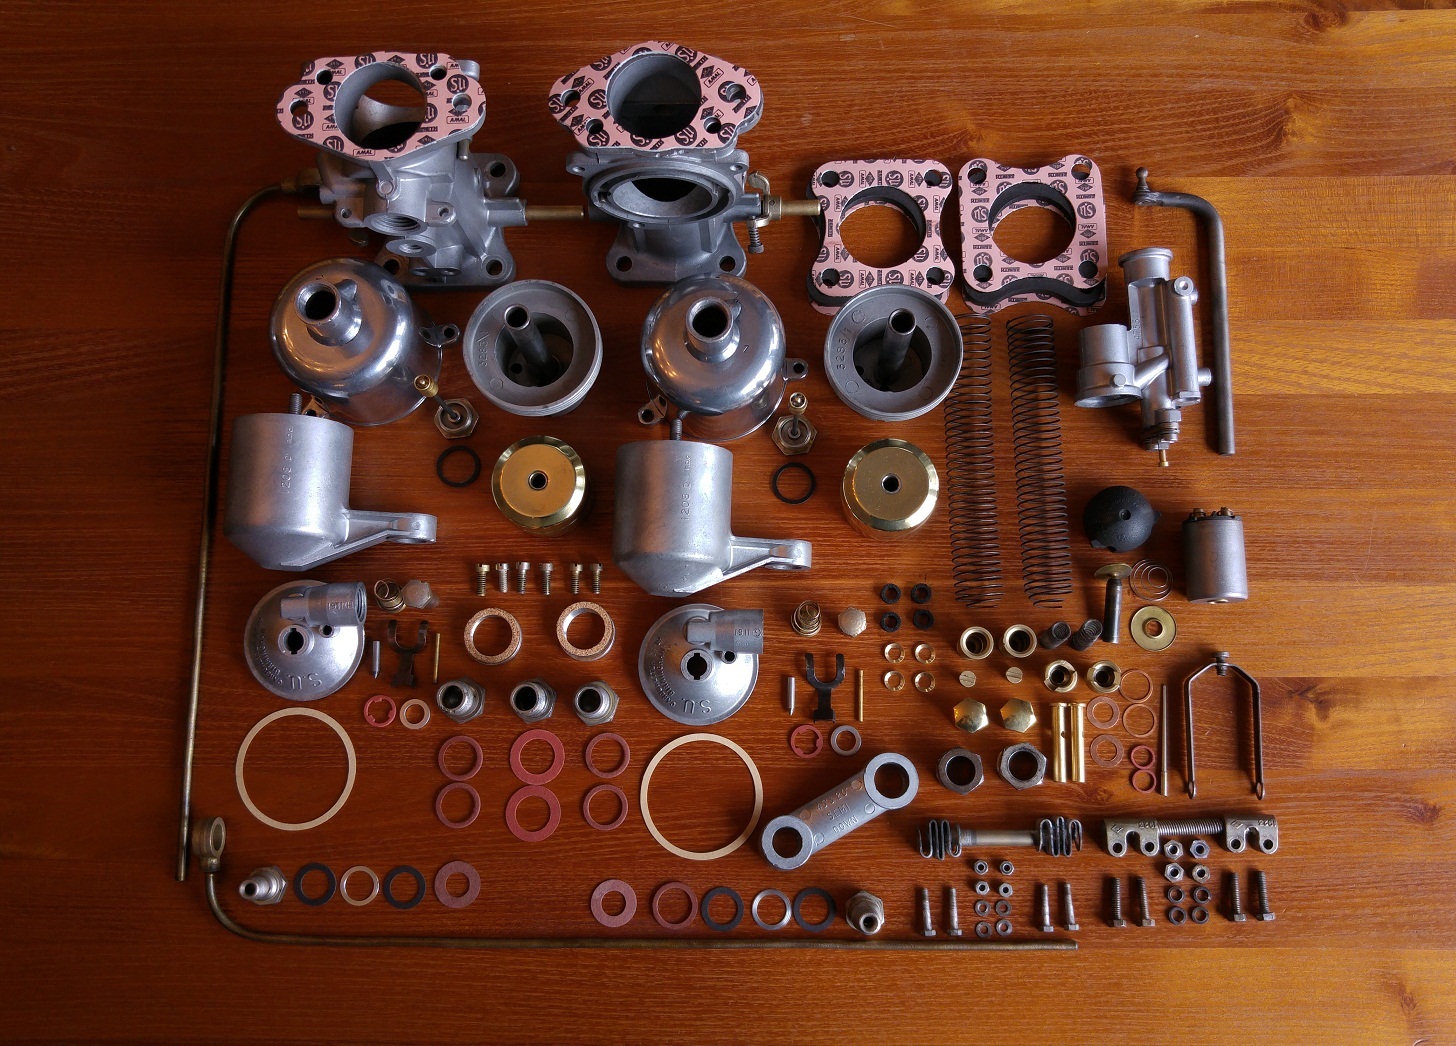
All parts needed to rebuild front and rear carburettors
After all parts are assembled they look like new ones, just left the factory.
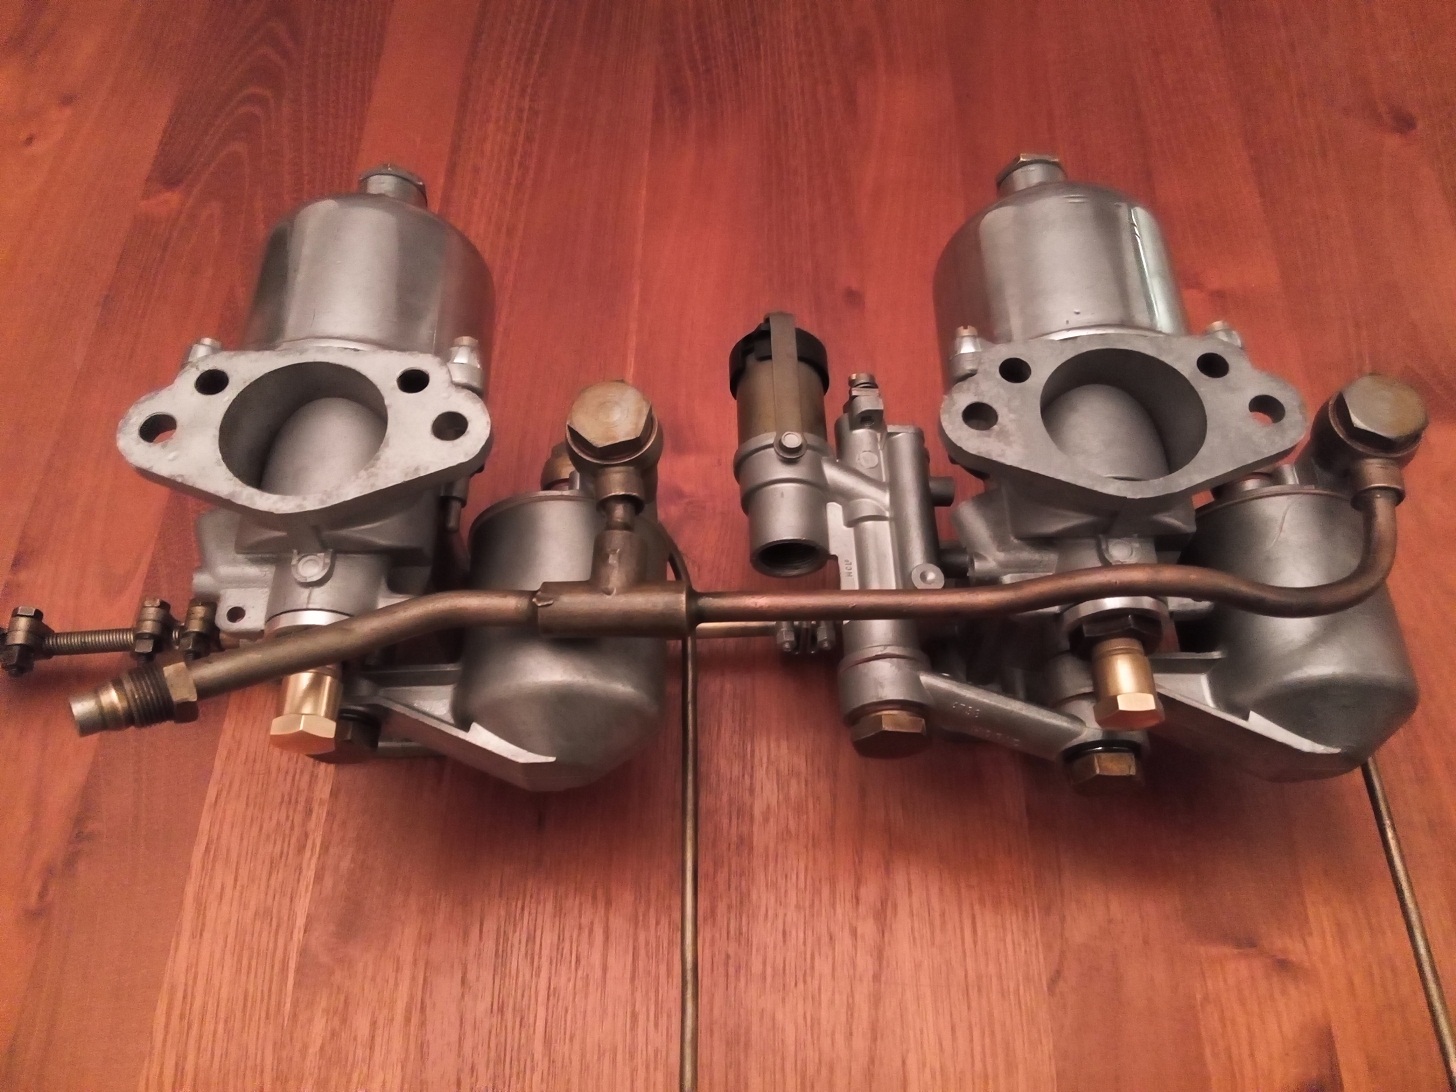
Both carburettors rebuild
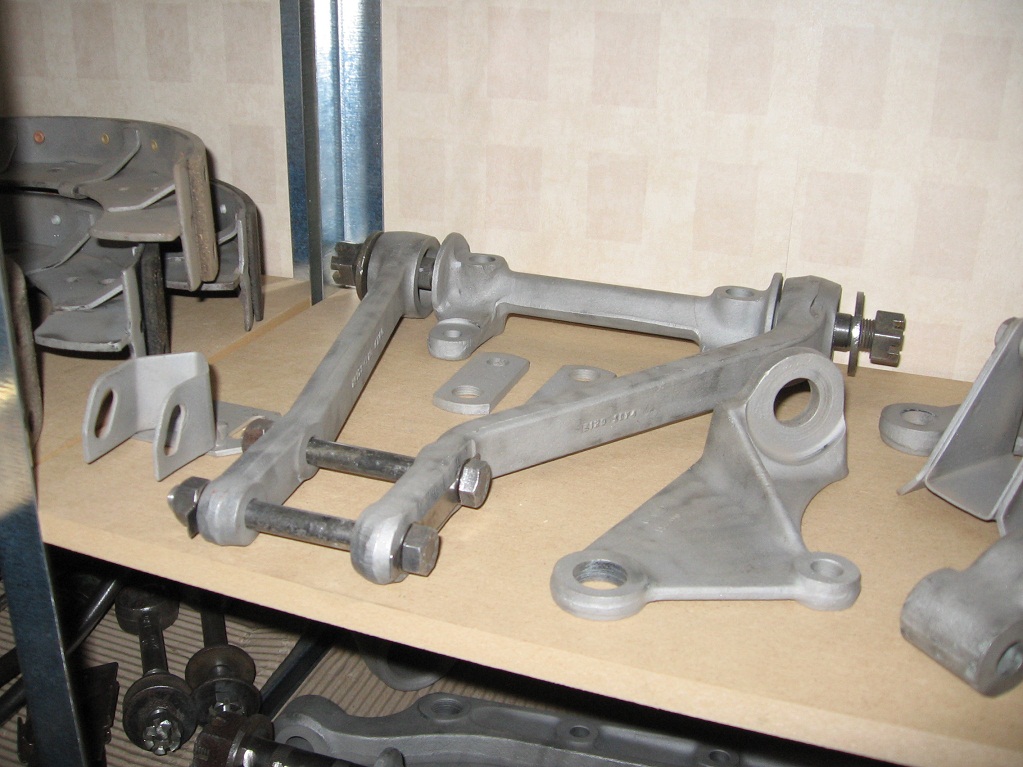
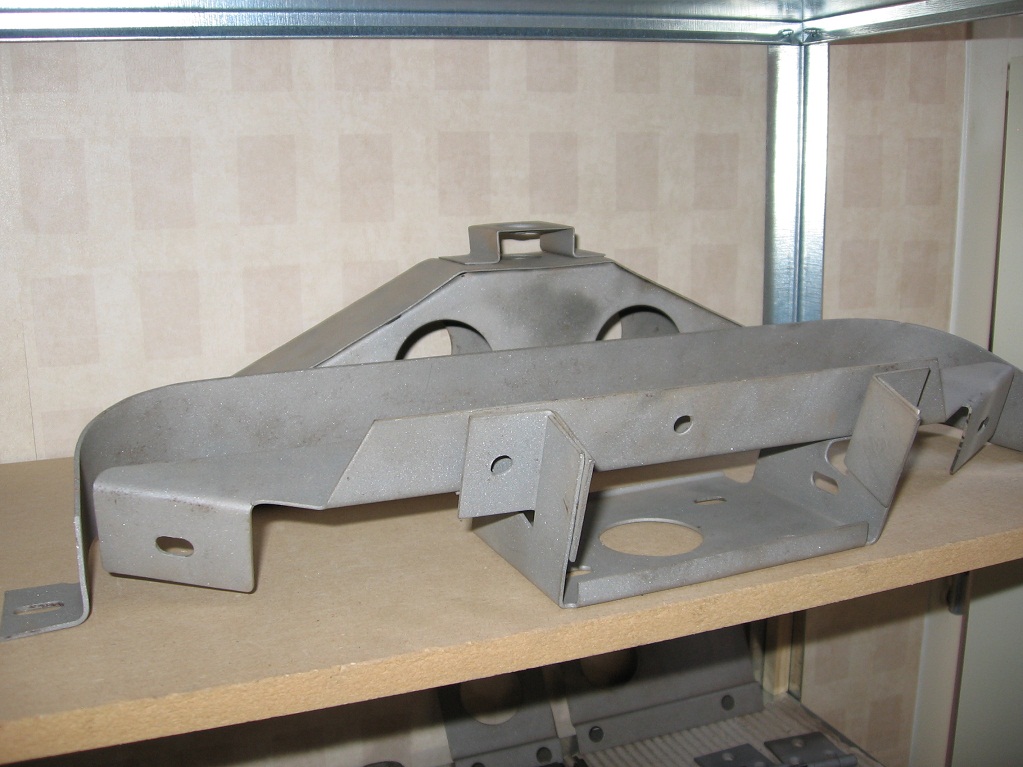
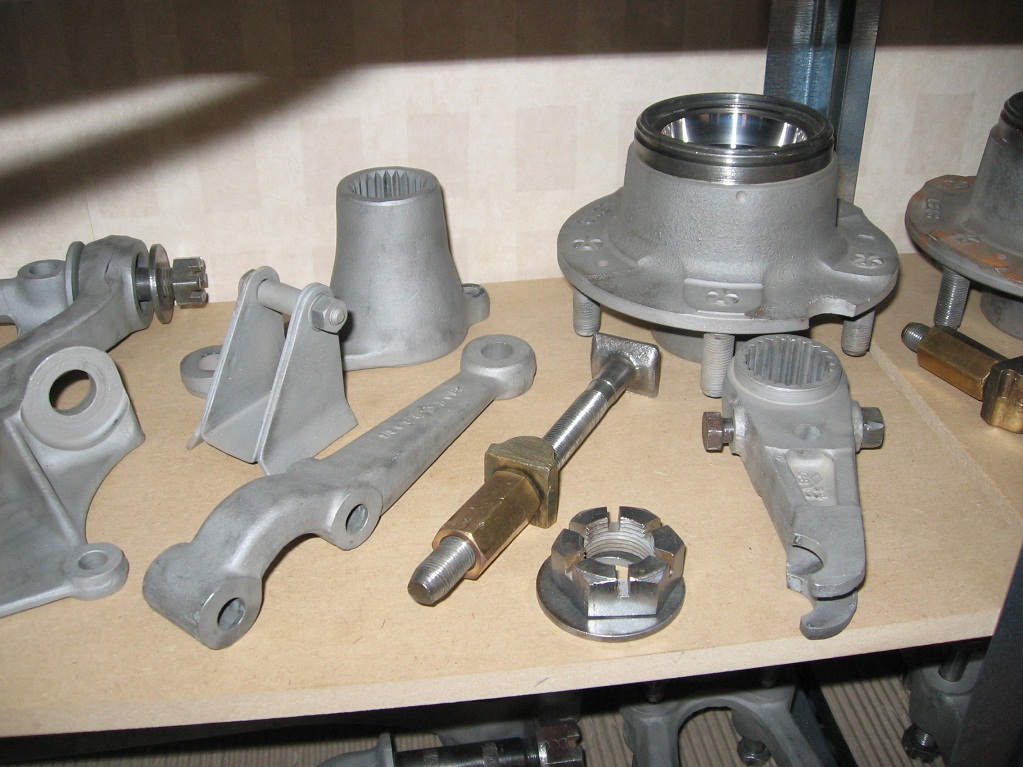
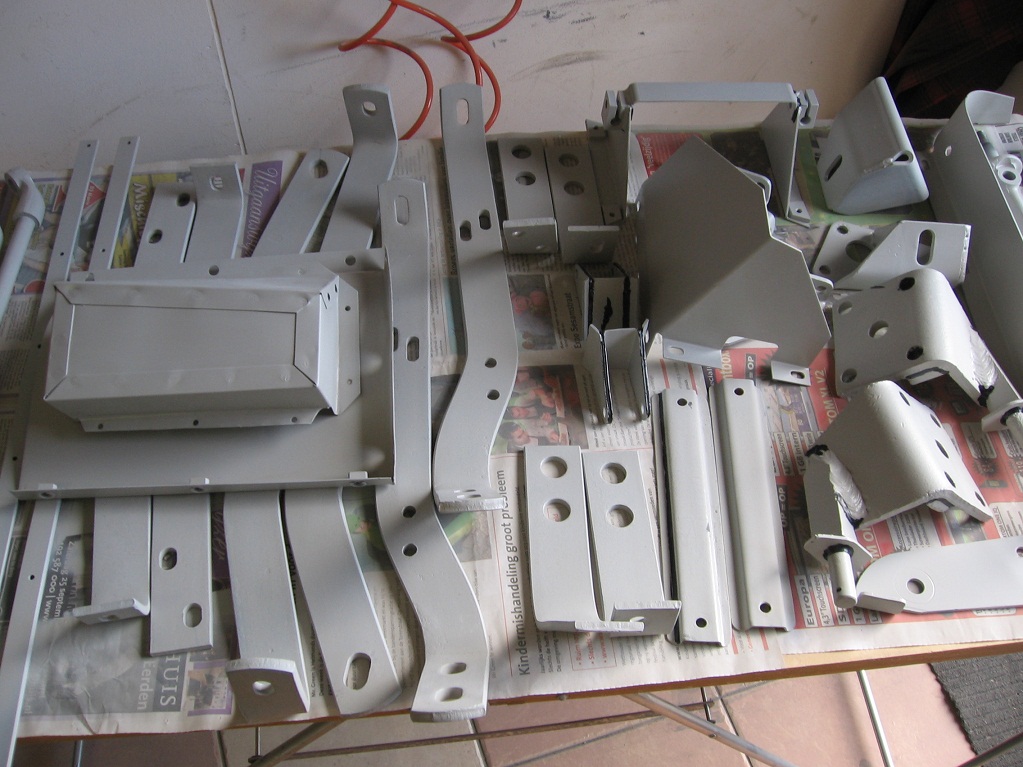
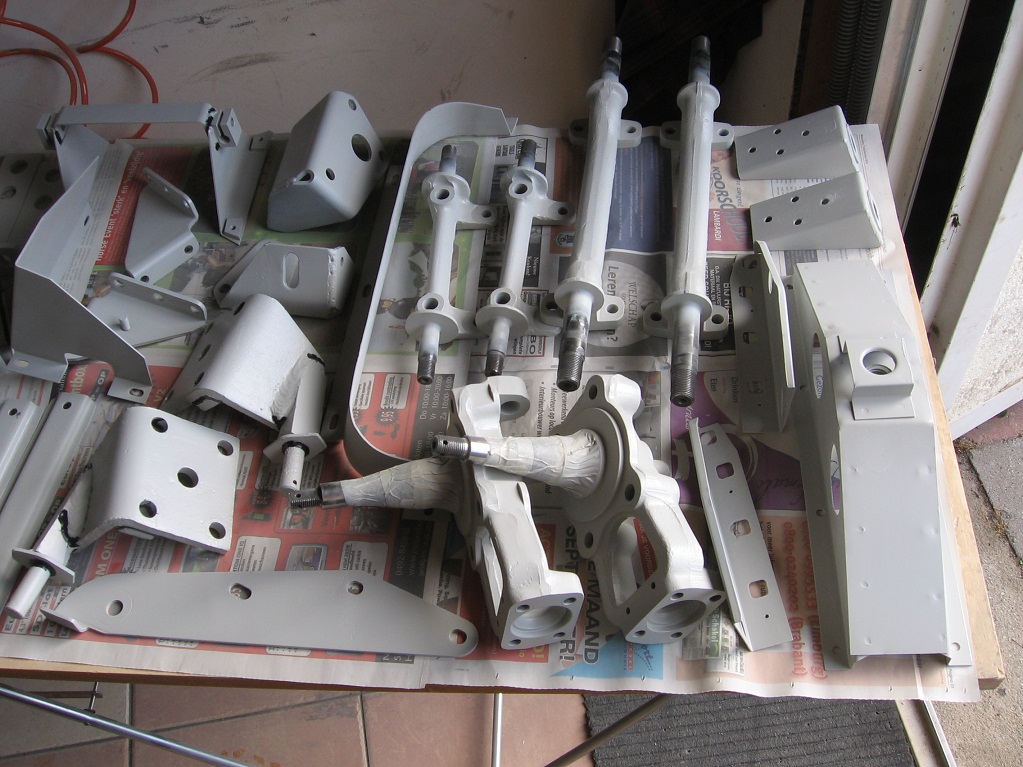
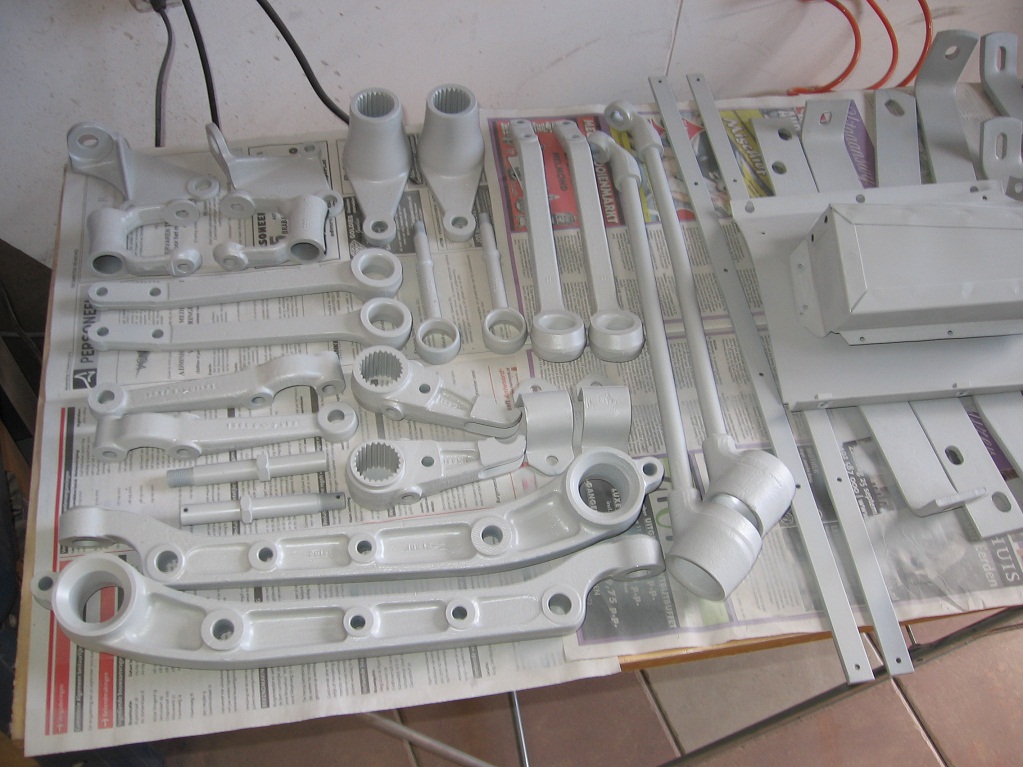
All parts which where removed from the chassis, by the previous owner, have been decreased thoroughly.
After the decreasing process as been finished all parts are bead blasted until the whole surface is rust free, as you can see on the following pictures.
My first idea was to leave the clutch unit unrestored, because there was still some original paint available and he did’t look so bad. After inspection I saw a lot of rust inside (Springs and clutch plate) and therefore decided to restore the clutch unit as well.

The original clutch unit which was mounted on the flywheel
So first I disassembled everything (be careful with removing the three nuts, there is a lot of pressure due to the twelve strong springs). Cleaned everything with glass bead blasting and sprayed everything with a new fresh layer of paint. I used special paint for the parts who can become very hot (< 800℃)
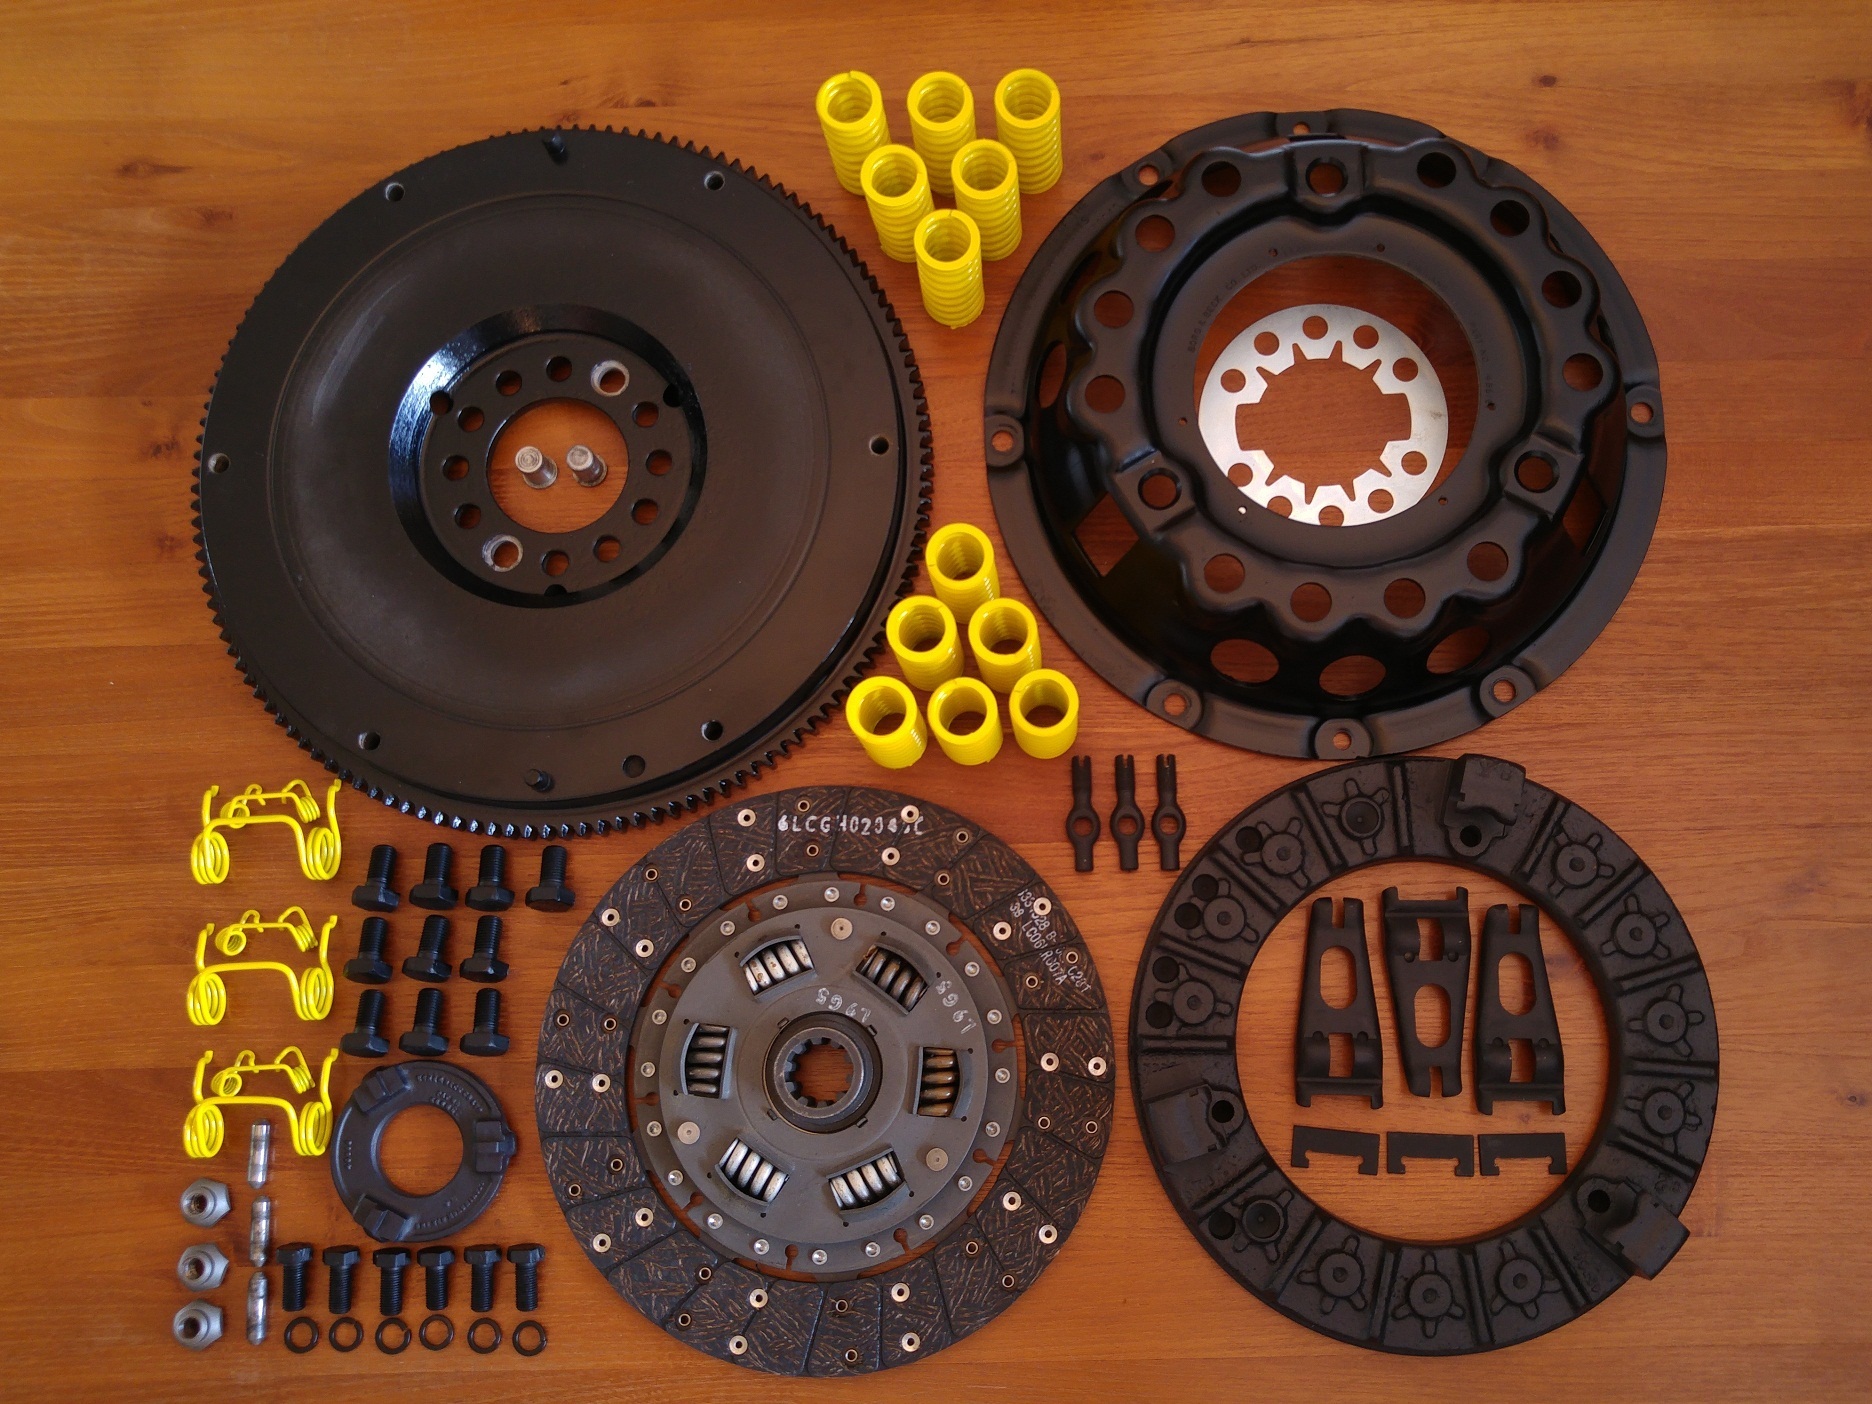
The original paint on the springs, who will deliver the pressure to the clutch plates, where not visible anymore. But in the documentation is stated the they should be painted yellow.
The restored clutch unit, ready to be mounted
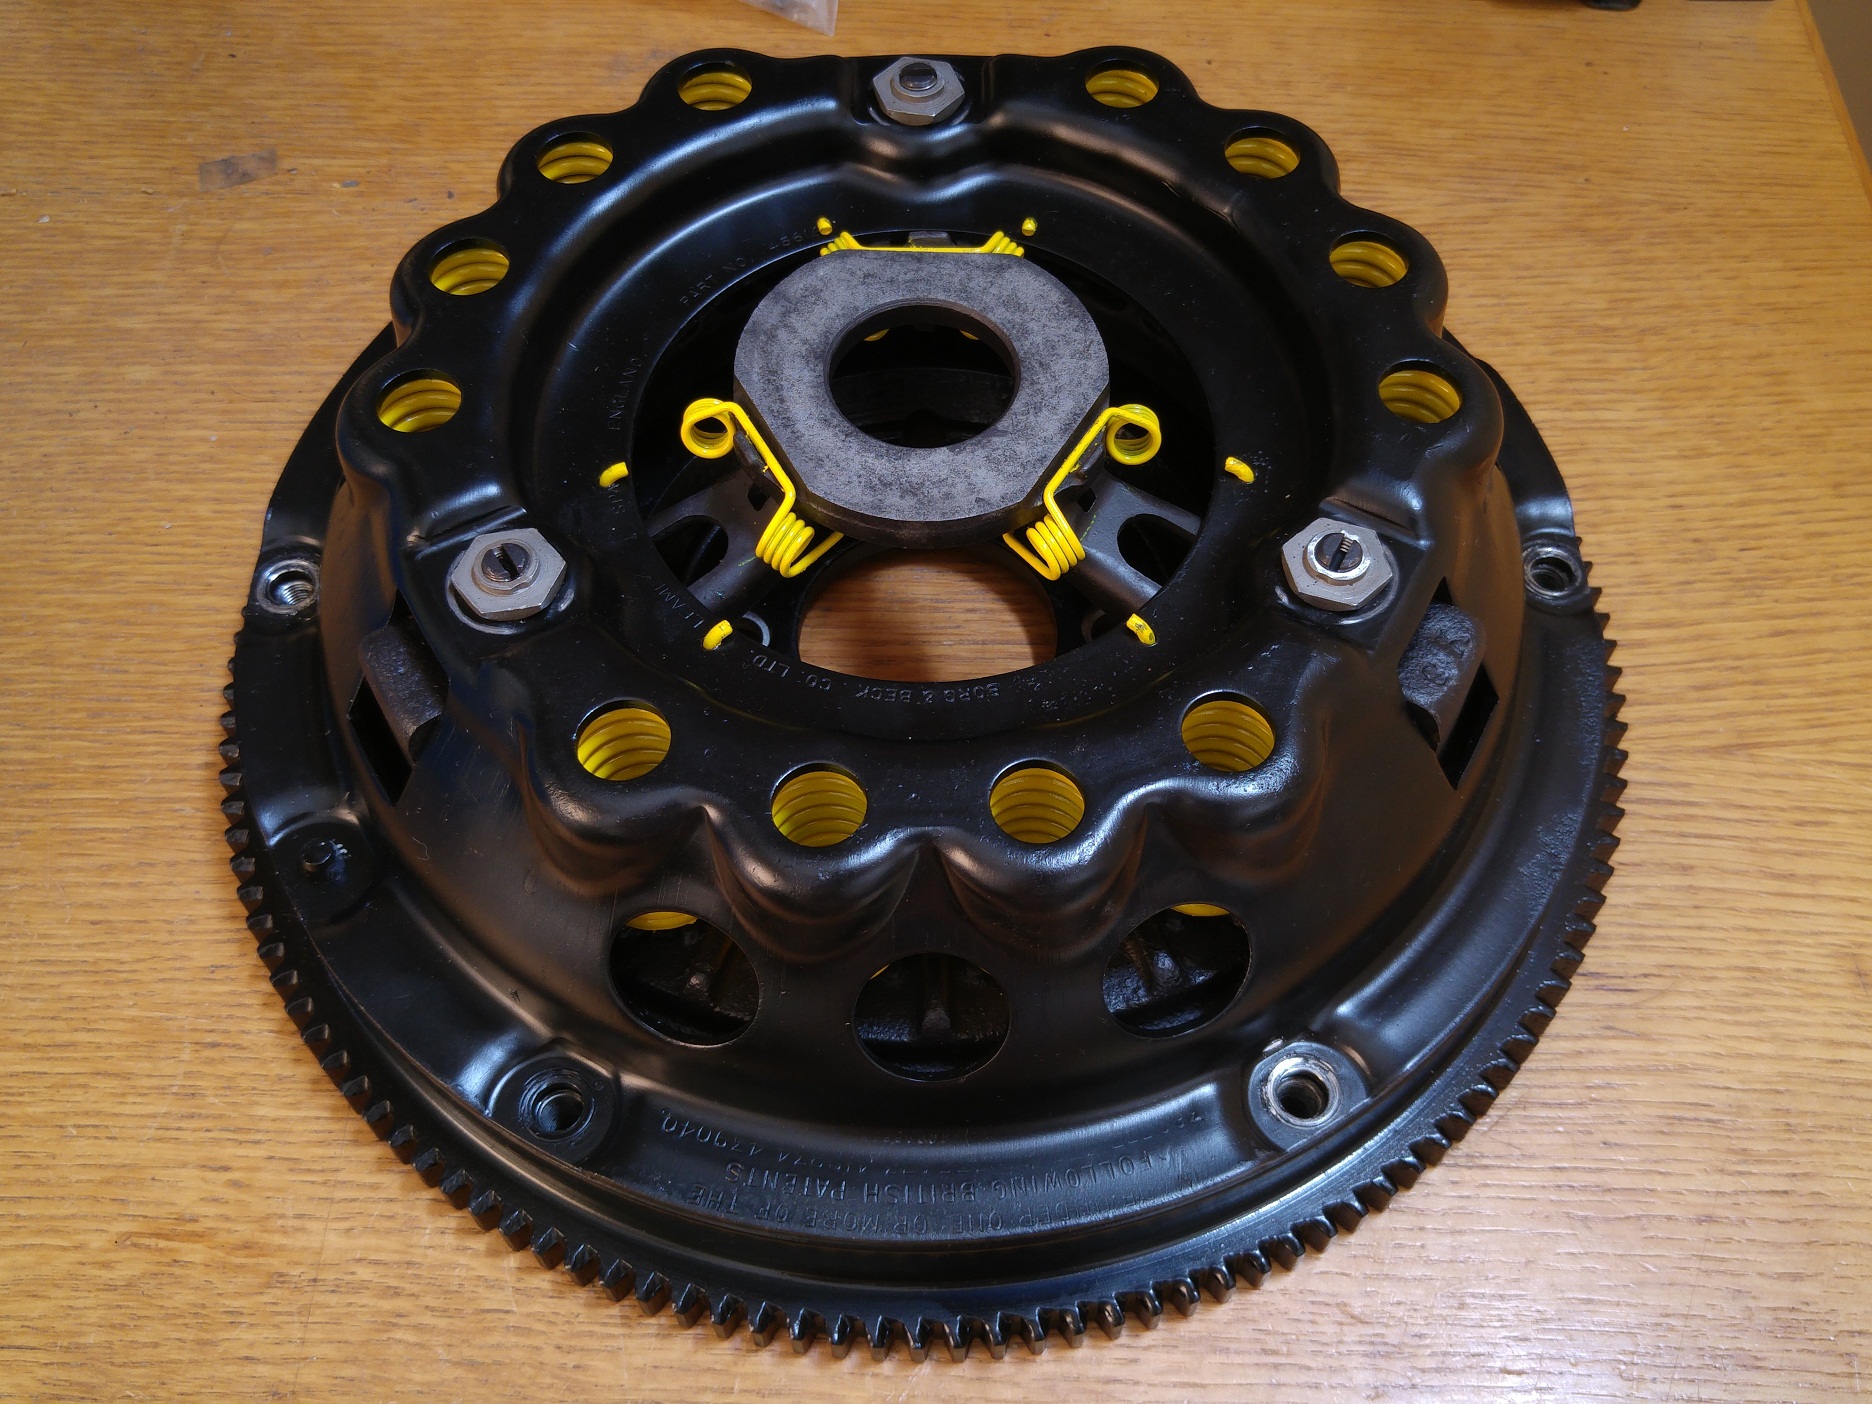
I didn’t know if it was really necessarily but I placed the cover on the same location as it was originally. During the assembly I noticed that the pressure plate has been balanced in some way (In the second picture you can obvious the have drilled 7 extra holes to remove some material).