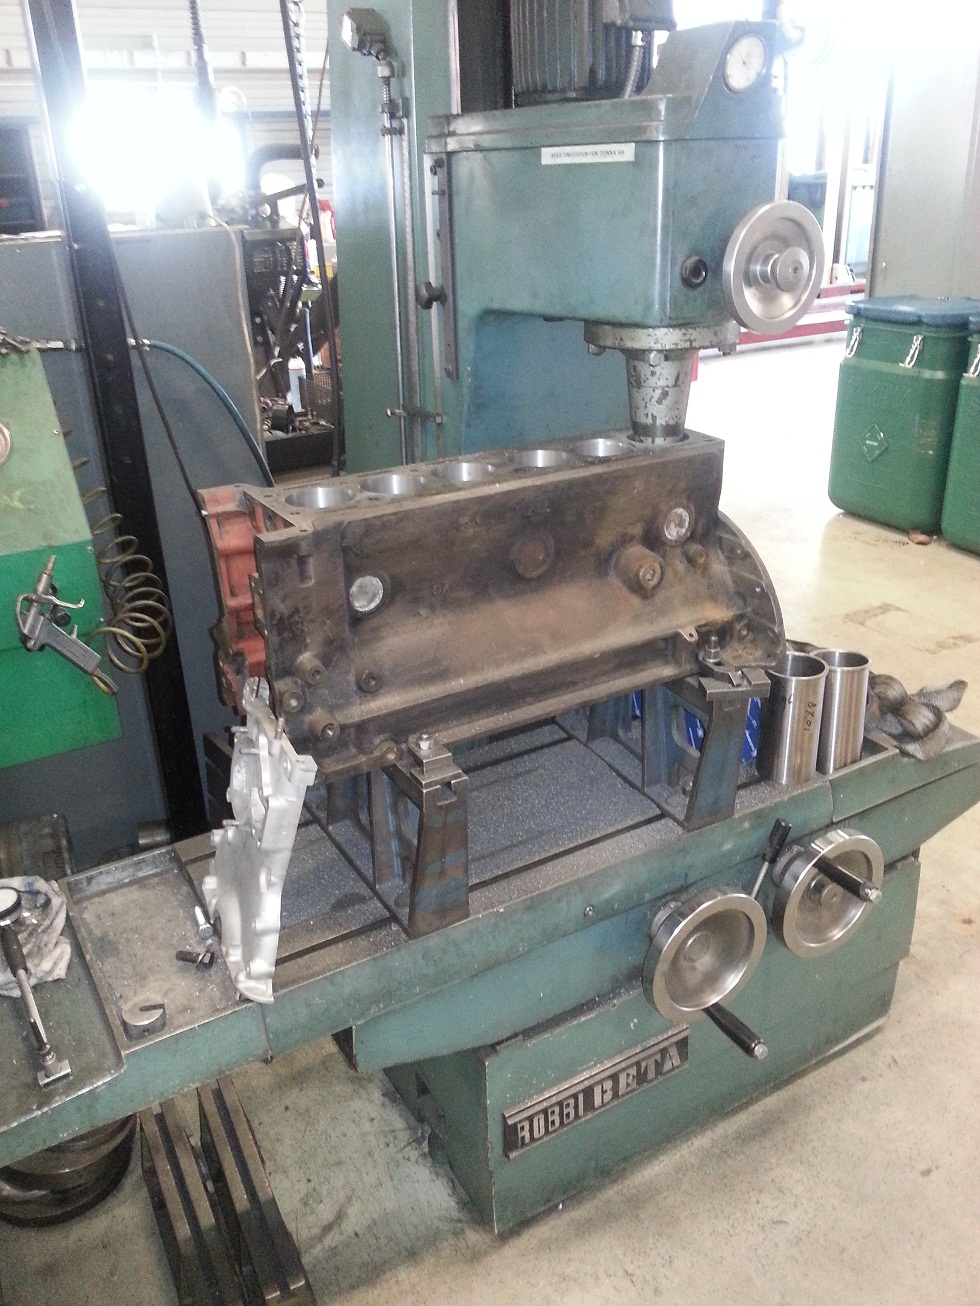
After I received the engine block from the revision company I started to remove all external rust. The dirt and crease was already removed before it went to this company. The outside of the block can now be sprayed with special engine paint (MOTIP engine paint black gloss) which can withstand 150 degrees.

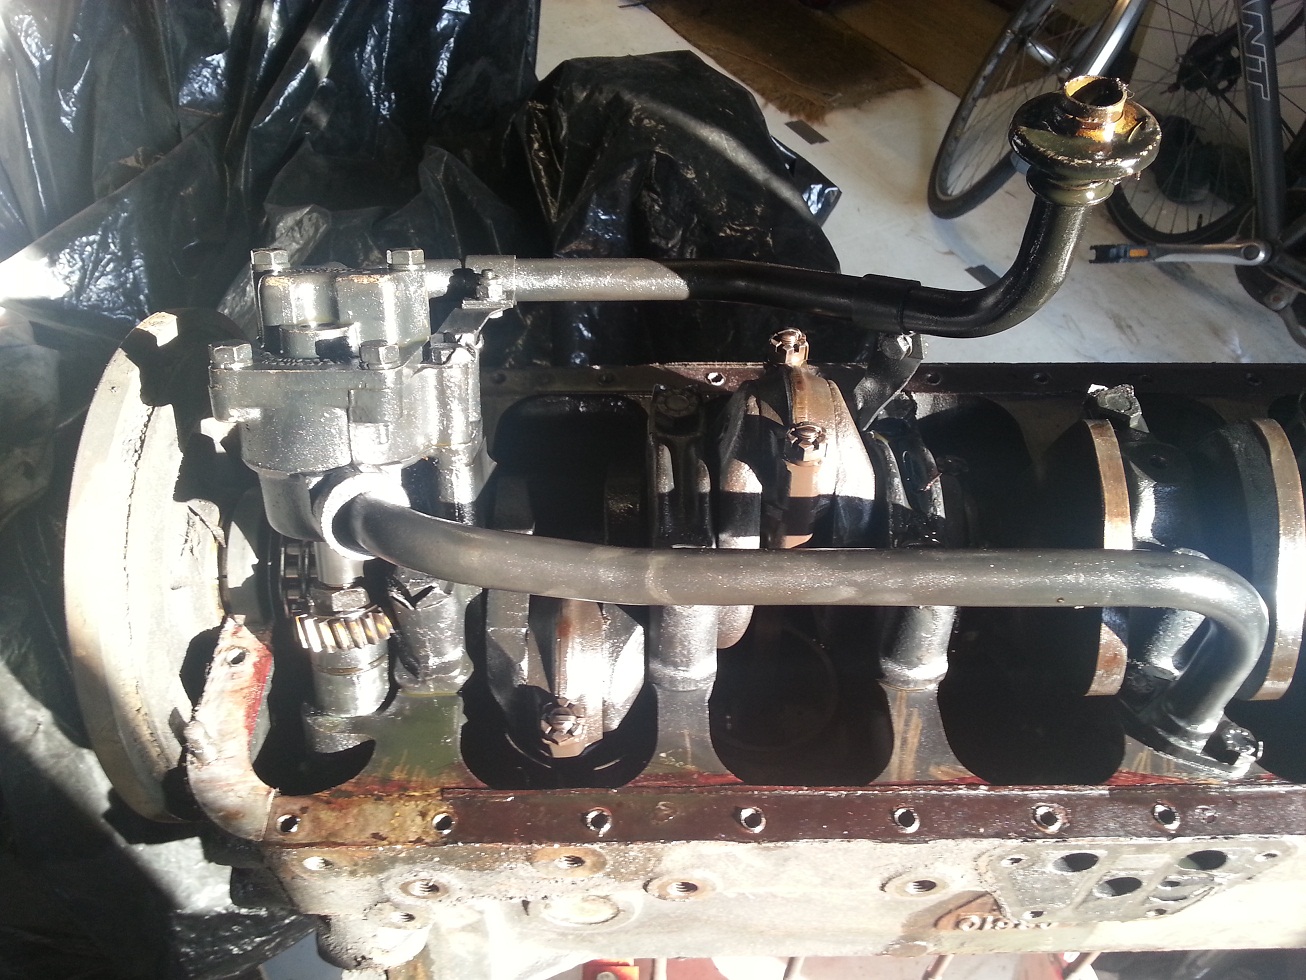
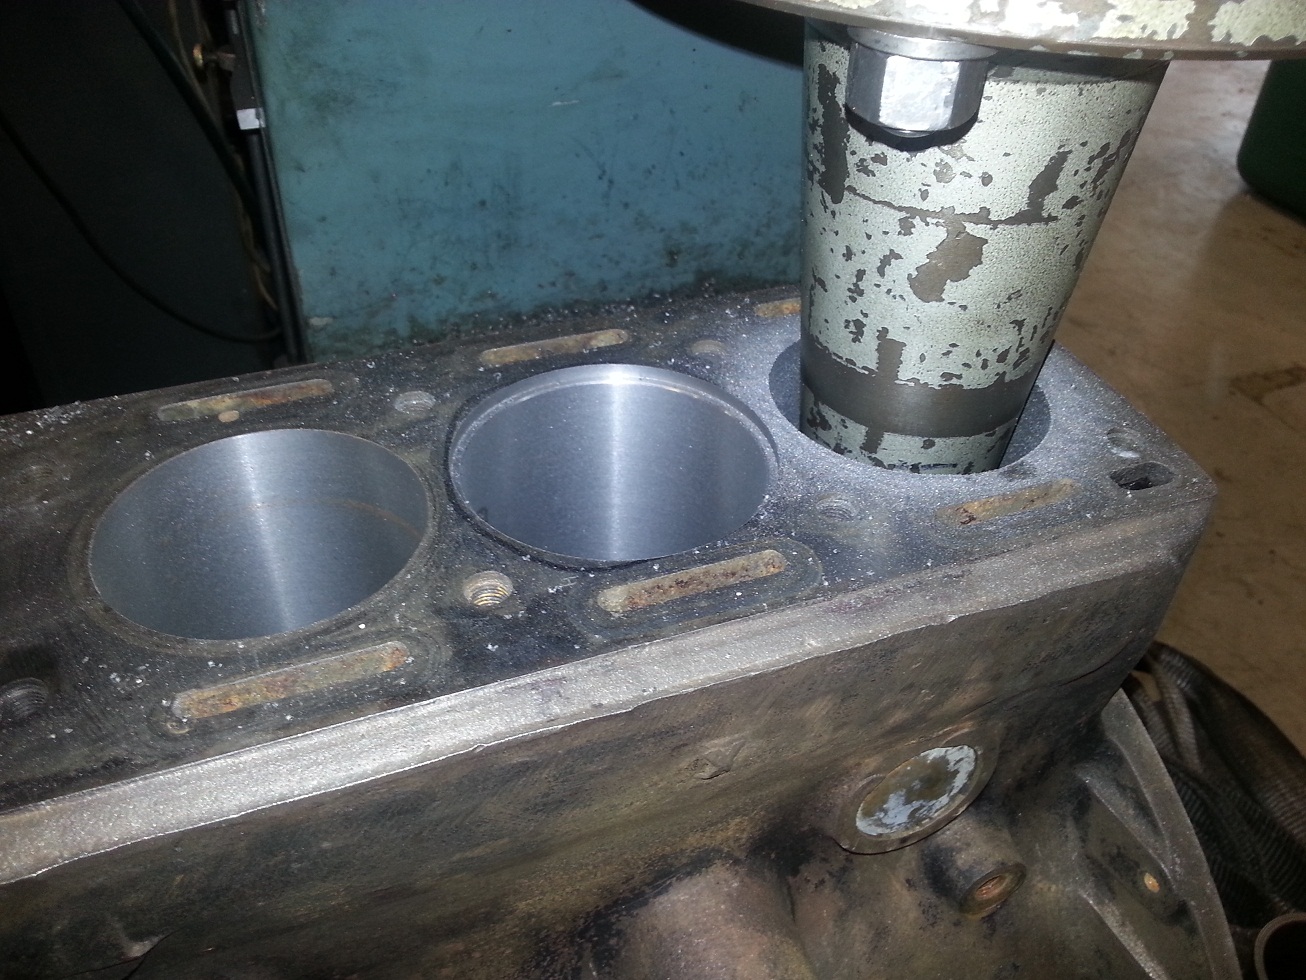
Due to experience from other XK restorers (replaced freeze plugs came loose) I decided to leave the freeze plug in place because they still look and feel very thick (it was not possible to make dents in them with a hammer). On the original block there where also no signs of leakage. The plugs didn’t show any damage/rust when inspected from the inside (via water channels)
The basis for the engine block is now finished and we can start with the following items (which will be handle in separate parts):
- Crankshaft and pistons ✔
- Timing Gear ✔
- Oil Pump ✔
- Oil Cleaner ✔
- Oil Sump ✔
- Water Pump ✔
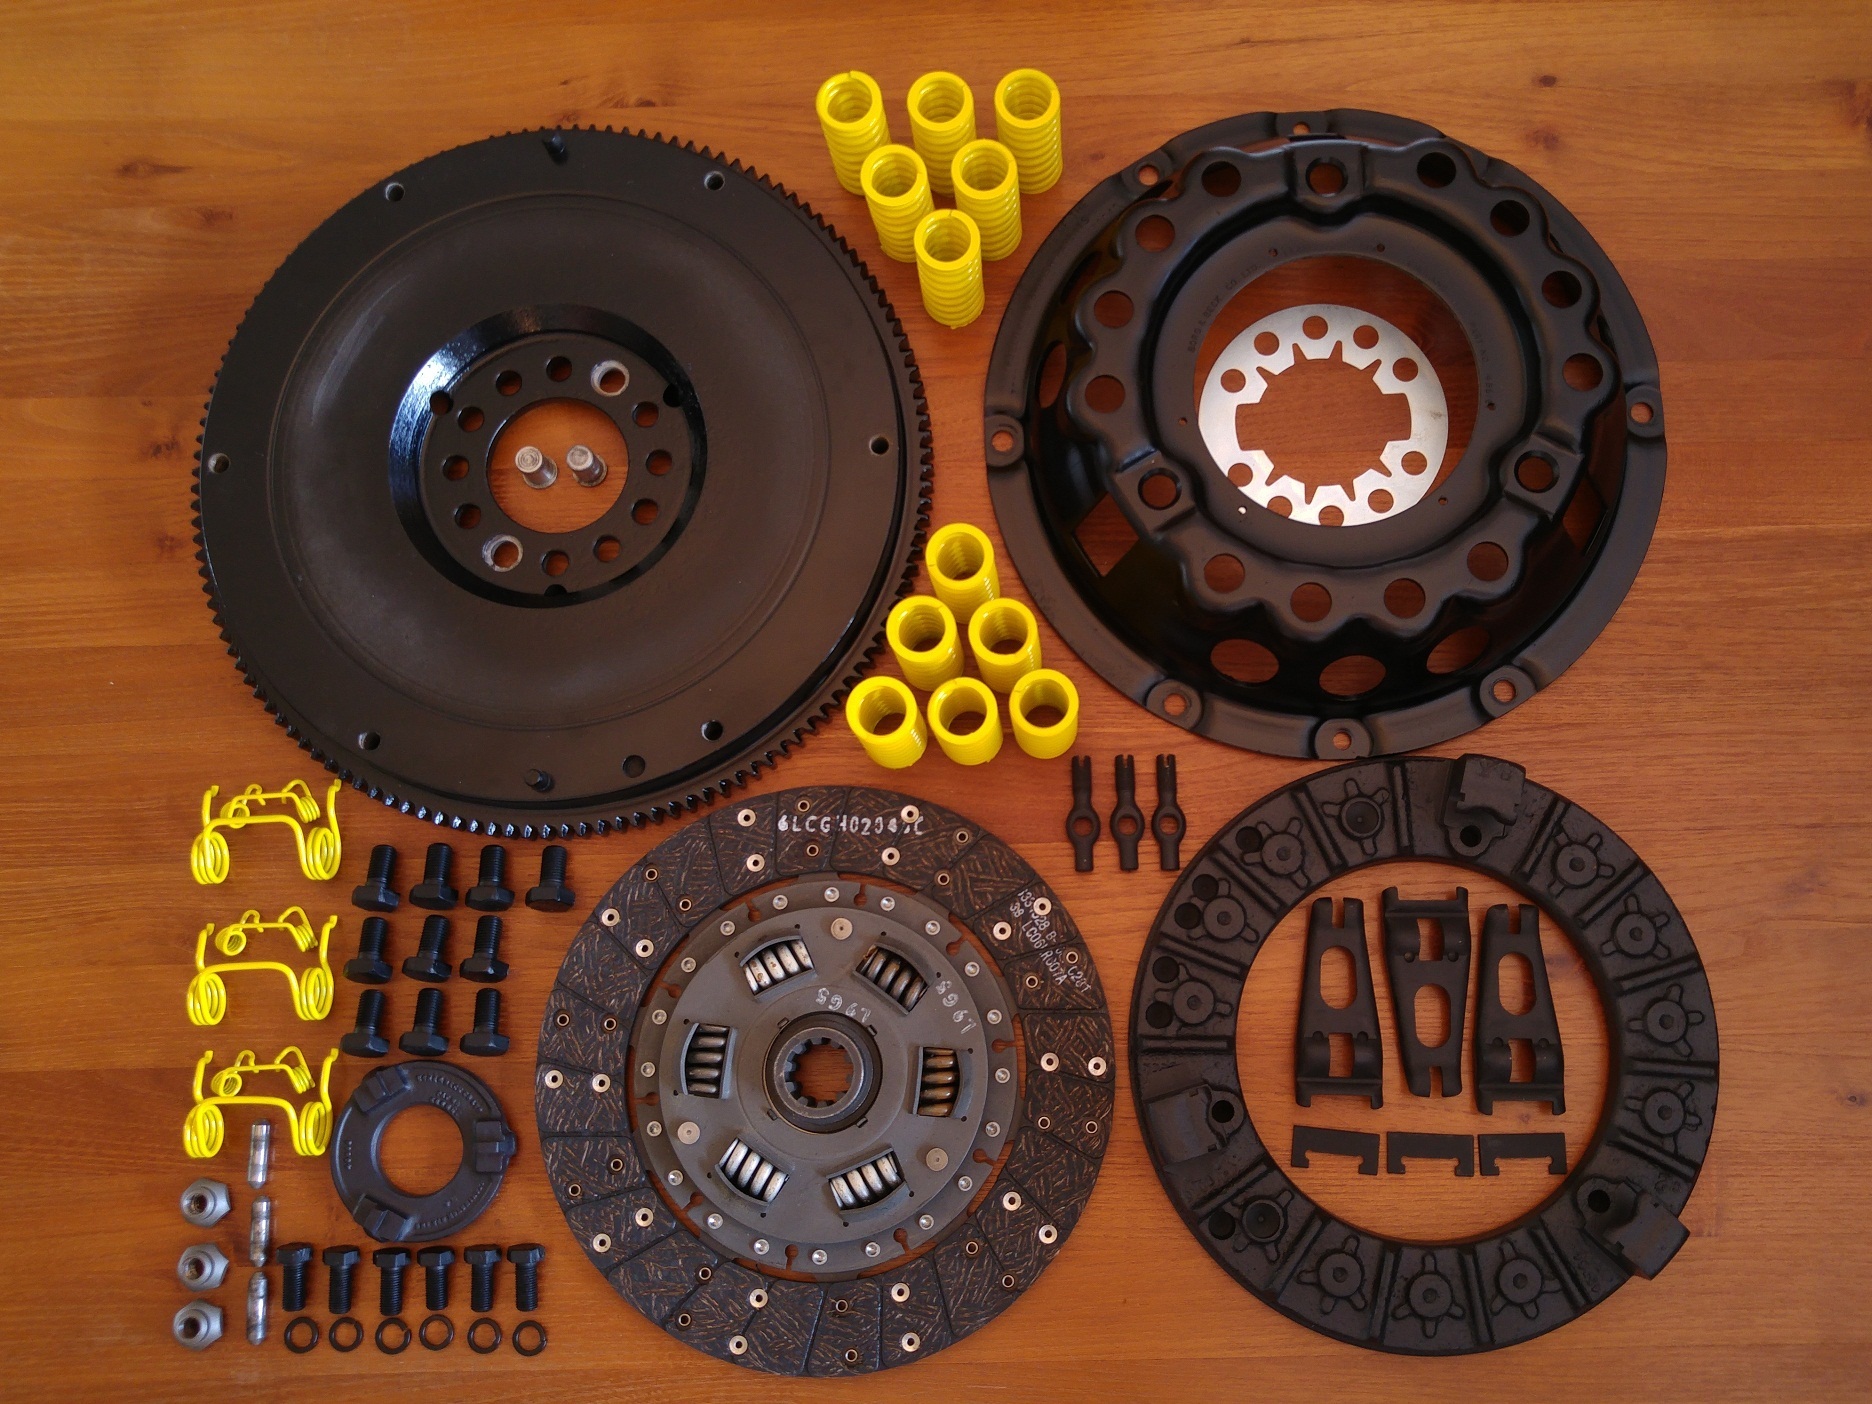
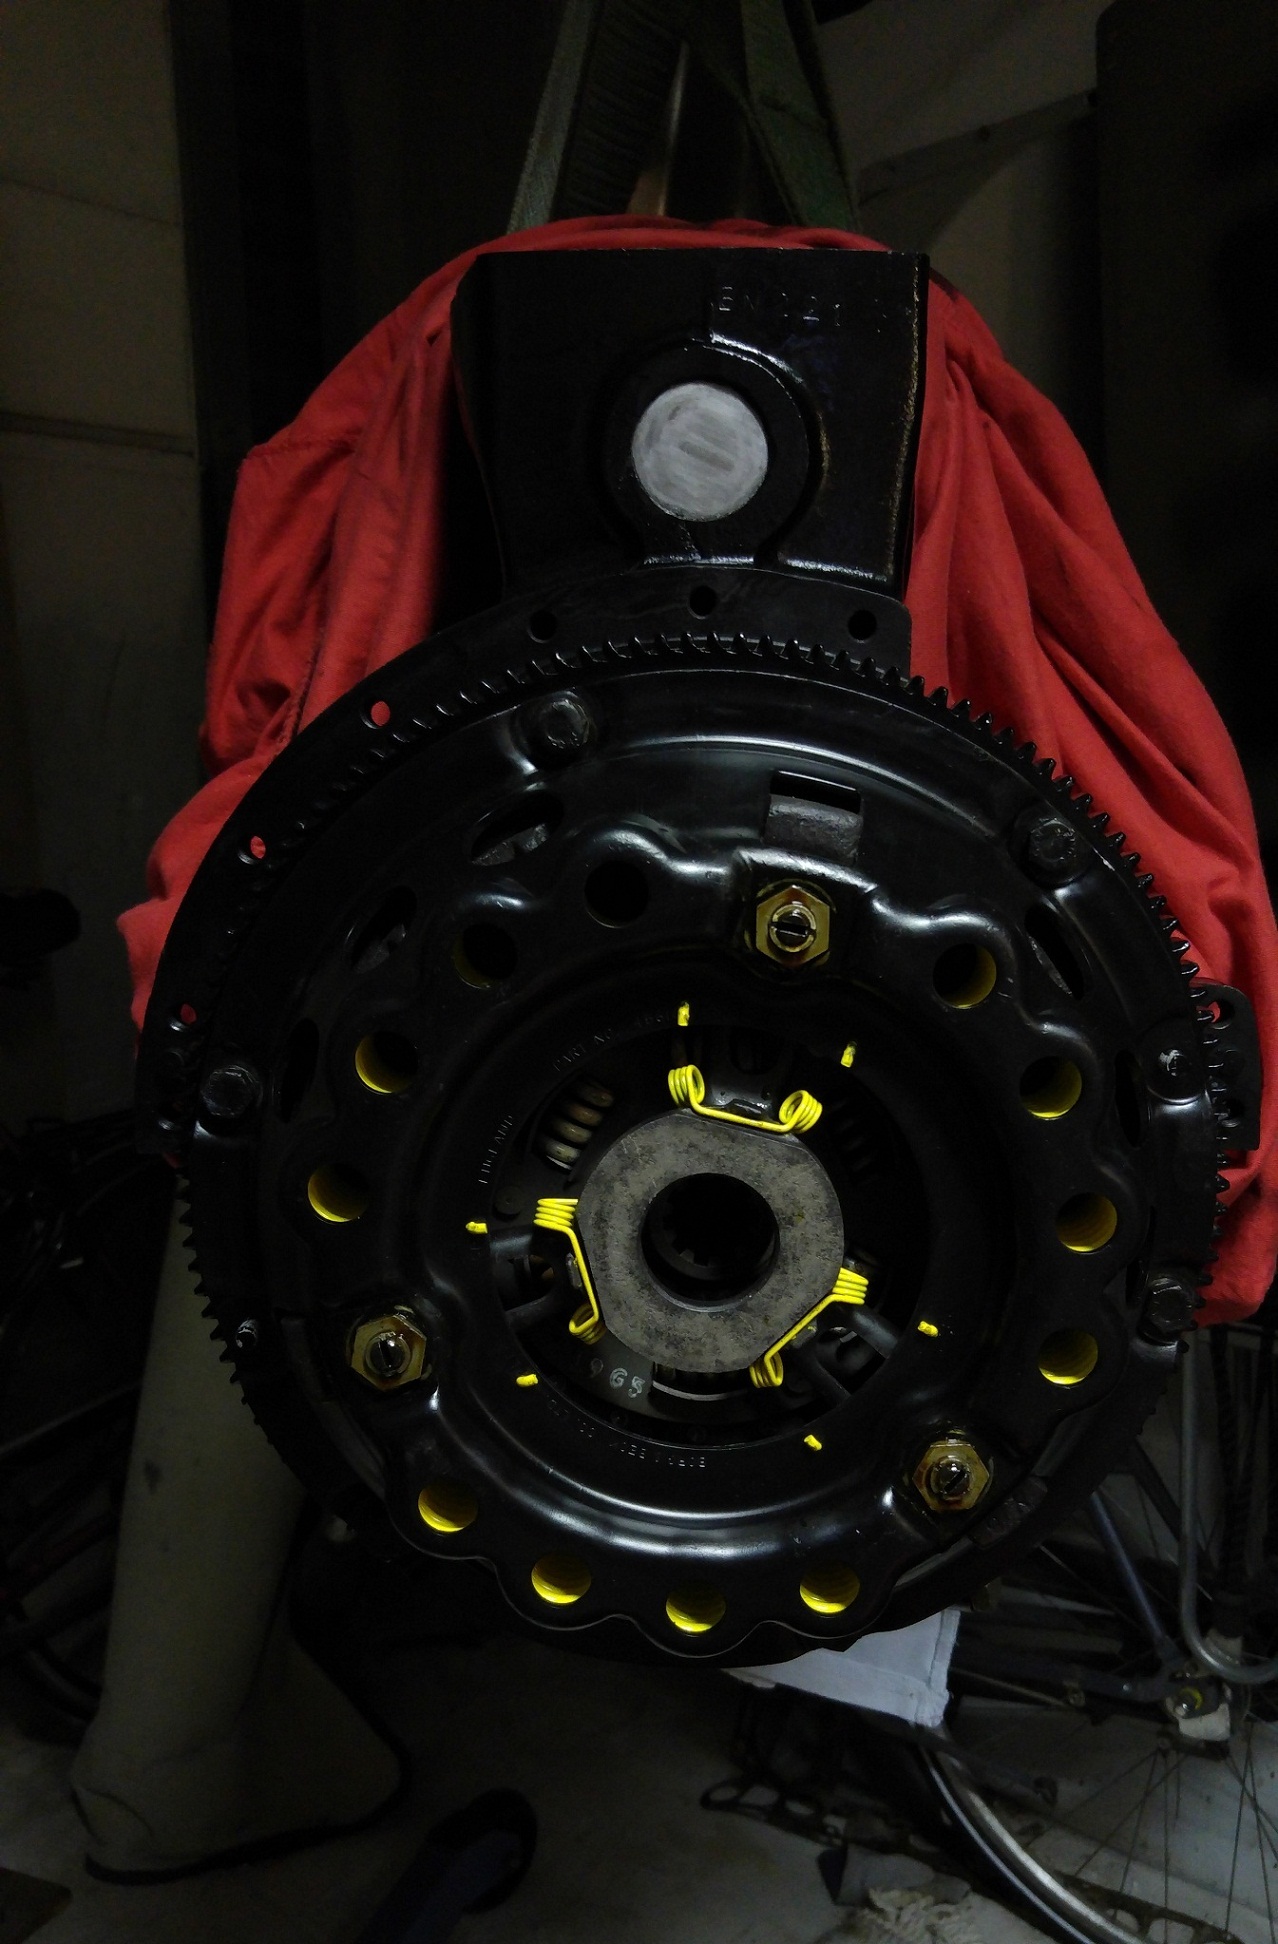
- Flywheel ✔
- Clutch unit ✔
- Gearbox ✔
- Engine Head ✔
- Inlet/outlet manifold ✔
- Carburetors ✔
- Ignition
- Dynamo ✔
- Cooling Fan ✔
- Starter ✔