jun 122016
 

The prop shaft was a part that was in one of the boxes with parts that came with the car. It was not clear to me if the prop shaft was originally on the car or not. The length of the prop shaft is about 41″ but, due to the fact the rear axle and engine where already removed, it was not possible to check if the length of the pro shaft was correct.

New bearings mounted

New bearings mounted

After the prop shaft is thoroughly cleaned and painted, new cross coupling bearings are mounted.

PropshaftPartsDetail

Detail of the nuts and bolts

PropshaftParts

All parts needed to mount the new prop shaft

RollingChassisFinishedRight

Prop shaft mounted between gearbox and rear axle 

 Posted by at 17:05
jan 022013
 
RackPinionOrg

The Rack and Pinion housing in original condition

All separate parts used to rebuild the rack and pinion housing (with brand new bearings of course)

RackPinionParts2RackPinionParts1

RackPinionNew

The Rack and Pinion housing in restored condition

 Posted by at 17:02
aug 102016
 

The radiator was, together with many more parts, not present with the car. During the last 6 years I was able to buy two radiators, (C9616)  together with the corresponding cowl (C7651) The first radiator has considerable damage in the top and bottom parts. The second radiator misses the mounting studs on both sides.

RadiatorOrg

One of the two original radiators

I have to combine parts from both radiators to be able to make one nice one.

First I started with removing the left and right side (where the stud are in) on both radiators. Now, due to the fact that the good radiator has still some dents in the upper part, I also removed that part. From the inside all dents are cautious removed and soldered back onto the radiator core. The thin metal reinforcement soldered to the left side of the core must also be replace, due to rust, with a fresh new one. Now the left and right sides can be soldered back onto the radiator. Last be not least I tried to realign and straighten all fins, to improve the cooling capacity. After the radiator was thoroughly cleaned it can be painted in two layer of paint (epoxy primer and satin black paint)

RadiatorParts

Parts needed to mount the fresh painted radiator

The almost as new radiator fitted as a clove between the two new mounted front wing supports.

hdr

The radiator mounted onto the car

 Posted by at 14:31
jul 282013
 

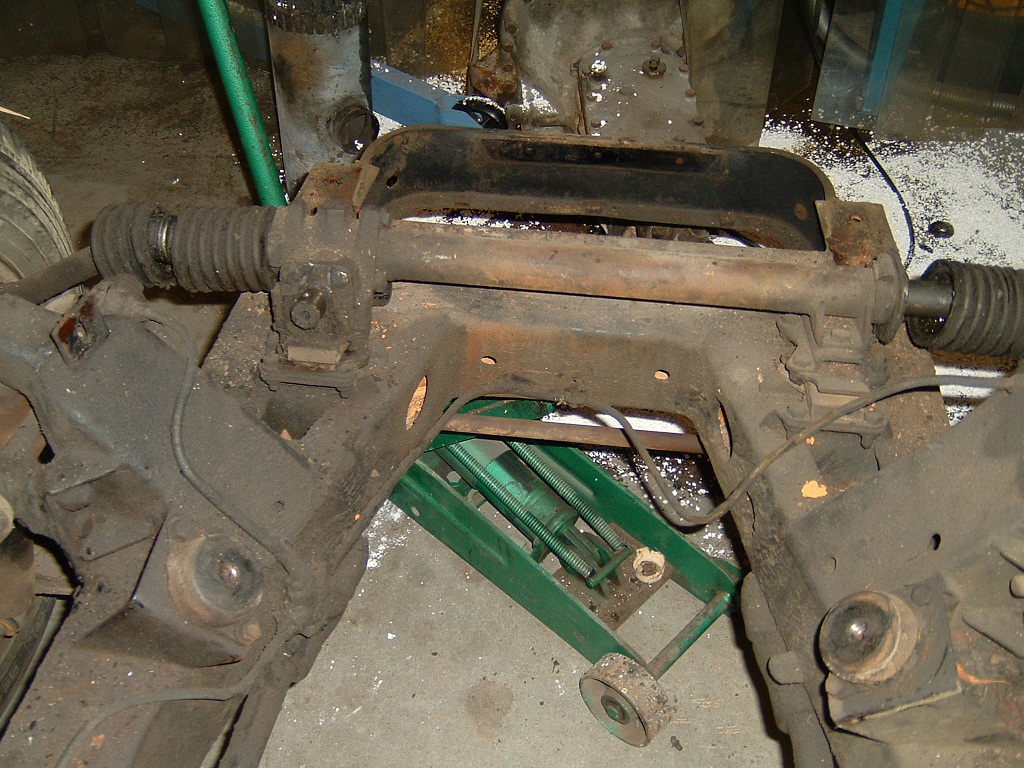
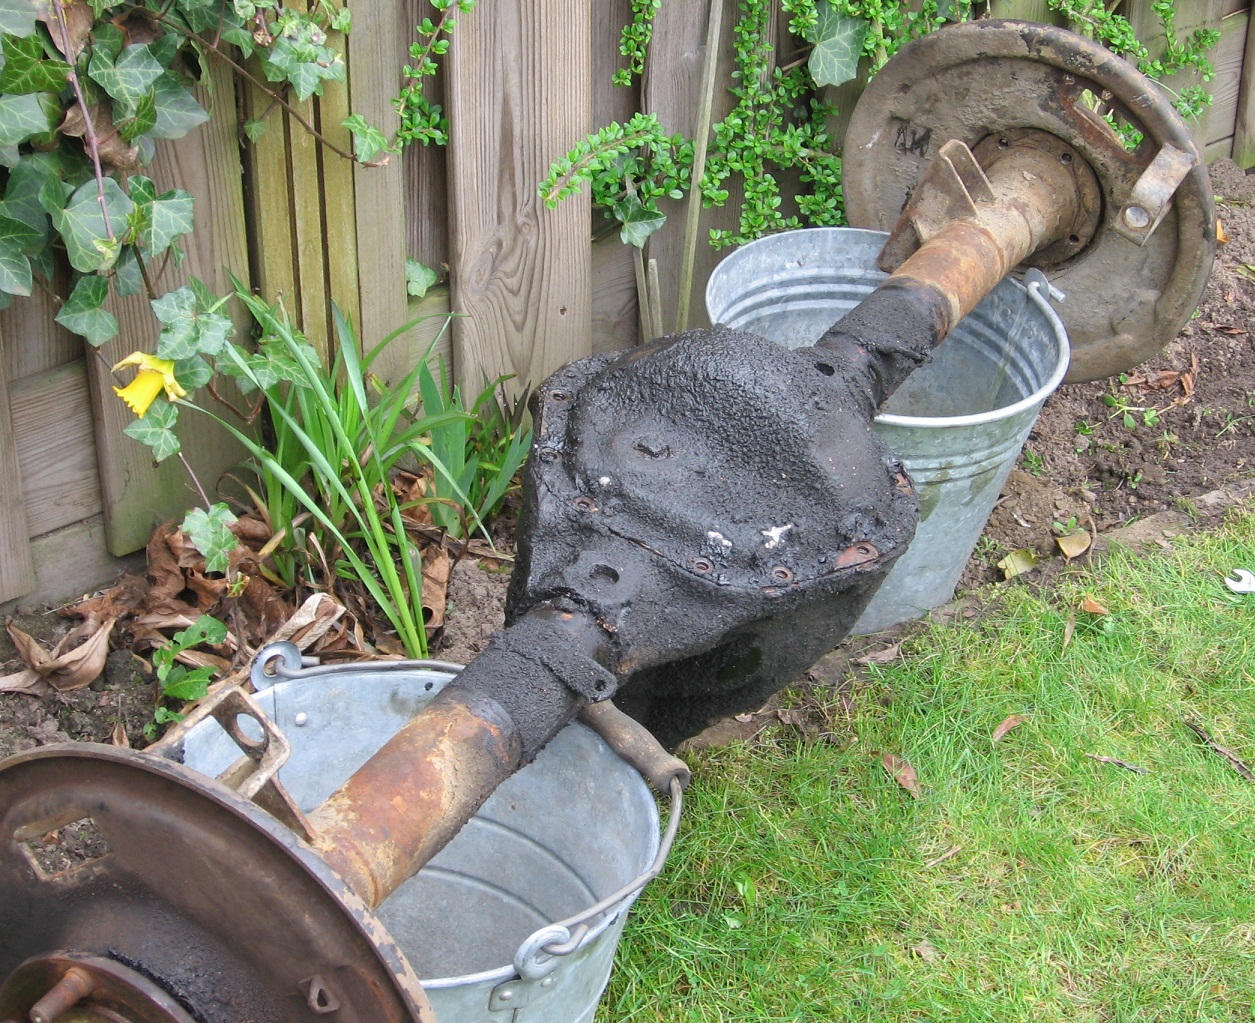
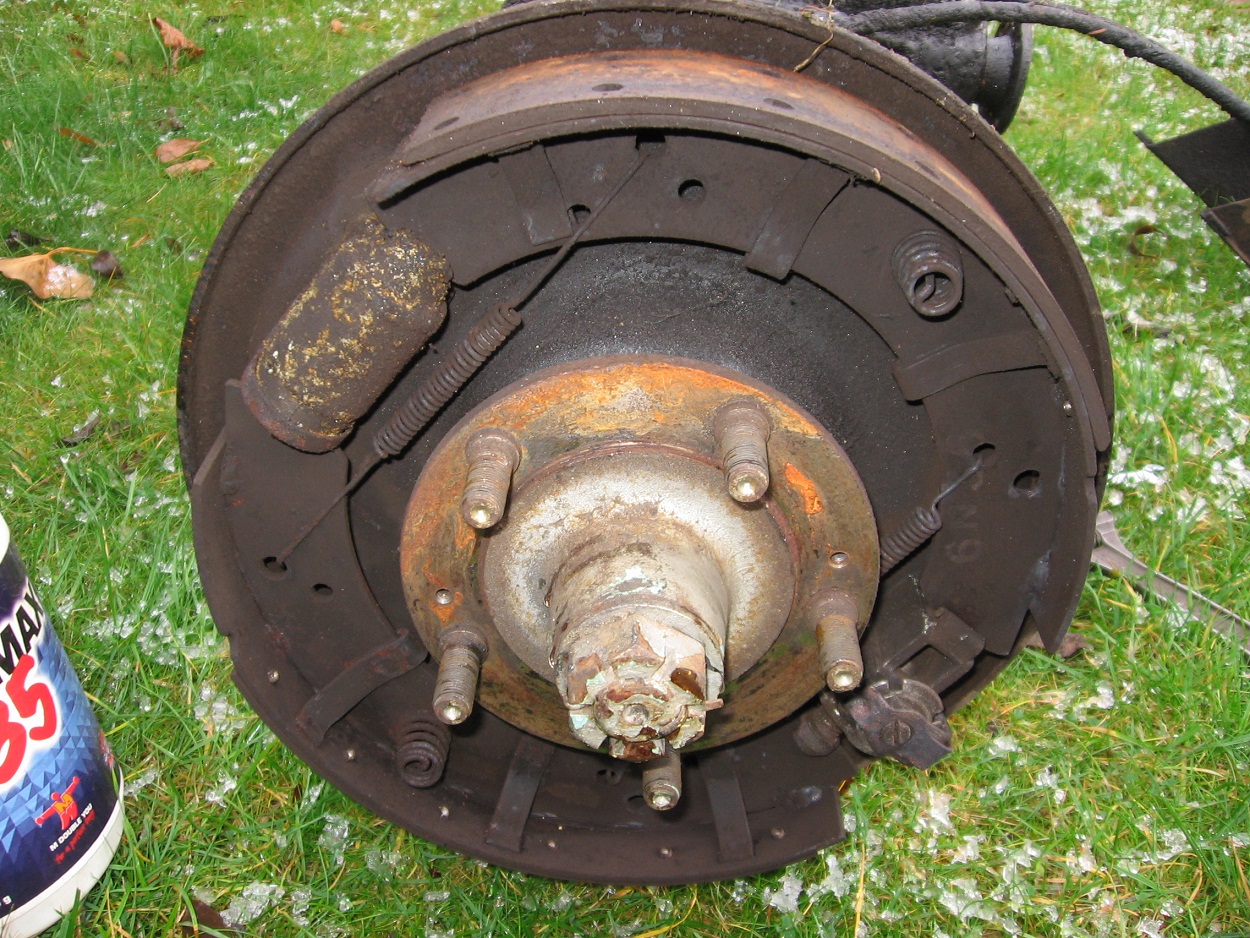
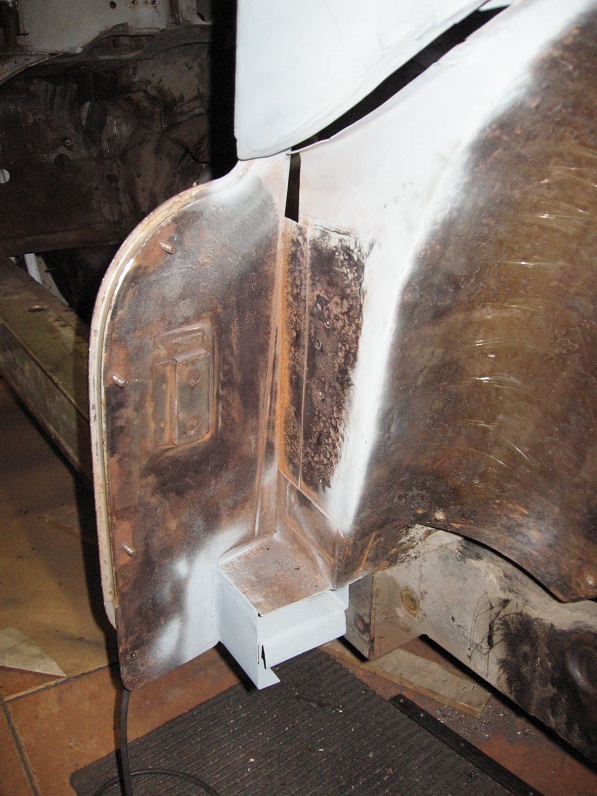
There rear axle was the most difficult part to dissemble until now.
To remove the hubs from the rear axles an enormous amount of brute force is needed (8 a 10 tons). After trying different type of pullers I managed to remove them.
One Hub was damaged and need to replaced. Lucky enough I found a good set of rear hubs in the US via ebay for only 53 euro (including shipping costs).

RearAxleOld

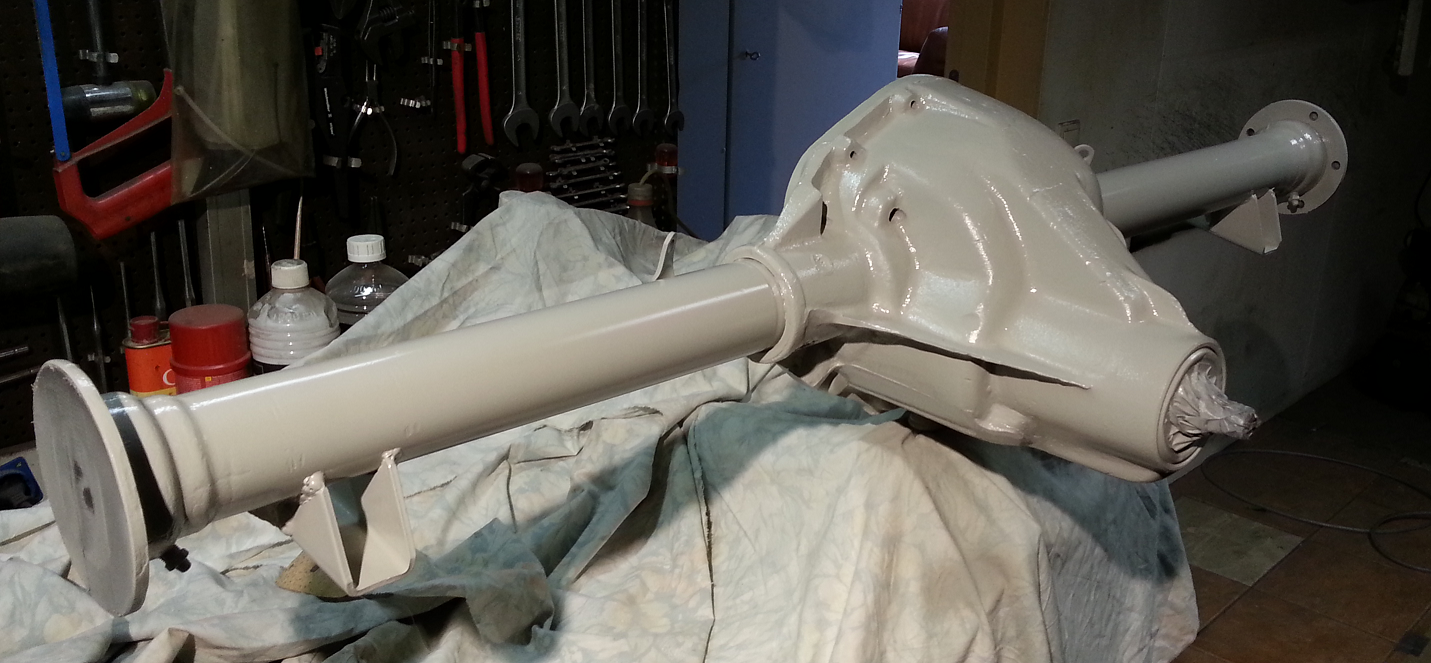
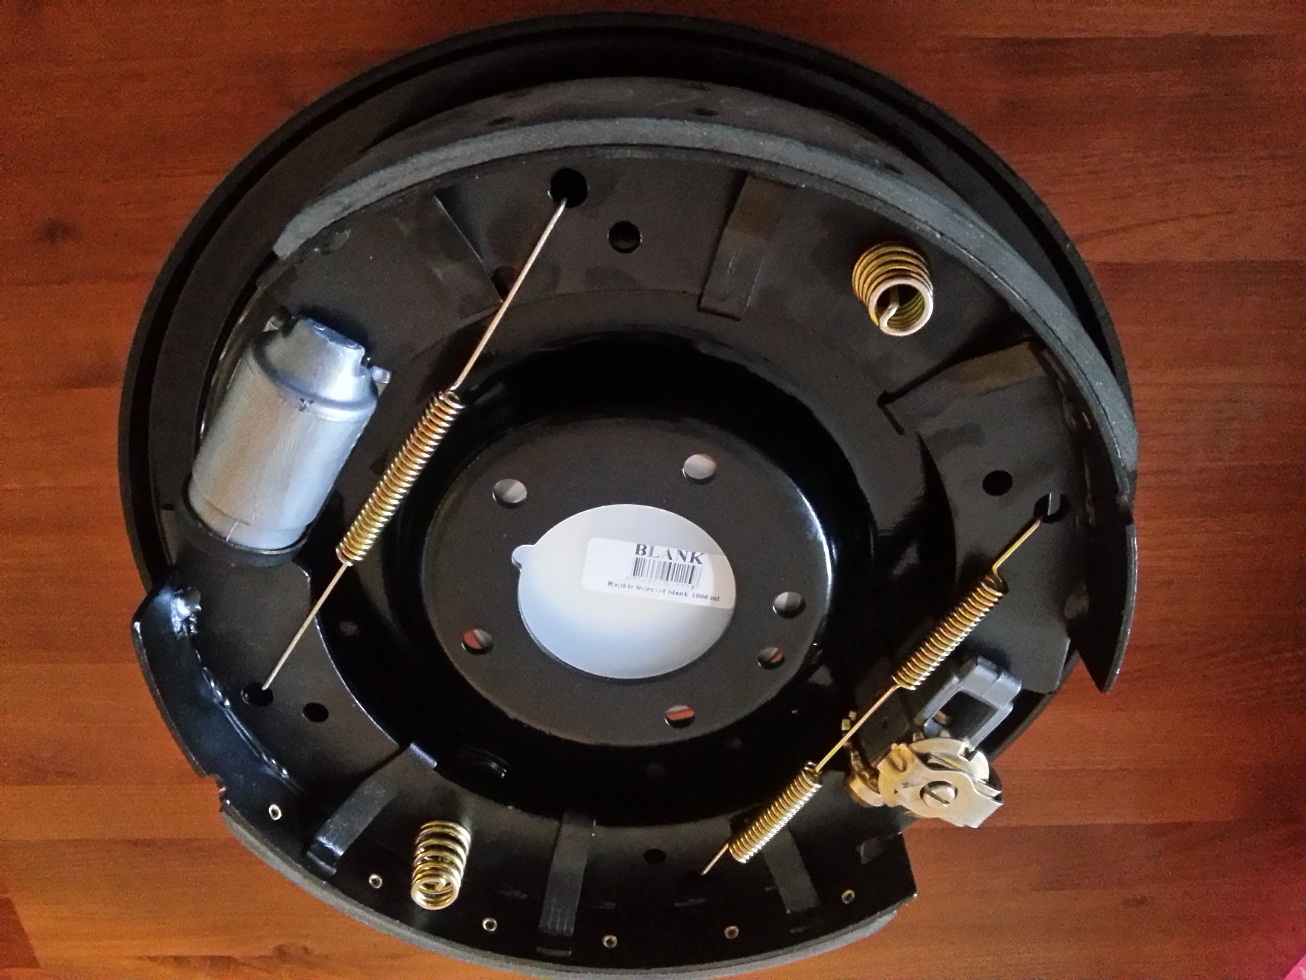
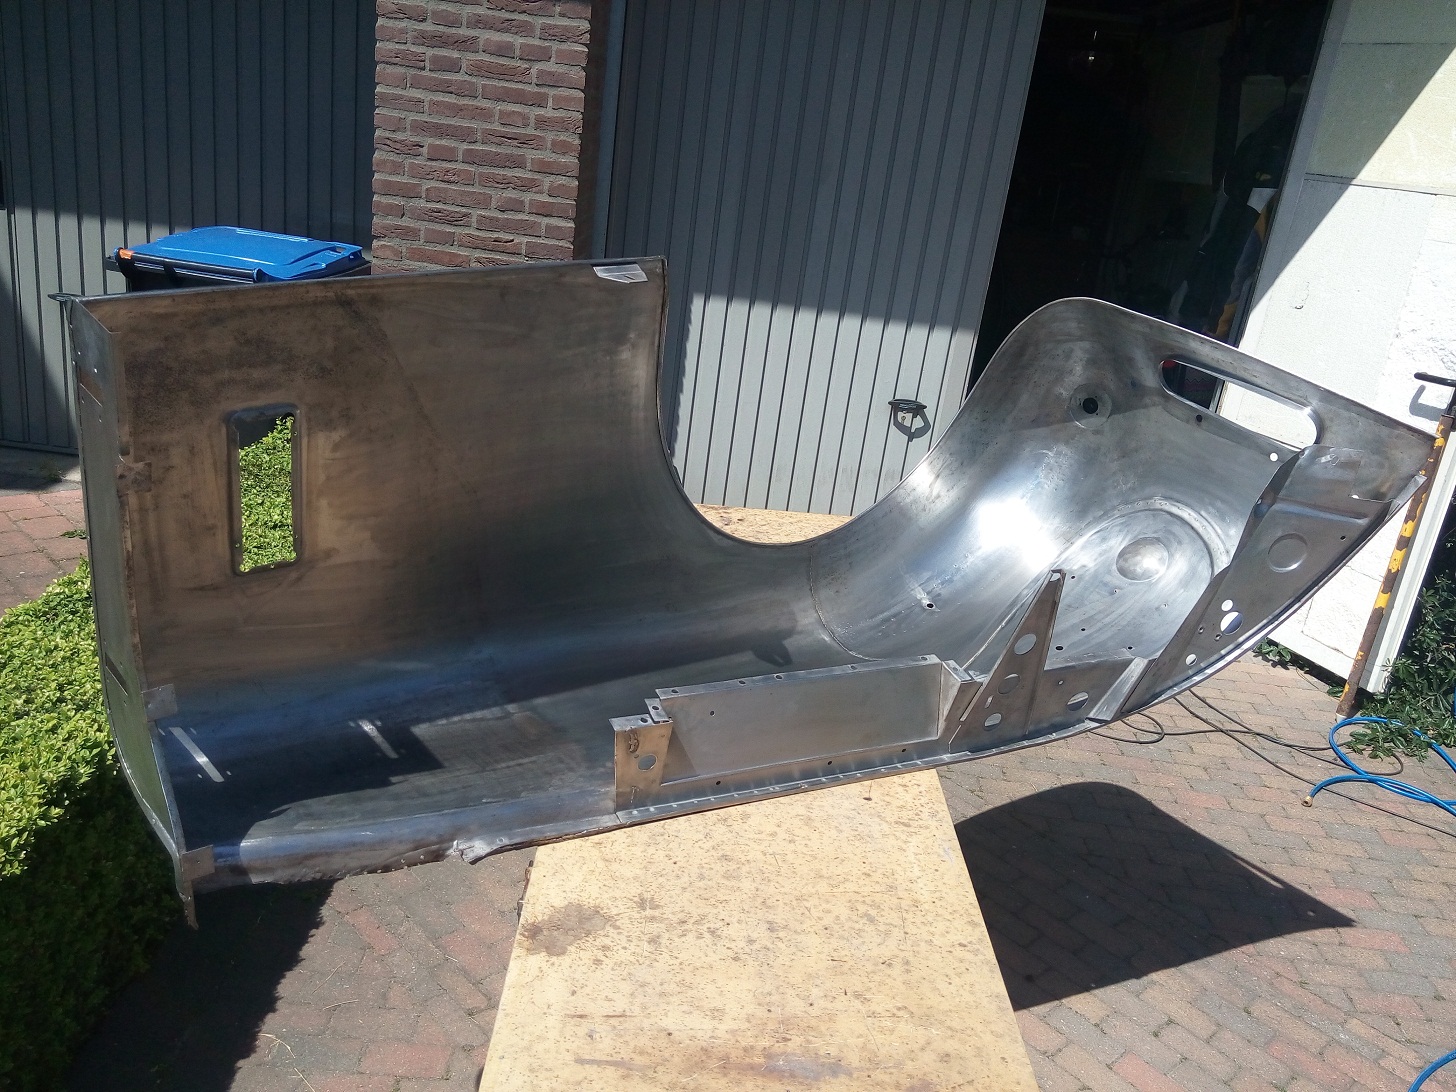
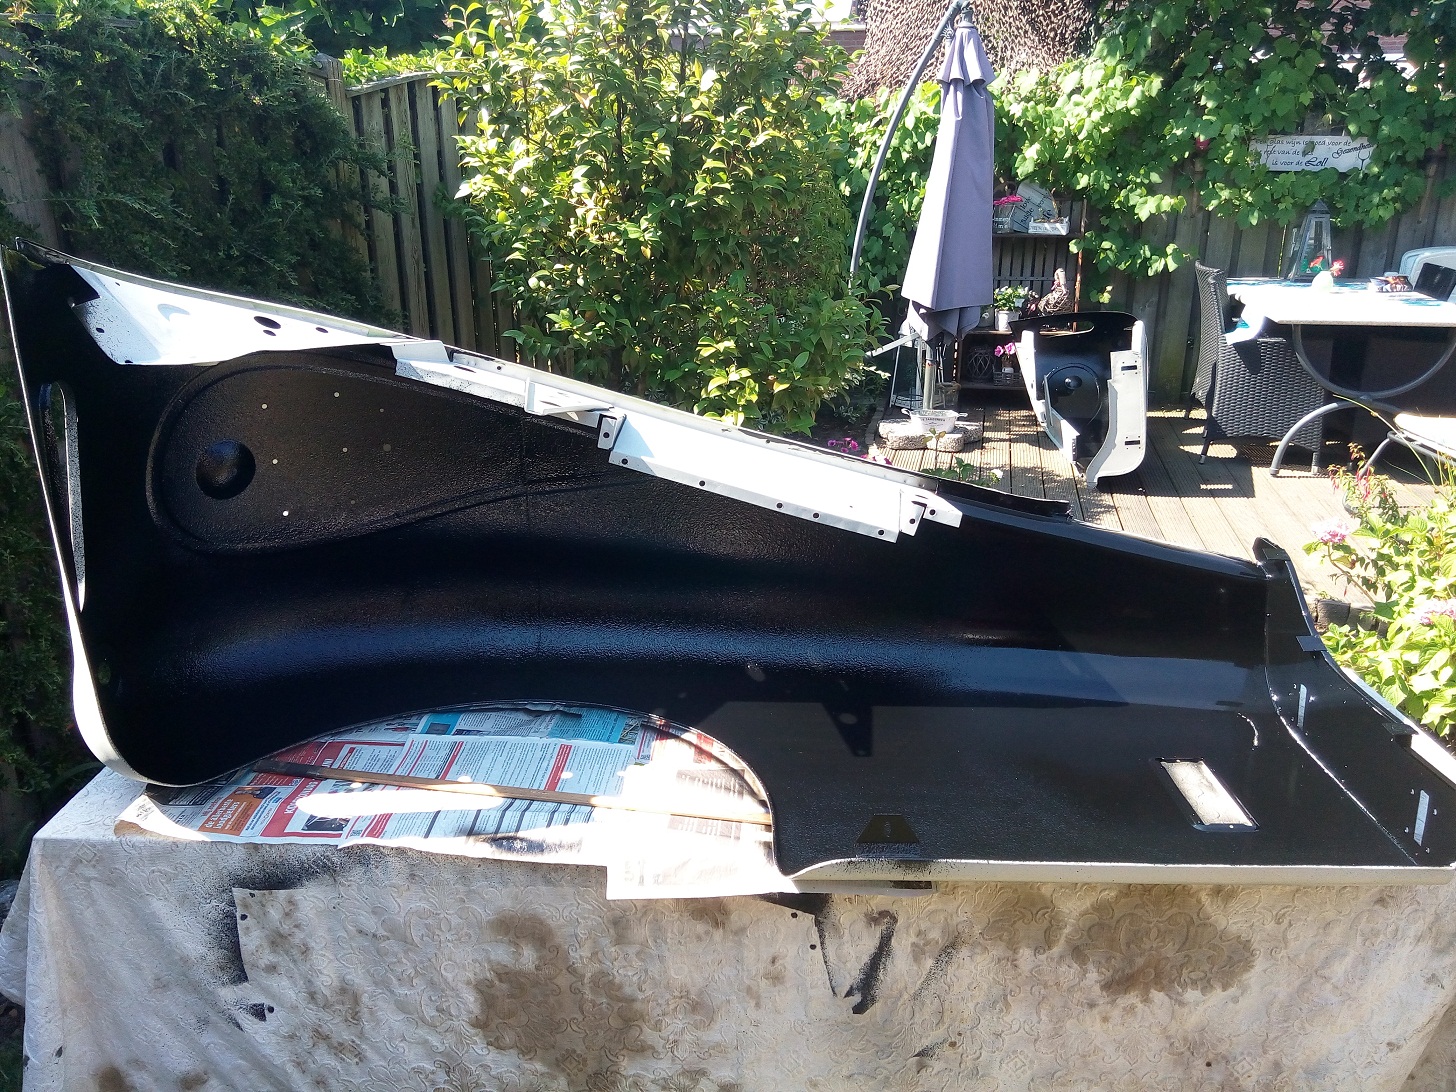
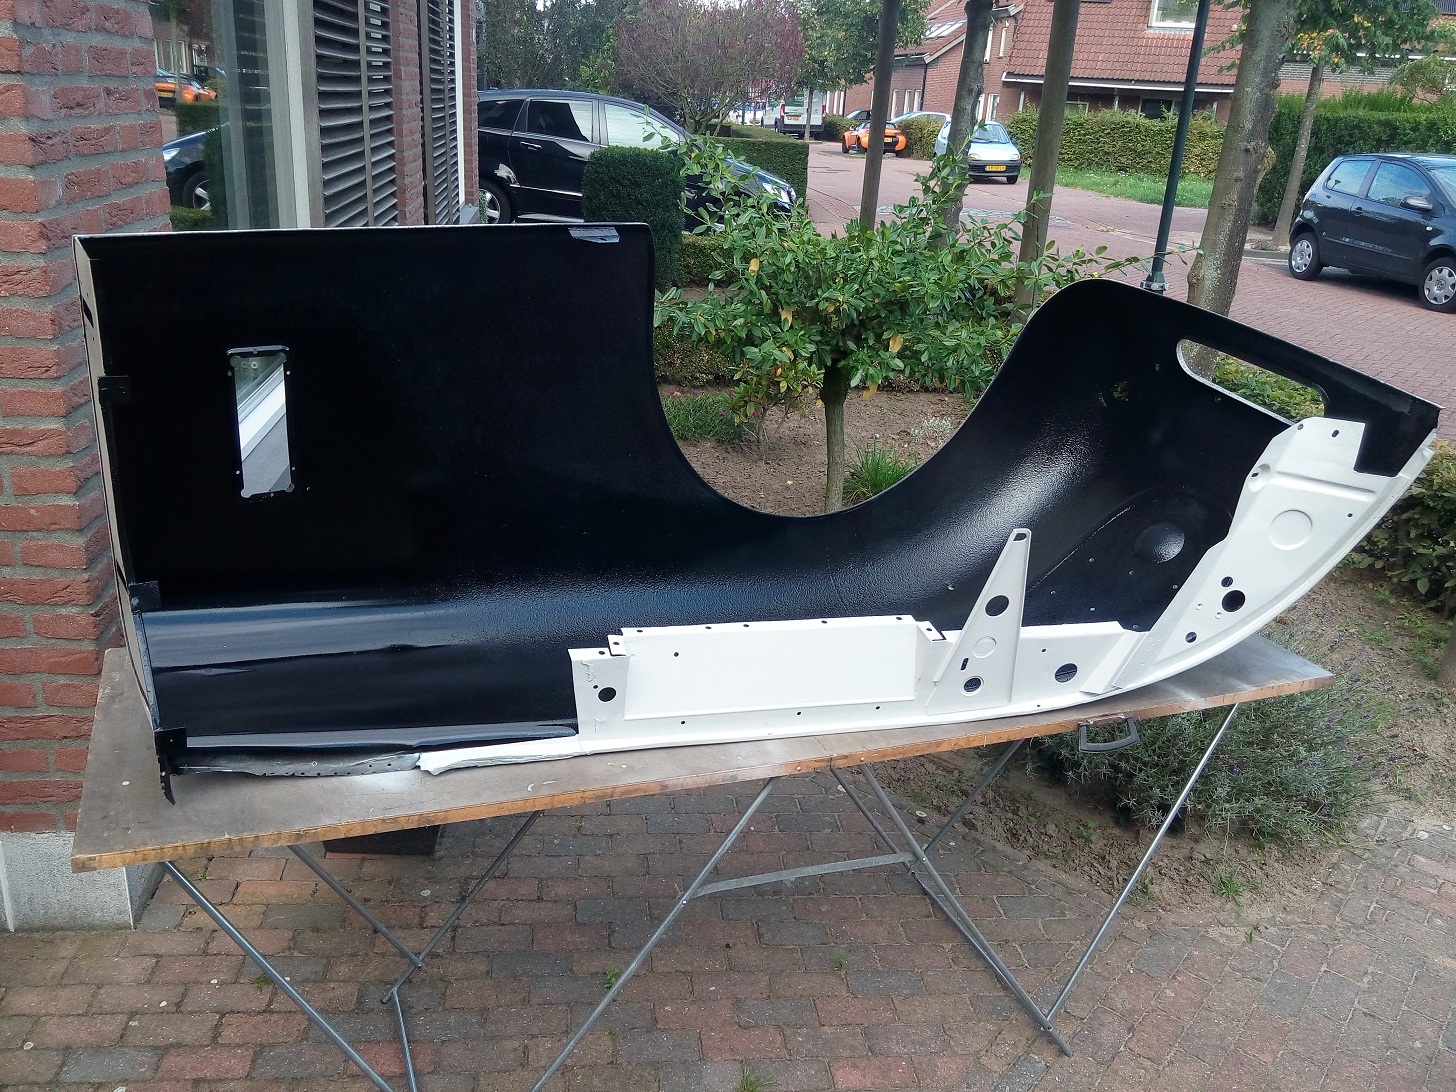
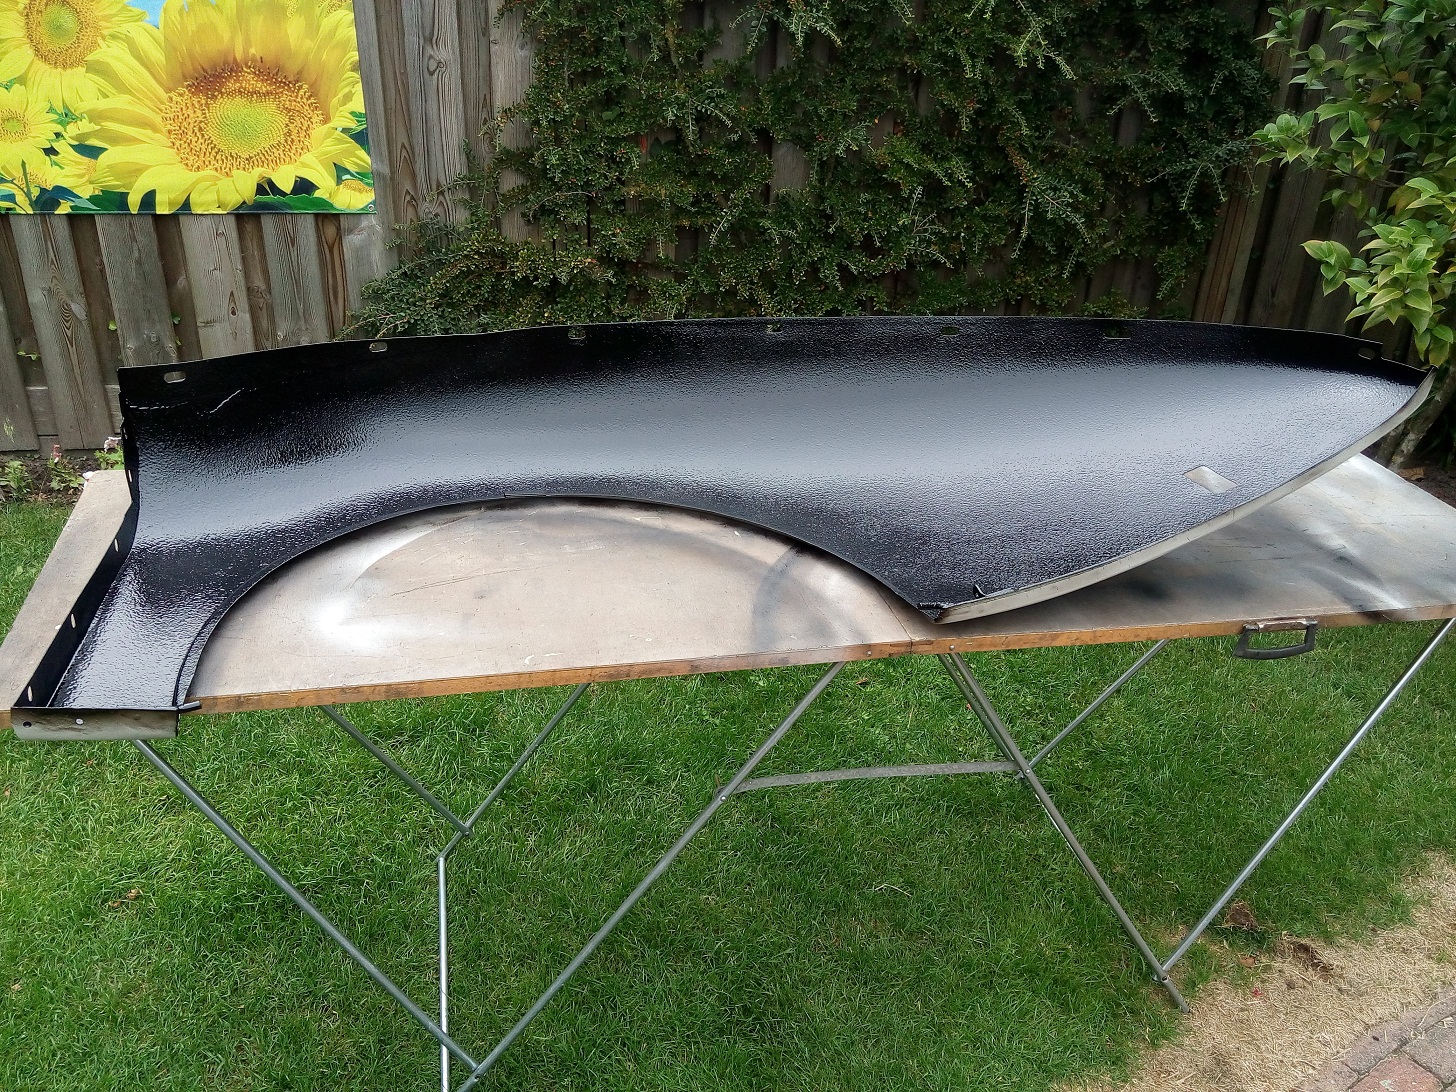
After removing all dirt and grease I painted the rear axle in epoxy primer and 2 layers of gloss black paint. After several weeks of dry time I could start to re-assemble everything.

RearAxlePainted

My first idea was to replace all bearings inside the rear axle, but after gathering information by several Jaguar specialists, I decided to replace only the left and right wheel bearing in the rear axle. (The pion-and crown wheel bearings are not replaced often) All oil seals are of course replace with new ones.

RearAxleParts
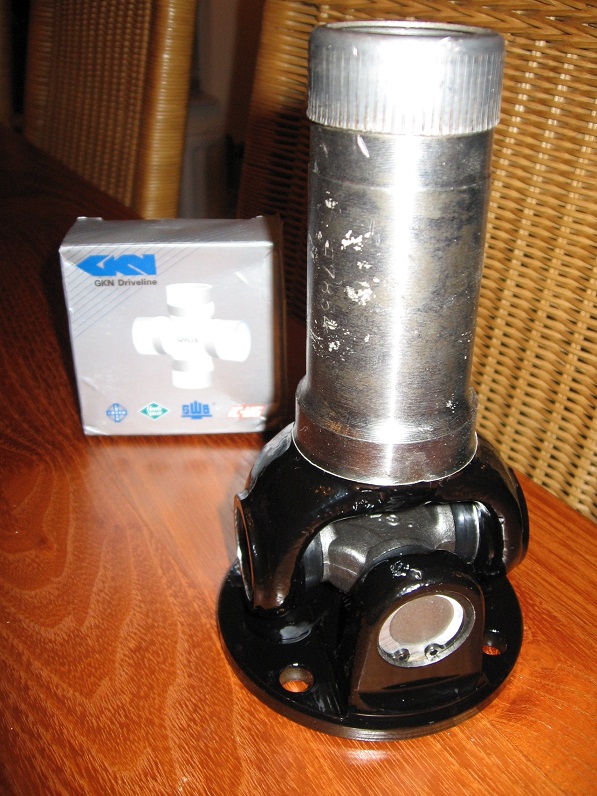
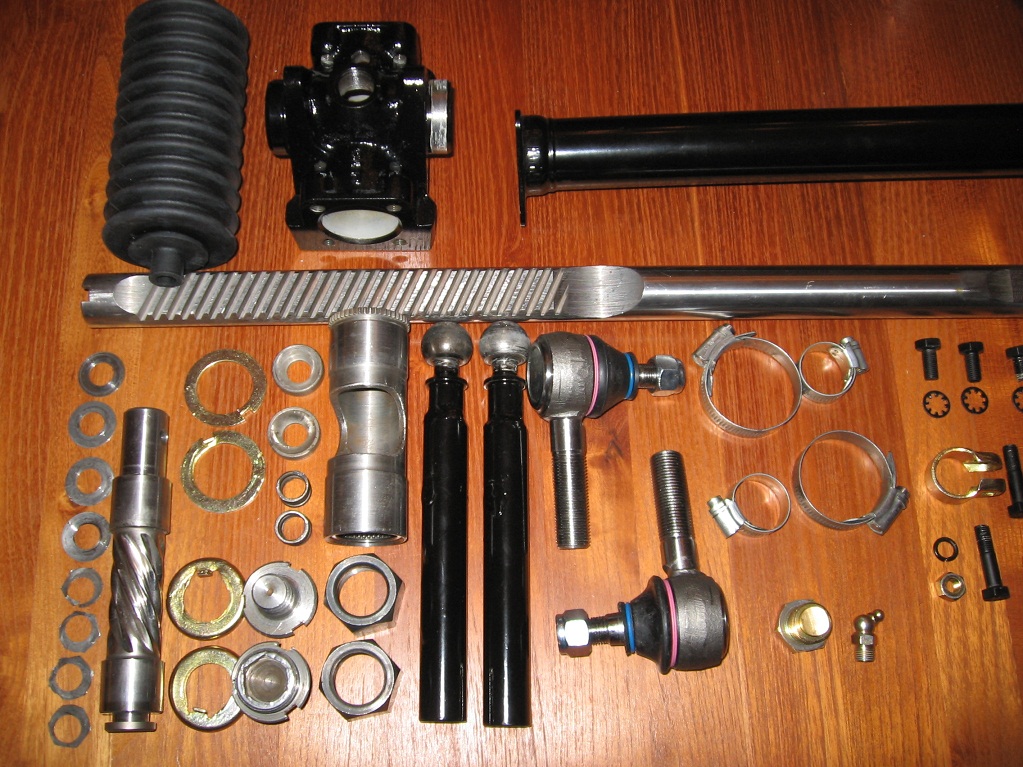
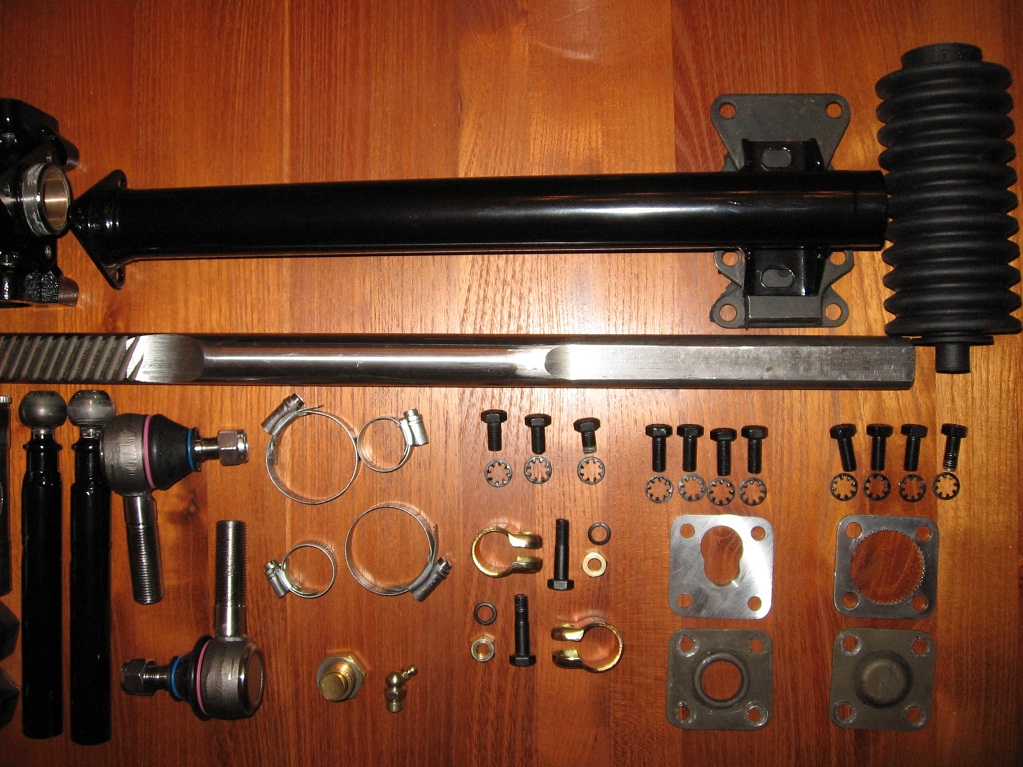
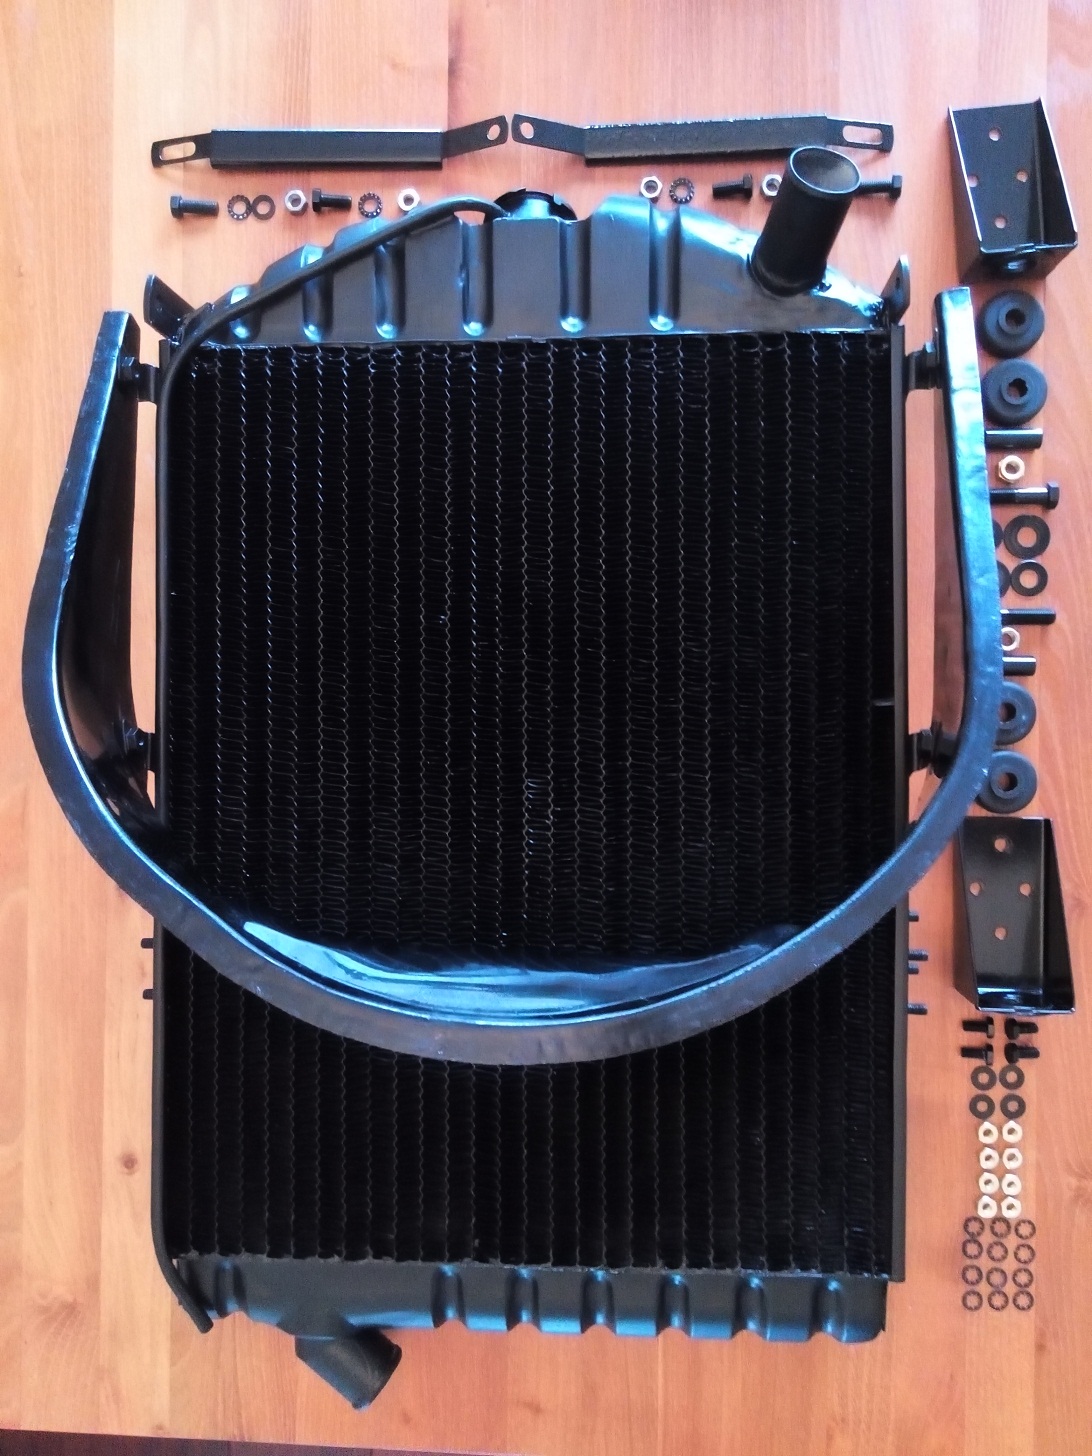
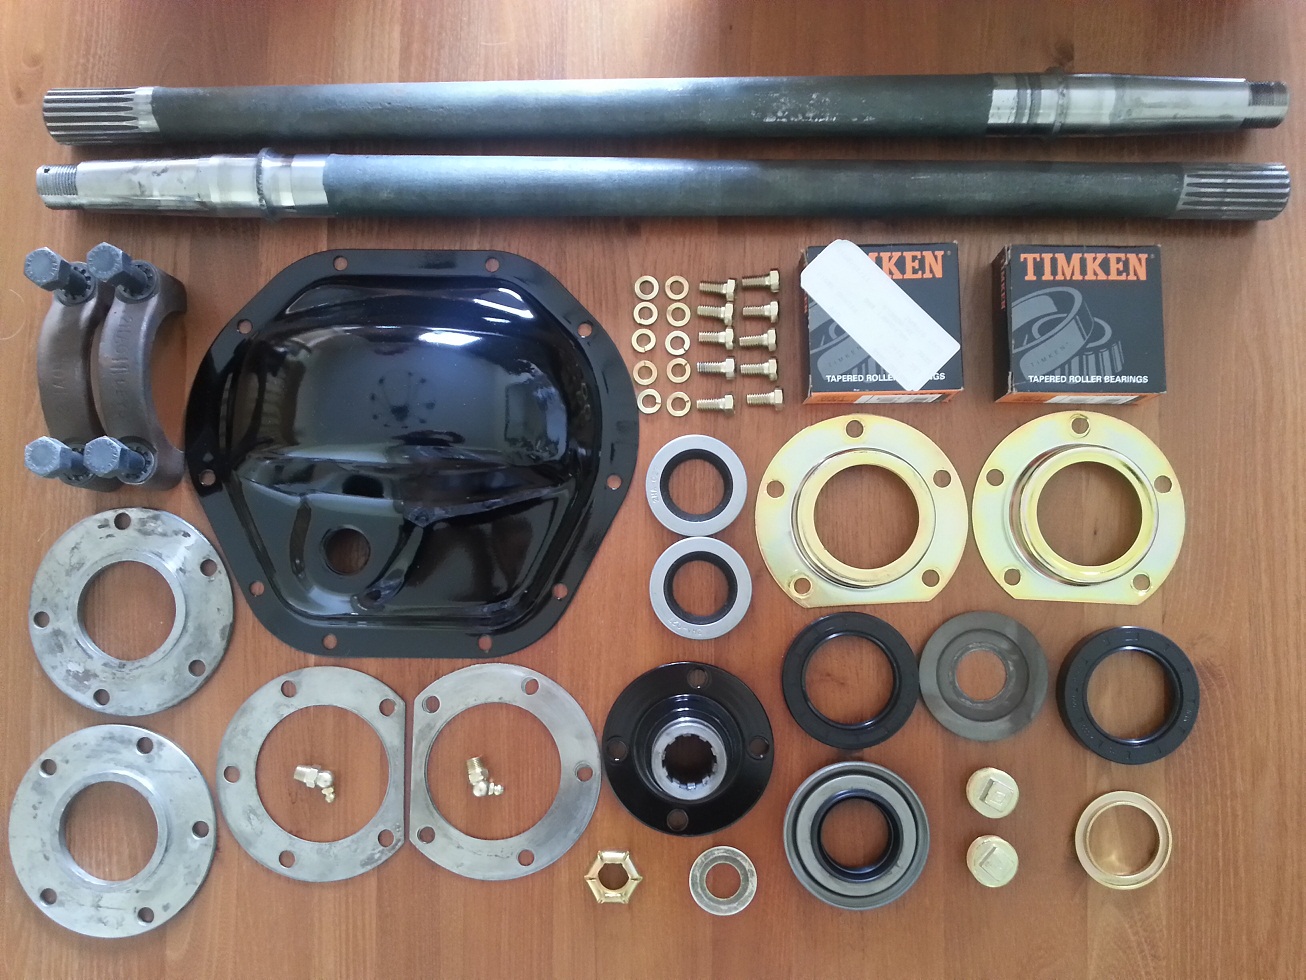
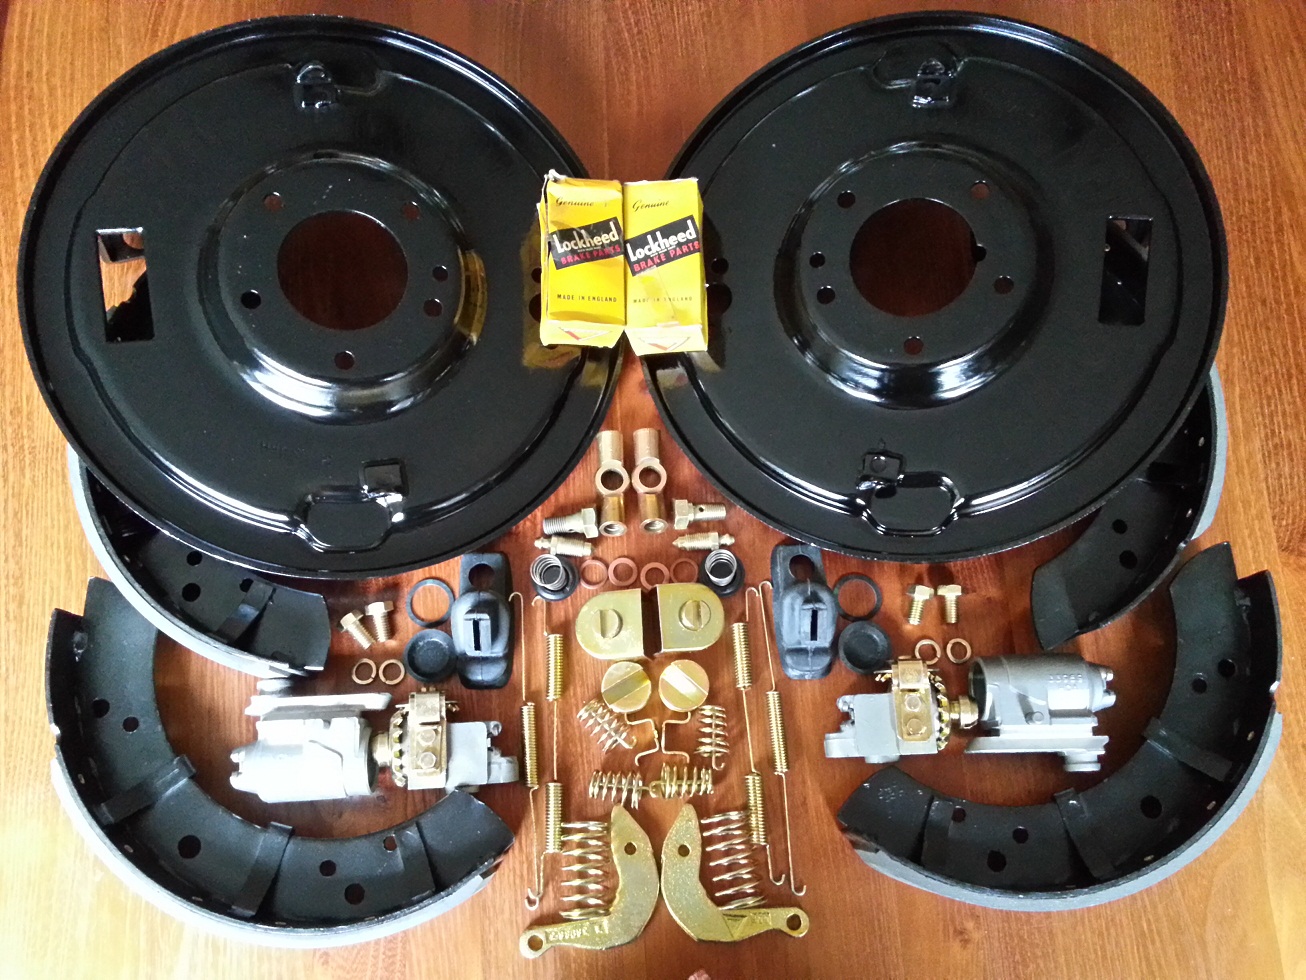
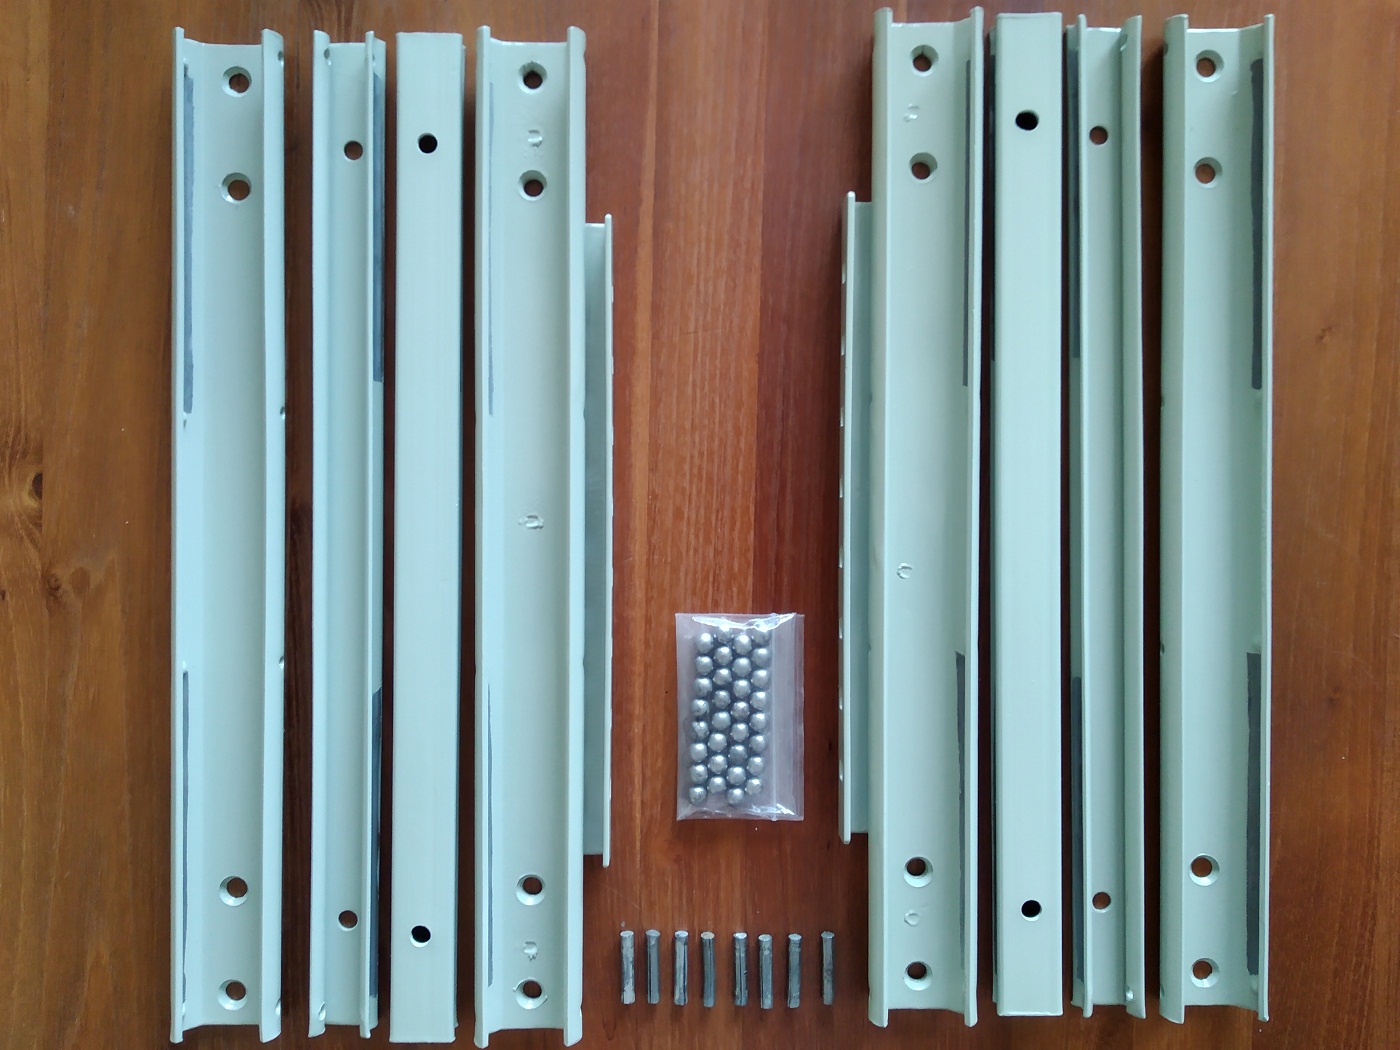
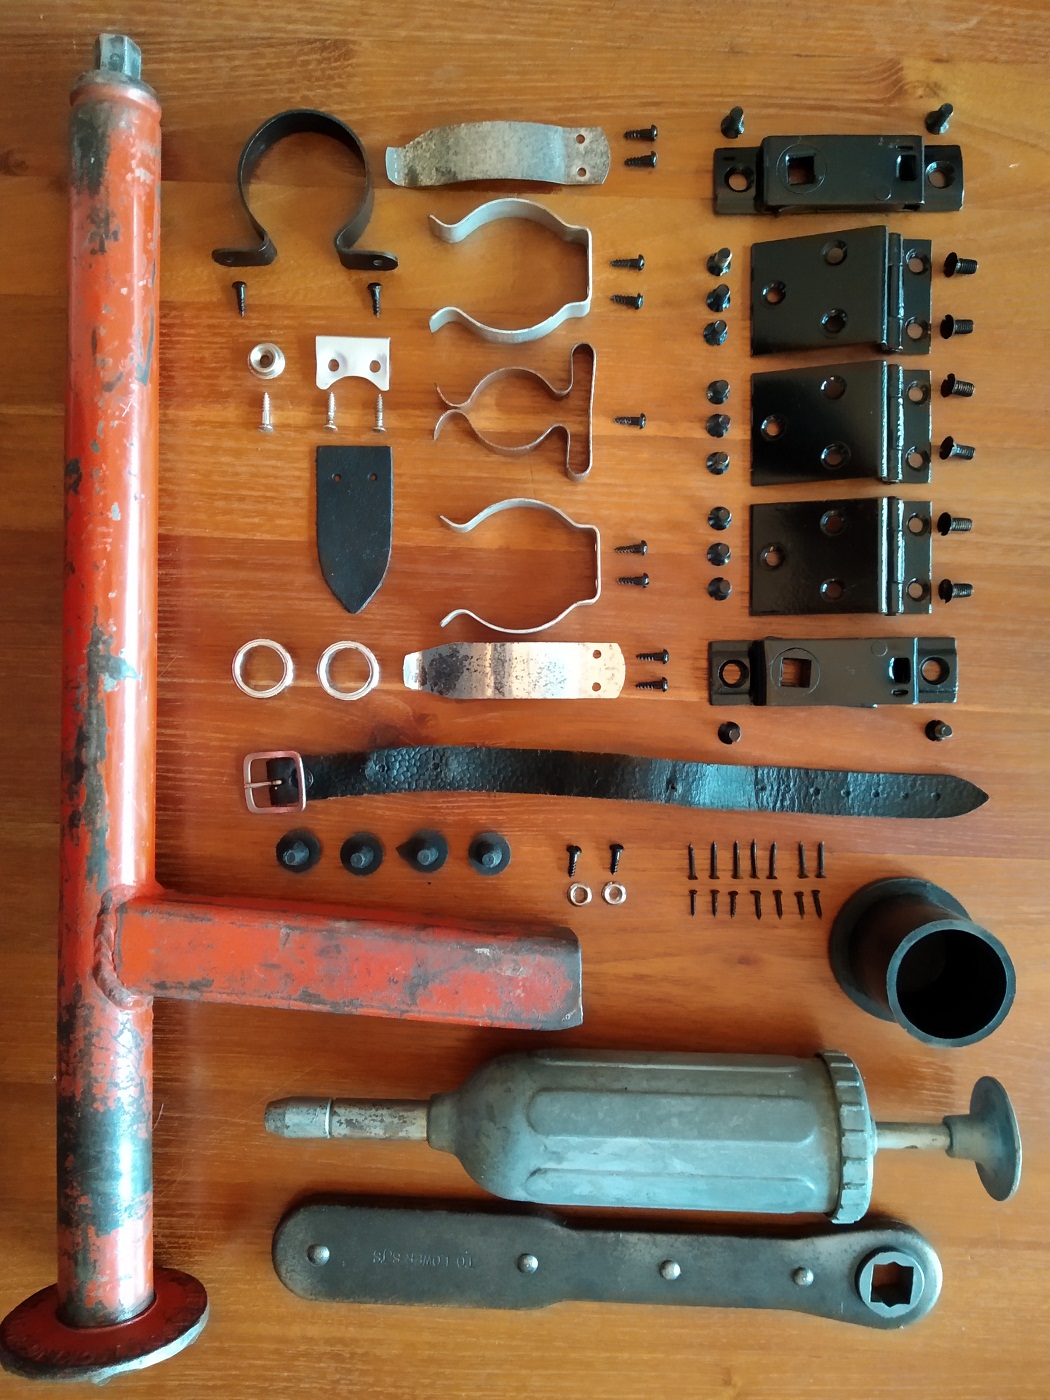
All seperate parts needed to rebuild the rear axle

For removing the old bearing and mounting the new one’s I used the home made Hydrolic Press (See special tools). Incredible how much force is needed to replace these bearings (approximately 8 to 10 tons)
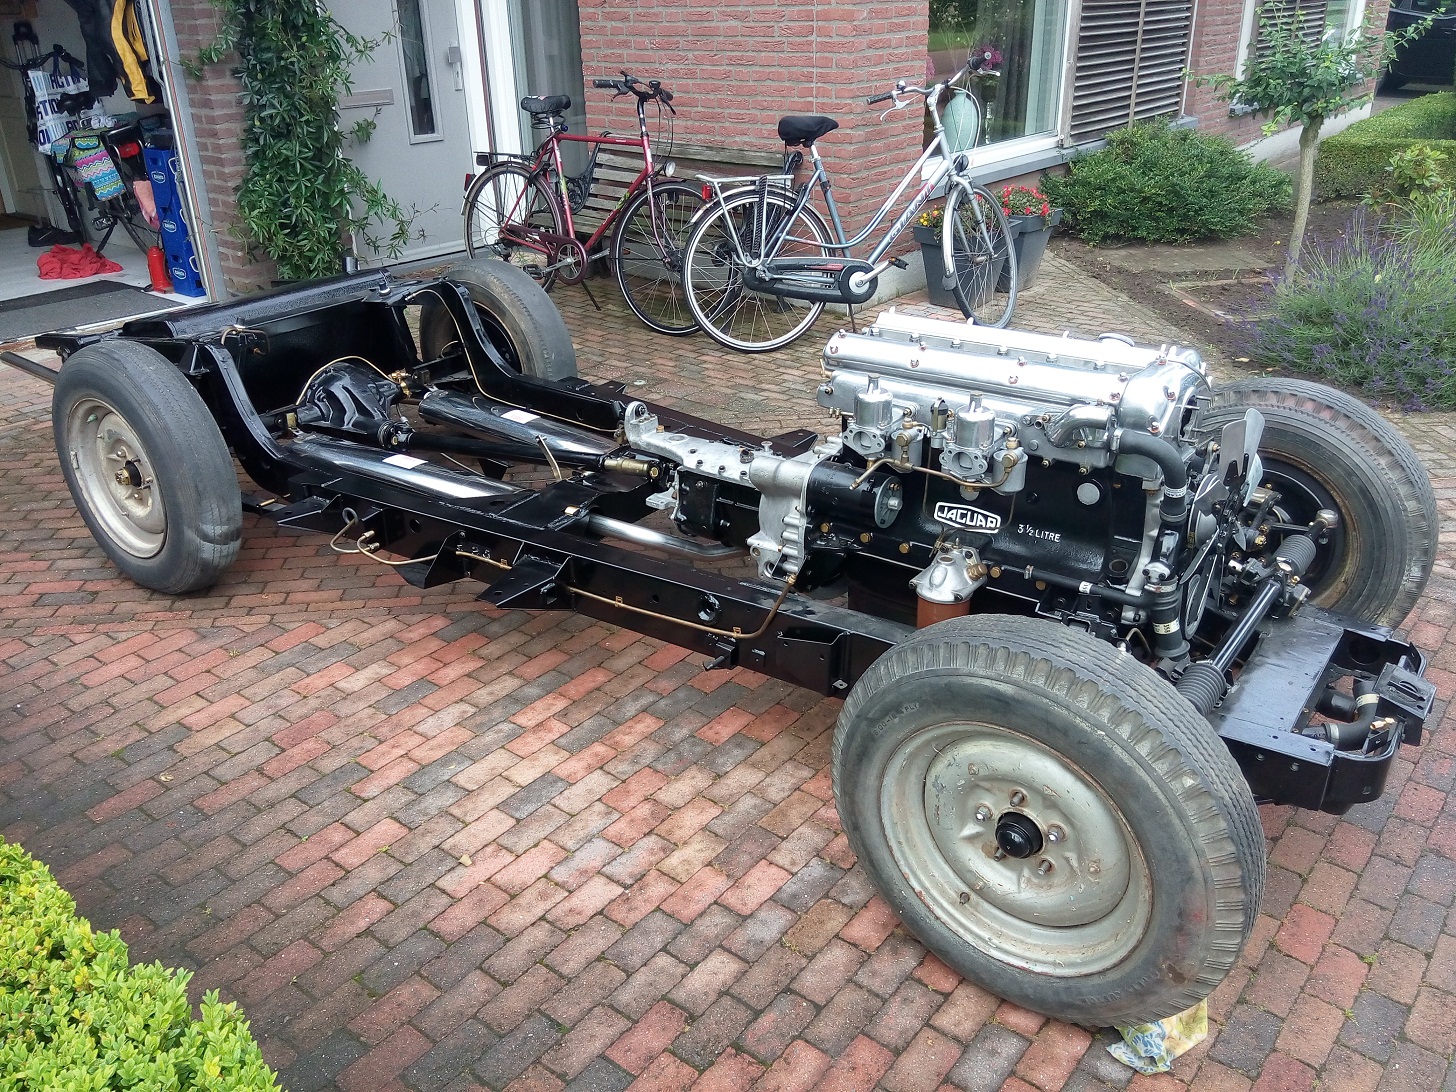
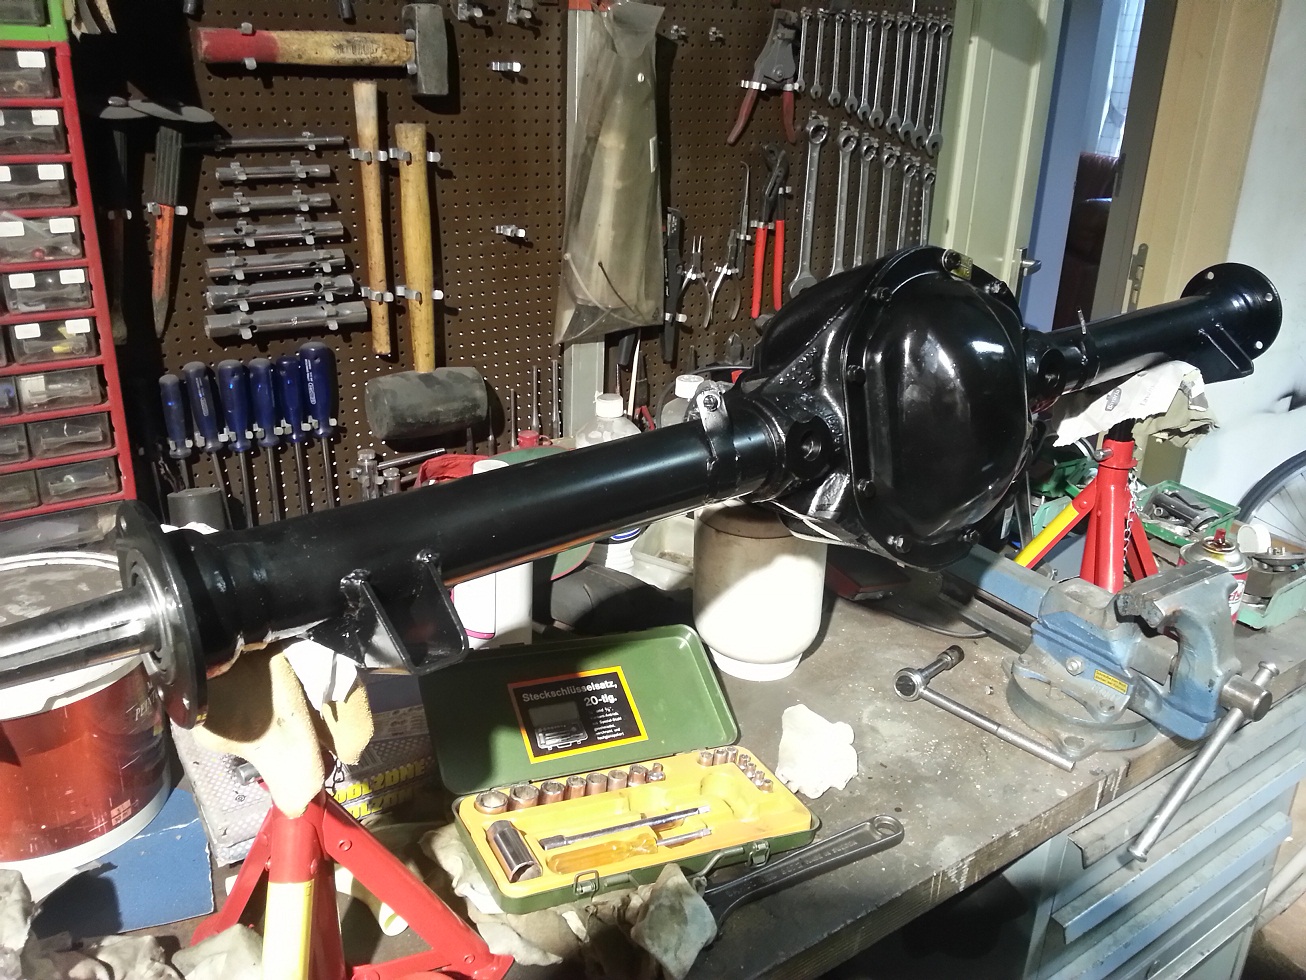
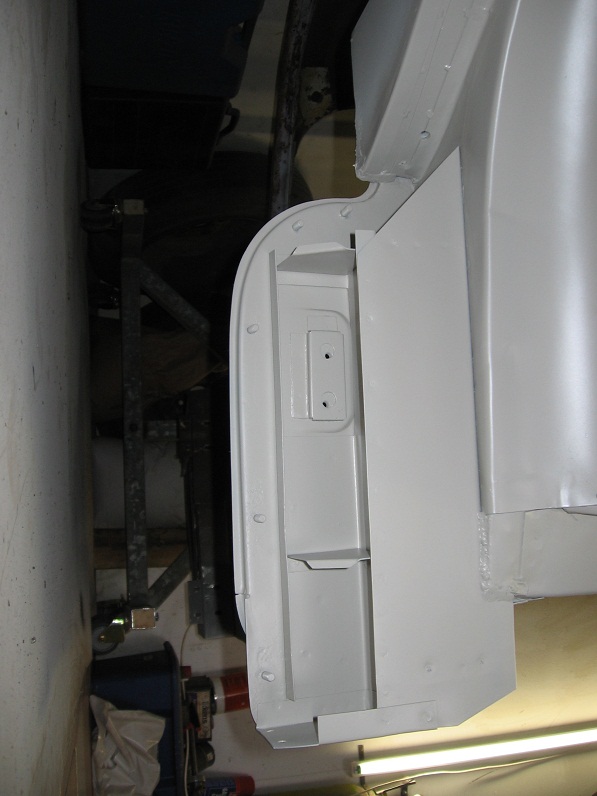
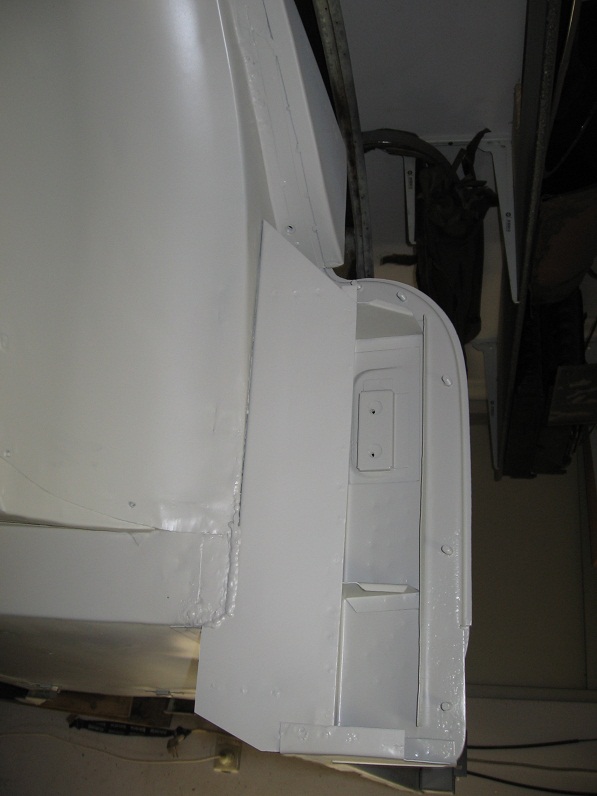
After mounting all separate parts the rear axle looks factory fresh again.

RearAxleNew2

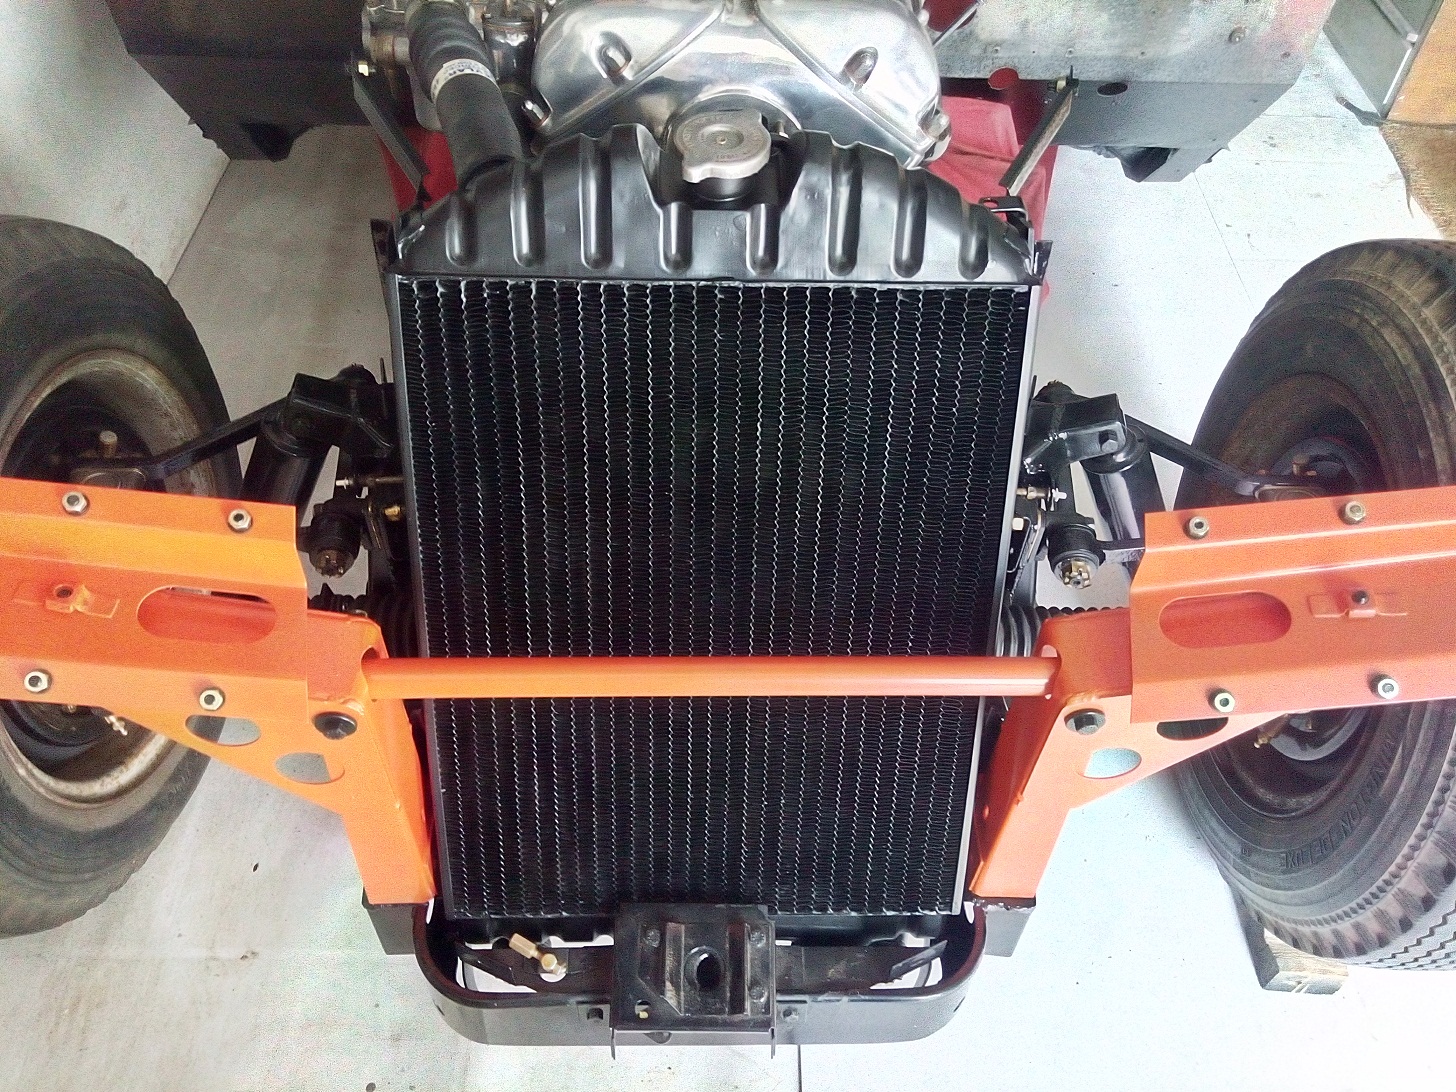
After the rear axle is lifted on top of the rear leave springs the can be mounted, including the rear shock absorbers.

ReartShockAbsorberParts
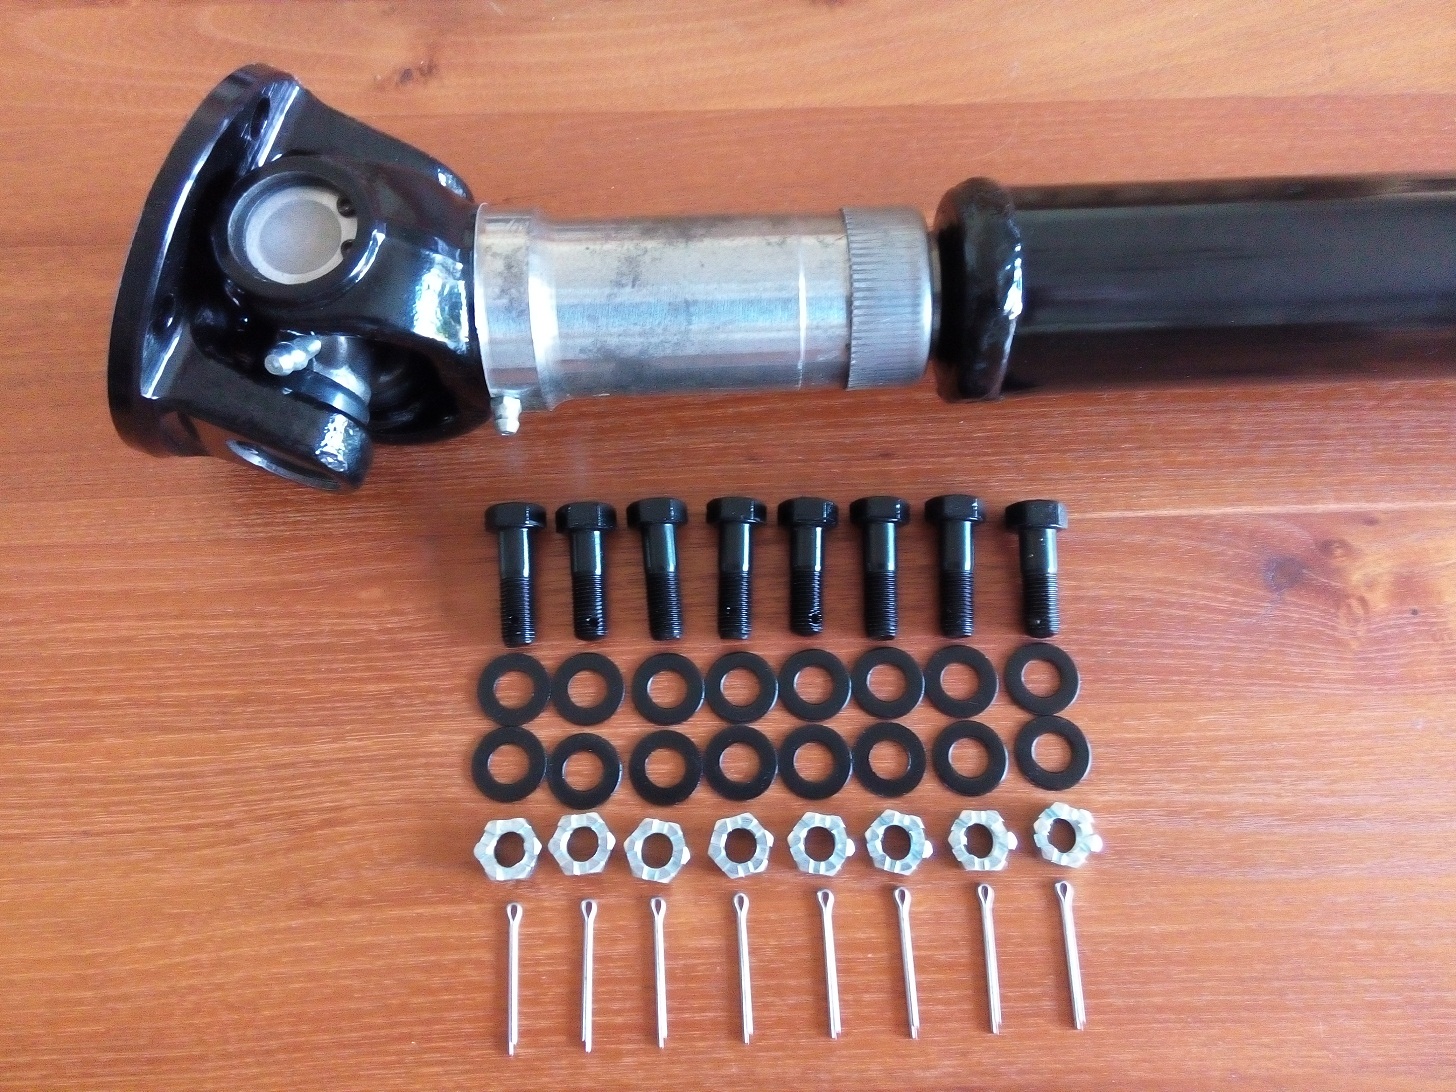
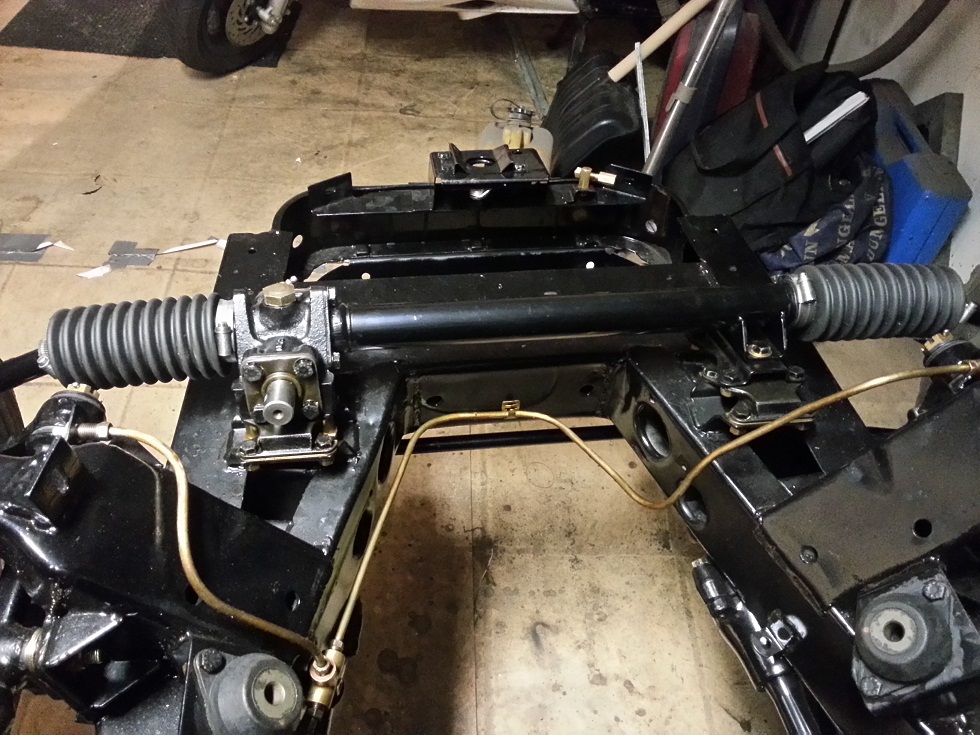
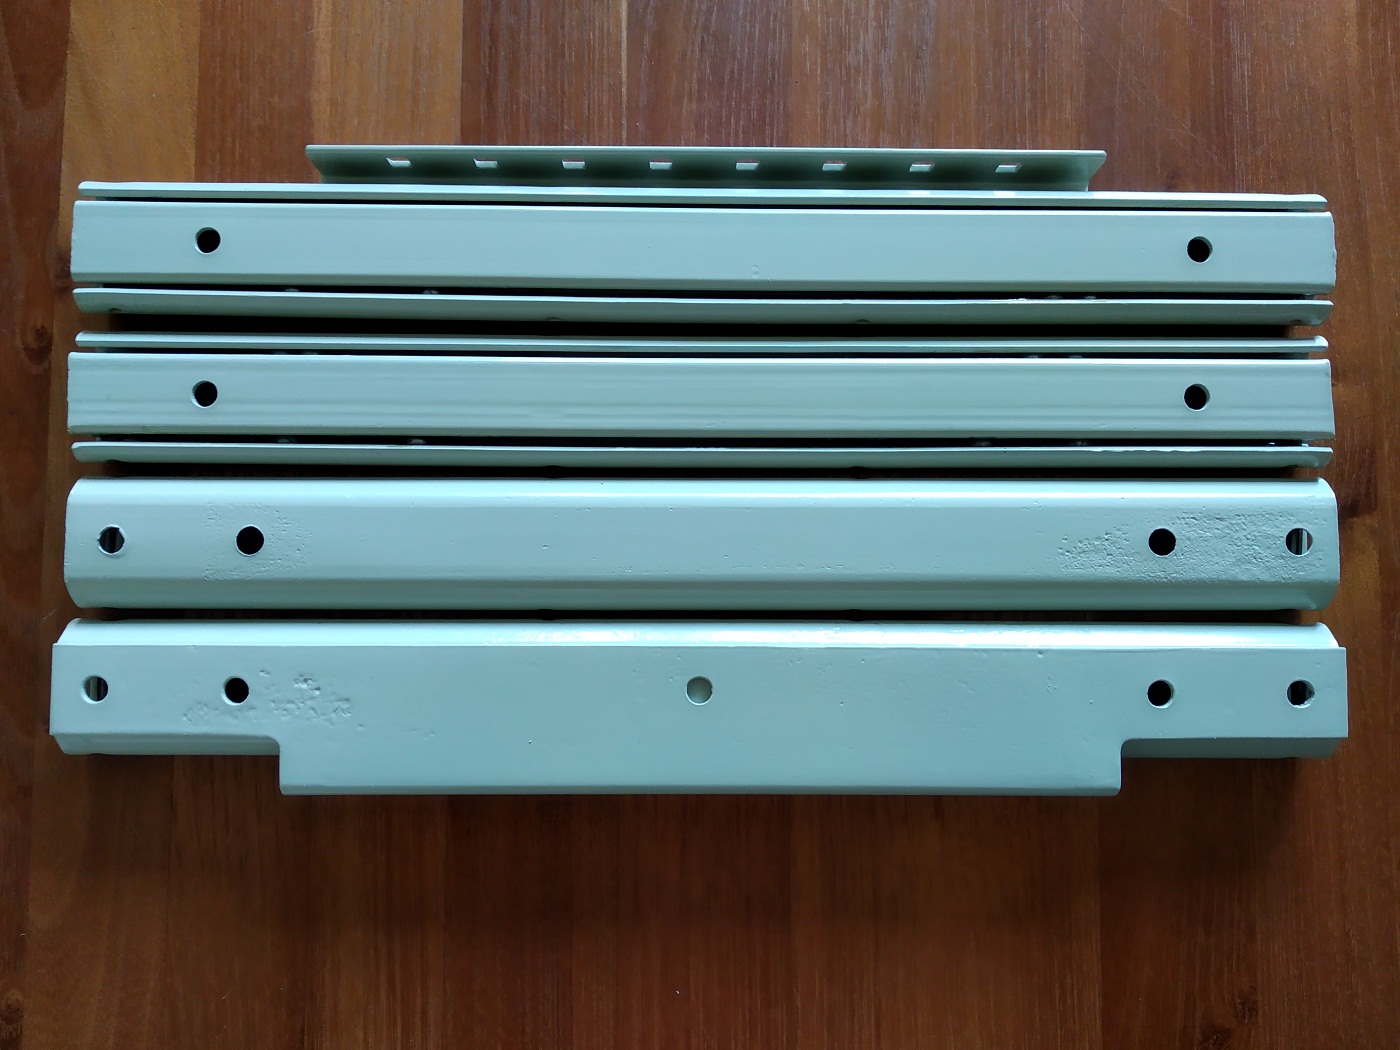
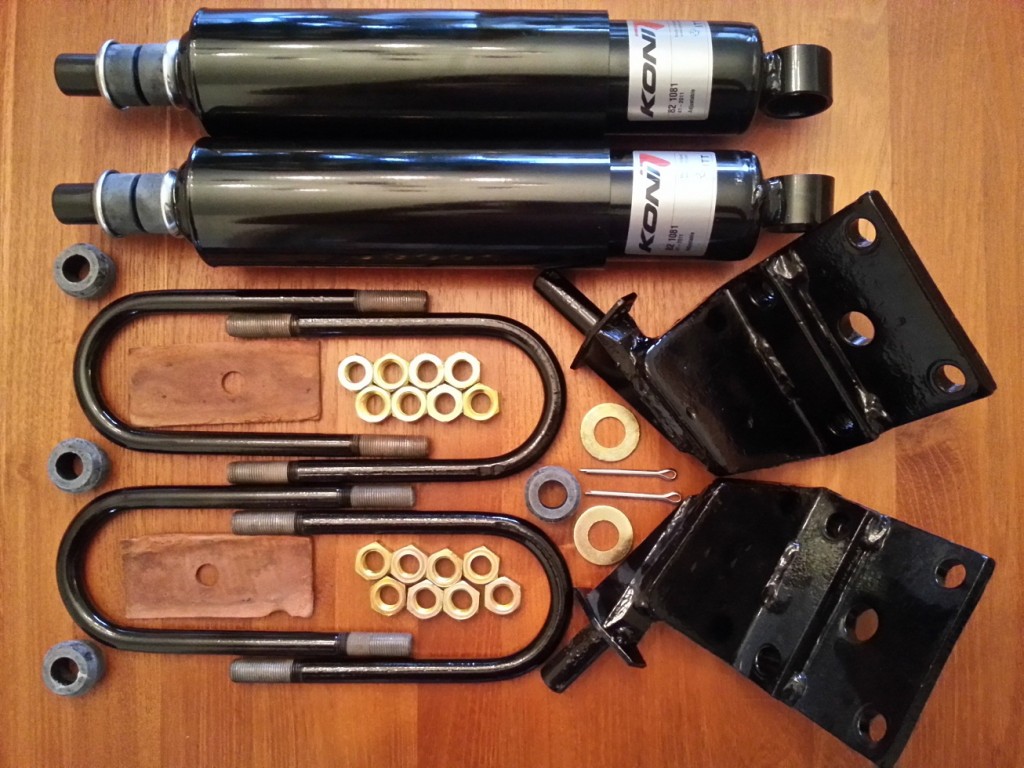
All seperate parts needed to mount the rear axle on to the leave springs

 Posted by at 16:27
mei 192013
 

Both rear brakes has undergone a complete refurbishment. Now they look and hopefully brake as new again.

Read Brakes OldRear Brakes New


The above transformation has been made possible with all separate parts shown on the following picture

Rear Brakes Parts

All seperate parts needed to rebuild the rear brakes


 Posted by at 20:30
apr 222017
 

One of the last big metal work pieces are the front wings. After the right front wing was cleaned thoroughly the following repairs need to be done before the wing can be painted inside. The right front wing is in a much better state the the left one so this repair is rater easy.

  • Dents in the area around the flashing light (due to badly repair after a collision in the past)
  • The lower edge of the wing nearby the right door has a lot of rust. This together with the lower part of the door hinge plate needs to be repaired with new pieces of metal.

Cleaning the inside

After I followed the same procedure as with the left front wing this wing also looks like new again.


The lower wing edge

The state of the lower front wing edge partly rusted away and replacing this whole area is inevitably.

Cut out of the rusted part


Painting

Now that the right front wing has been cleaned and repaired it can be painted. We start with Epoxy primer followed by a protective layer to prevent chipping and as last a layer of black paint. This last layer of paint will make it easier to clean the inside. The parts visible from the engine compartment will be painted in the car color.


 Posted by at 16:03
jul 312017
 

Repair

The right rear wing has three attention areas;

  • The lower edge at the door side
  • The upper part also at the door side
  • the lower edge on the backside of the car


The repair areas marked with grey paint

Cleaning

Now that the rear wing has been repaired the thin layer of rust can be easily removed with a wire brush and some sand paper.

Painting

Now that the inside is nicely shining again the following activities can take place;

  • Apply a fresh layer of Epoxy primer.
  • Make sure all seals are seamed. (3M Heavy Drip-Chek Sealer)
  • Apply a protective layer to prevent chipping. (3M Textured Anti-chip Coating)
  • Last but not least a layer of satin black paint to make it easier to clean the inside.


 Posted by at 20:20
jun 232019
 

The seat runners, used to adjust the front seats backwards or forwards, where pretty rusty. To be able to remove the rust also from the inside I took them completely apart. Because these parts are pretty small I was able the sandblast them myself.

The seat runners as removed from the car

As you can see from the photo’s there is not much paint left, So I assumed they where painted in the same color as the base frame of the front seats (White with a greenish tint).

All parts needed to rebuild the front seat runners

After everything is painted in epoxy primer and the greenish white, it was reassembled again. The 8 small metal tubes are used as a final stop, to prevent the runner is moving too far outside the base part. The place where the ball are rolling are left unpainted to guarantied a smooth operation.

Reassembled front seat runners
 Posted by at 14:25
jul 072009
 

My first sheet metal job was the shutface pillar. This area, which is normal for these type of cars was not very good anymore. I started with removing all damaged material and removing all old paint and dirt remaining’s. All sub parts for the Shutface Pillar, at least 10 for each side, are spot welded together before welded to the car. All areas where the light never shines are painted with zinc spray to prevent rusting.

ShutfacePilarLeftBeforeShutfacePilarLeftRemovedShutfacePilarLeftAfterShutface Pilar Left
 

ShutfacePilarRightBeforeInsideShutfacePilarRightRemovedInsideShutfacePilarRightAfterInsideInside Shutface Pilar Right

ShutfacePilarRightBeforeOutsideShutfacePilarRightRemovedOutsideShutfacePilarRightAfterOutsideOutside Shutface Pilar Right
As seen on the above photos my first sheet metal job was very successful.

Remark:
Always keep the body bolted on to the chassis during welding jobs to prevent the body will warp or twist

 Posted by at 06:06
nov 272019
 

The spare wheel cover consists of a wooden piece of 7 layer plywood (1/2″ thick) covered with aluminium sheet metal. Because there were some original markings on the inside, I decided to keep then together with the original black paint. The aluminium sheet metal was damaged so I straighten it and painted it high gloss black.

Spare Wheel Cover in Original condition
All parts needed to rebuild the spare wheel cover

The Jack together with the other tools has been kept as original.

The original marking on the inside of the spare wheel cover
The spare wheel cover in open position
The spare wheel cover in closed position (A big difference with the first picture)
 Posted by at 16:09