Until now, when the car needs to be moved, I had to turn the wheels by hand. Especially when I need to turning the car around on the street it can be a heavy job. Now that the body has been mounted onto the chassis the steering column can be placed back.
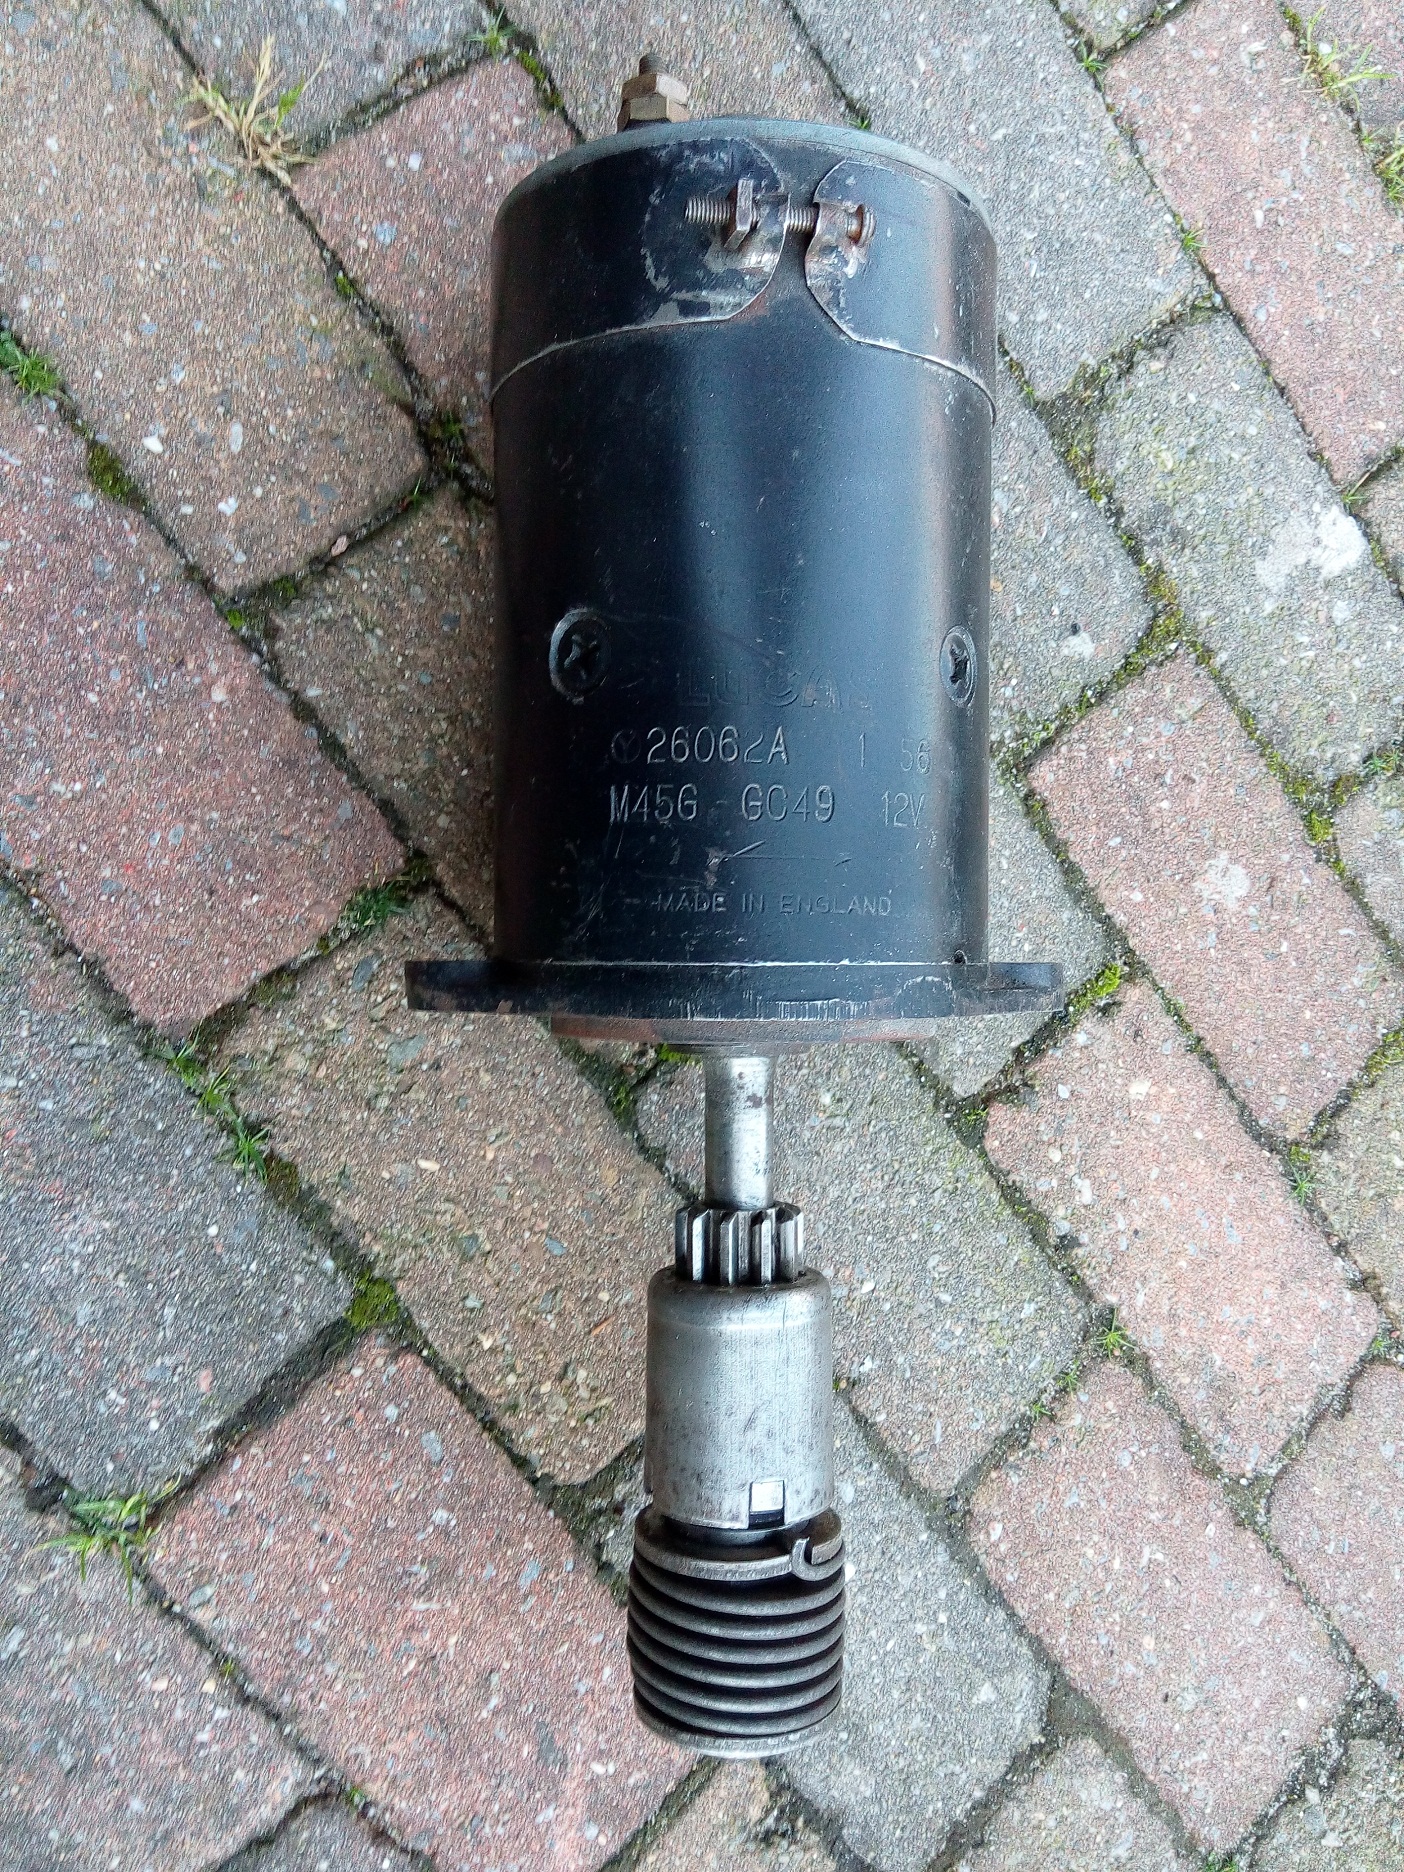
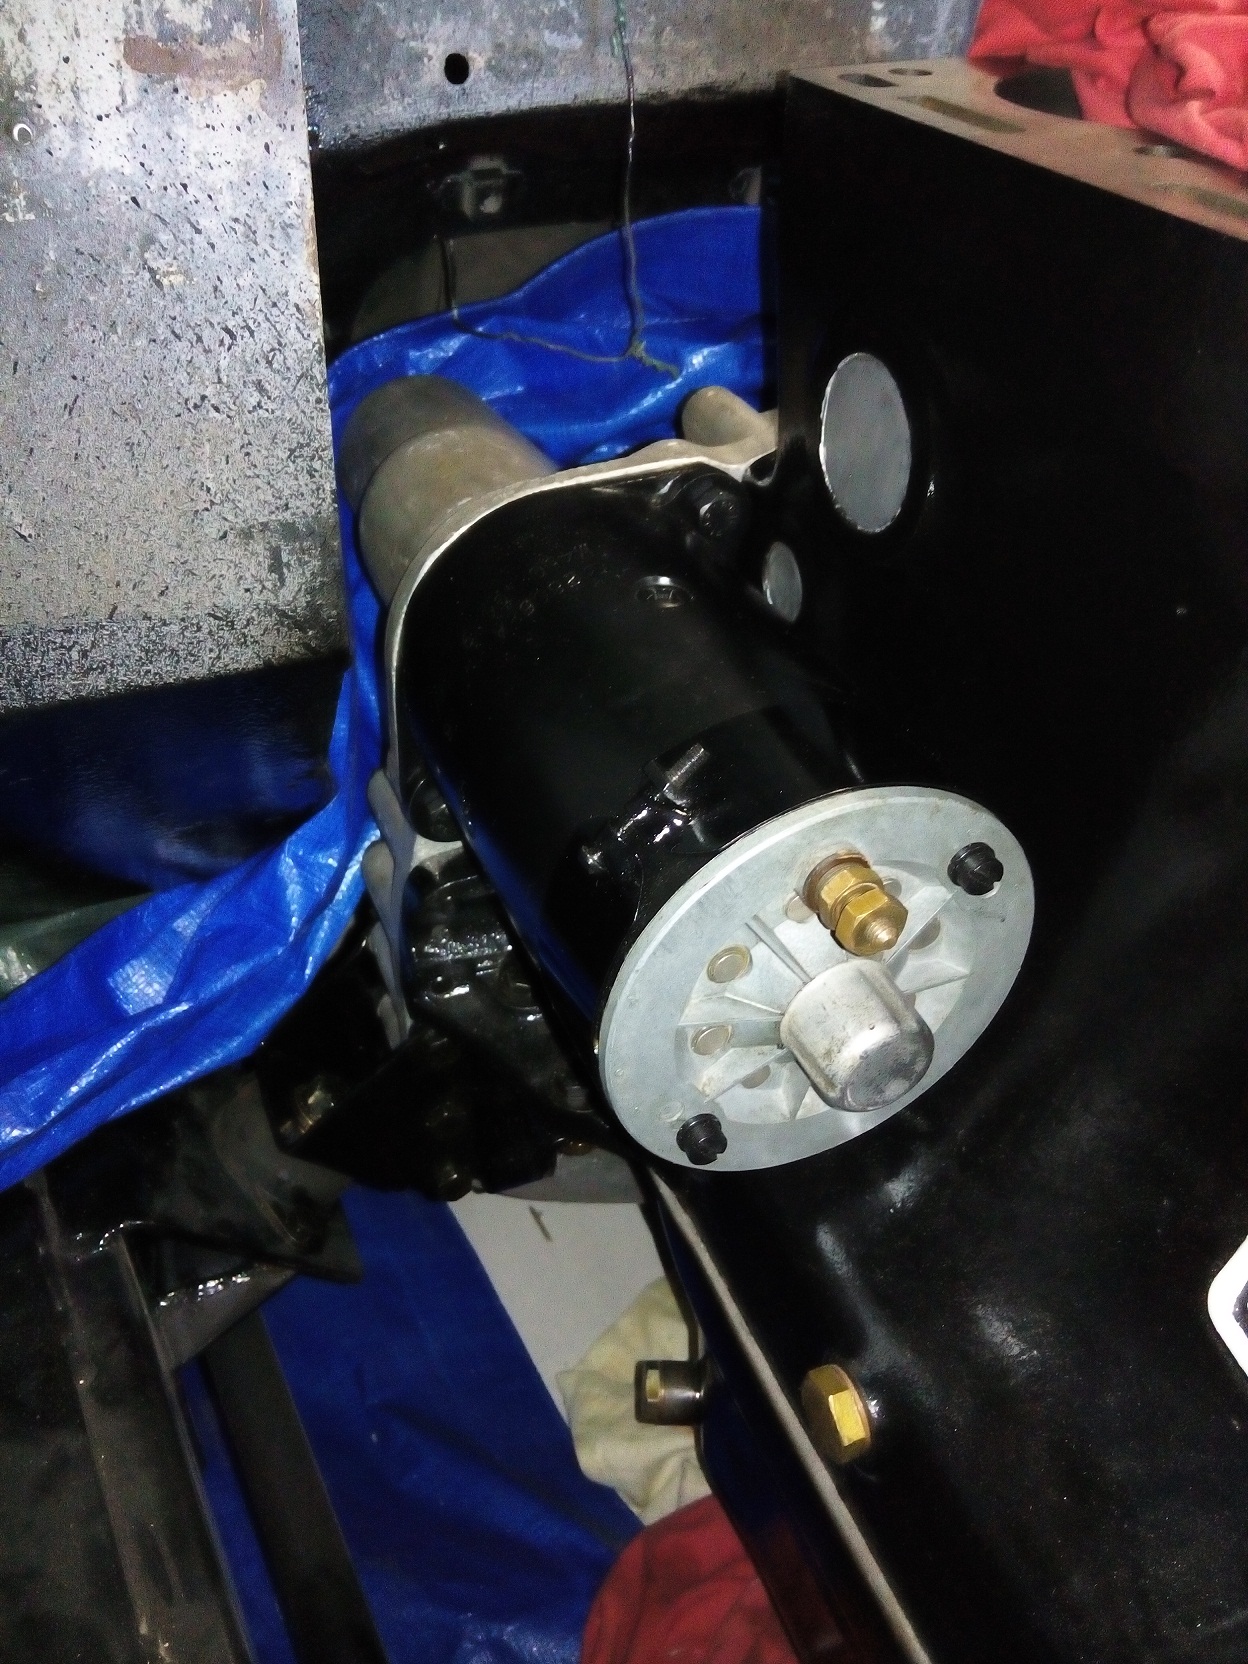
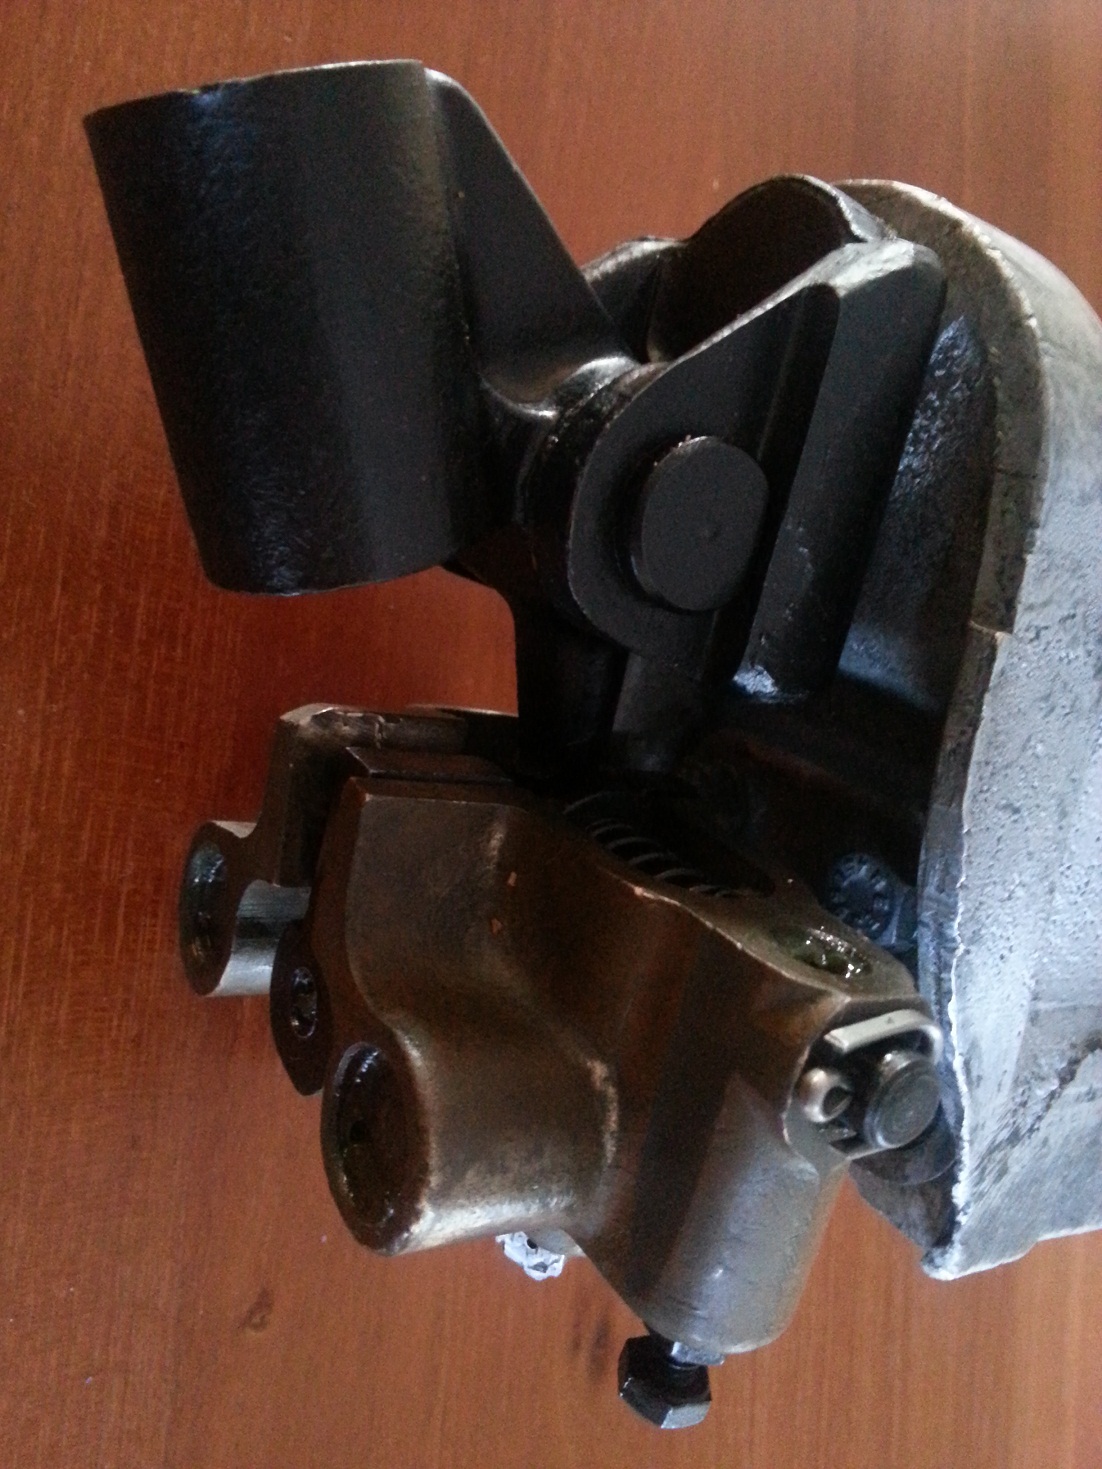
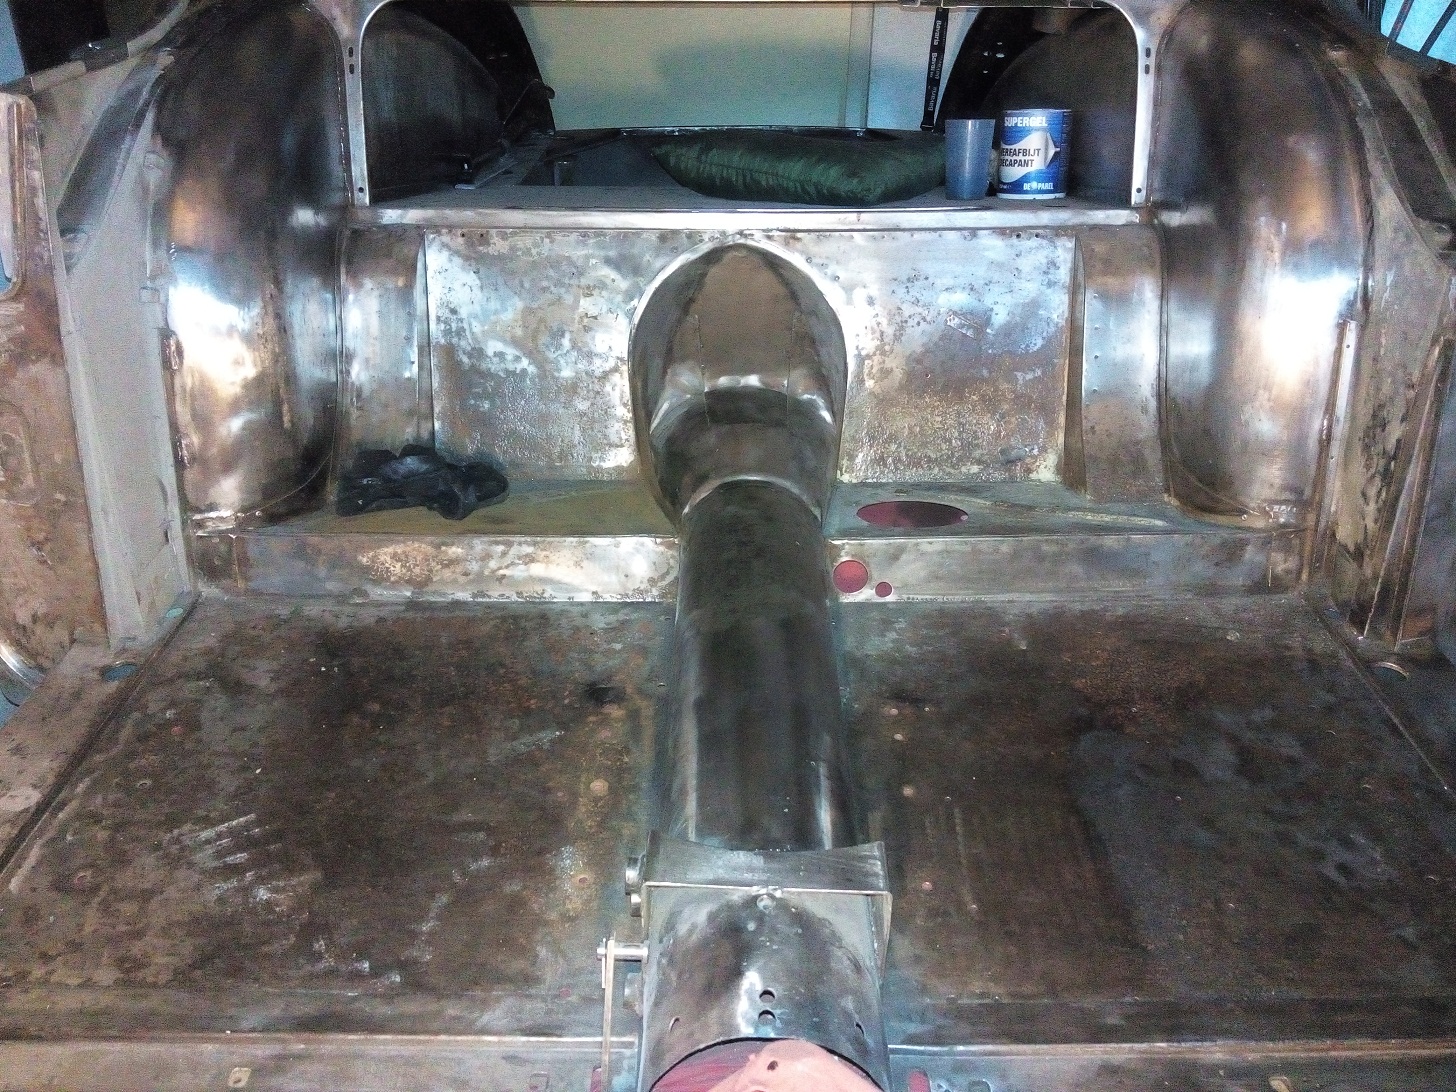
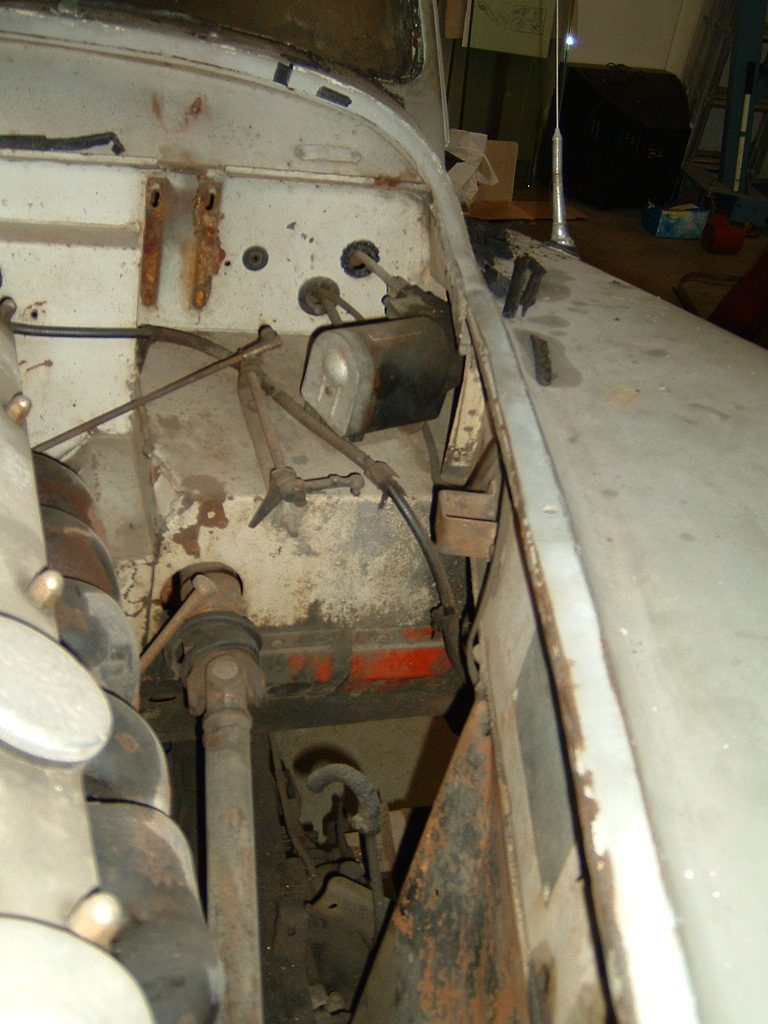
Original steering column inside
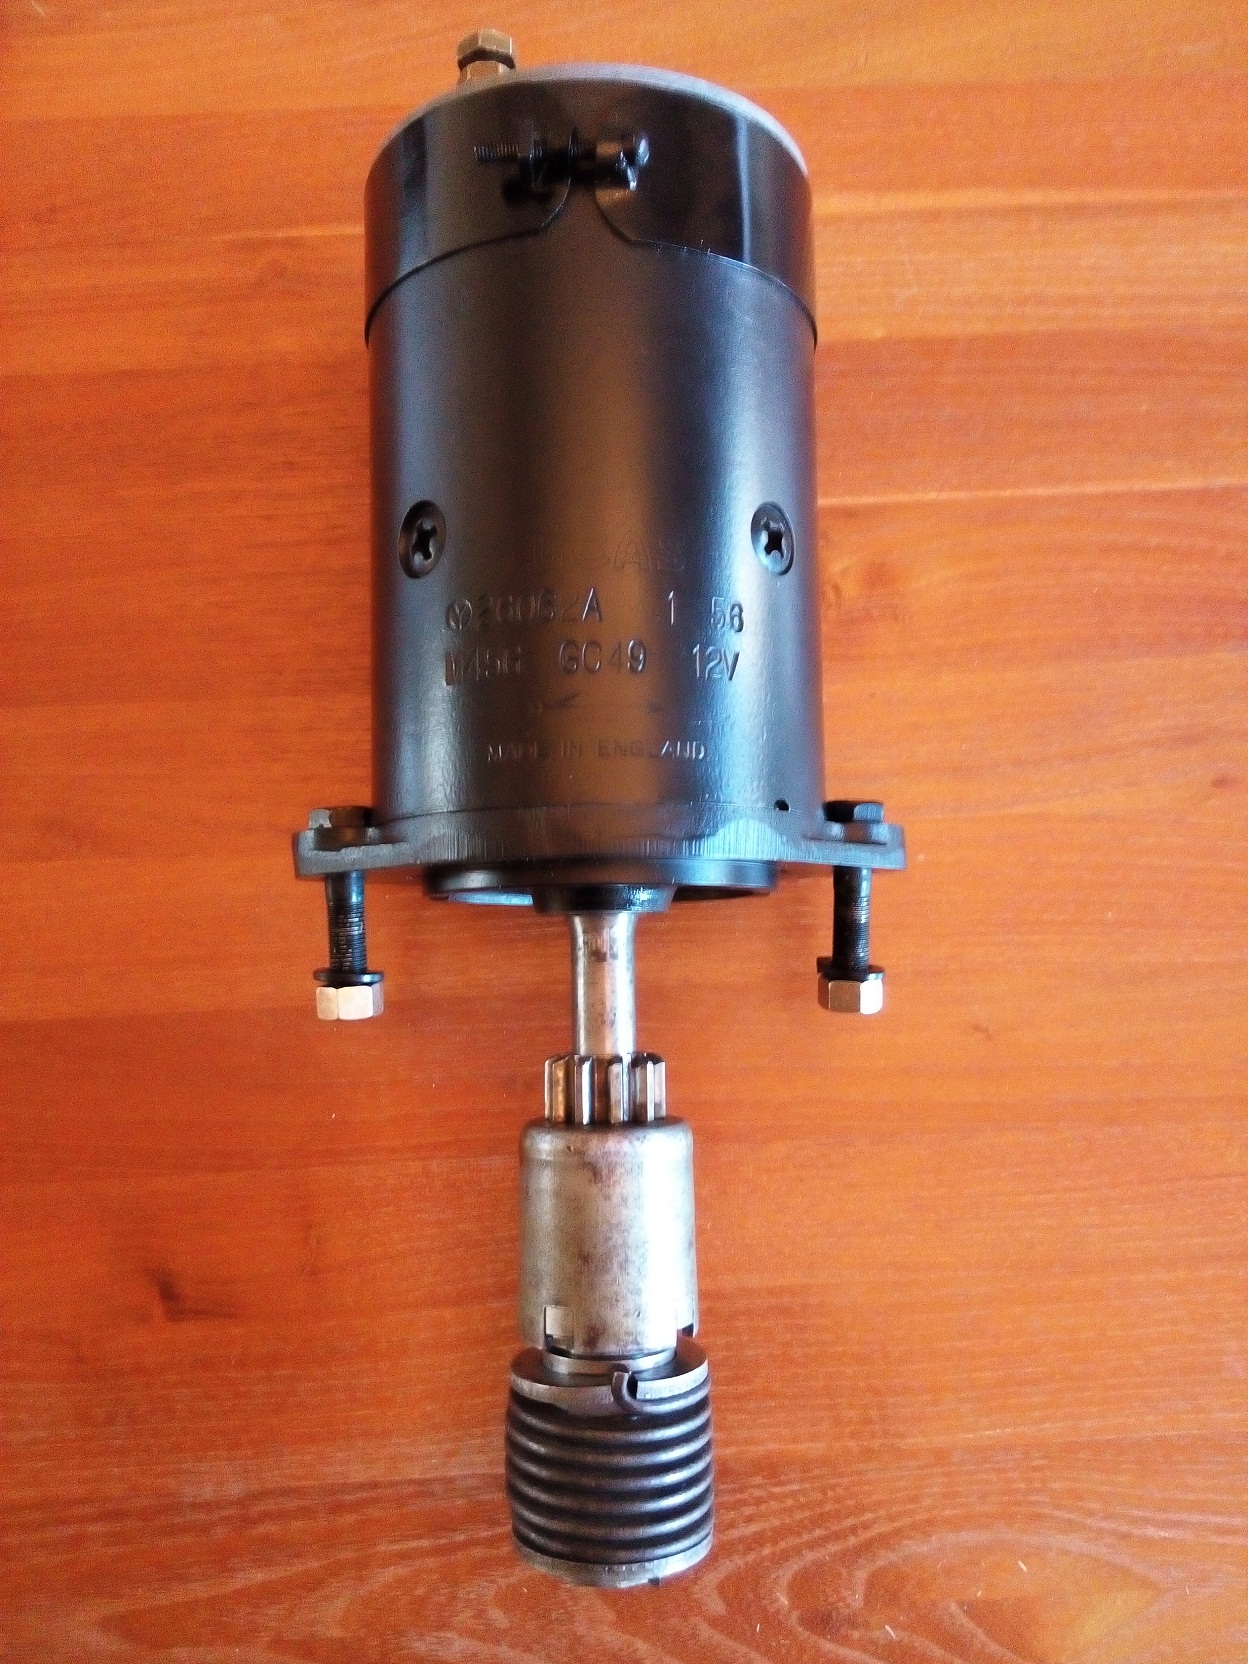
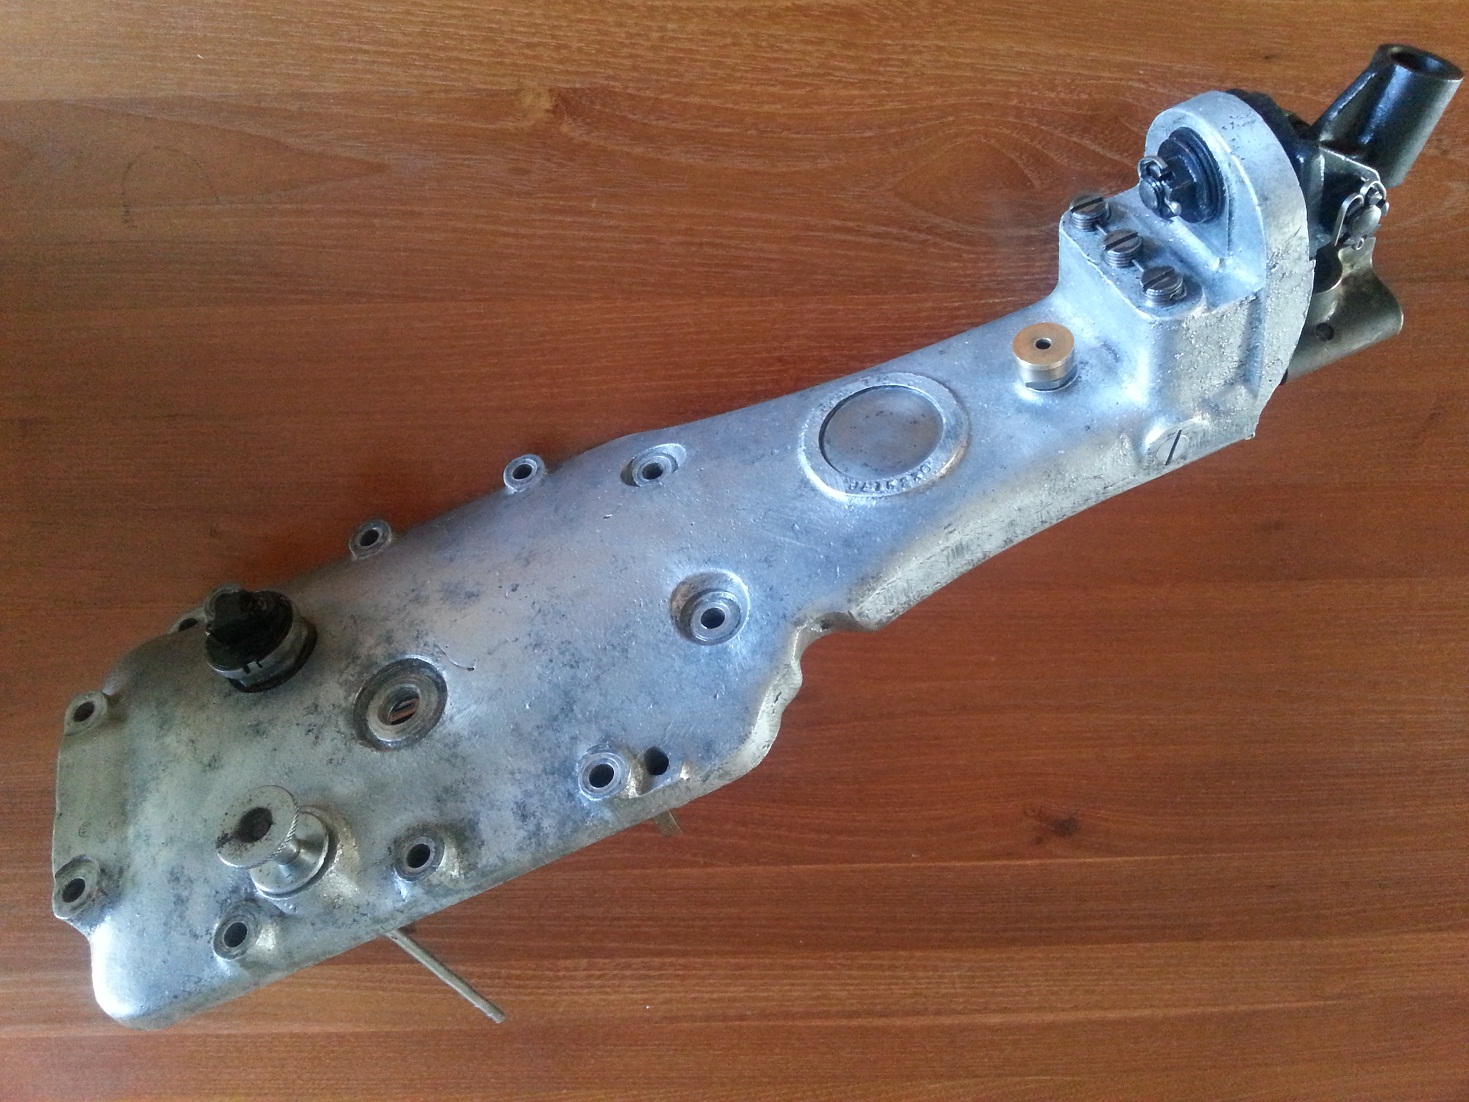
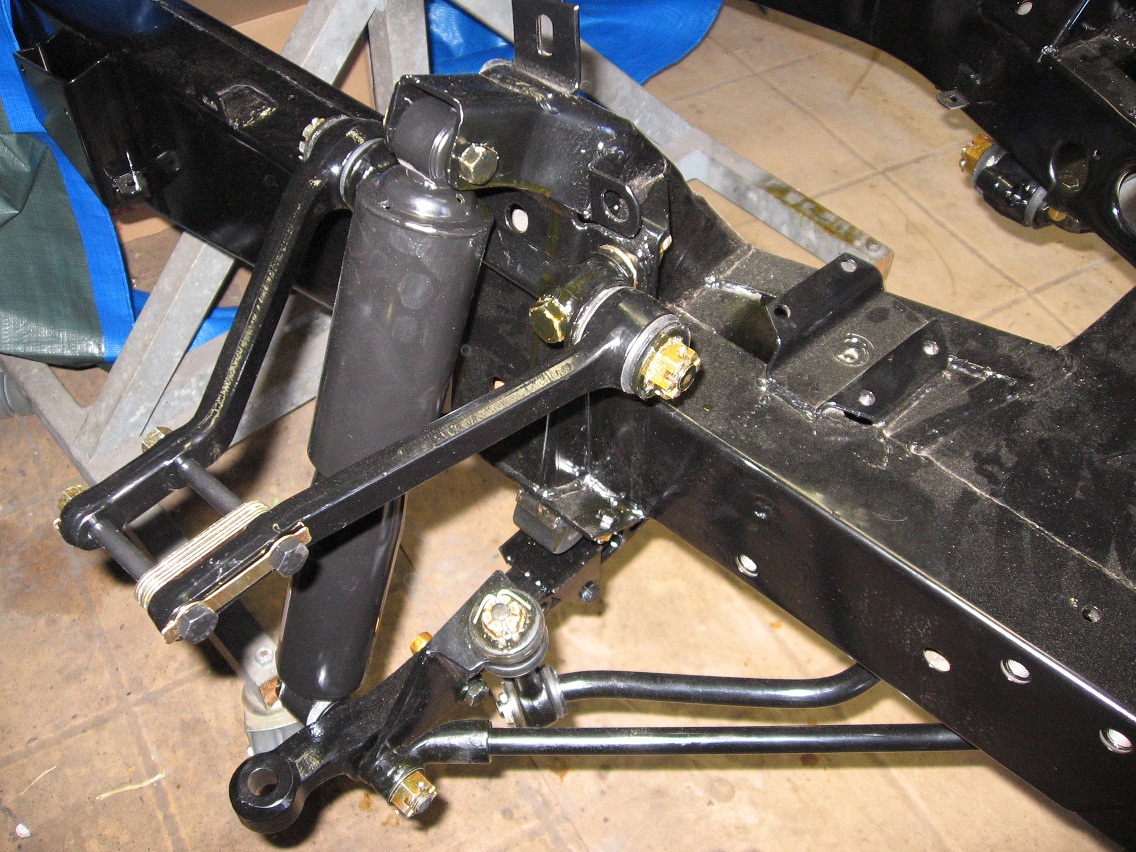
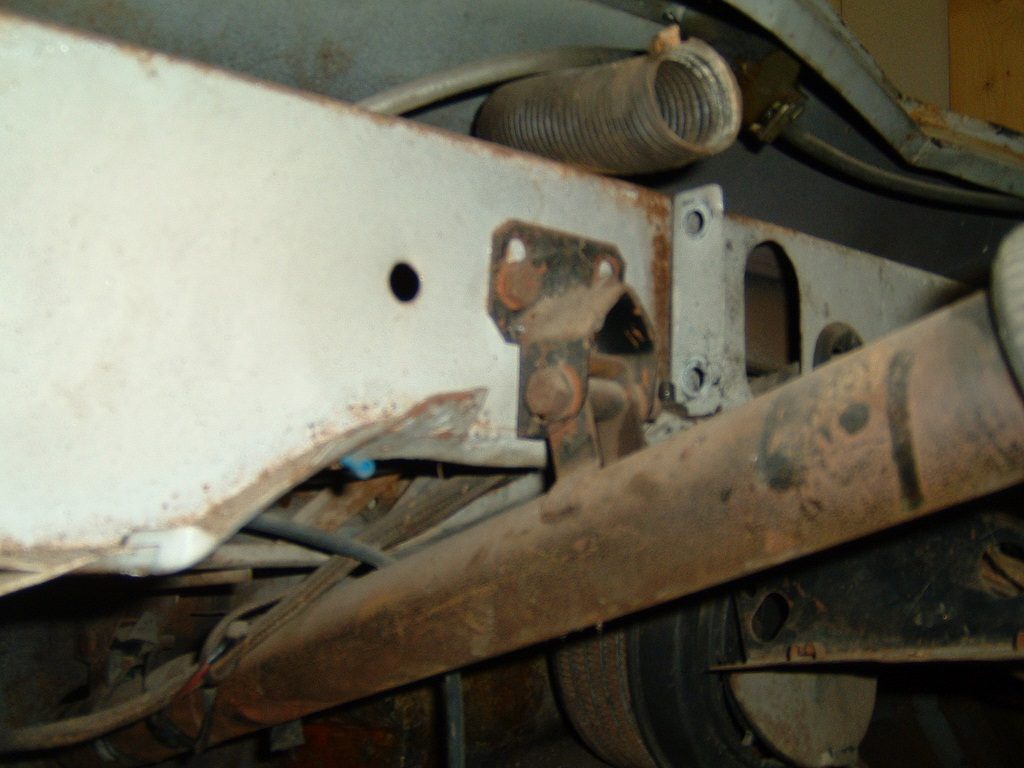
Original steering column in engine bay
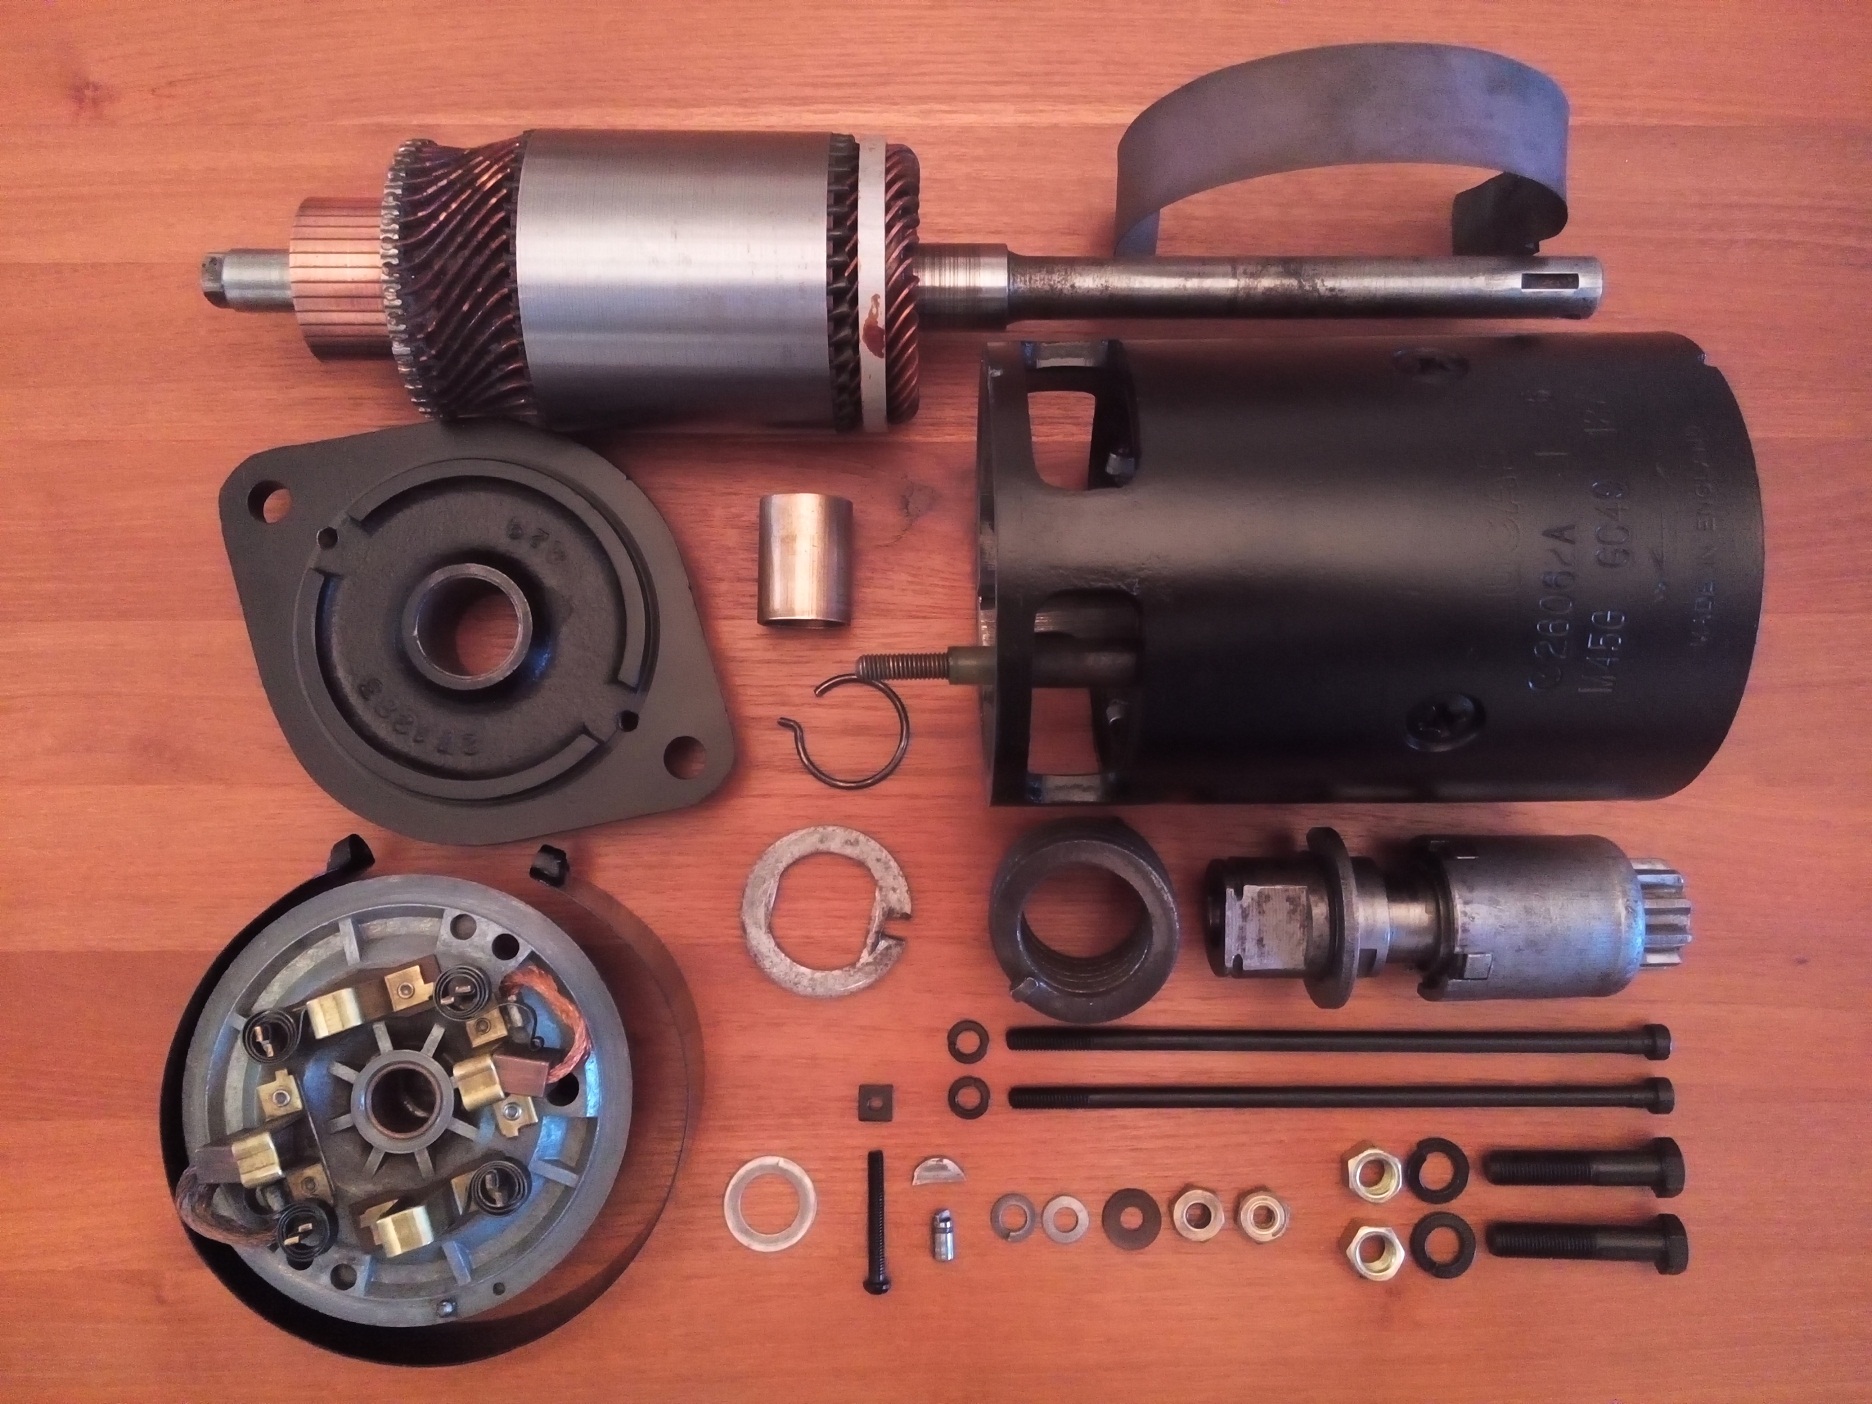
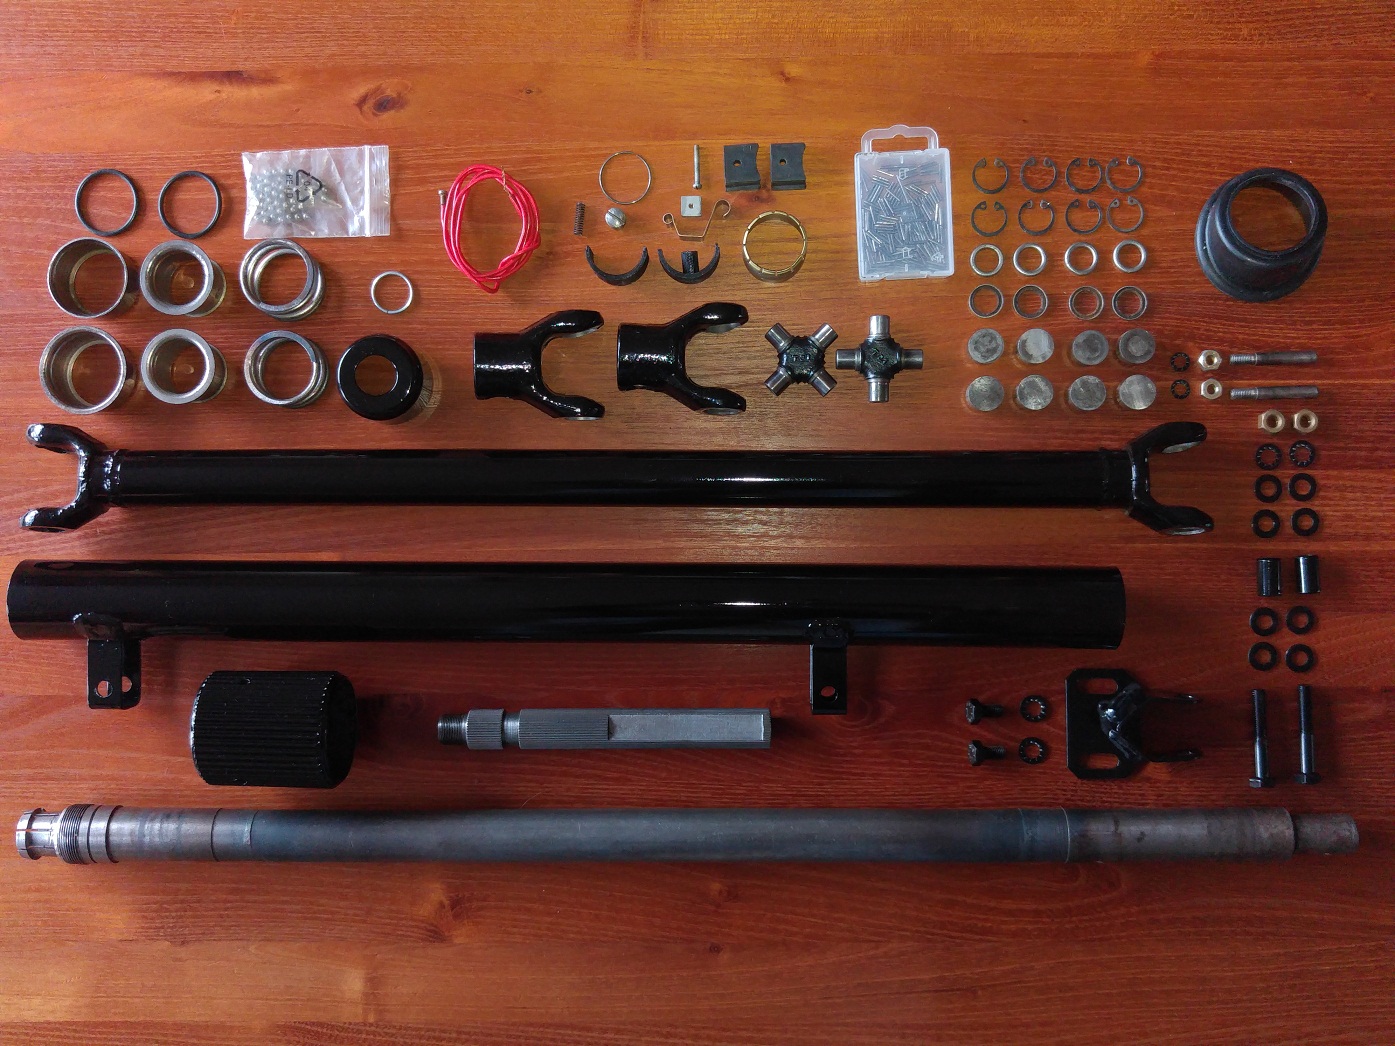
After cleaning and inspecting all parts I decided to:
- I will reuse the upper and lower barring (two new 3/16″ steel balls ordered because they where missing)
- I will reuse the universal joints because the still looks undamaged
- The rubber grommet needs to be replaced
- The rubber insulator used between slip ring and steering shaft are made with the help of a 3D printer (They cannot be bough separately)
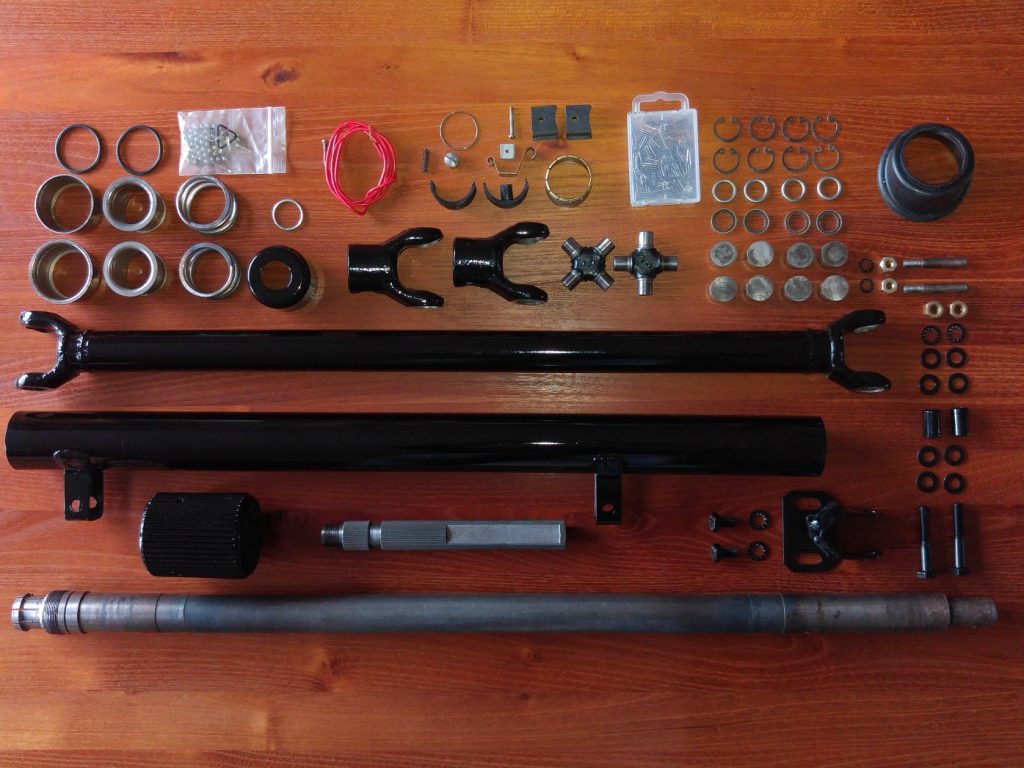
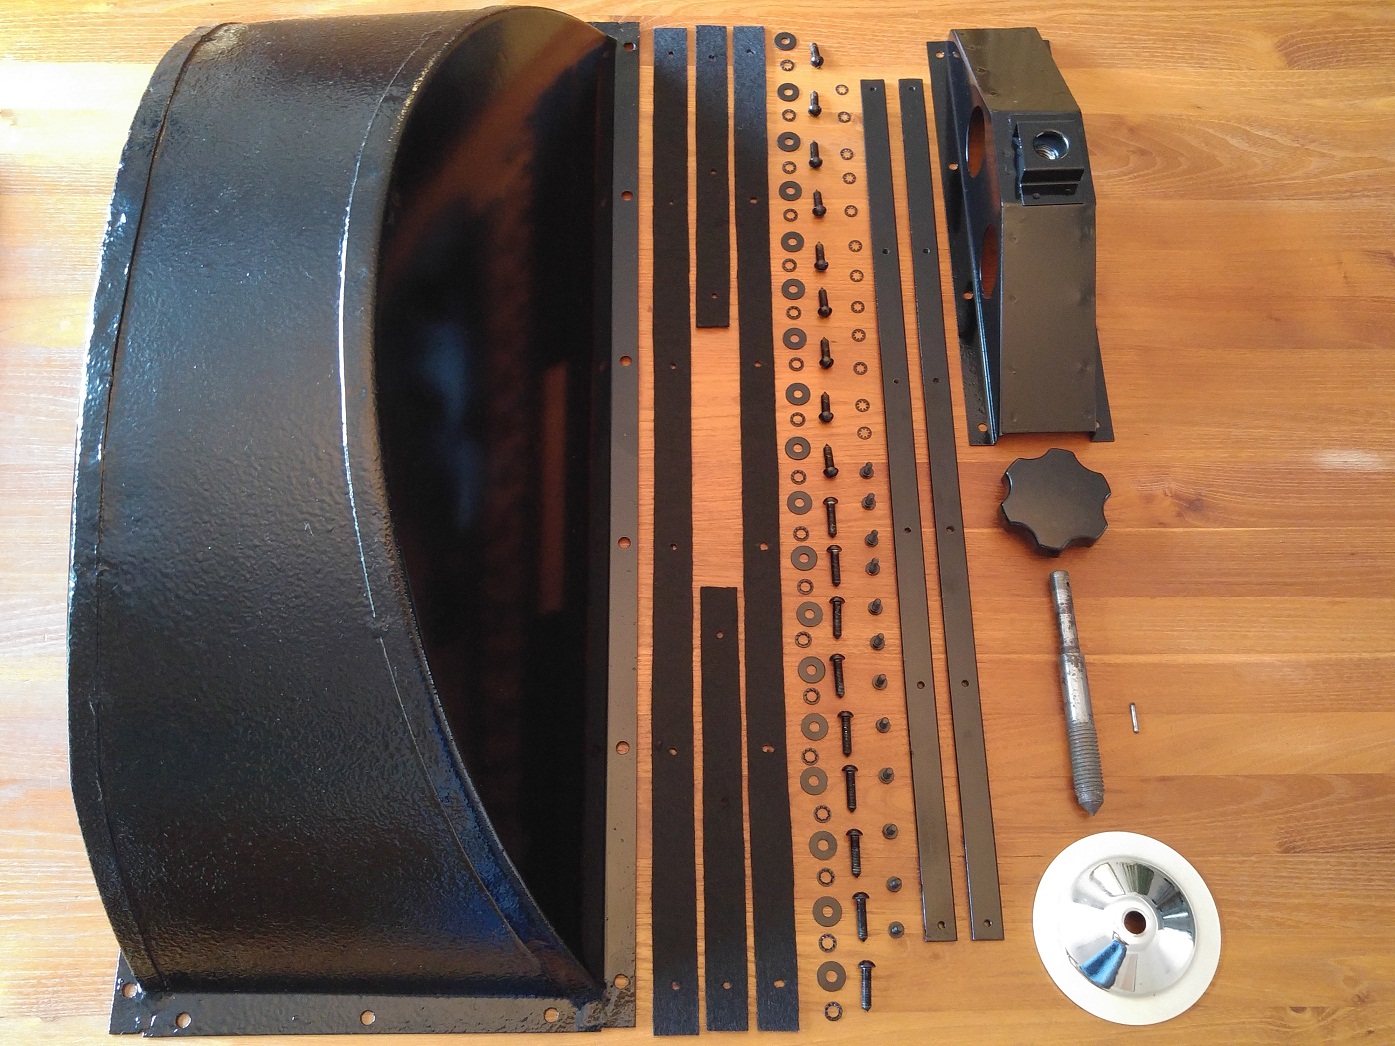
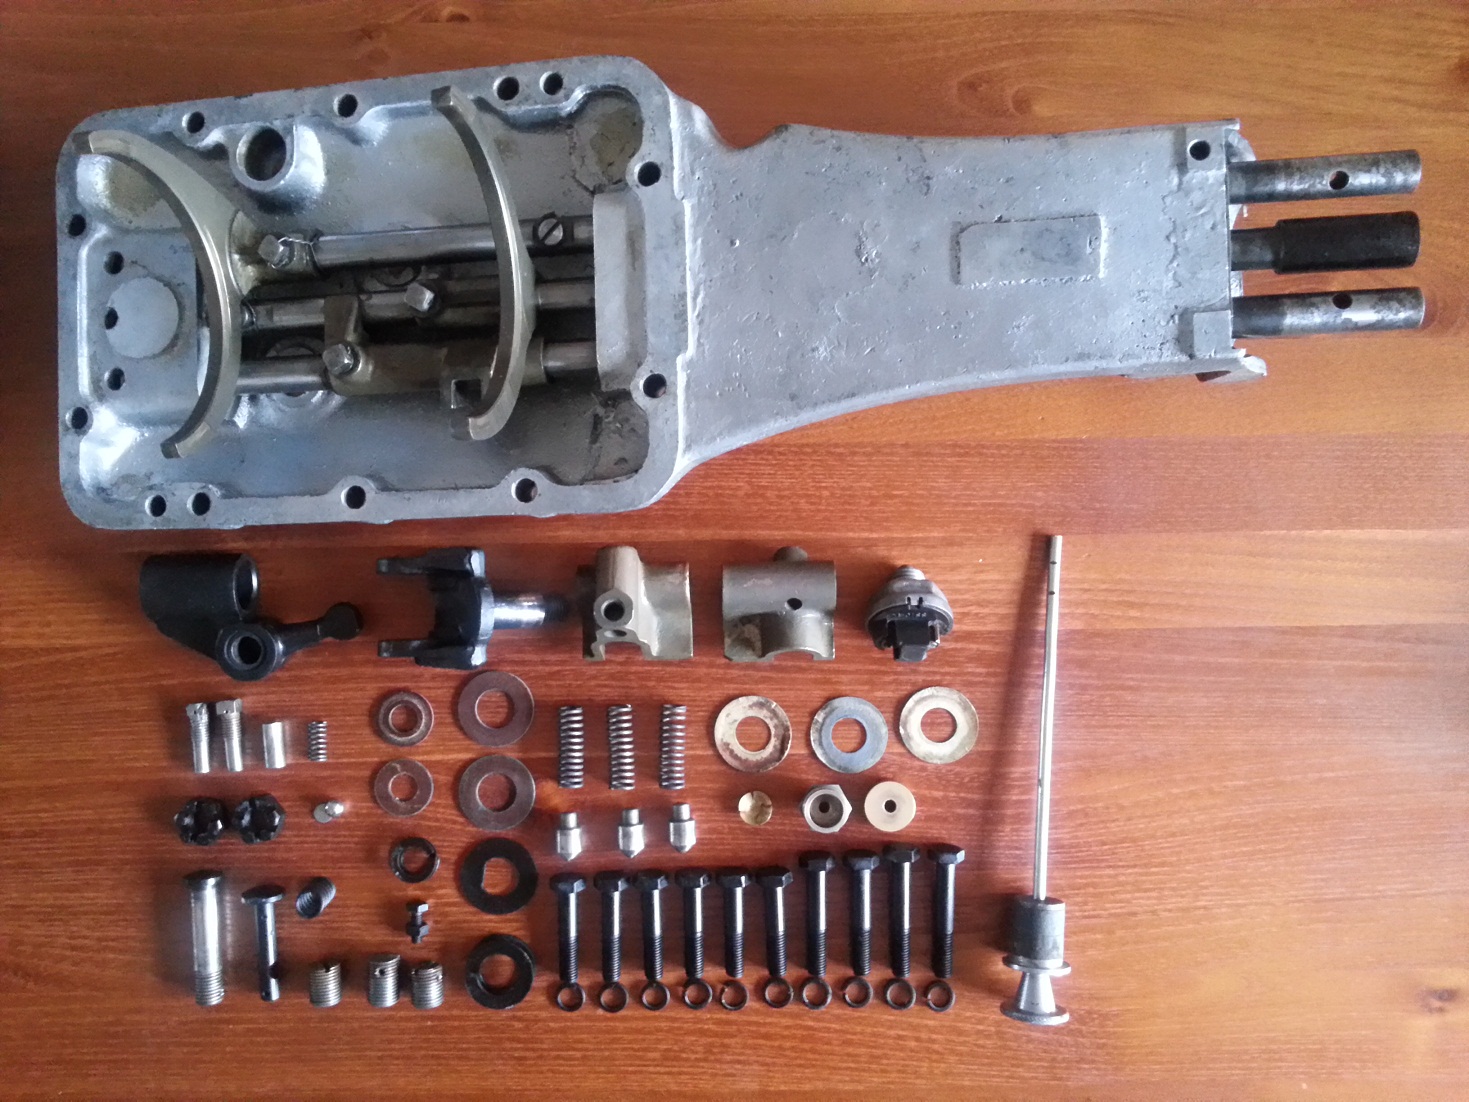
Parts needed to rebuild the steering column
After mounting everything on the correct place I noticed that the rubber grommet, normally visible from the engine bay, did not came into contact with the outside of the steering column. Therefore I decided to keep it inside of the body, not as it should be, it will keep the air stream outside of the body compartment.

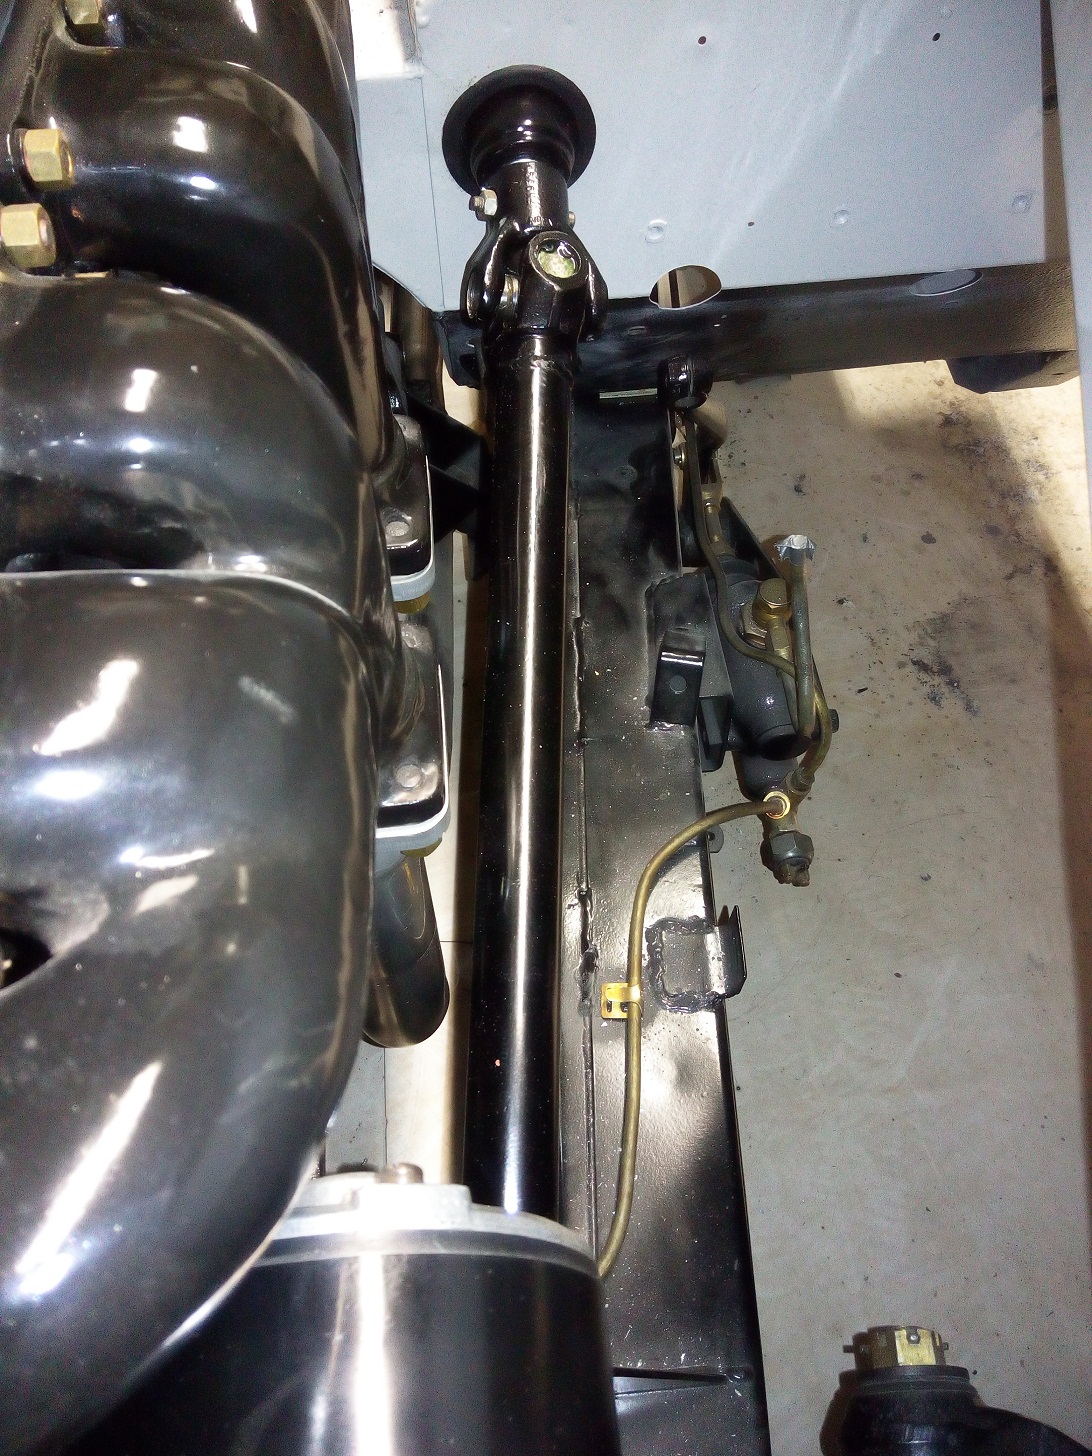
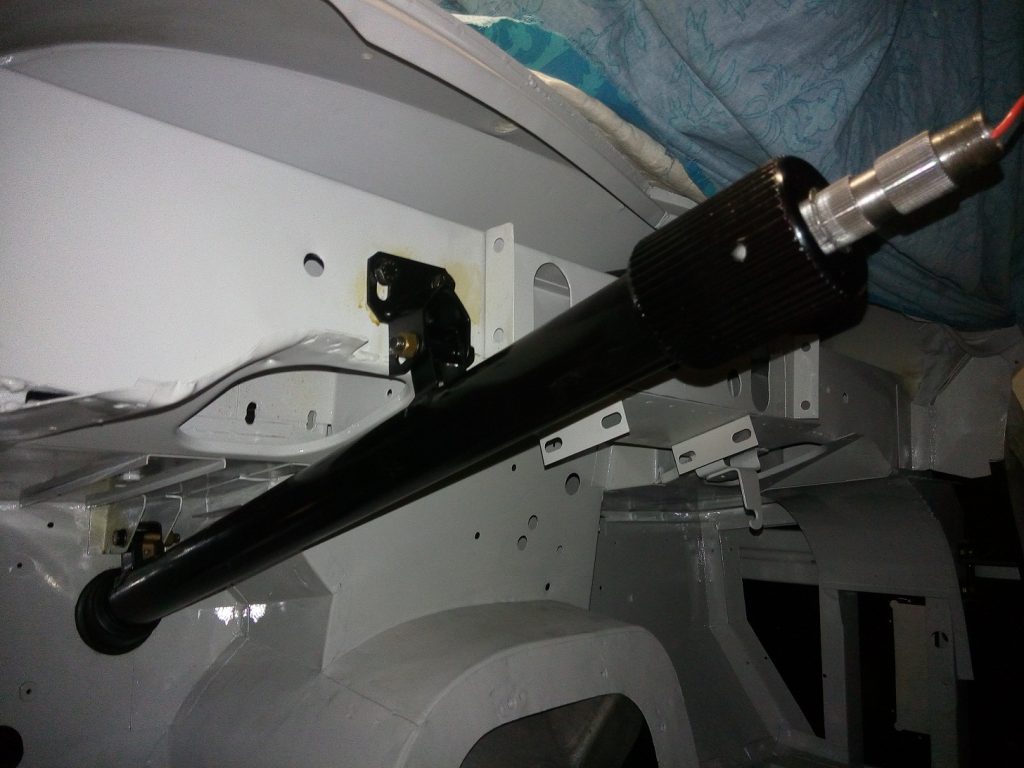
Restored steering column inside engine bay
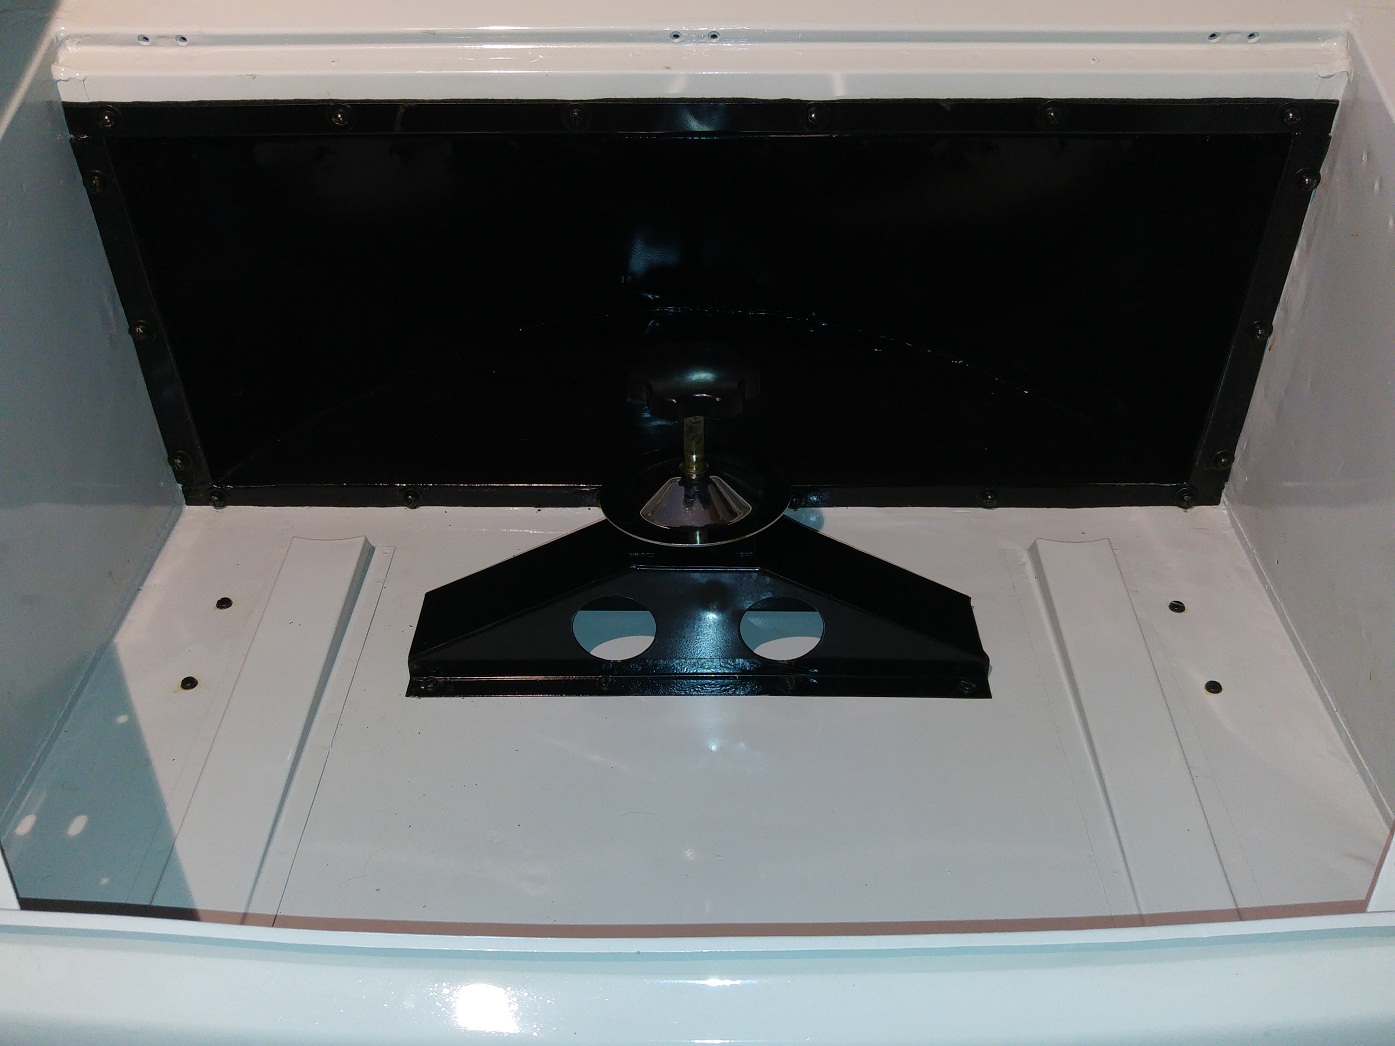
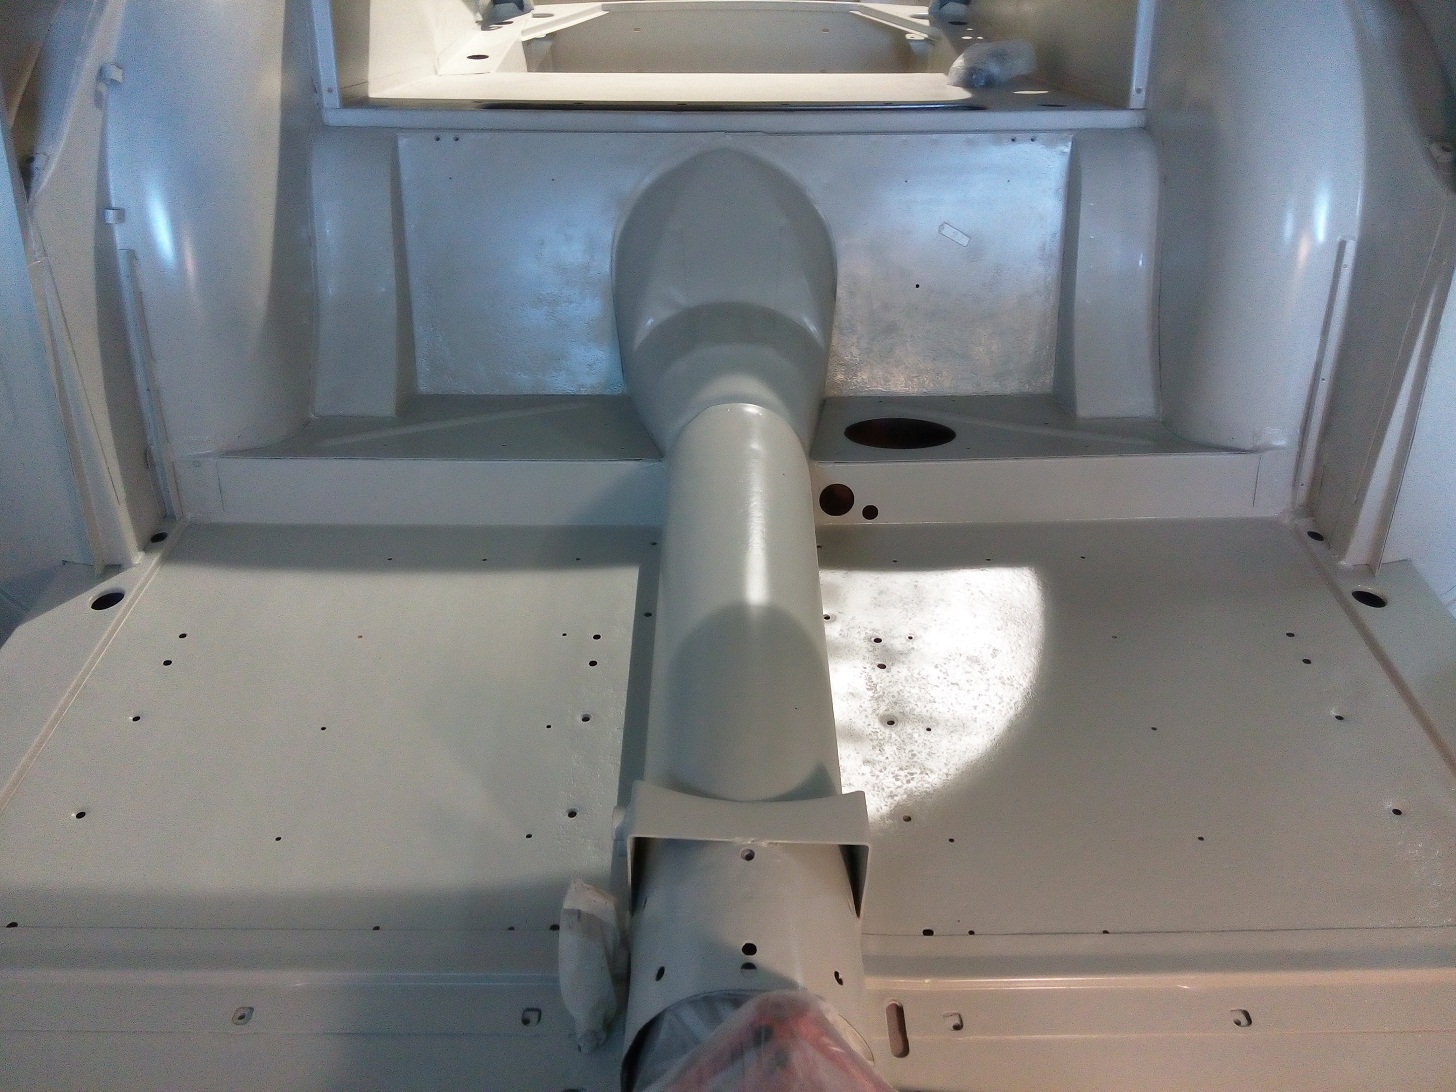
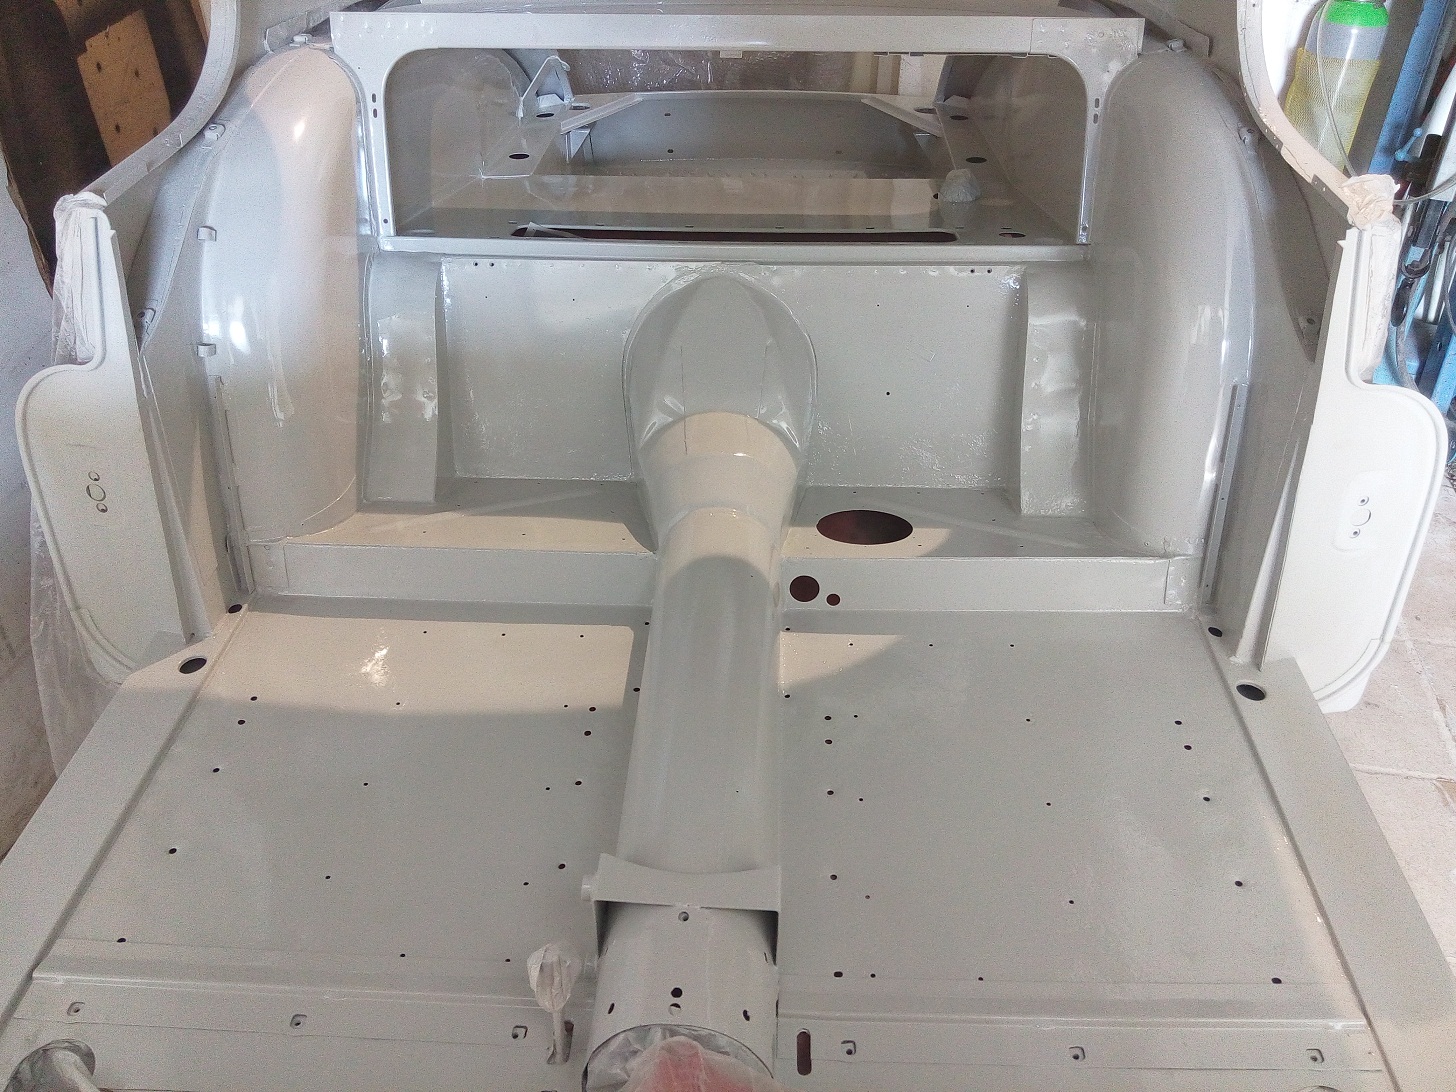
Restored steering column inside