jun 152016
 

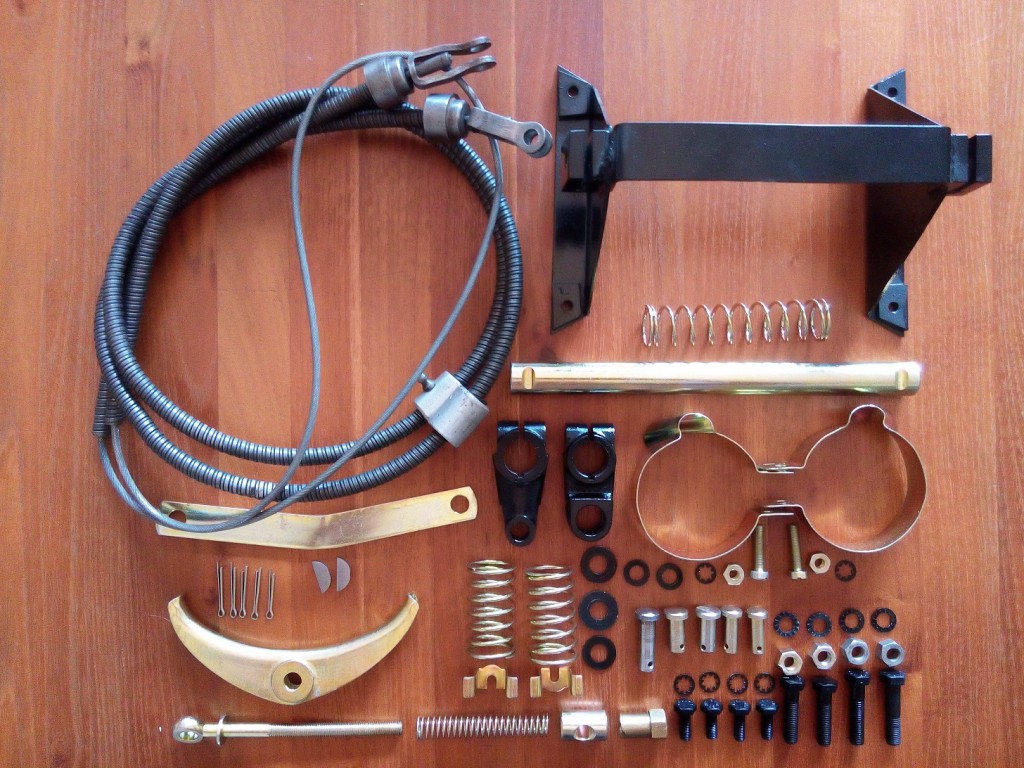
The last part which should be mounted, before the body can be placed back onto the chassis, is the hand brake cable mechanism. The parts inside the rear brake drums are already mounted (see Rear Brakes / Wheels) but the connection between the rear drums and hand brake lever not yet.

HandBrakeParts

Parts needed to rebuild the handbrake cable mechanism

The cable itself was still in very good condition. After it was thoroughly cleaned it’s ready for a next round.

HandbrakeFinished

Handbrake mechanism mounted onto the chassis 

 Posted by at 16:11
okt 022012
 

The previous owner was not able to remove some bolts and decided to cut the springs. This operation was not very successfull because at the end it was still mounted to the car. After cutting the problem bolt in three parts it was very easy to remove the leaf springs.

The original spring where badly damaged, so I had to find a spare set of original leaf springs. My neighbor, who worked that time in England, was so kind to arrange the transport back to the Netherlands.

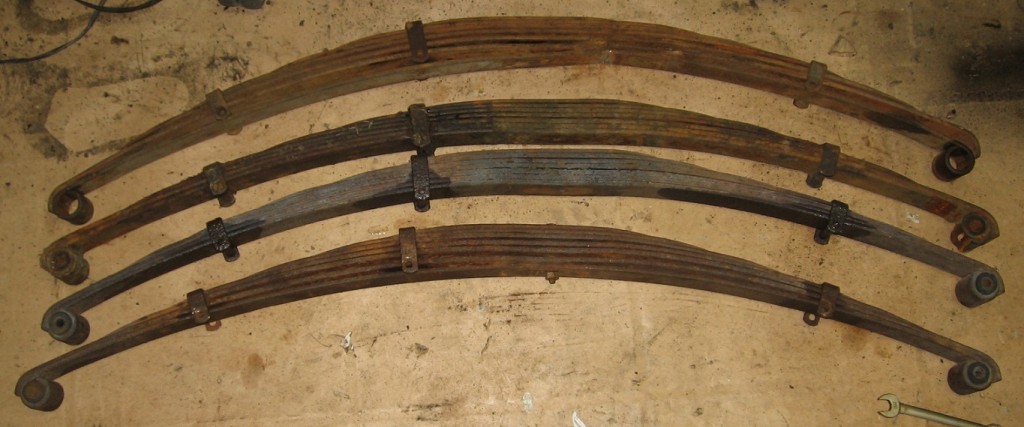
LeafSpringOld

Two complete leaf spring sets

After bead blasting and several layers of paint they look great again. Off course all new bushing are used before mounting them back onto the chassis.

LeafSpringsNew

All separate parts used to rebuild the rear leaf springs

 Posted by at 20:43
feb 222015
 

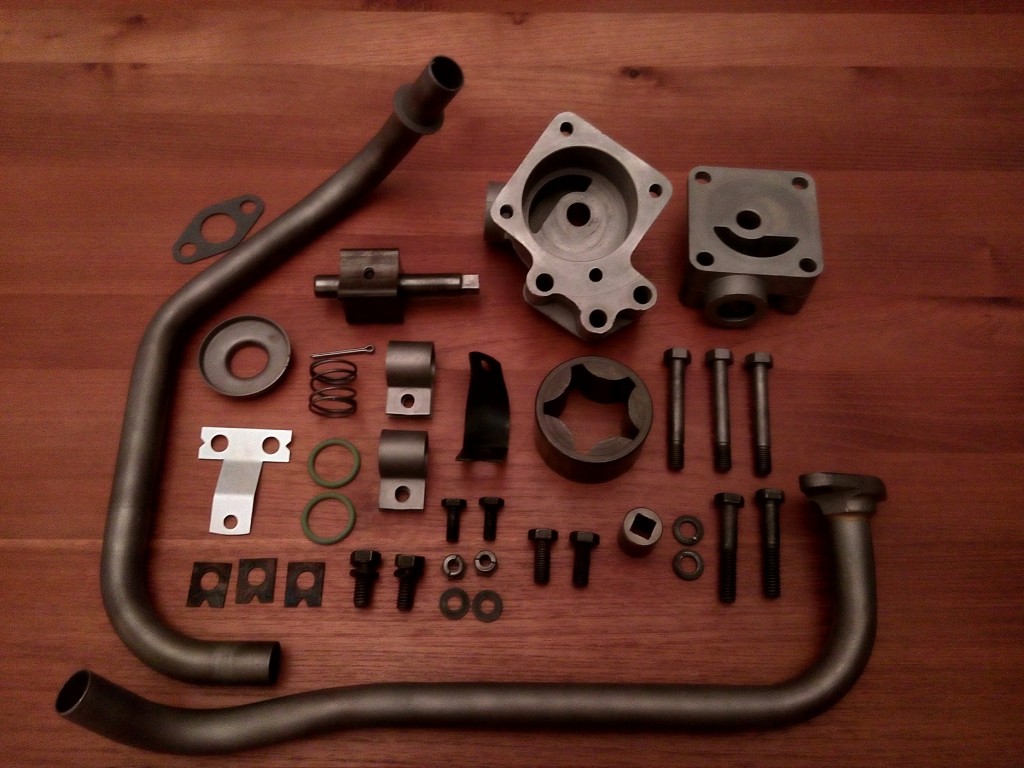
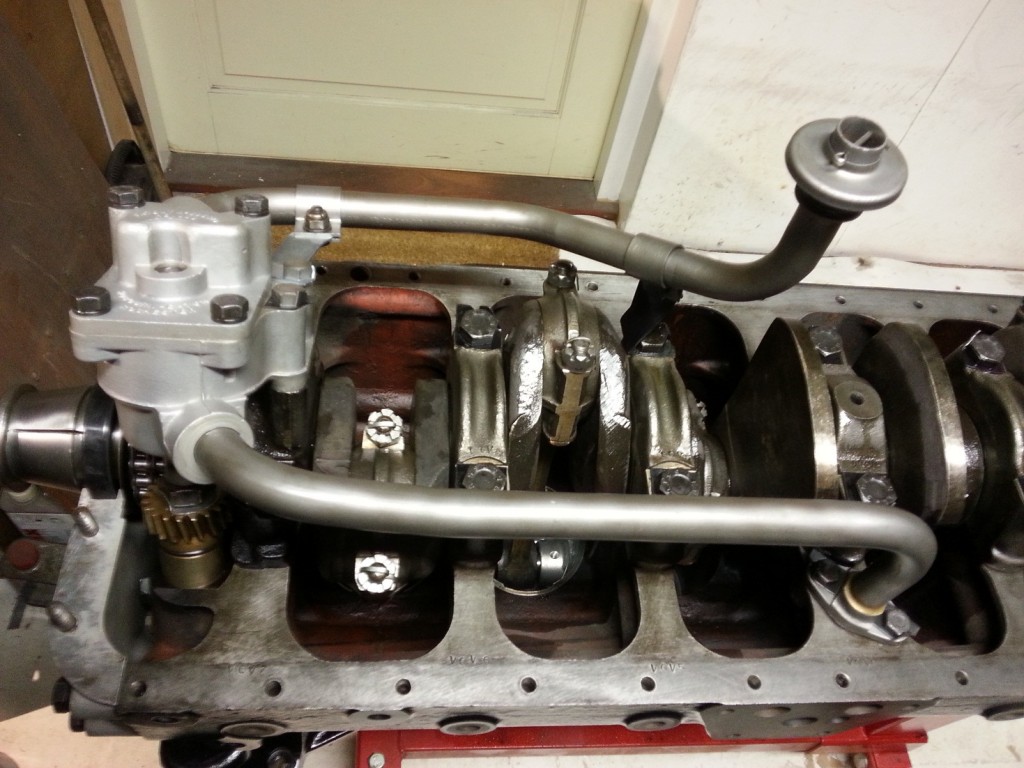
All parts are cleaned and oil rings, locking plates and gaskets replaced.
The oil pump clearance is still within specification (inside 8/100, outside 8/100) and can be reused.

hdr

All parts need to rebuild the oil pump

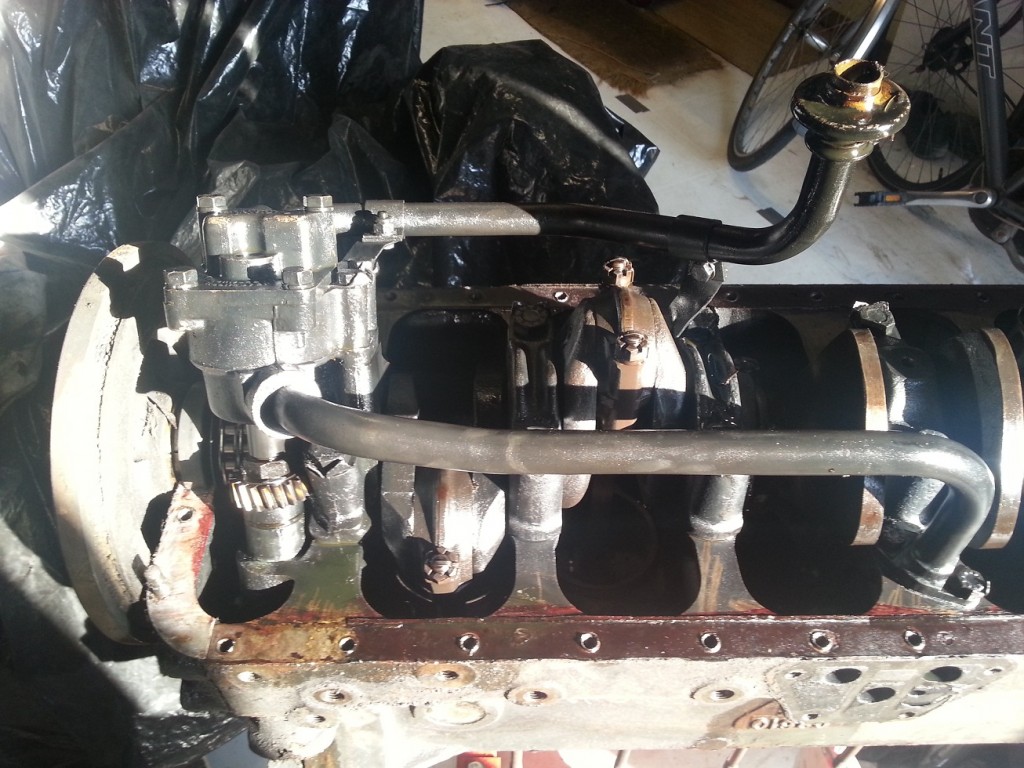
Below the oil pump before and after the restoration process.

 Oil Pump Finished

 Posted by at 20:47
mrt 012015
 

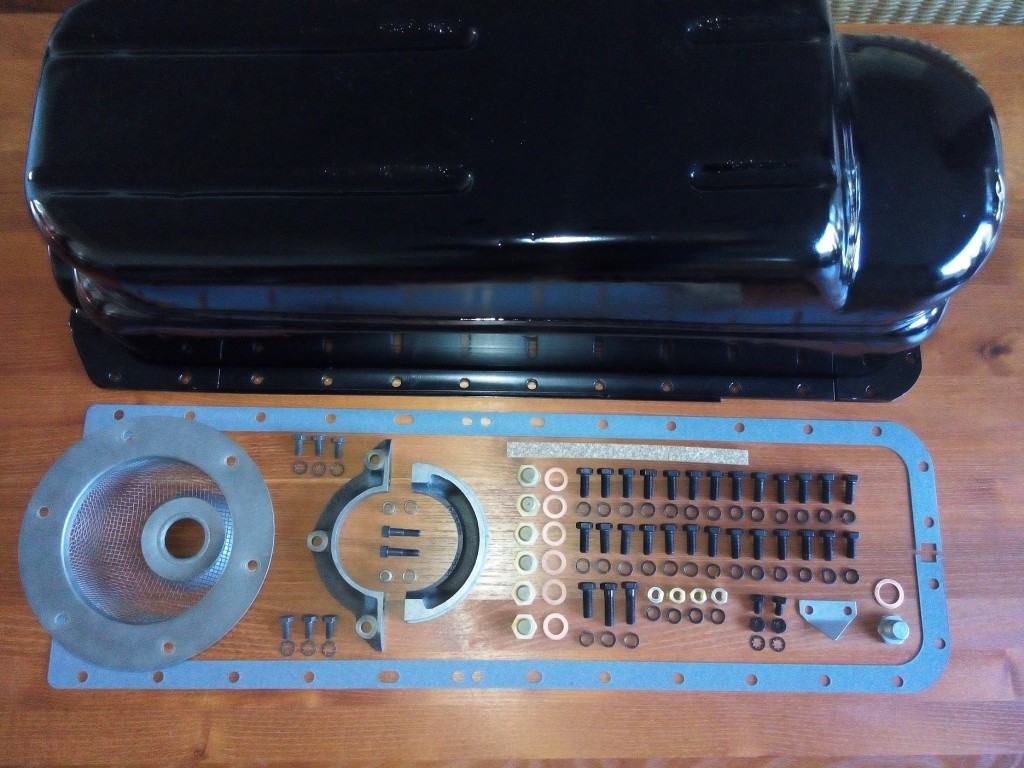
The oil sump is one of the last parts which will close the lower part of engine block. Today I tried to mount the oil seal ring at the rear cover and found out that this part should be installed just before the crankshaft is installed. After measuring all parts a came to the conclusion that it should work if;

  • Shorten the ring dowels (C2373) with 2 mm (still 2.5 mm left for alignment)
  • Shorten the center bold with 4 mm (still enough thread left)

The advantage is that it will always be possible to remove it again 🙂 The oil seal ring, which consists of two halves, is shown in the picture below.

Oil Sump Parts

All parts for rebuilding the oil sump


hdr

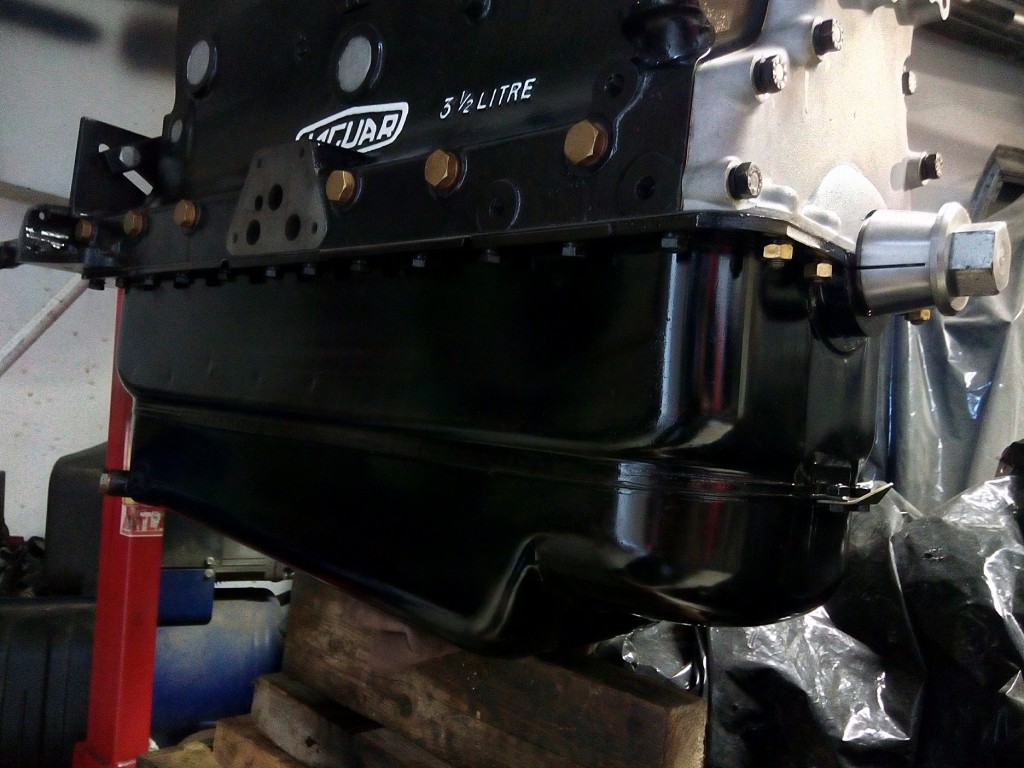
Lower engine block almost finished

When all oil sump parts are mounted the lower engine block looks almost complete. Only the oil cleaner, crank shaft damper and engine brackets are missing on this photo. I still have to decide what the next assembly parts will be!

 Posted by at 17:52
jun 122016
 

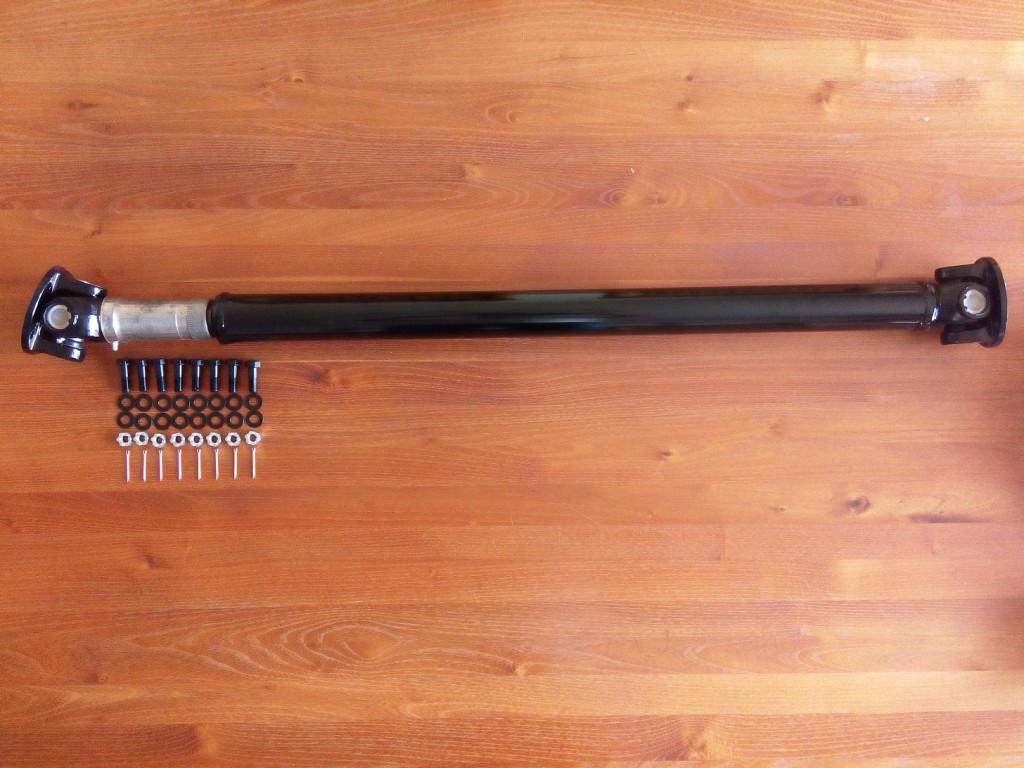
The prop shaft was a part that was in one of the boxes with parts that came with the car. It was not clear to me if the prop shaft was originally on the car or not. The length of the prop shaft is about 41″ but, due to the fact the rear axle and engine where already removed, it was not possible to check if the length of the pro shaft was correct.

New bearings mounted

New bearings mounted

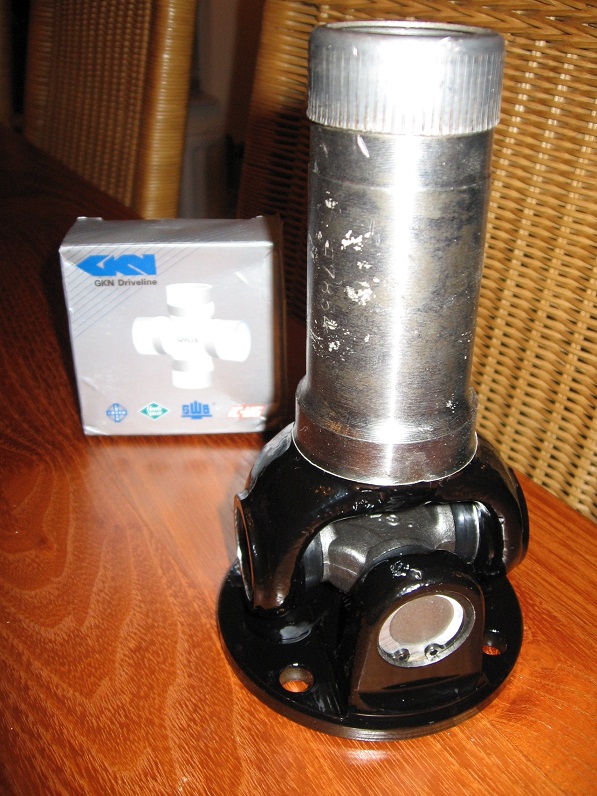
After the prop shaft is thoroughly cleaned and painted, new cross coupling bearings are mounted.

PropshaftPartsDetail

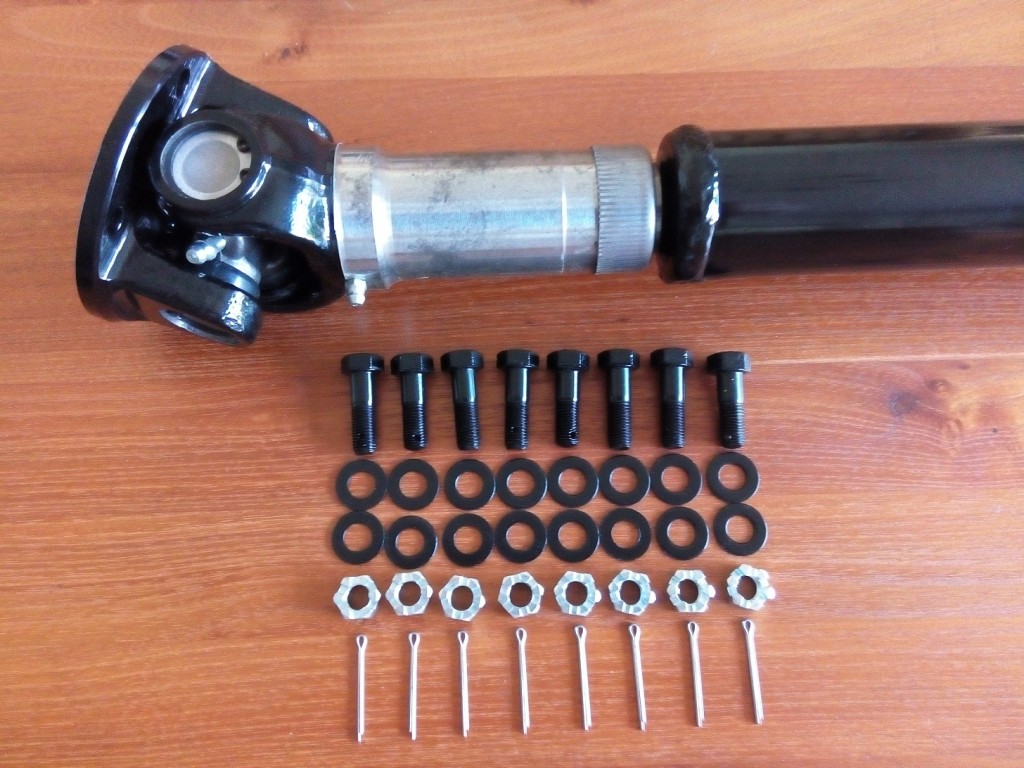
Detail of the nuts and bolts

PropshaftParts

All parts needed to mount the new prop shaft

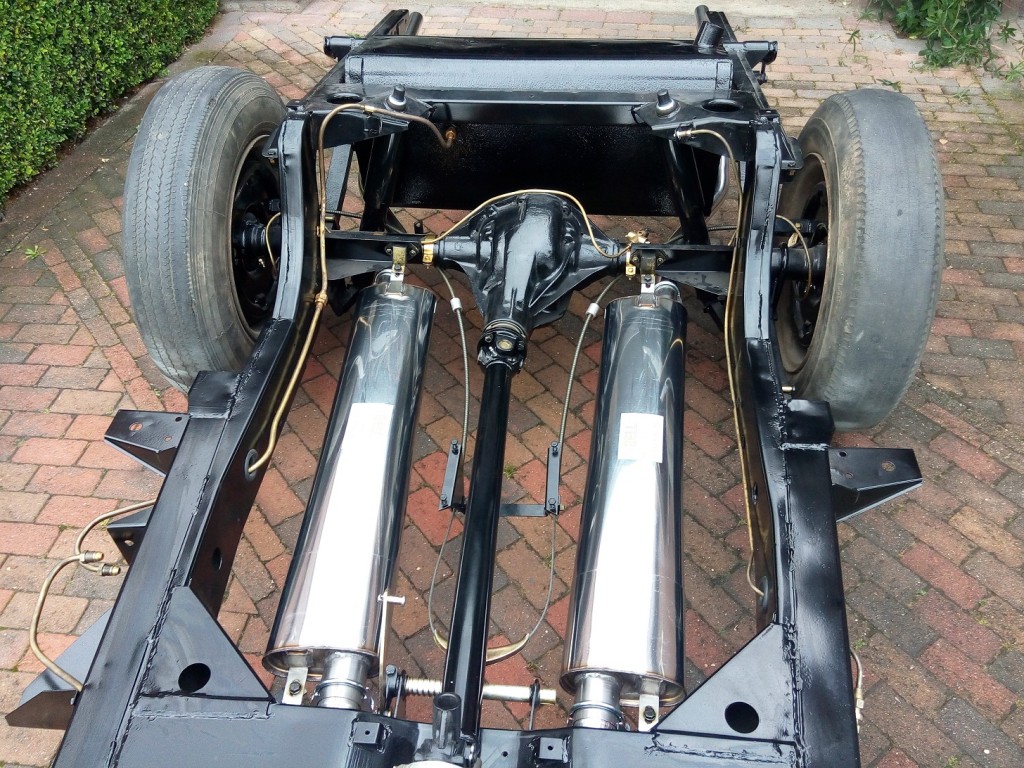
RollingChassisFinishedRight

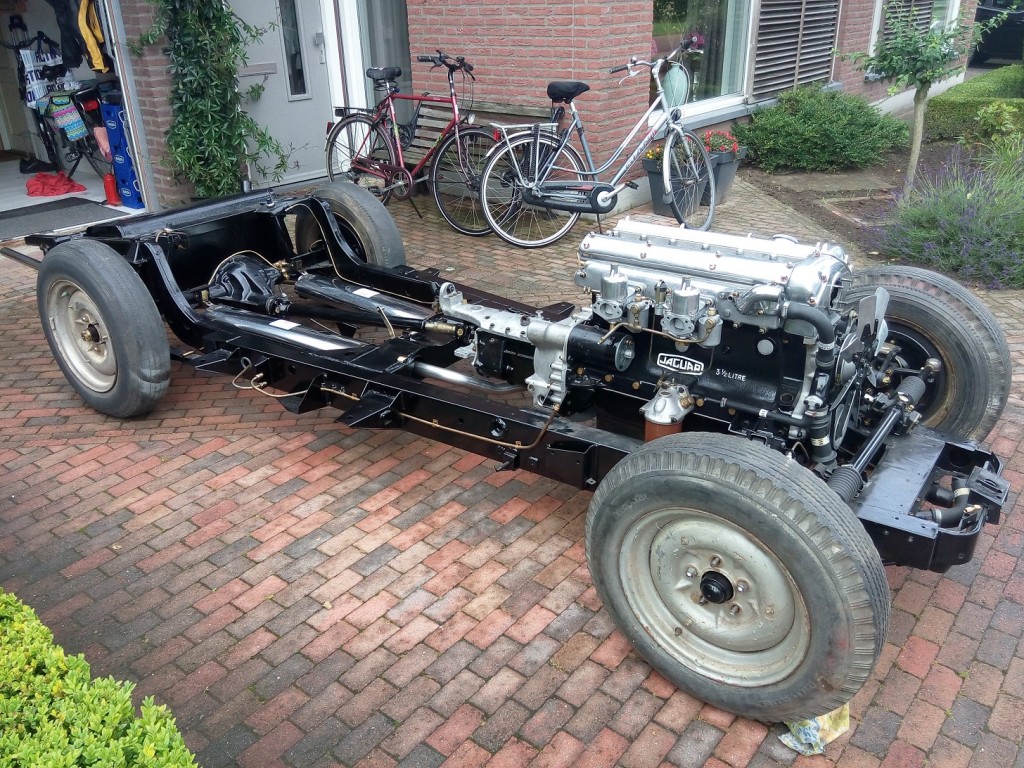
Prop shaft mounted between gearbox and rear axle 

 Posted by at 17:05
jan 022013
 
RackPinionOrg

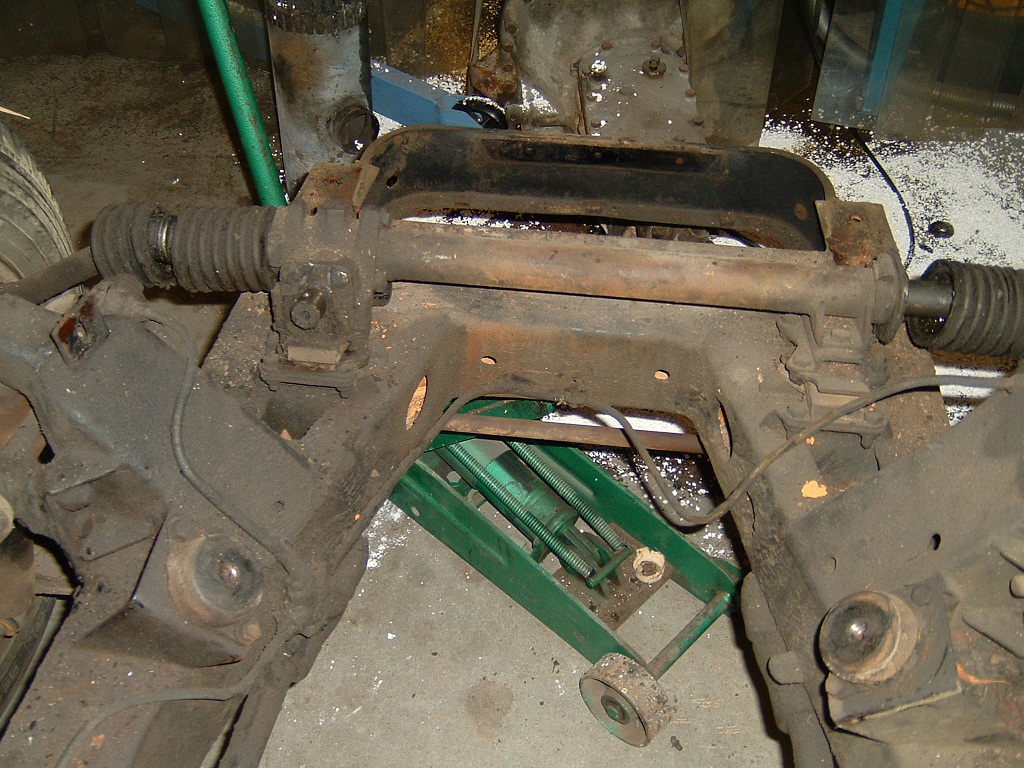
The Rack and Pinion housing in original condition

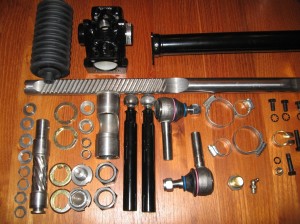
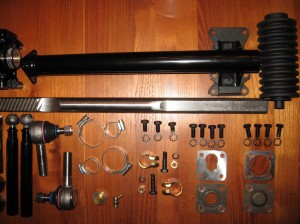
All separate parts used to rebuild the rack and pinion housing (with brand new bearings of course)

RackPinionParts2RackPinionParts1

RackPinionNew

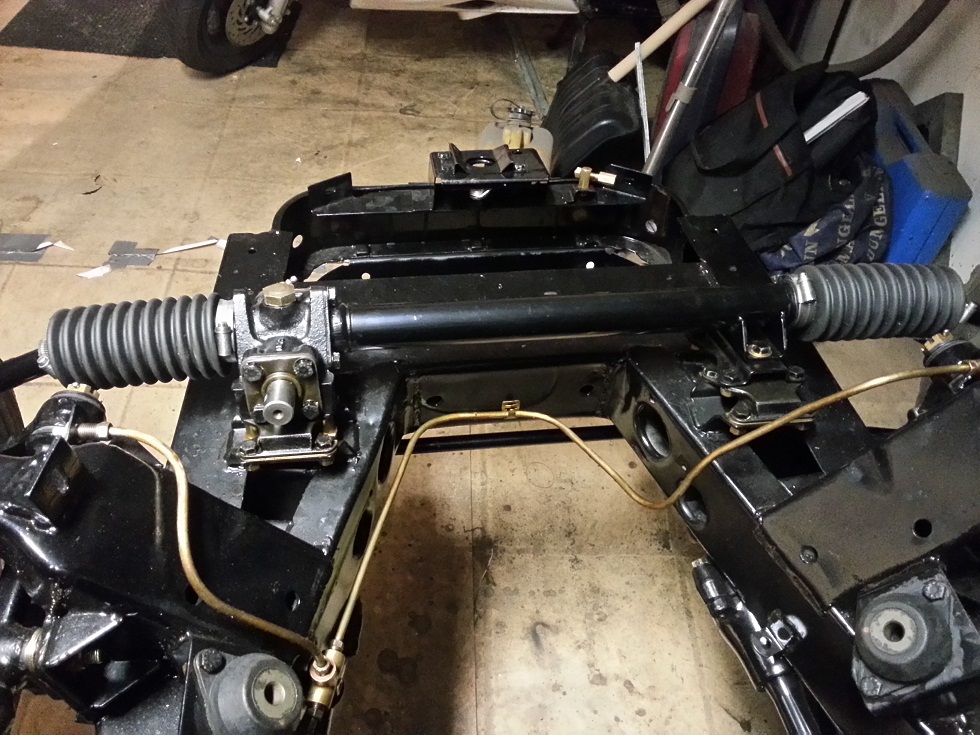
The Rack and Pinion housing in restored condition

 Posted by at 17:02
jul 282013
 

There rear axle was the most difficult part to dissemble until now.
To remove the hubs from the rear axles an enormous amount of brute force is needed (8 a 10 tons). After trying different type of pullers I managed to remove them.
One Hub was damaged and need to replaced. Lucky enough I found a good set of rear hubs in the US via ebay for only 53 euro (including shipping costs).
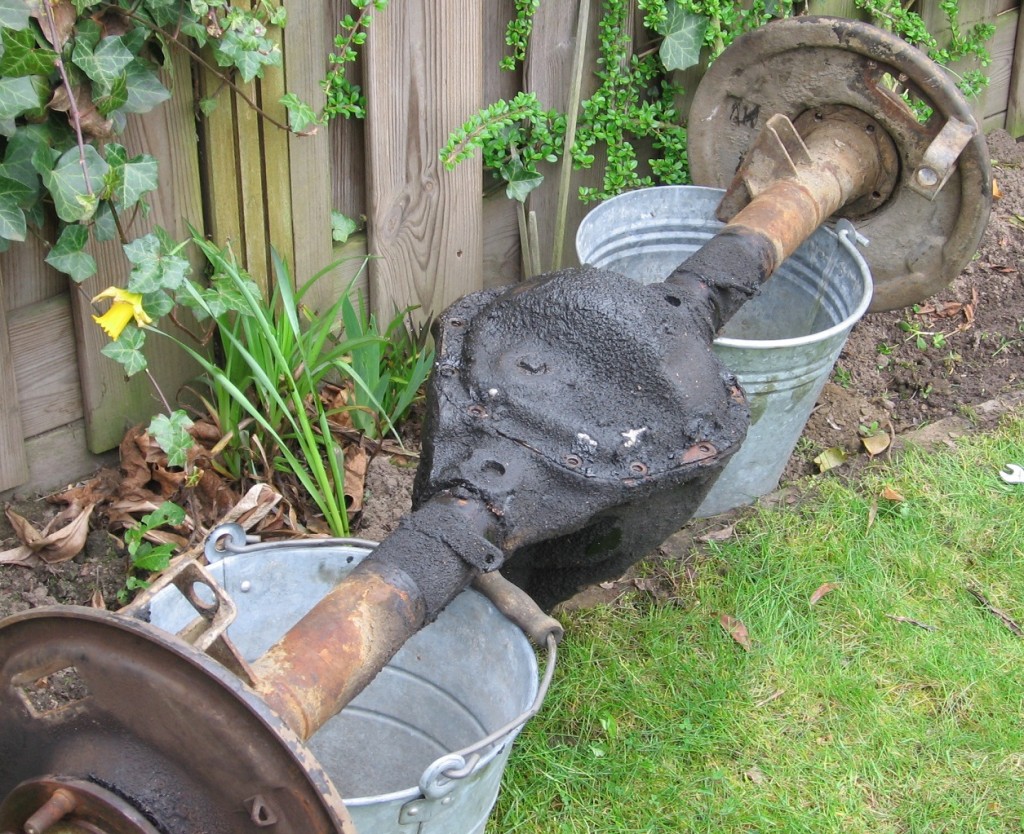
RearAxleOld

After removing all dirt and grease I painted the rear axle in epoxy primer and 2 layers of gloss black paint. After several weeks of dry time I could start to re-assemble everything.
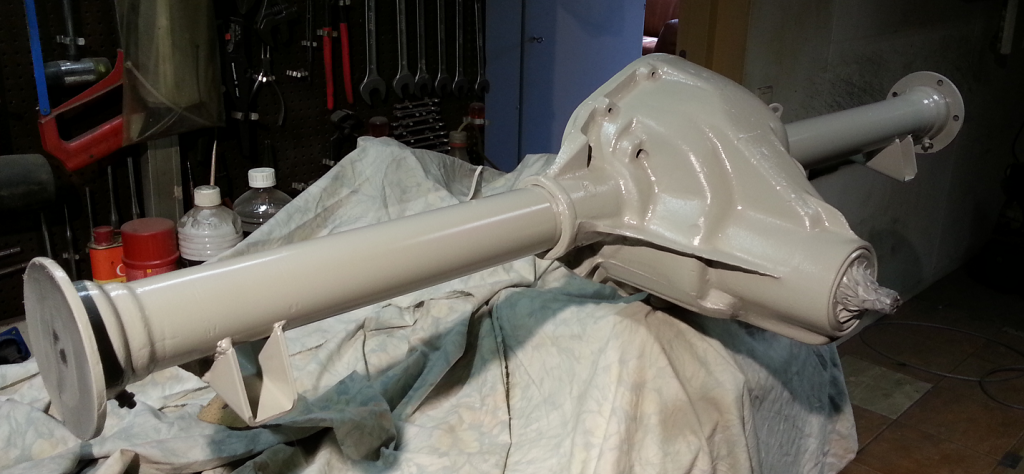
RearAxlePainted

My first idea was to replace all bearings inside the rear axle, but after gathering information by several Jaguar specialists, I decided to replace only the left and right wheel bearing in the rear axle. (The pion-and crown wheel bearings are not replaced often) All oil seals are of course replace with new ones.
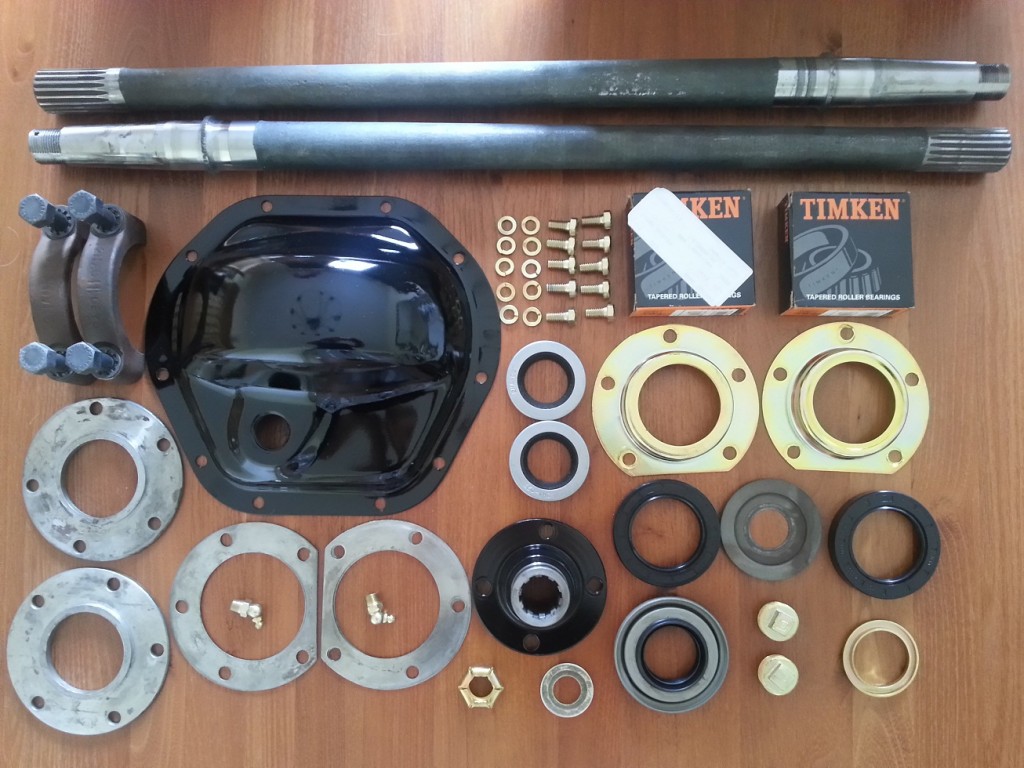
RearAxlePartsAll seperate parts needed to rebuild the rear axle

For removing the old bearing and mounting the new one’s I used the home made Hydrolic Press (See special tools). Incredible how much force is needed to replace these bearings (approximately 8 to 10 tons)
After mounting all separate parts the rear axle looks factory fresh again.
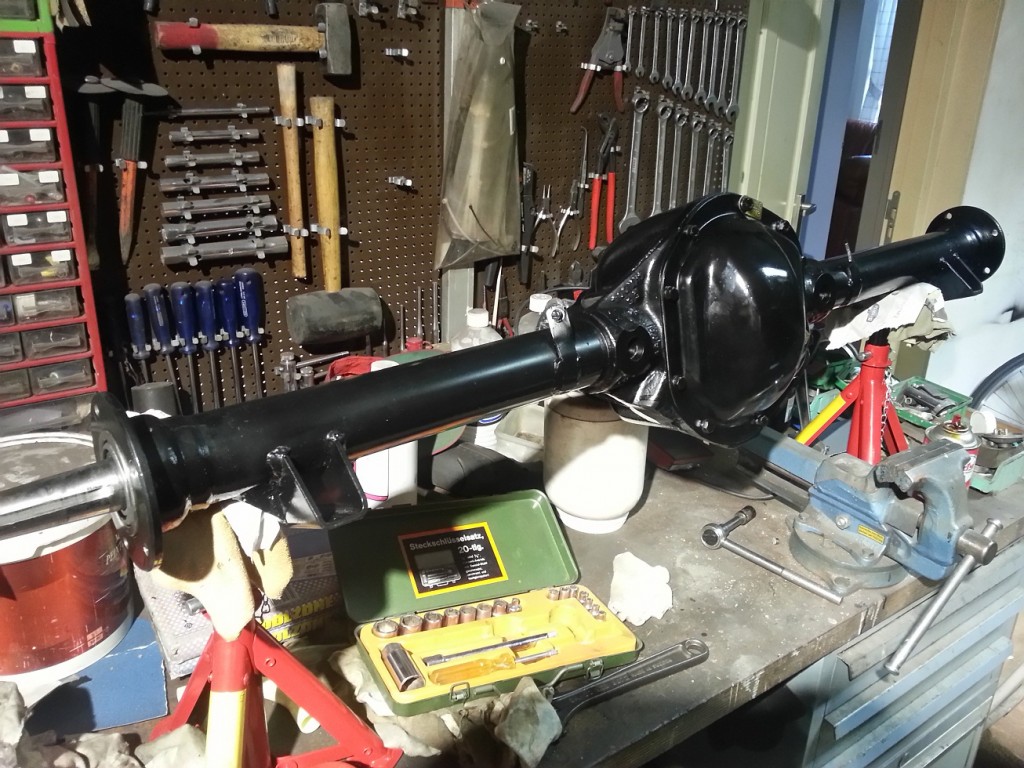
RearAxleNew2

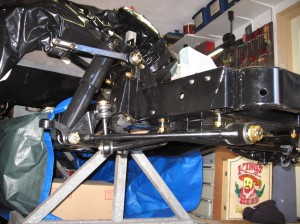
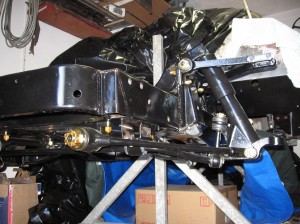
After the rear axle is lifted on top of the rear leave springs the can be mounted, including the rear shock absorbers.
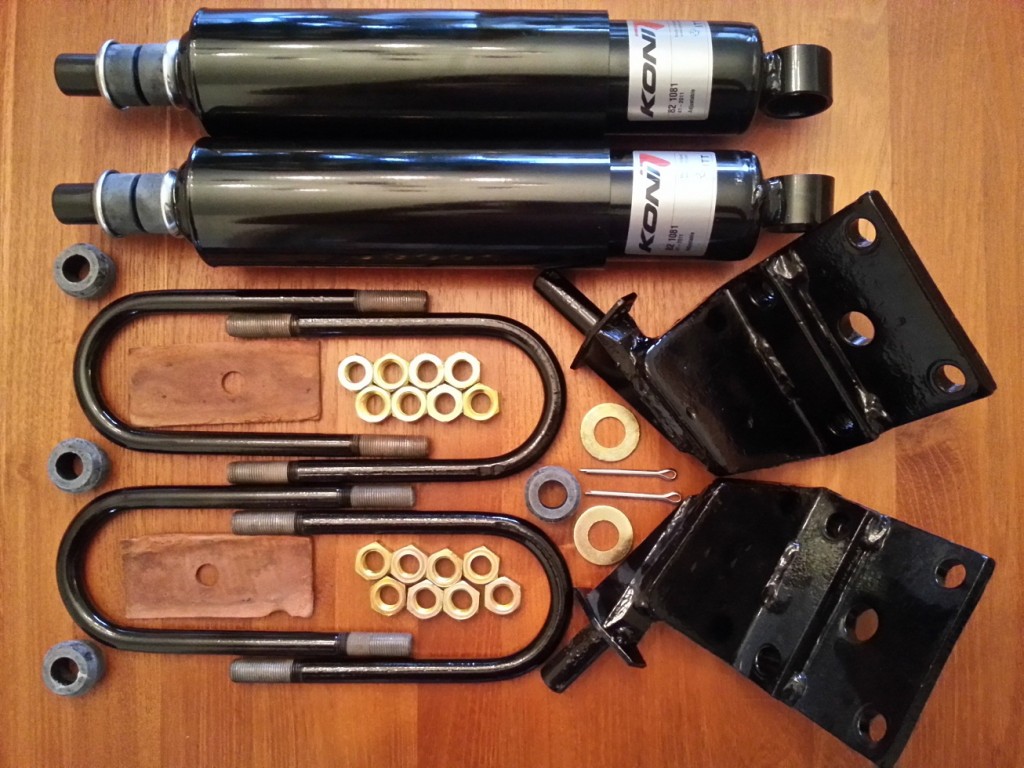
ReartShockAbsorberPartsAll seperate parts needed to mount the rear axle on to the leave springs
 Posted by at 16:27
mei 192013
 

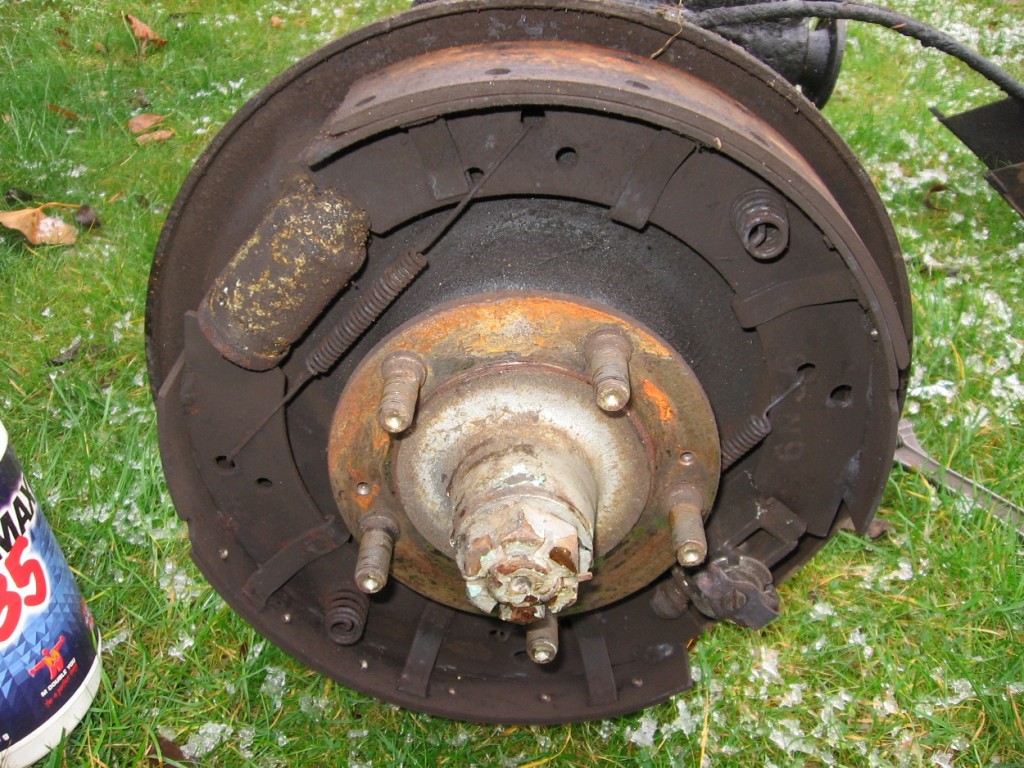
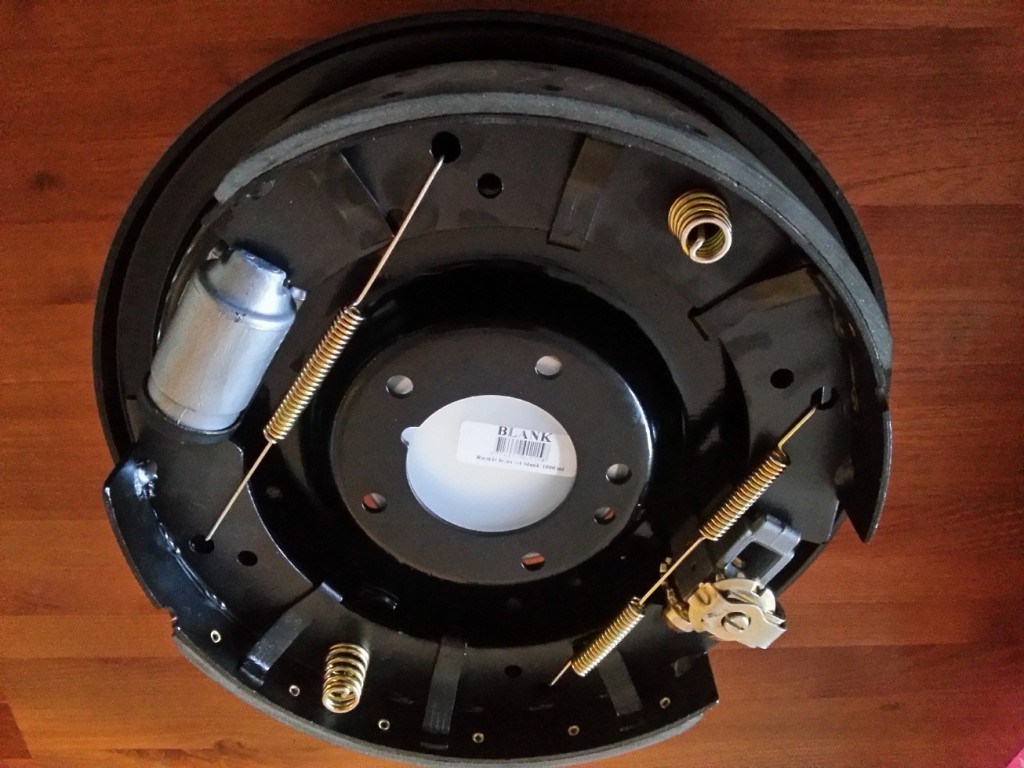
Both rear brakes has undergone a complete refurbishment. Now they look and hopefully brake as new again.

Read Brakes OldRear Brakes New


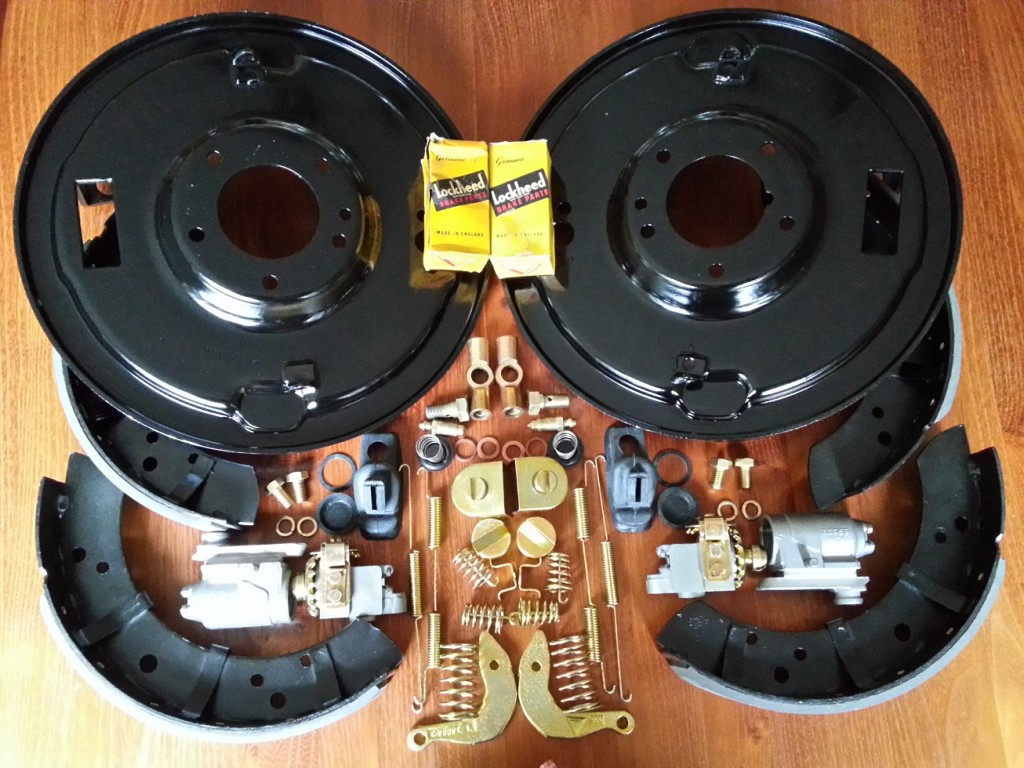
The above transformation has been made possible with all separate parts shown on the following picture

Rear Brakes Parts

All seperate parts needed to rebuild the rear brakes


 Posted by at 20:30
feb 032016
 

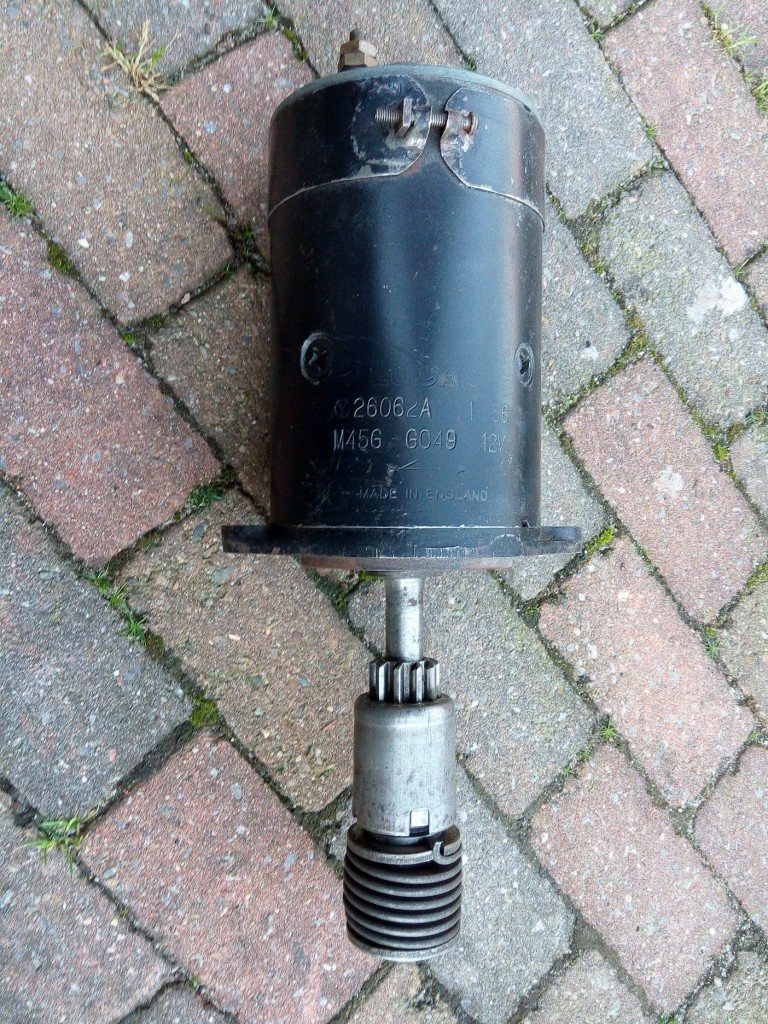
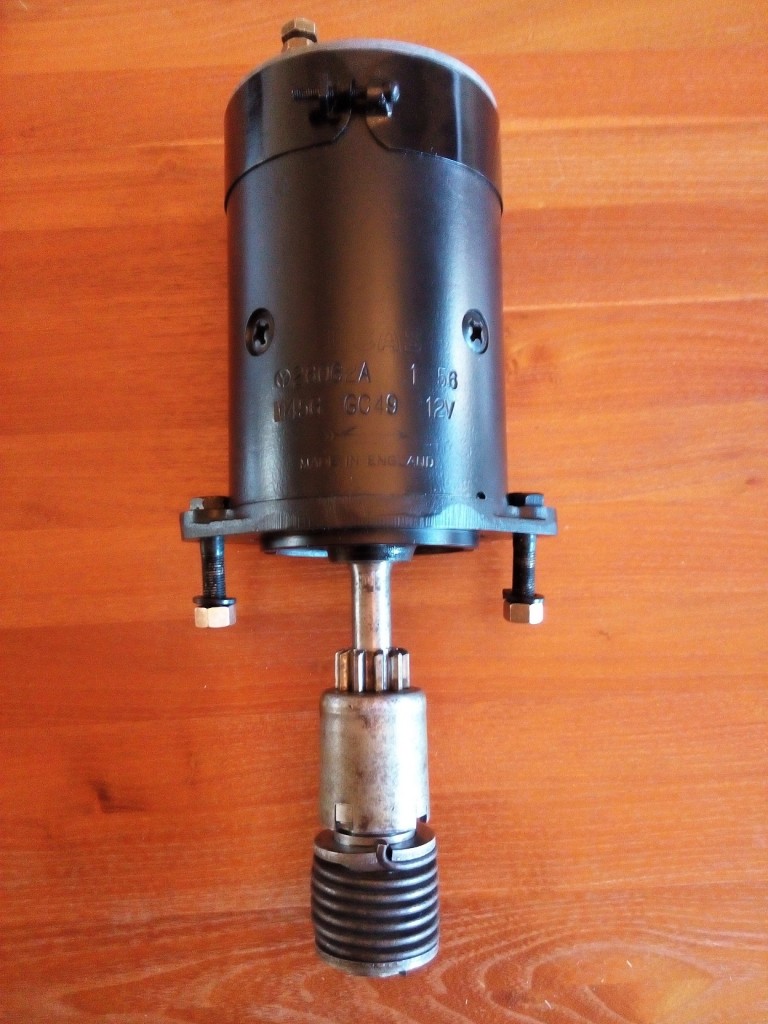
Because my car was missing the starter, I bough one several years ago on ebay.
Although it is still looking in good shape I decided to take it apart to see if there are any problems inside.

StartMotorOriginal

The bush on the drive end side has some play (0.12mm) but it is not clear to me what is allowed. On the commutator end the play is only (0.05mm) Based on the original bush ID measurements it makes no sens to replace them, the difference is in the outside diameter of the axle. Because the axle, on the places where the bushes are located, looks normal and not worn, I will reused the available bushes.

lucas numberJaguar numberLength newOD newID newID realAxle realPlay
27003828121.328" 1.003" 0.877" 0.8767"0.872"0.0047"
LB36133.731mm25.476mm22.276mm22.27mm22.15mm0.12mm
25549183700.750"0.752"0.626"0.626"0.624"0.002"
LB36019.05mm19.101mm15.900mm15.90mm15.85mm0.05mm
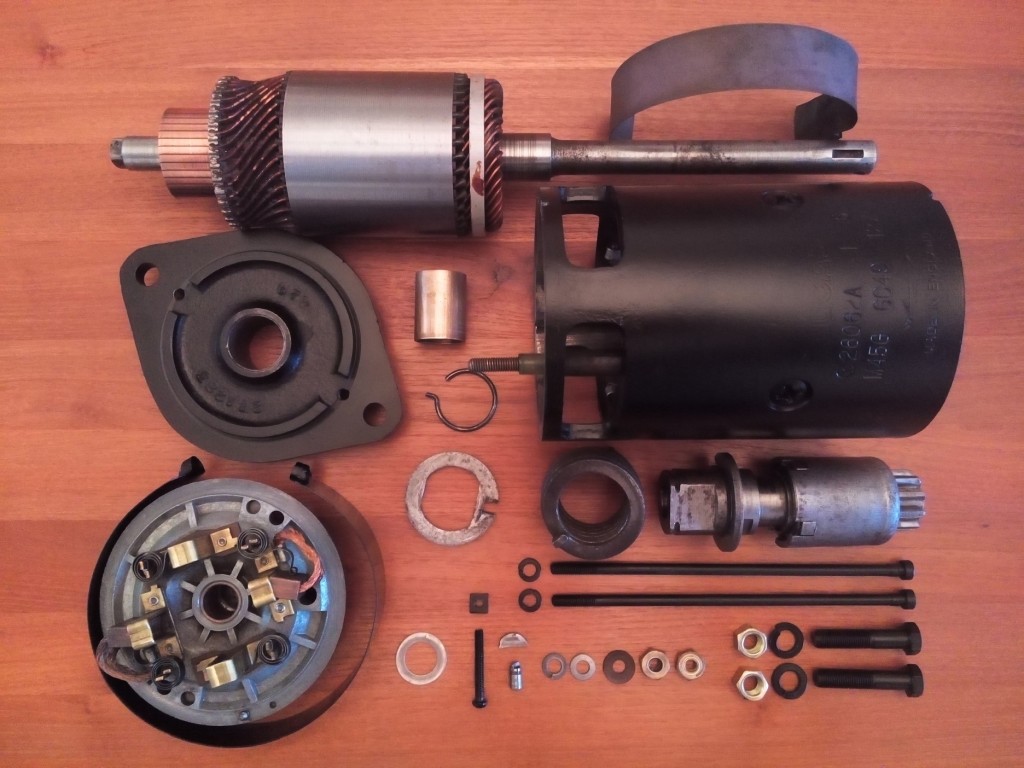
StarterParts

Parts needed to rebuild the starter

As can be seen on the above picture the armature just looks like new. The length of the brushes are still in good condition with a length of 0,51″ or 13.0mm. (a new one measures 0.53″ or 13.5mm)

StarterMotorFinished

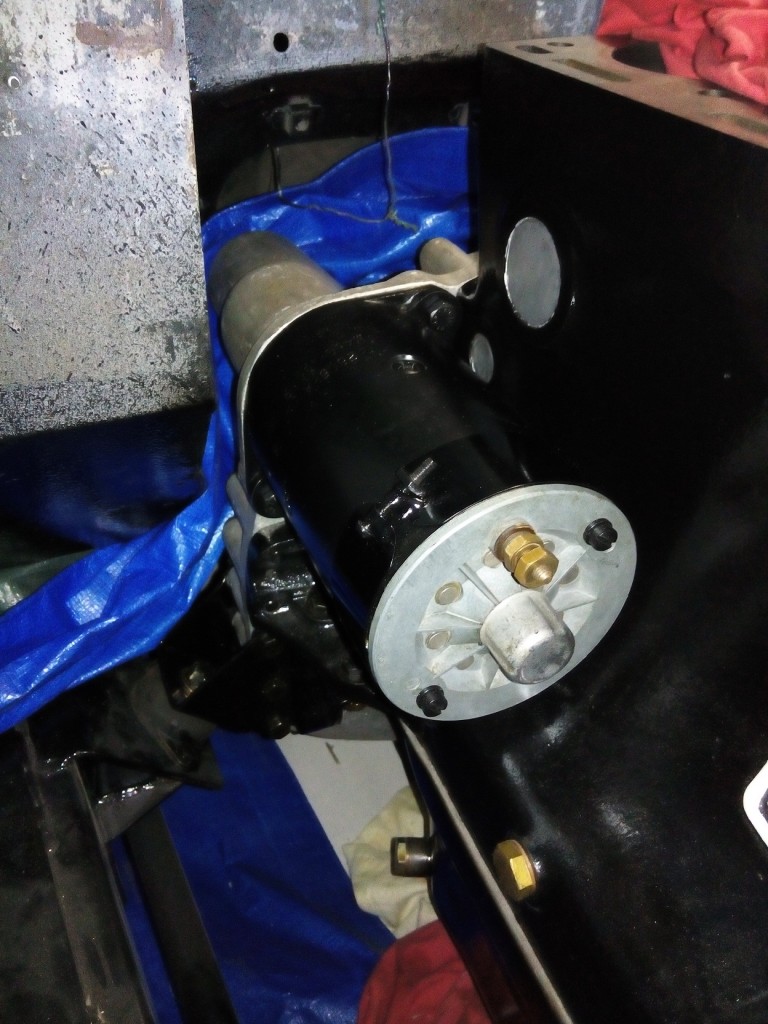
StarterMotorMounted


After everything has been put together again. the starter motor has been mounted onto the bell housing.

 Posted by at 14:27