jan 042015
 

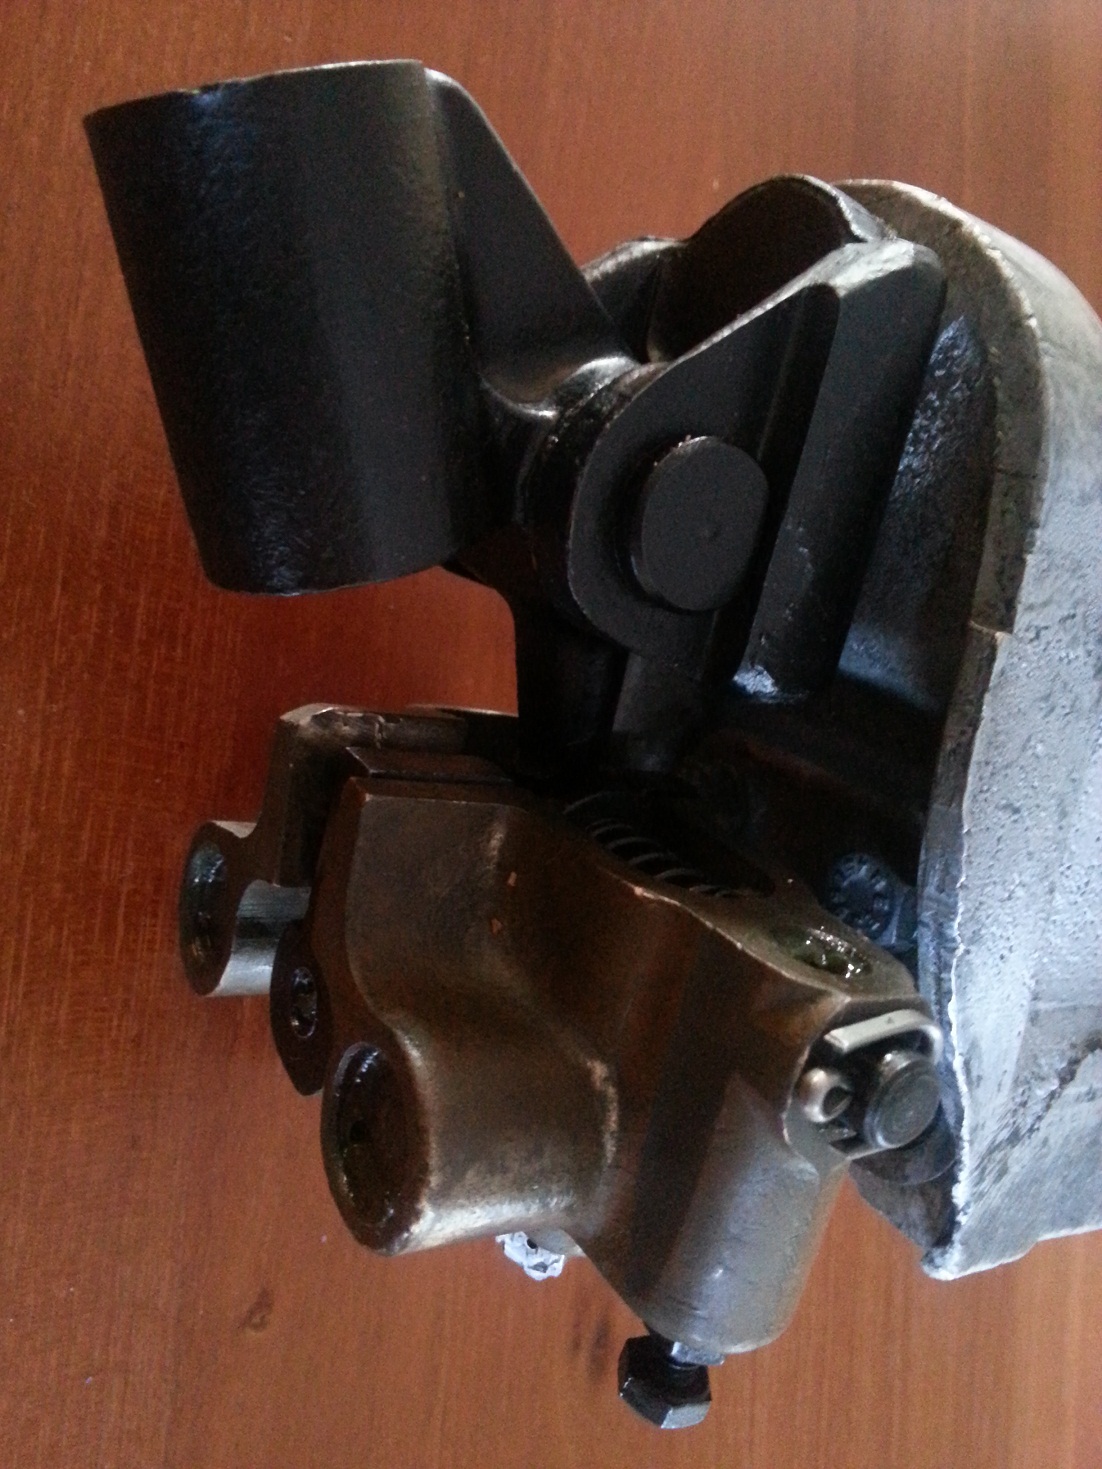
The last part needed to complete the gearbox / bell housing is the striking gear. The part makes the translation from movement of the gear stick to selecting the correct gears inside the gearbox.

The Xk140 has the normal H shape for 1st, 2nd, 3th and 4th gear. The reverse gear is placed on the left side of the 1st gear. Before the reverse gear can be selected the gear stick must be pressed to the left with a little pressure before it can be moved forward.

Striking Gear Parts

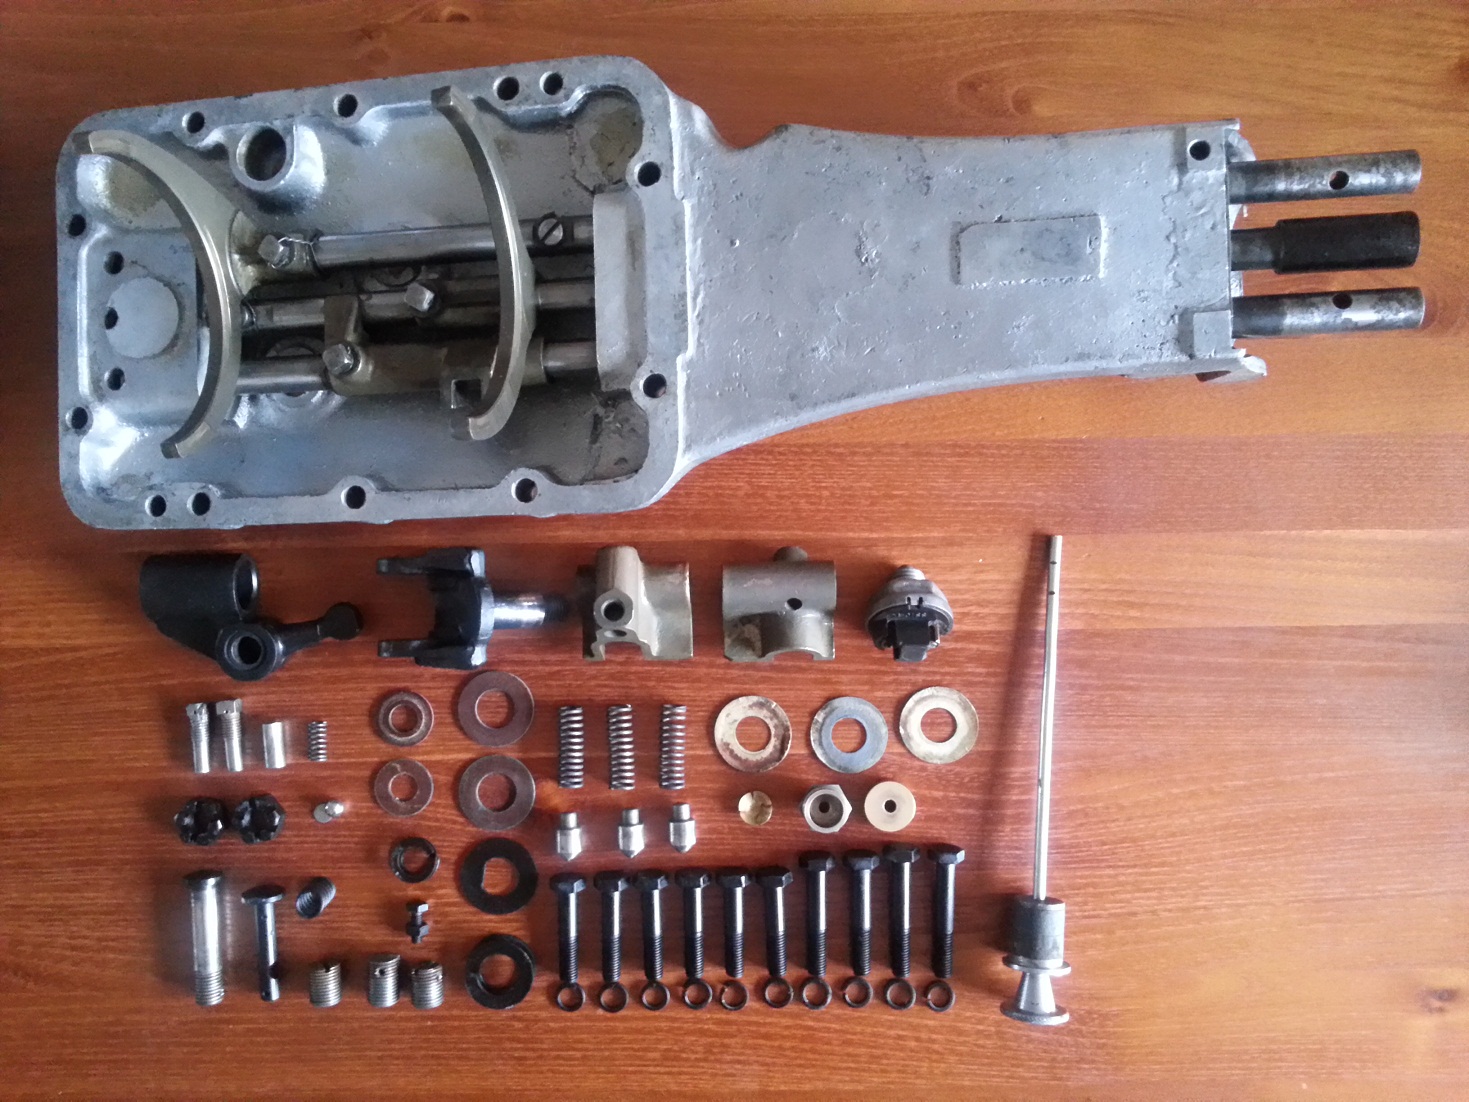
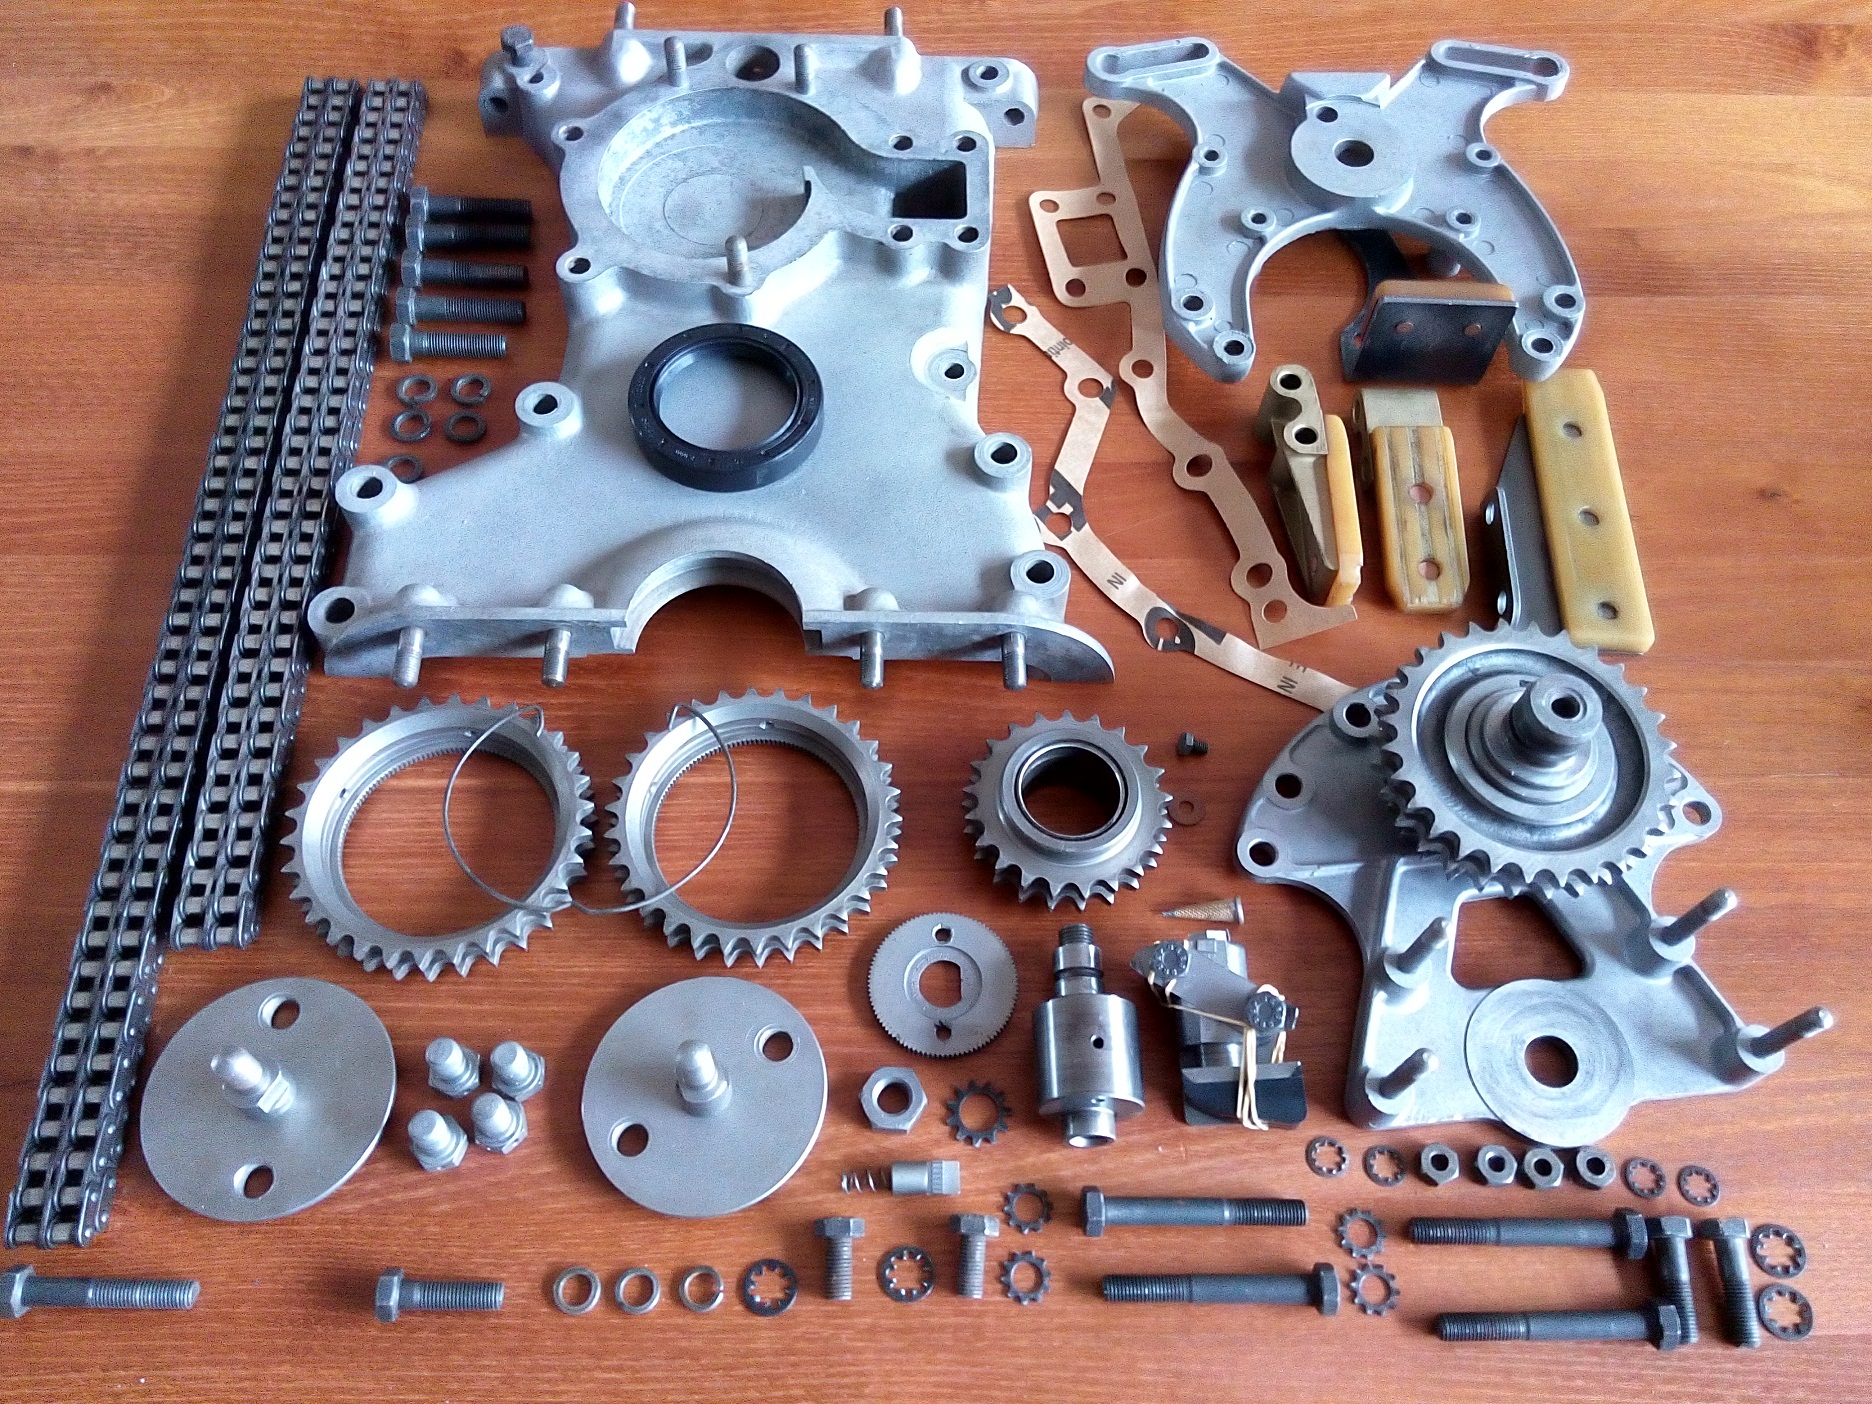
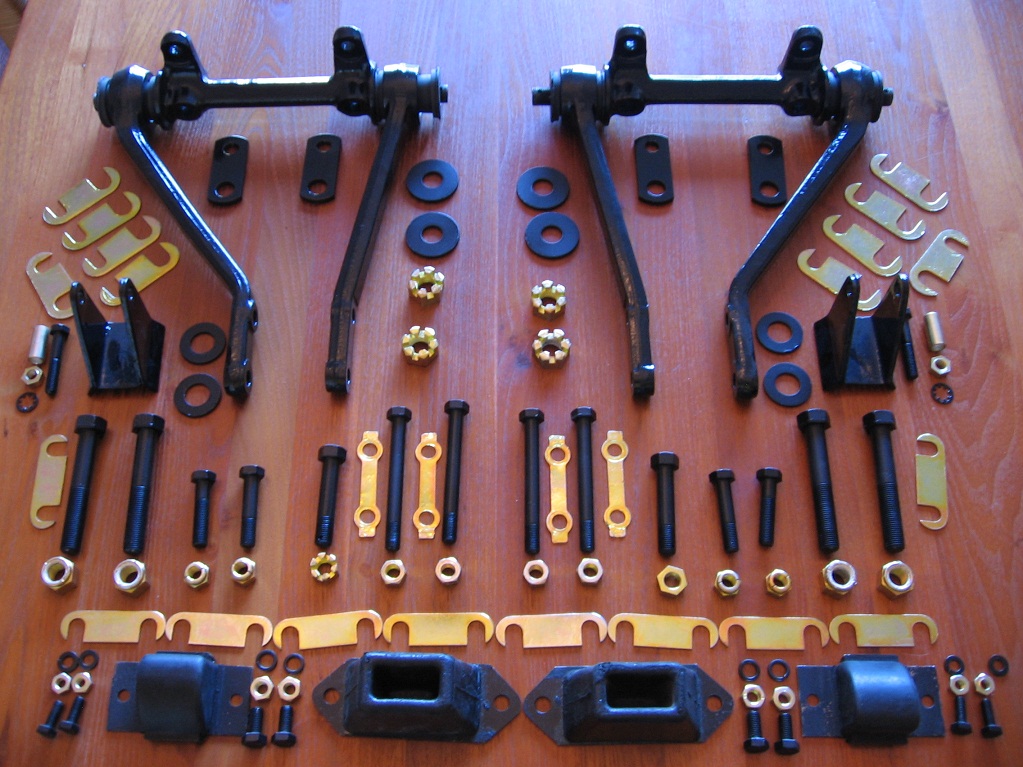
All parts needed to assemble the striking gear

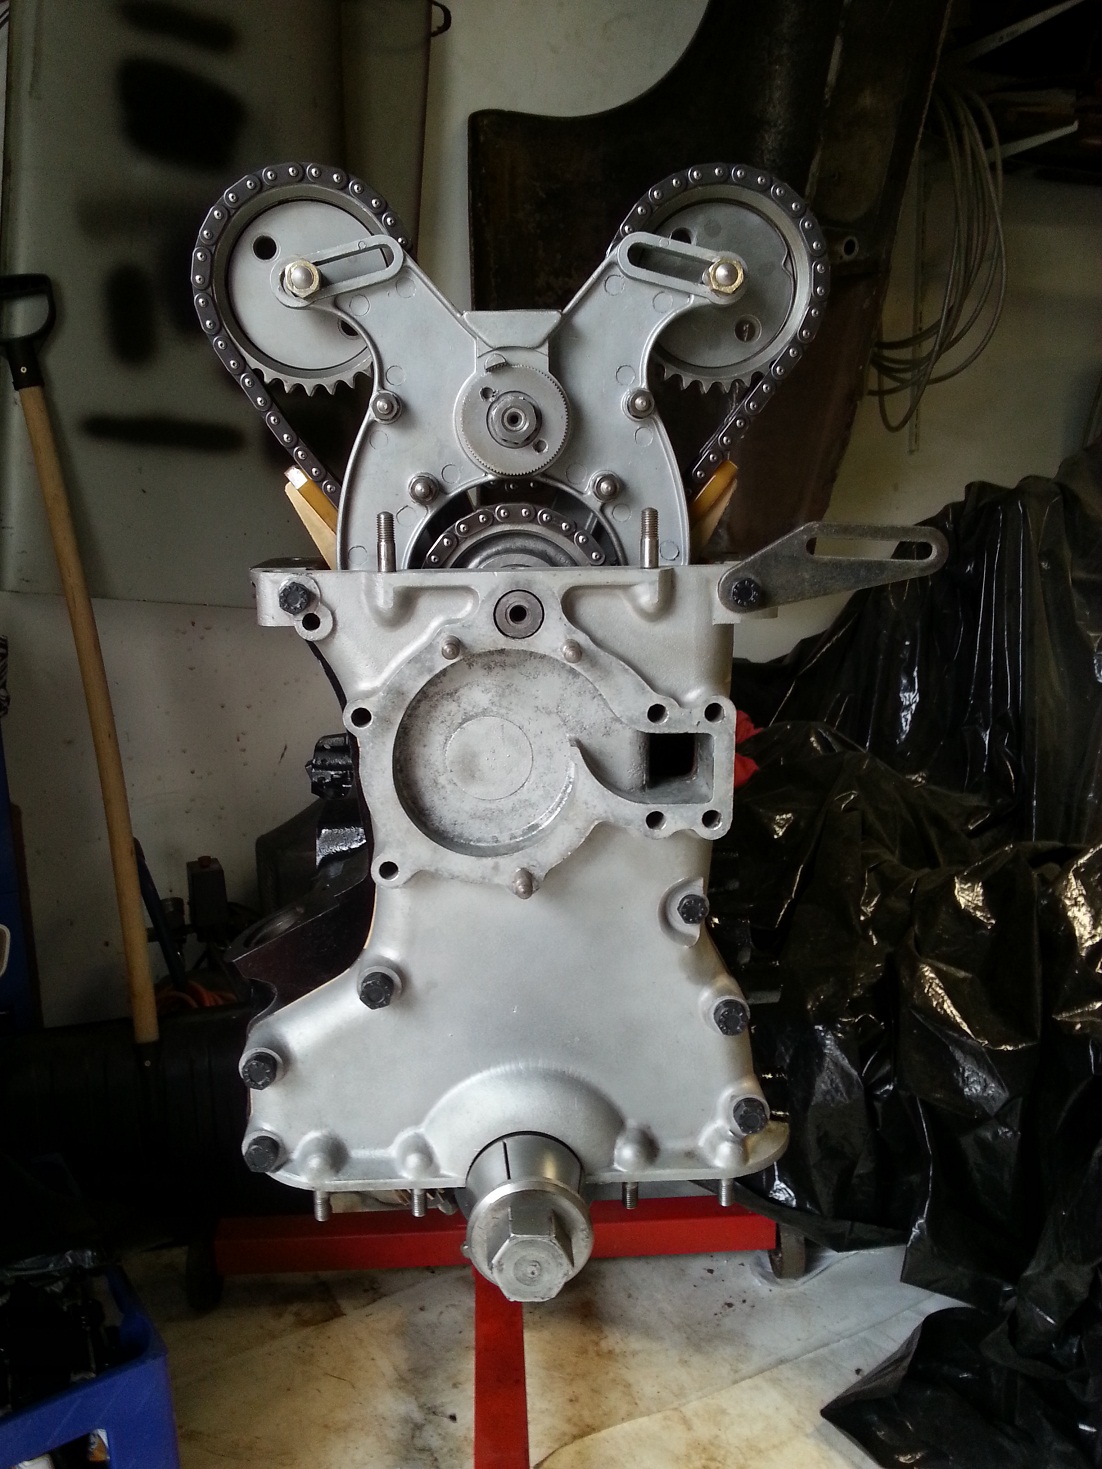
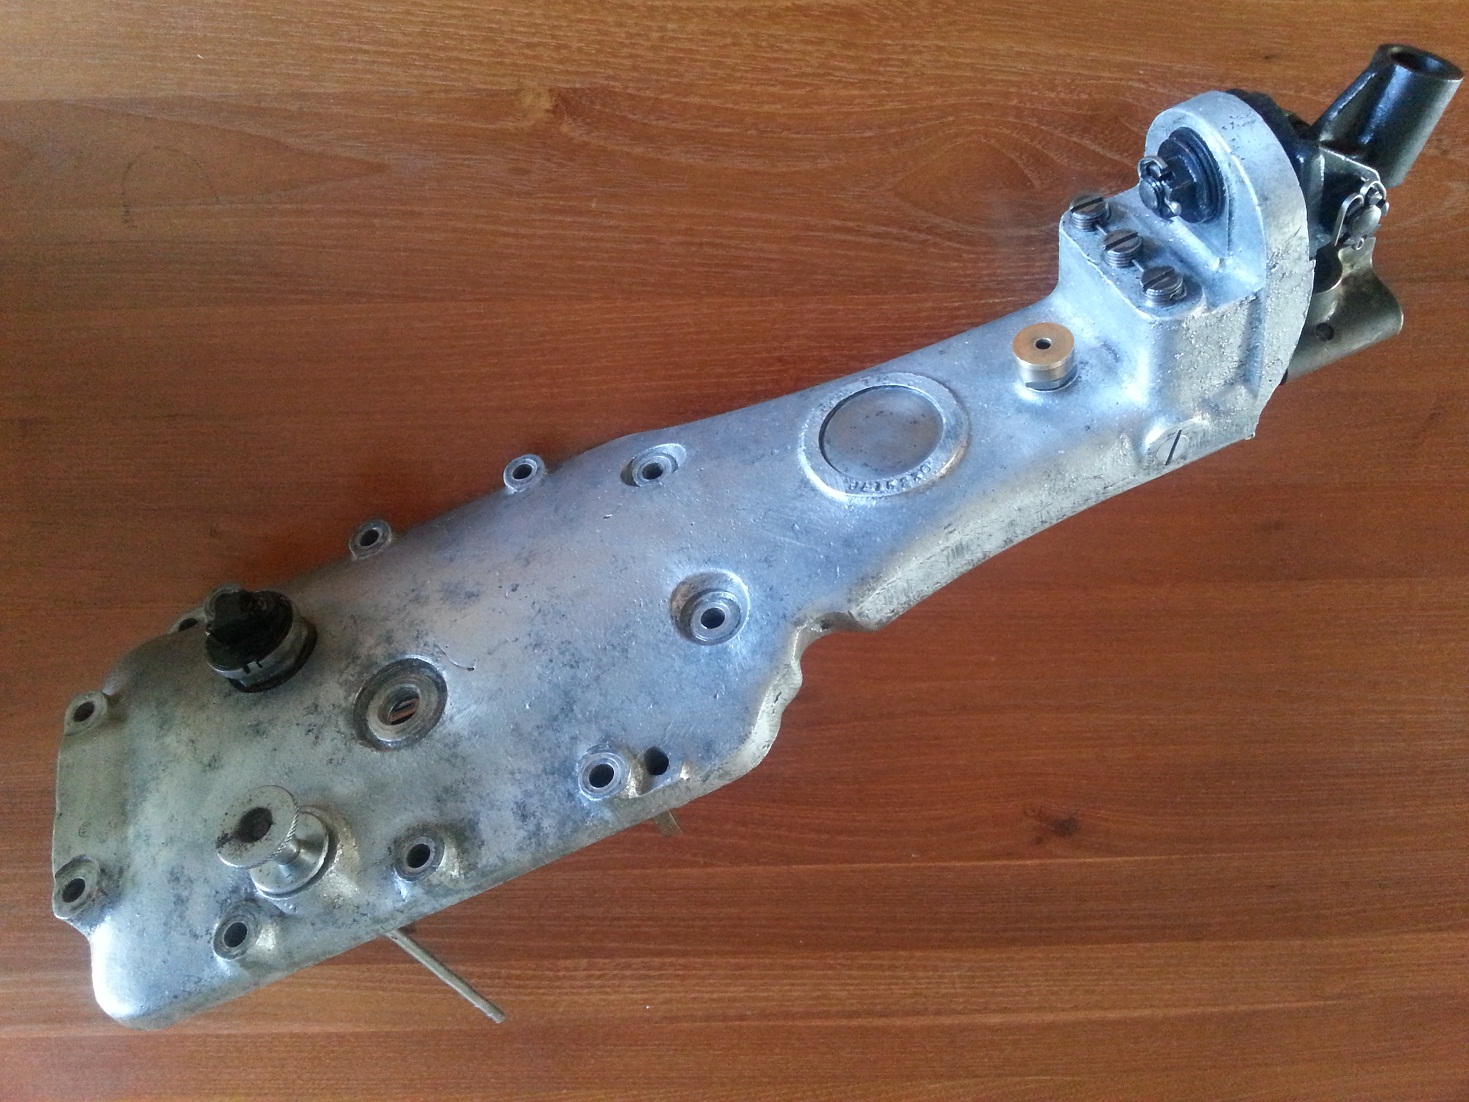
A fresh gasket will be use to mount the assembled striking gear on top of the gearbox.

Striking Gear Mounted Striking Gears Detail
Above the assembled striking gear (right a detail of the gear selection mechanism)

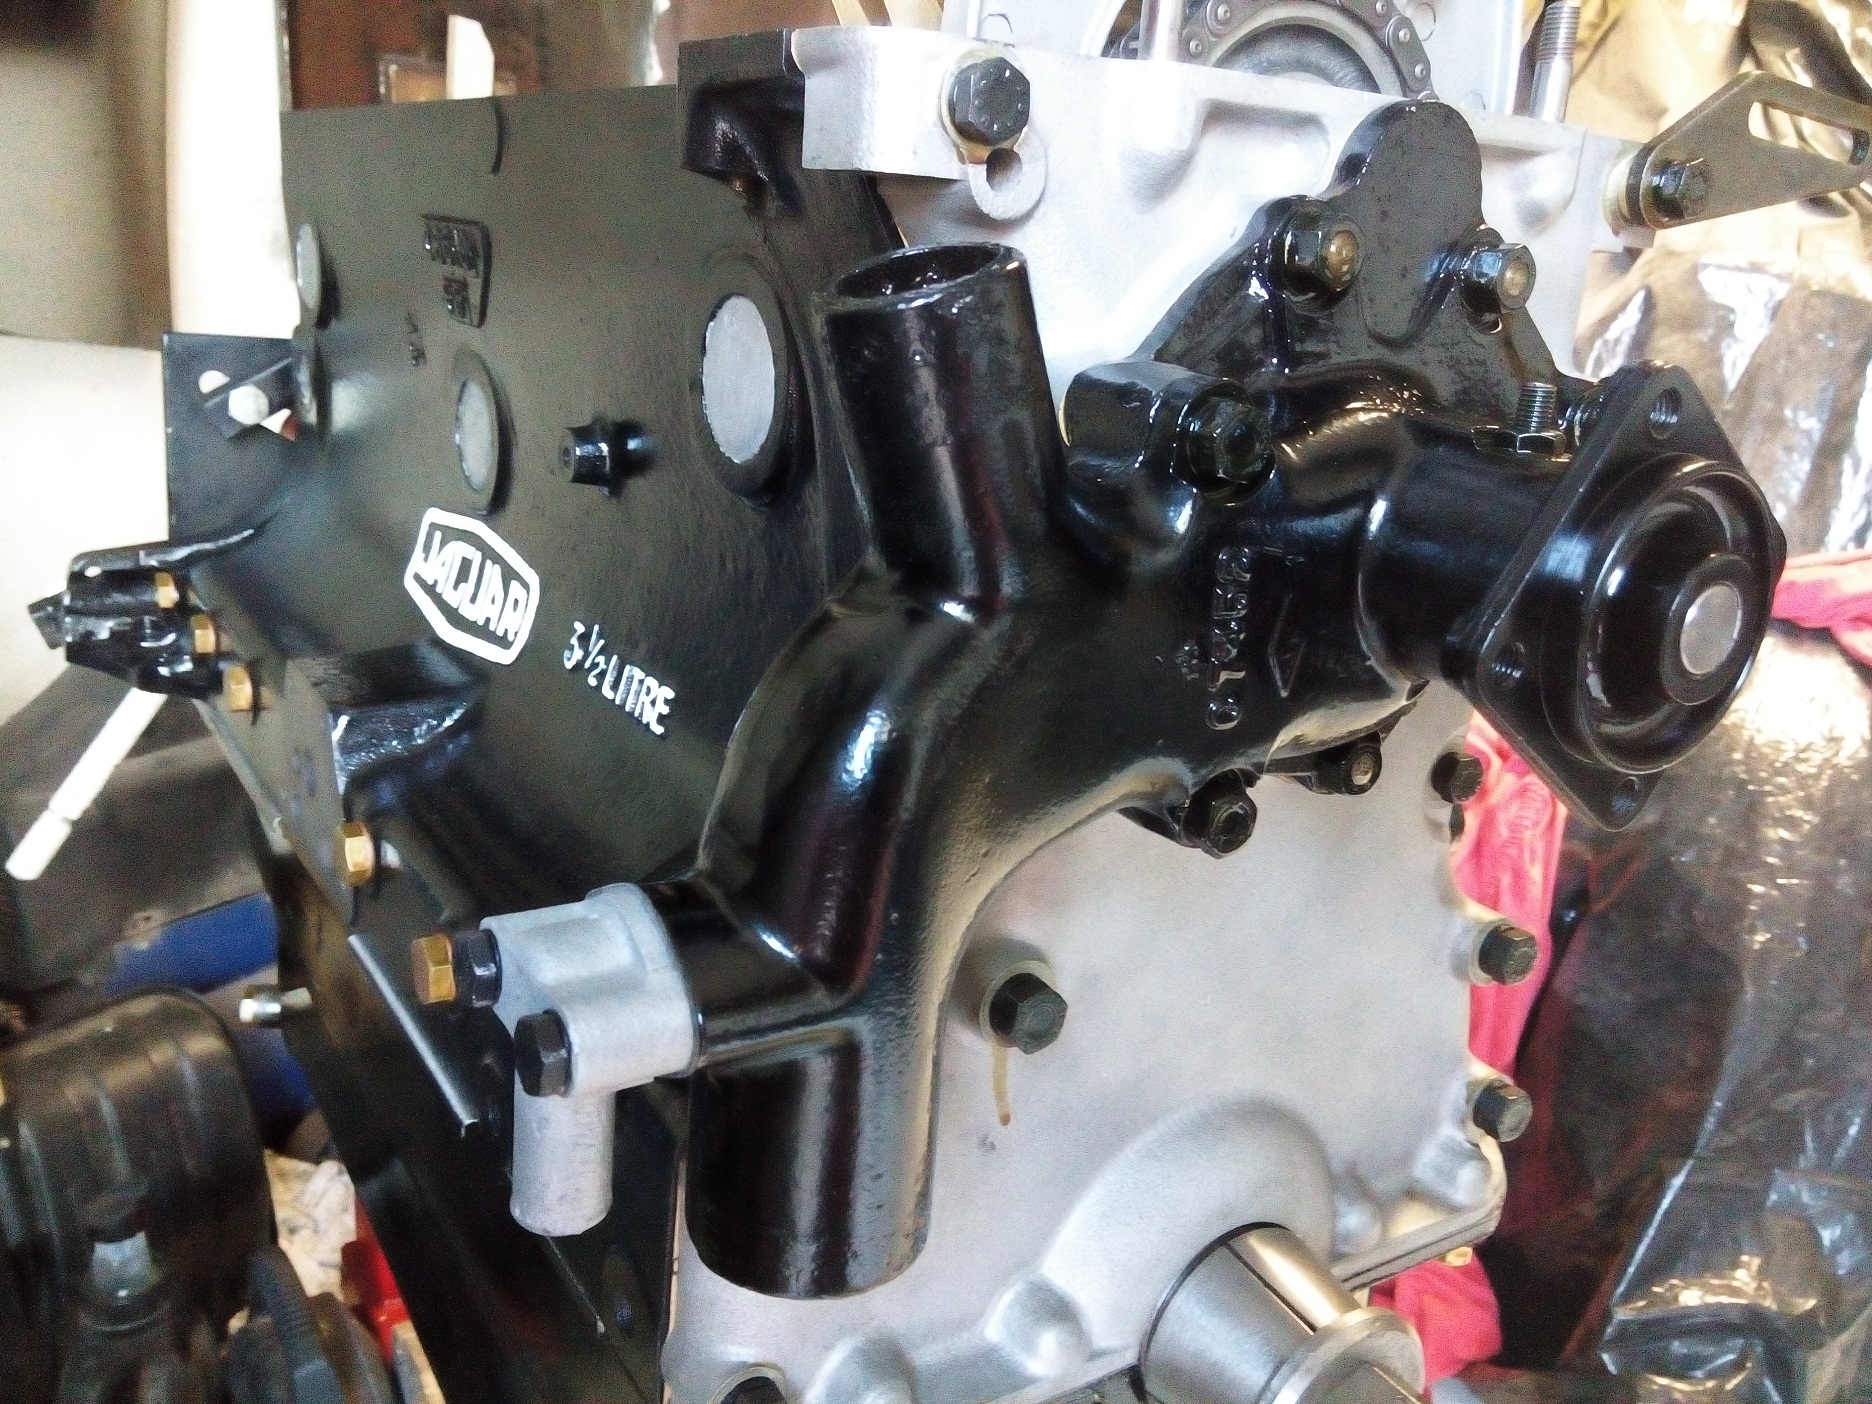
Now everything for the gearbox and bell housing has been finished we can start assembling the engine.

 Posted by at 17:02
feb 222015
 

First everything has been cleaned (some steel and aluminium parts are glass bead blasted)
The oil seal and gaskets are replace with fresh ones.
All sprockets still look fine (all teeth still have a the flat surface on the top)

hdr

All parts needed to install the timing gear

hdr

Front engine without the timing gear

In the below picture the timing gear is installed completely. Also the timing gear cover and dynamo adjustment bracket is mounted. The Engine is now ready to receive the engine head.
The position where the water pump will be mounted, with 9 bolts, is clearly visible now.

Timing Gear Finished

 Posted by at 19:43
mrt 222015
 

The water pump, in this photo located between fan and front part of the engine, will be restored completely. The cooling capacity of these cars is not very over engineered so to keep the engine cool the water pomp need to be in top condition.

WaterPumpOrg

My first idea was to reuse the impeller, originally they have 4 blades, but removing them is a difficult job. Because the impeller is made of cast-iron and pressed unto the bearing axle it is almost impossible to remove them with breaking. Secondly I could not find the correct water sealing ring.

So I decided to buy a water pomp repair kit (SBS7272) with:

  • 6 blade impeller (they have a smaller inside diameter)
  • Bearing (one side has a smaller axle to receive the impeller)
  • Water sealing ring
  • Gasket

    WaterPumpParts

    Parts needed to rebuild the water pump

After the impeller and carrier for the pulley are pressed onto the bearing axle the water pump can be mounted onto the front side of the engine.

WaterPumpFinished

Rebuild water pomp mounted to the front side of the engine


 Posted by at 18:14