aug 072021
 
All parts need to restore the petrol filler box and connection to the fuel tank

On the parts overview I forgot to place the overflow tube which drops spilled liquids inside the petrol filler box. (Same as the tube used between brake reservoir and brake cylinder. This tube can also been seen on the “Petrol filler box new” photo.

The cover has 8 holes but the car one show 6, so the two screw in the front bottom are not place originally.

The hose clamp around the overflow pipe was originally not place but was not sure if it will stay in place under all conditions. (Petrol inside the car is not a very reassuring thought, better safe than sorry)

 Posted by at 16:58
aug 102016
 

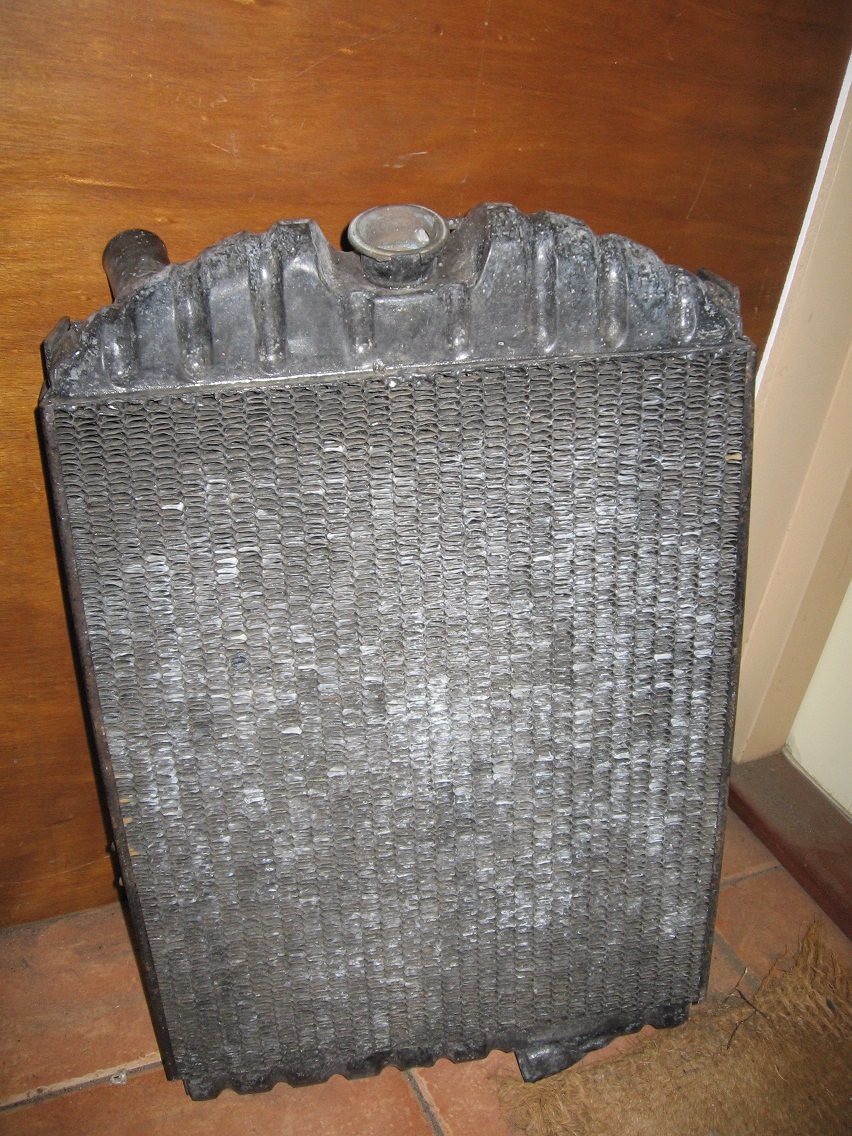
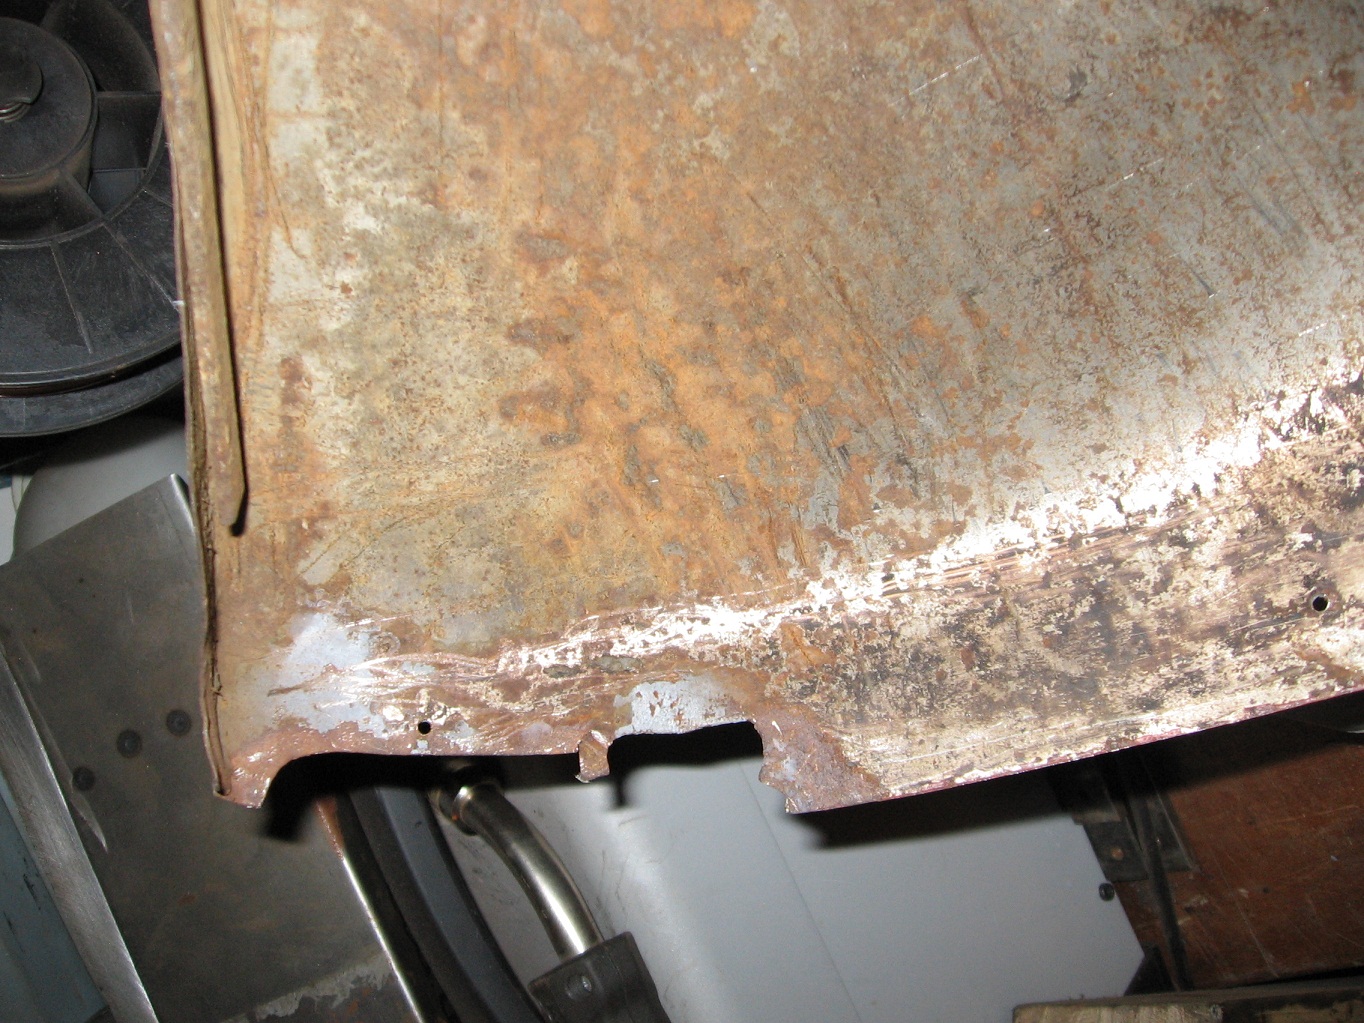
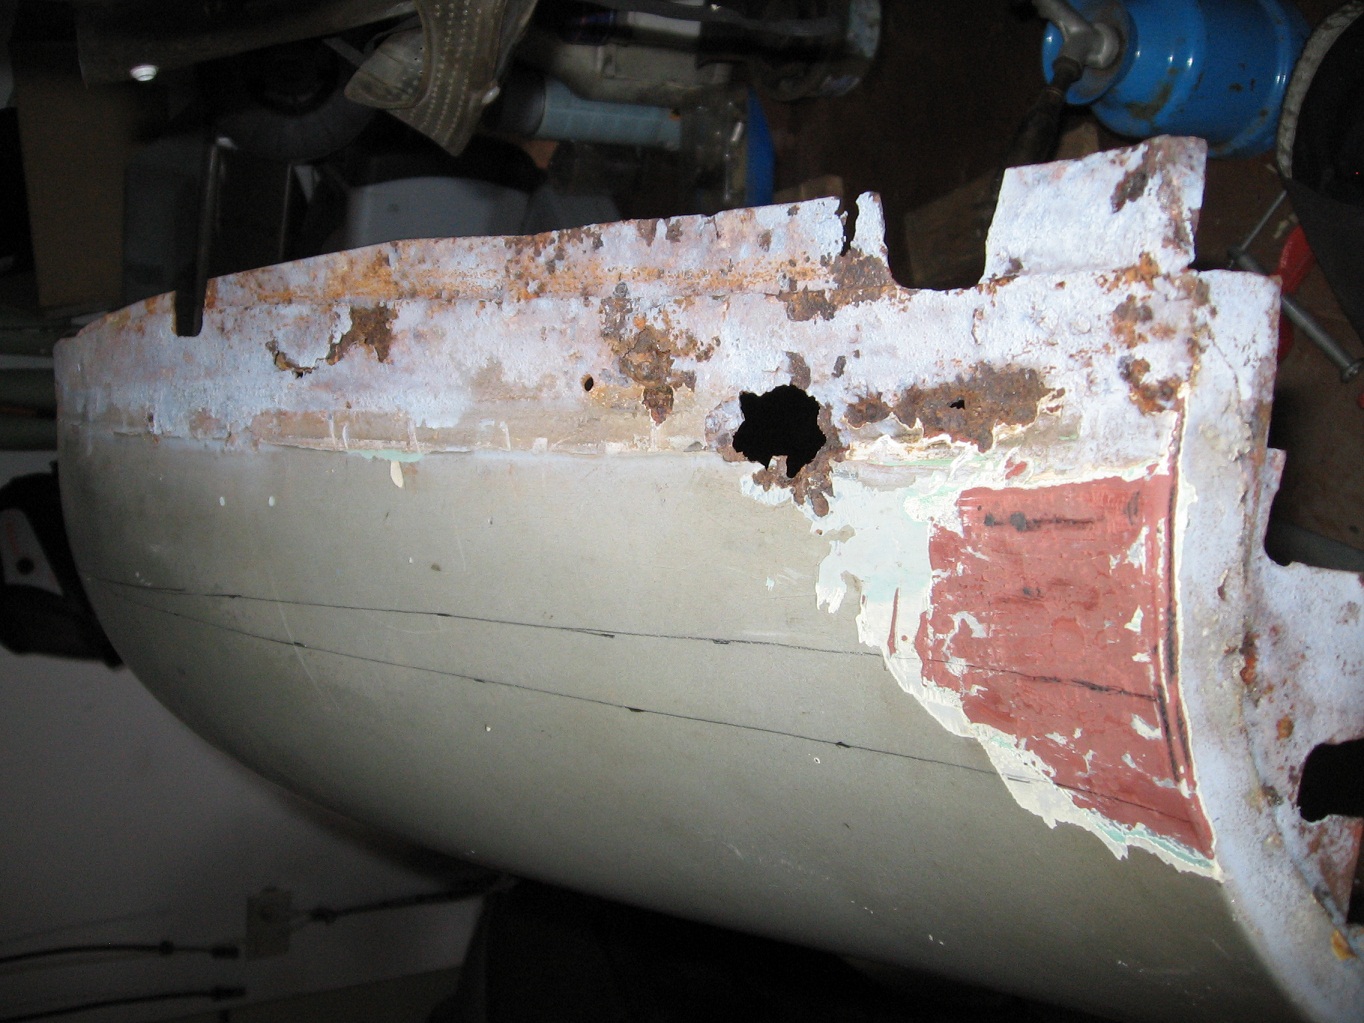
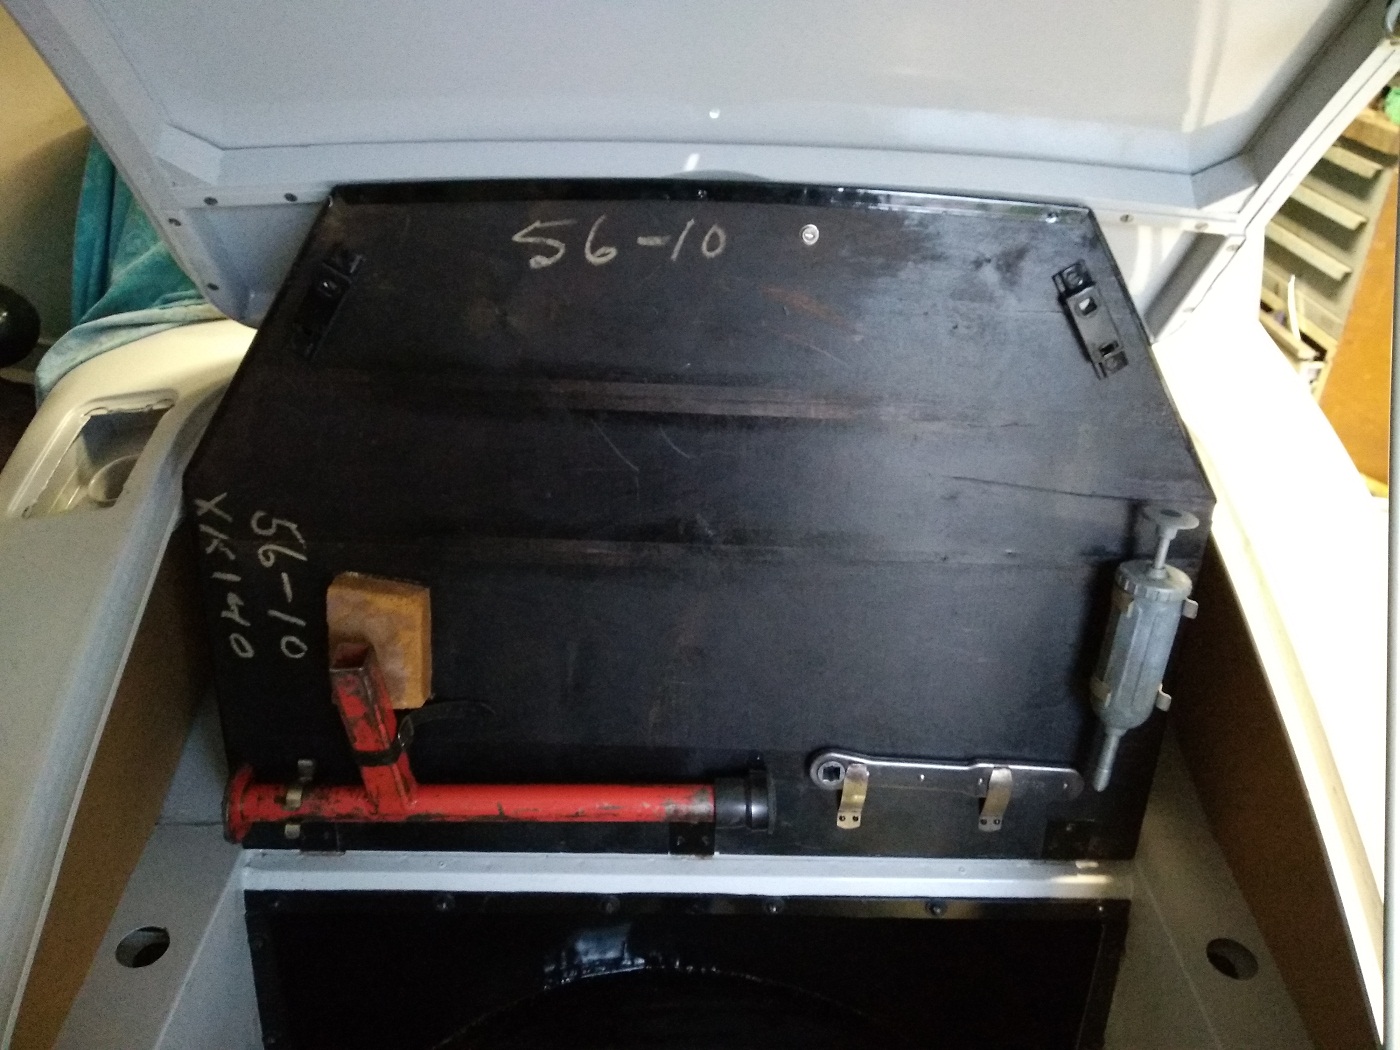
The radiator was, together with many more parts, not present with the car. During the last 6 years I was able to buy two radiators, (C9616)  together with the corresponding cowl (C7651) The first radiator has considerable damage in the top and bottom parts. The second radiator misses the mounting studs on both sides.

RadiatorOrg

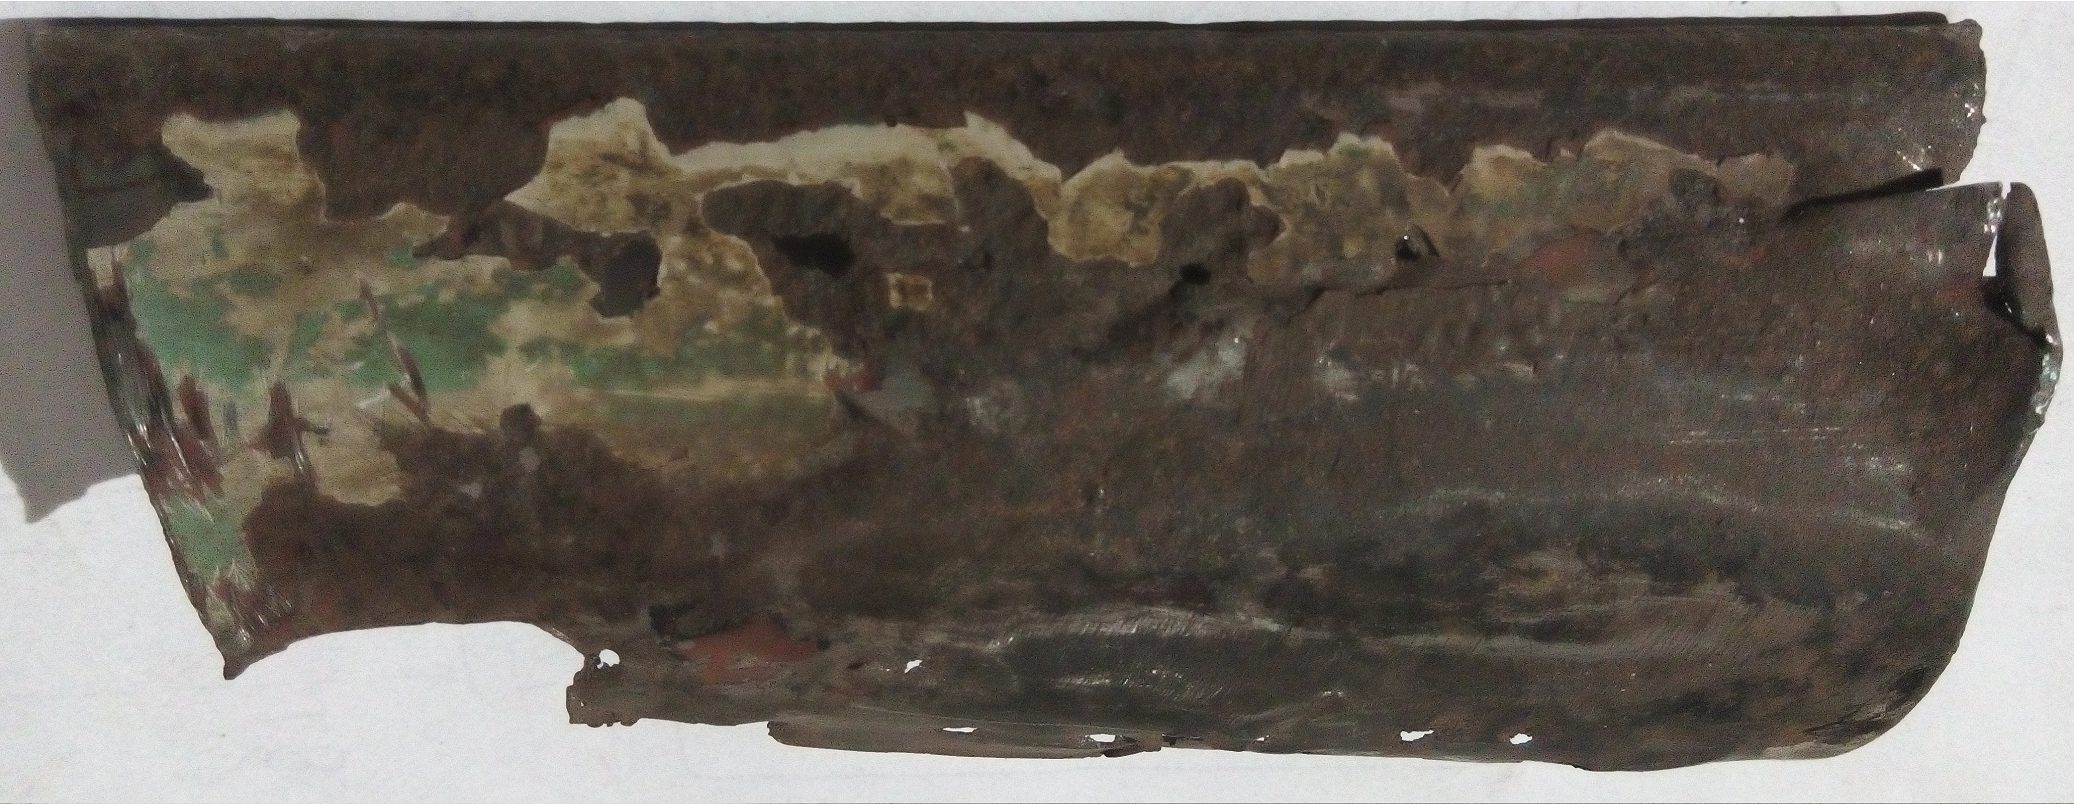
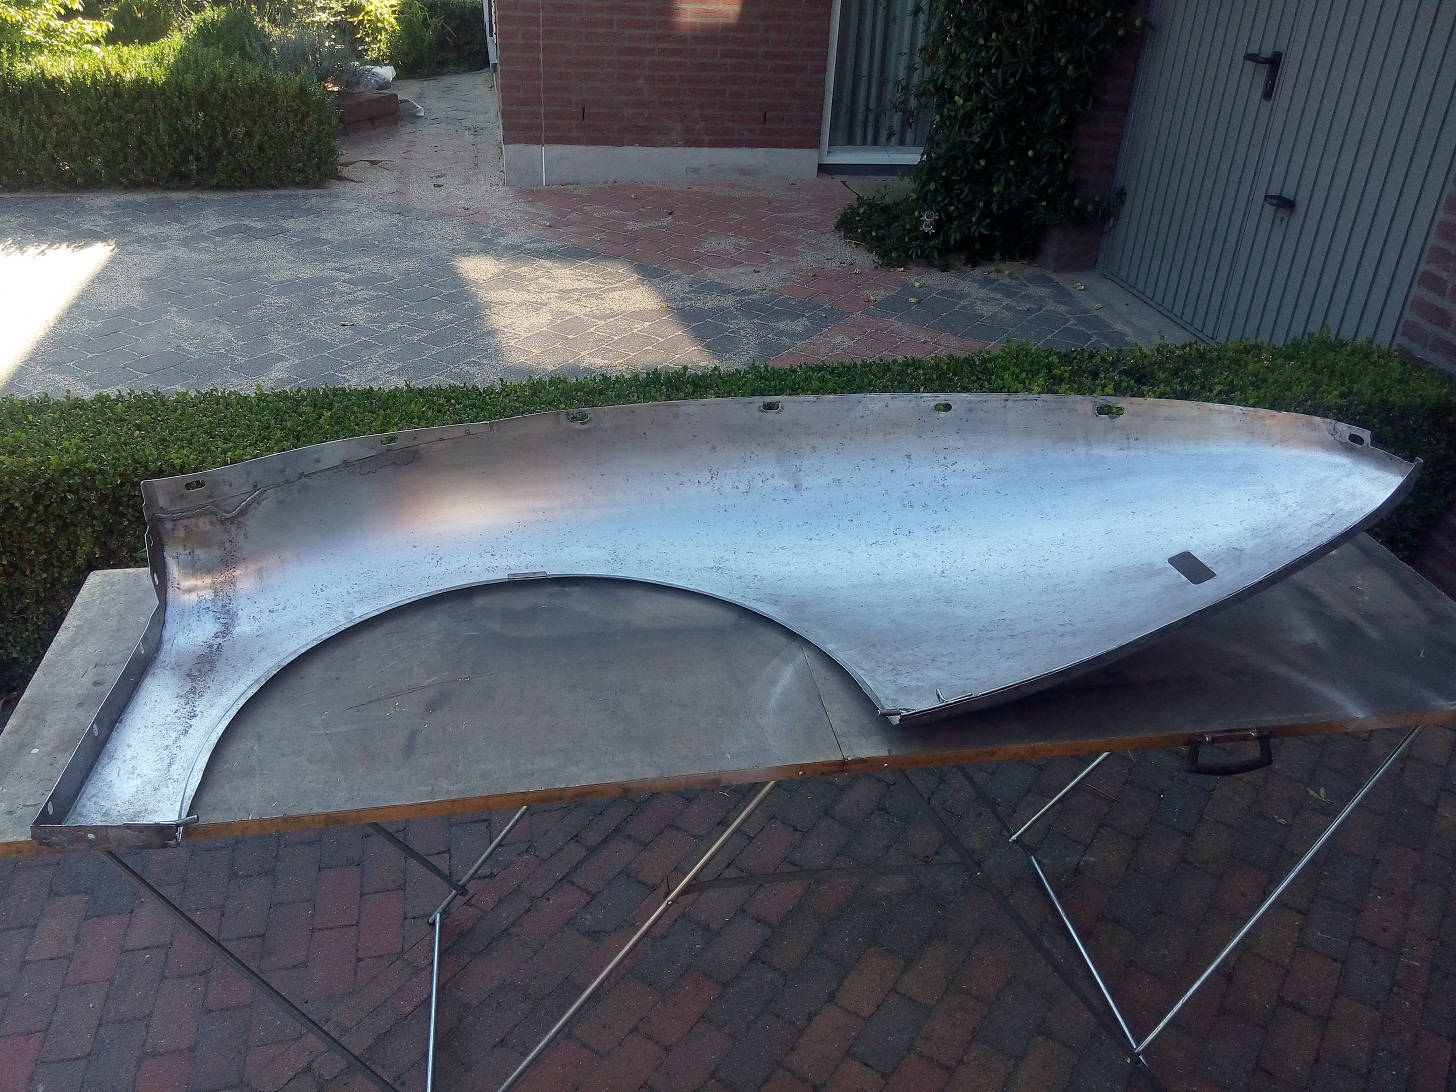
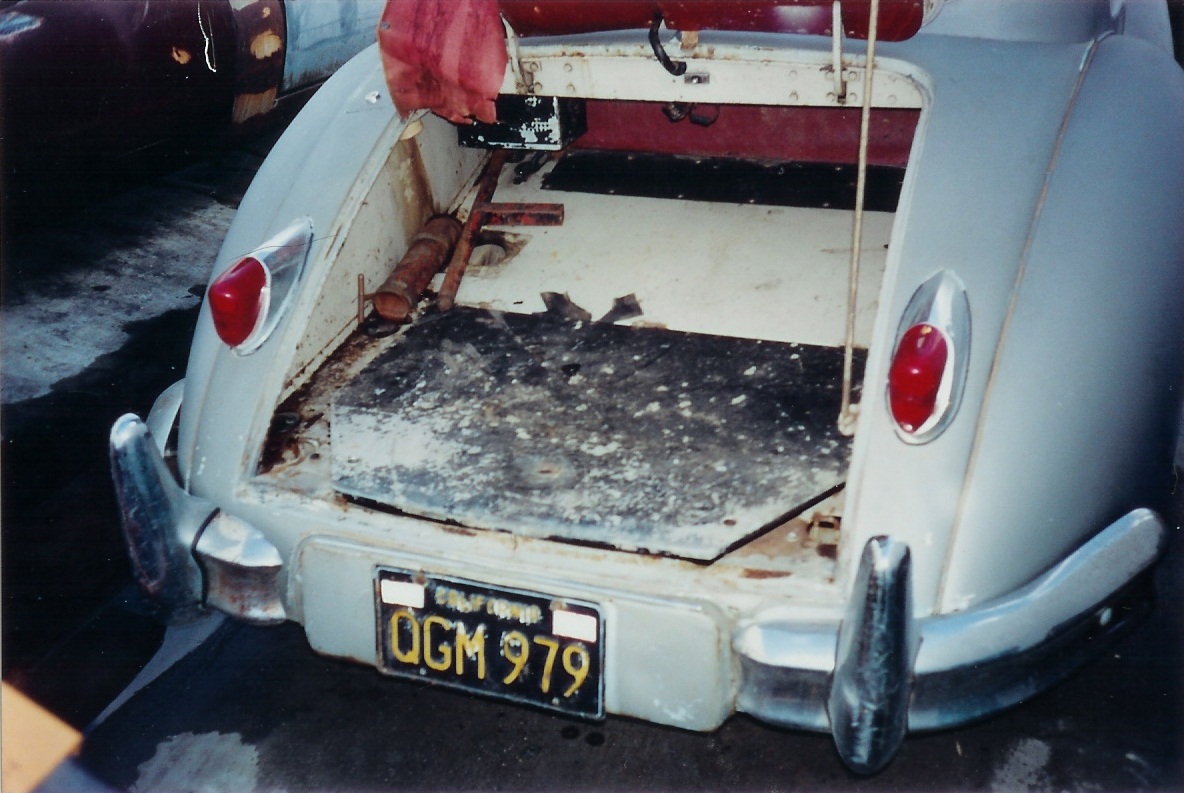
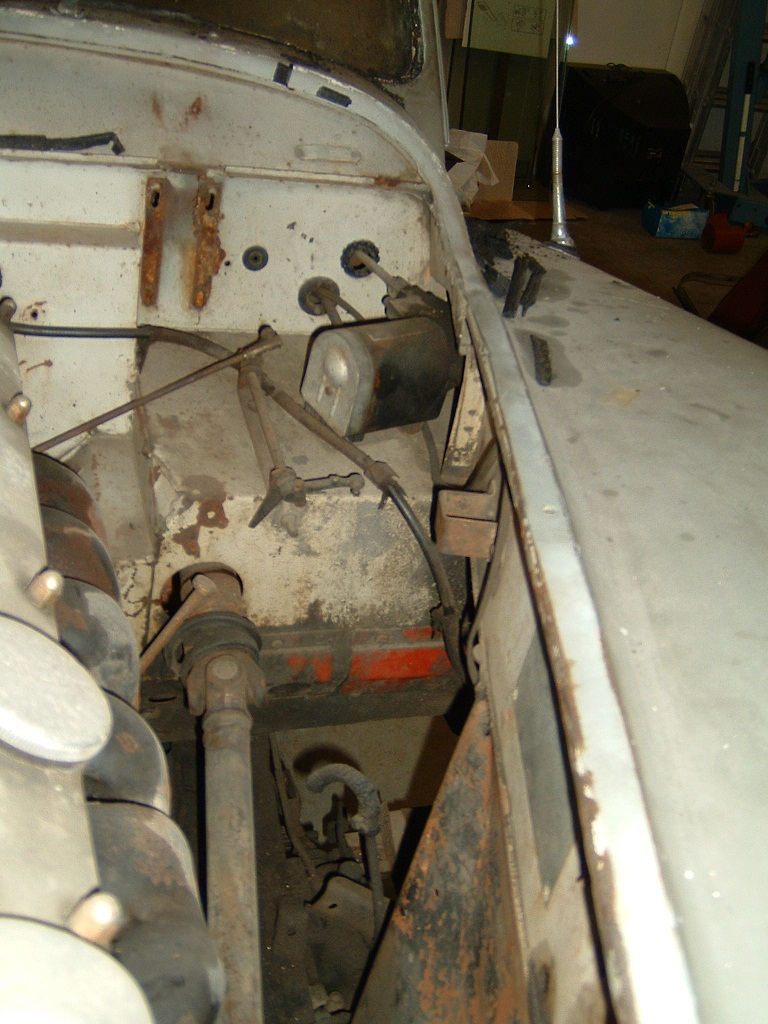
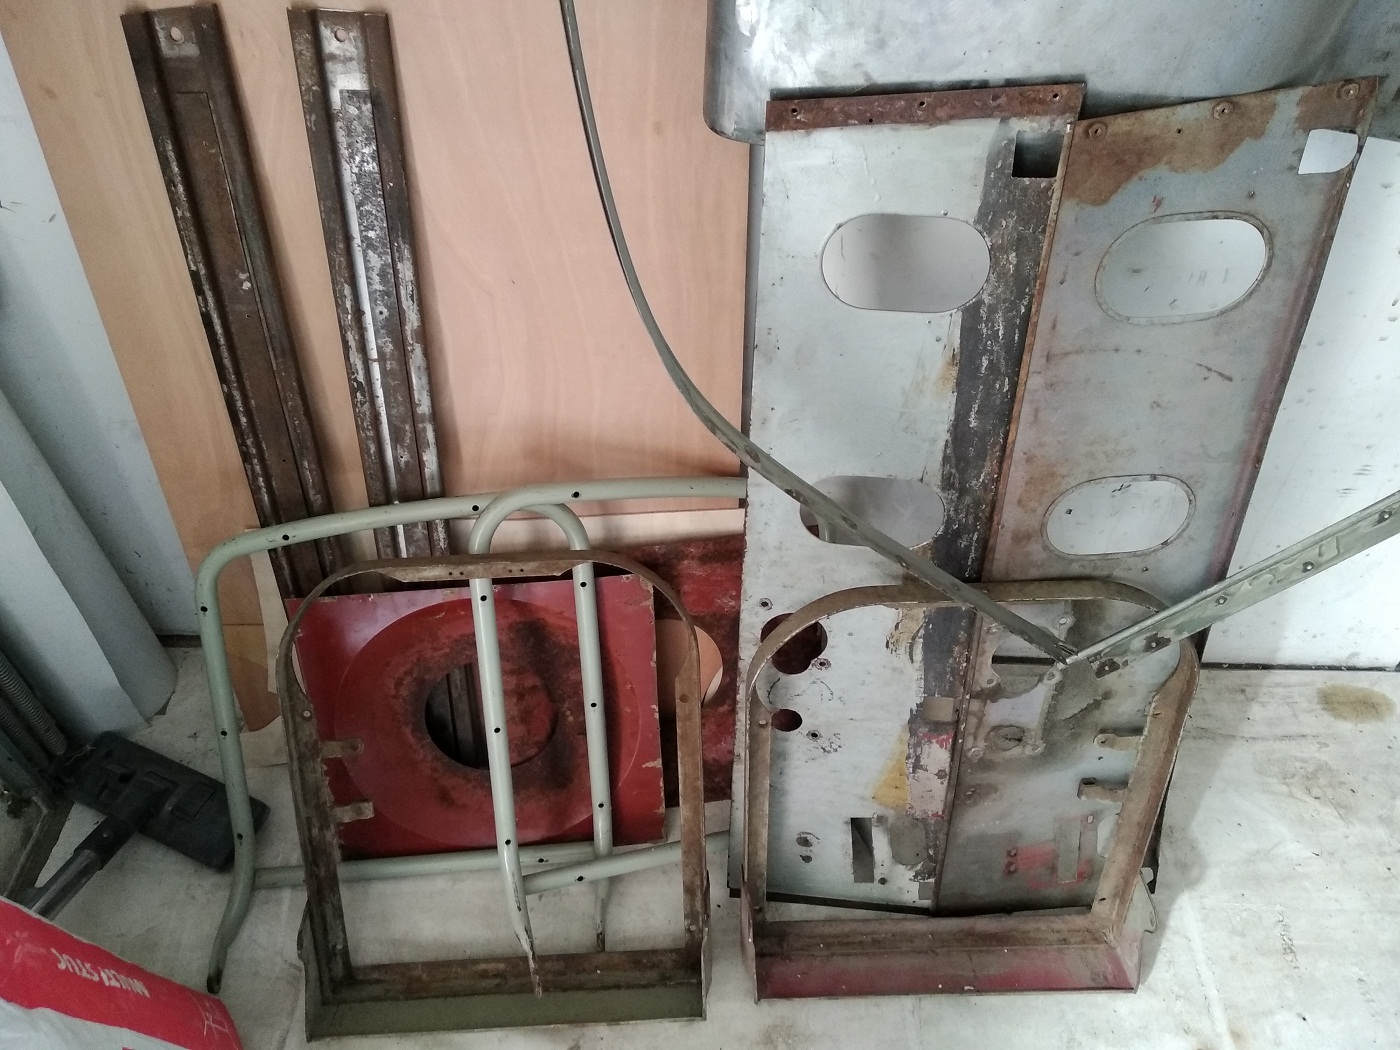
One of the two original radiators

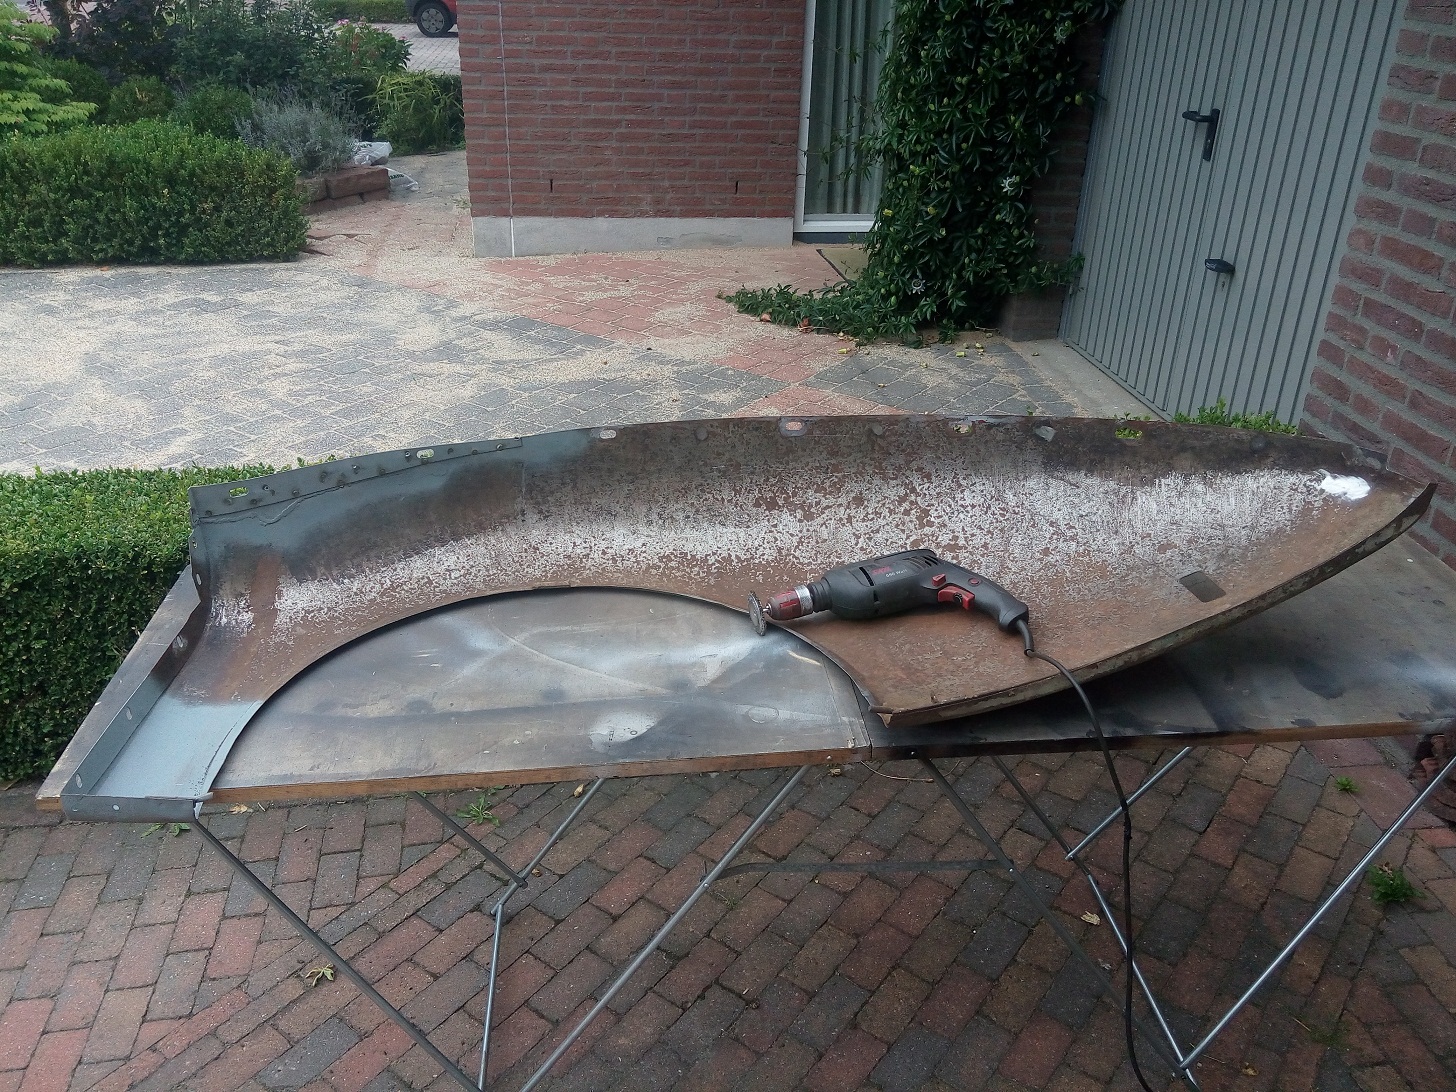
I have to combine parts from both radiators to be able to make one nice one.

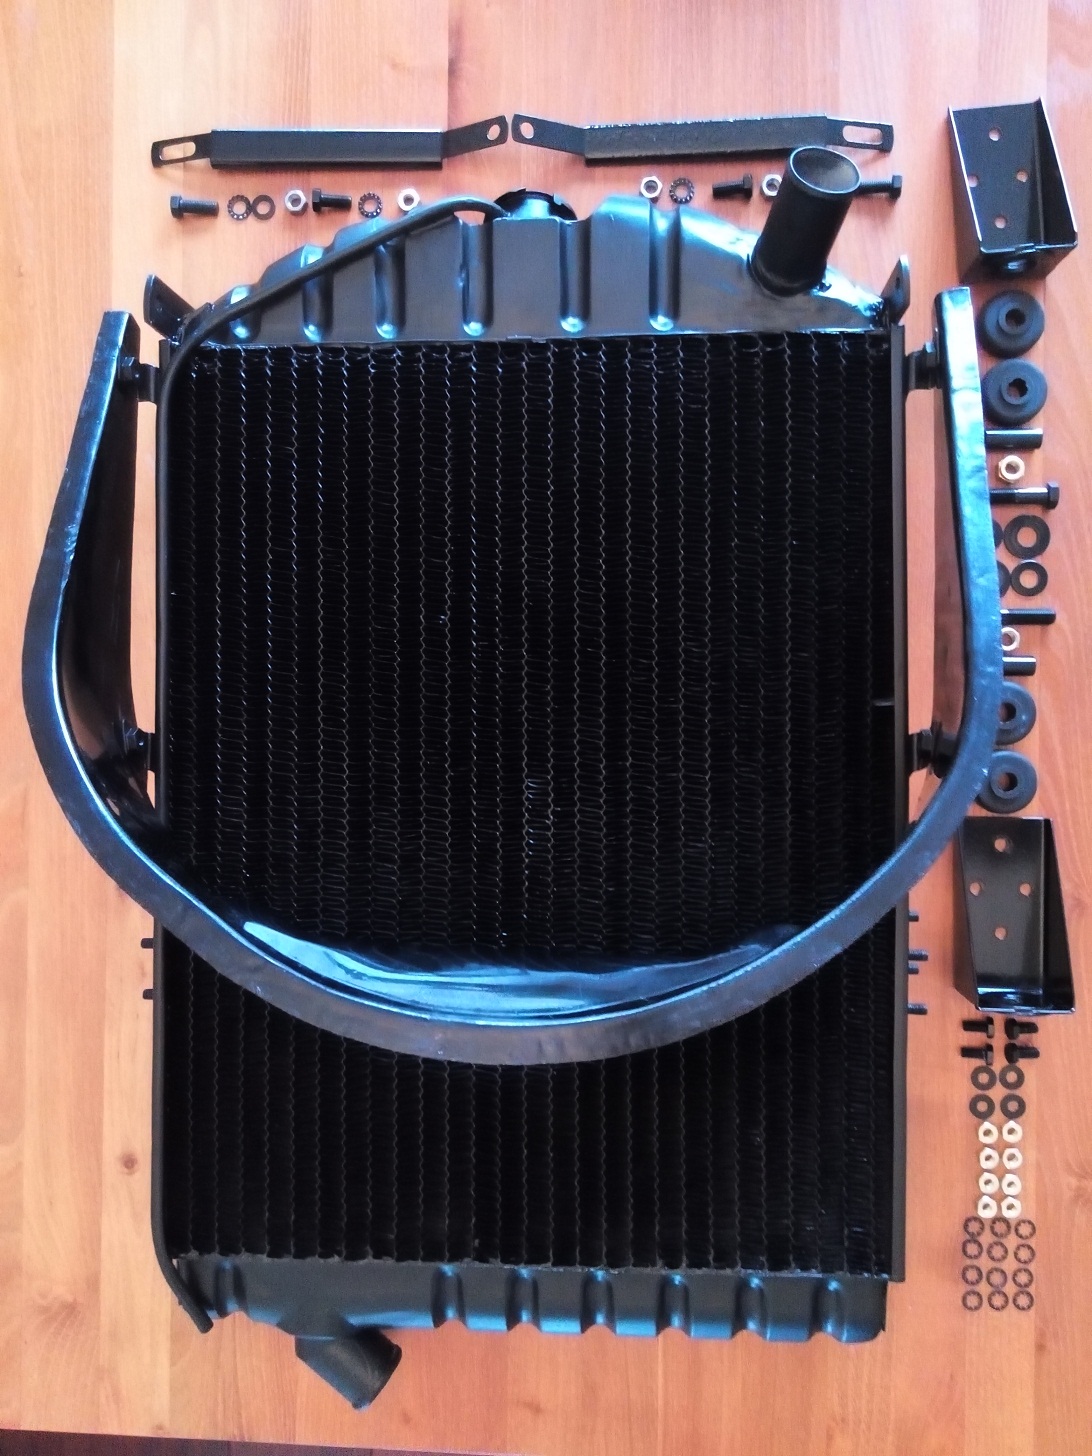
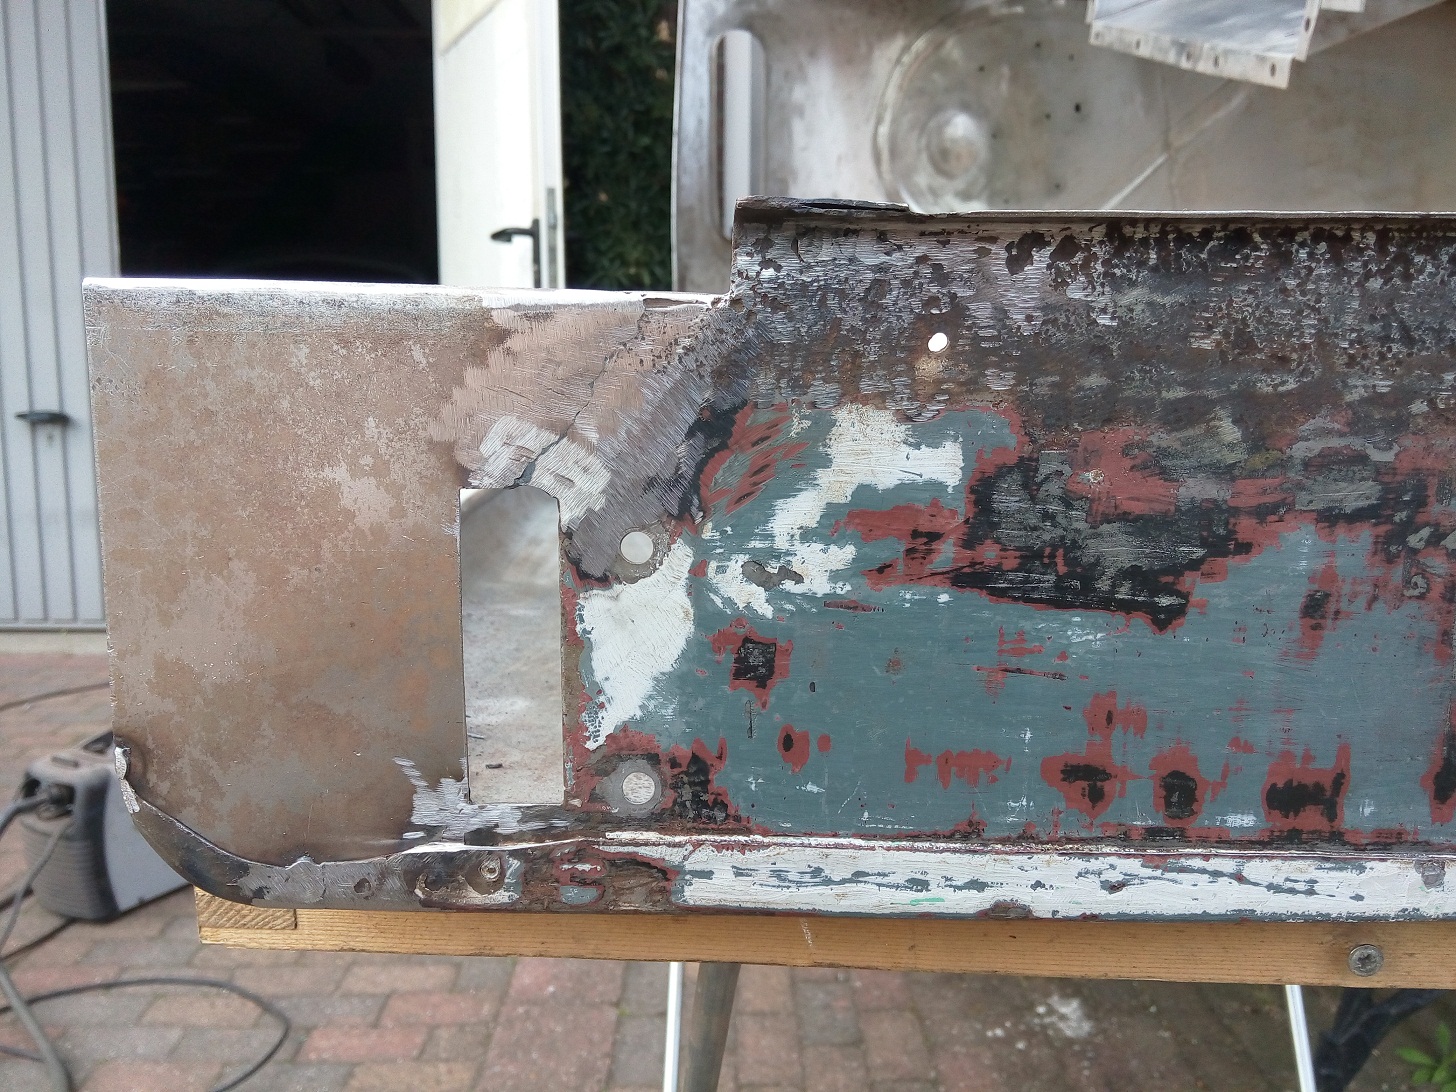
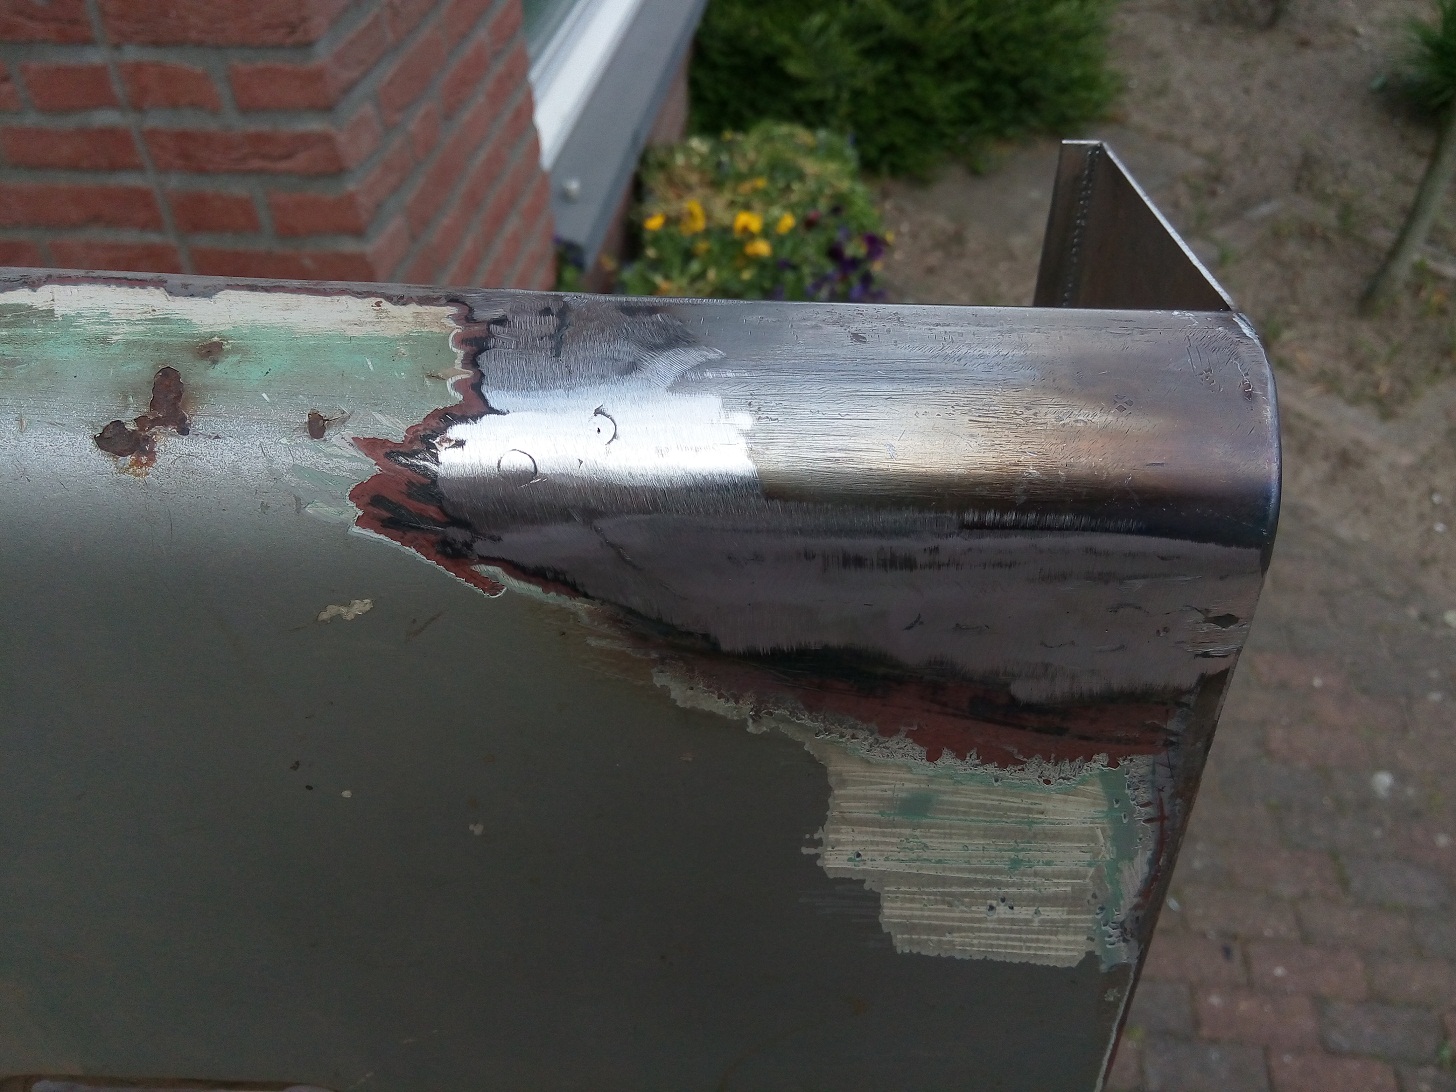
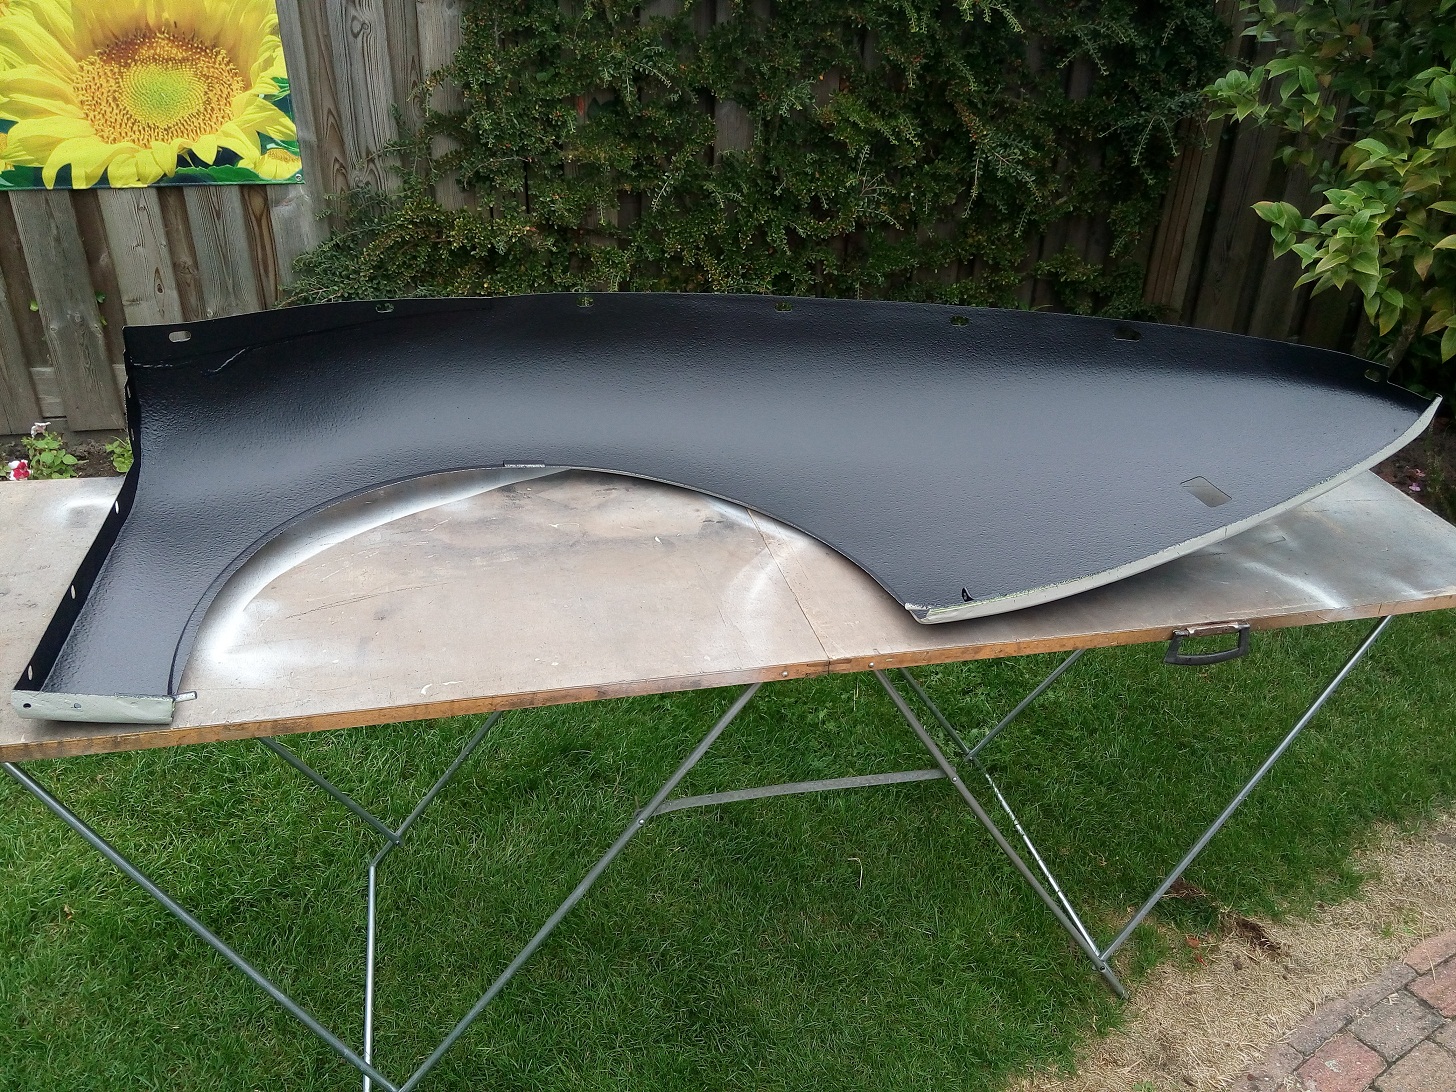
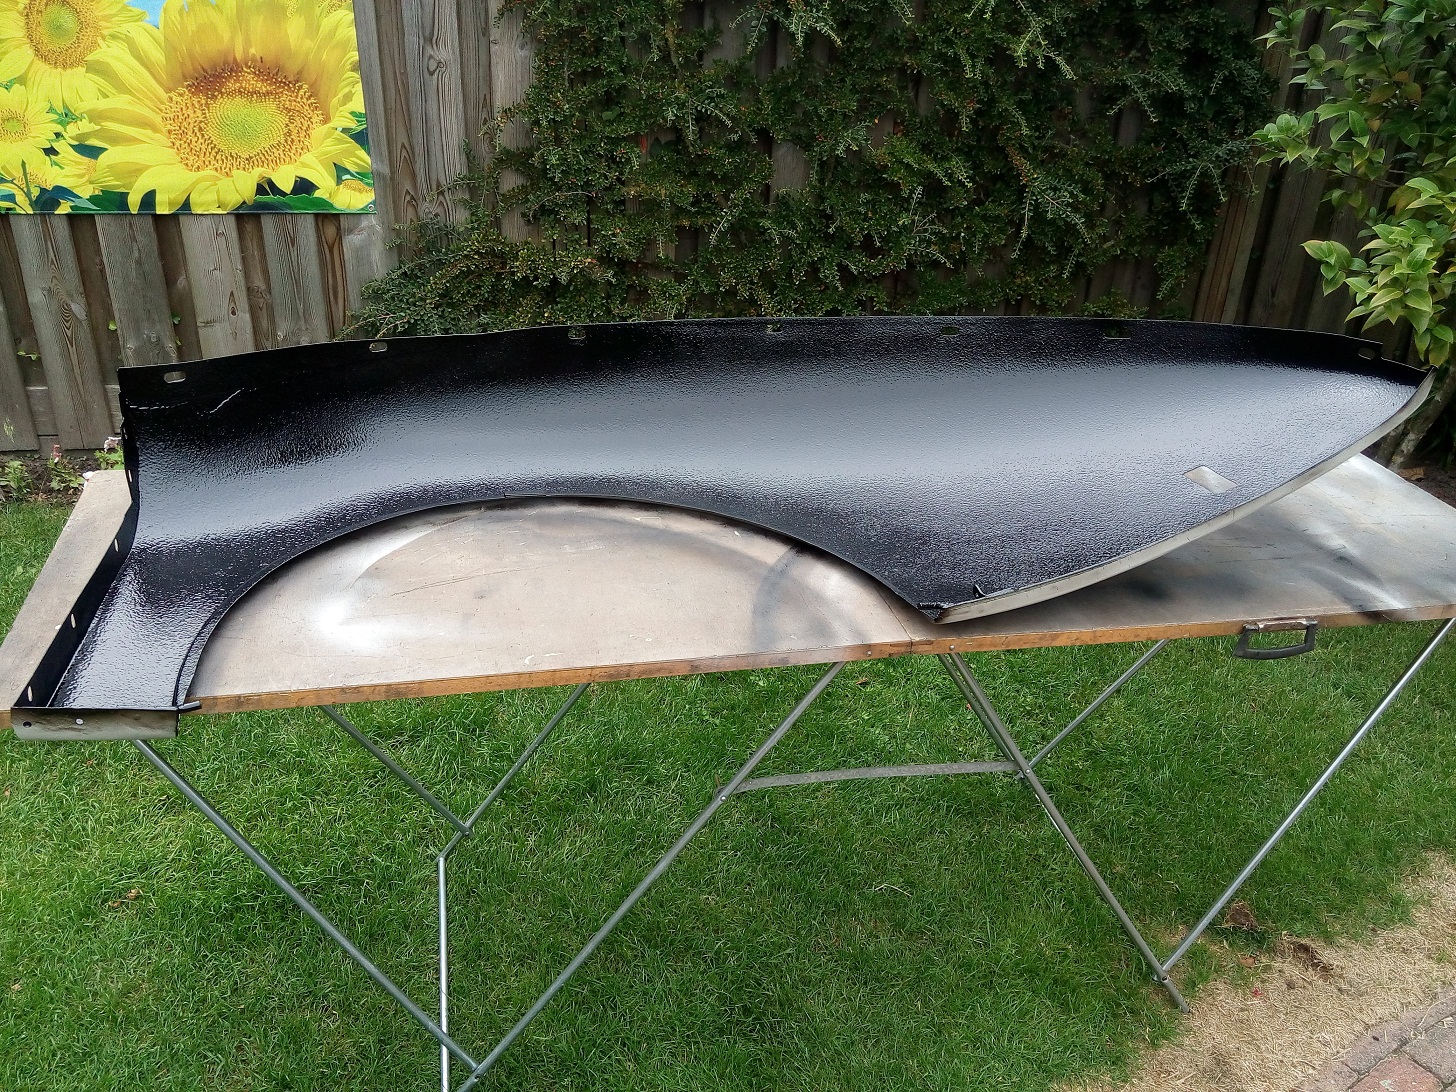
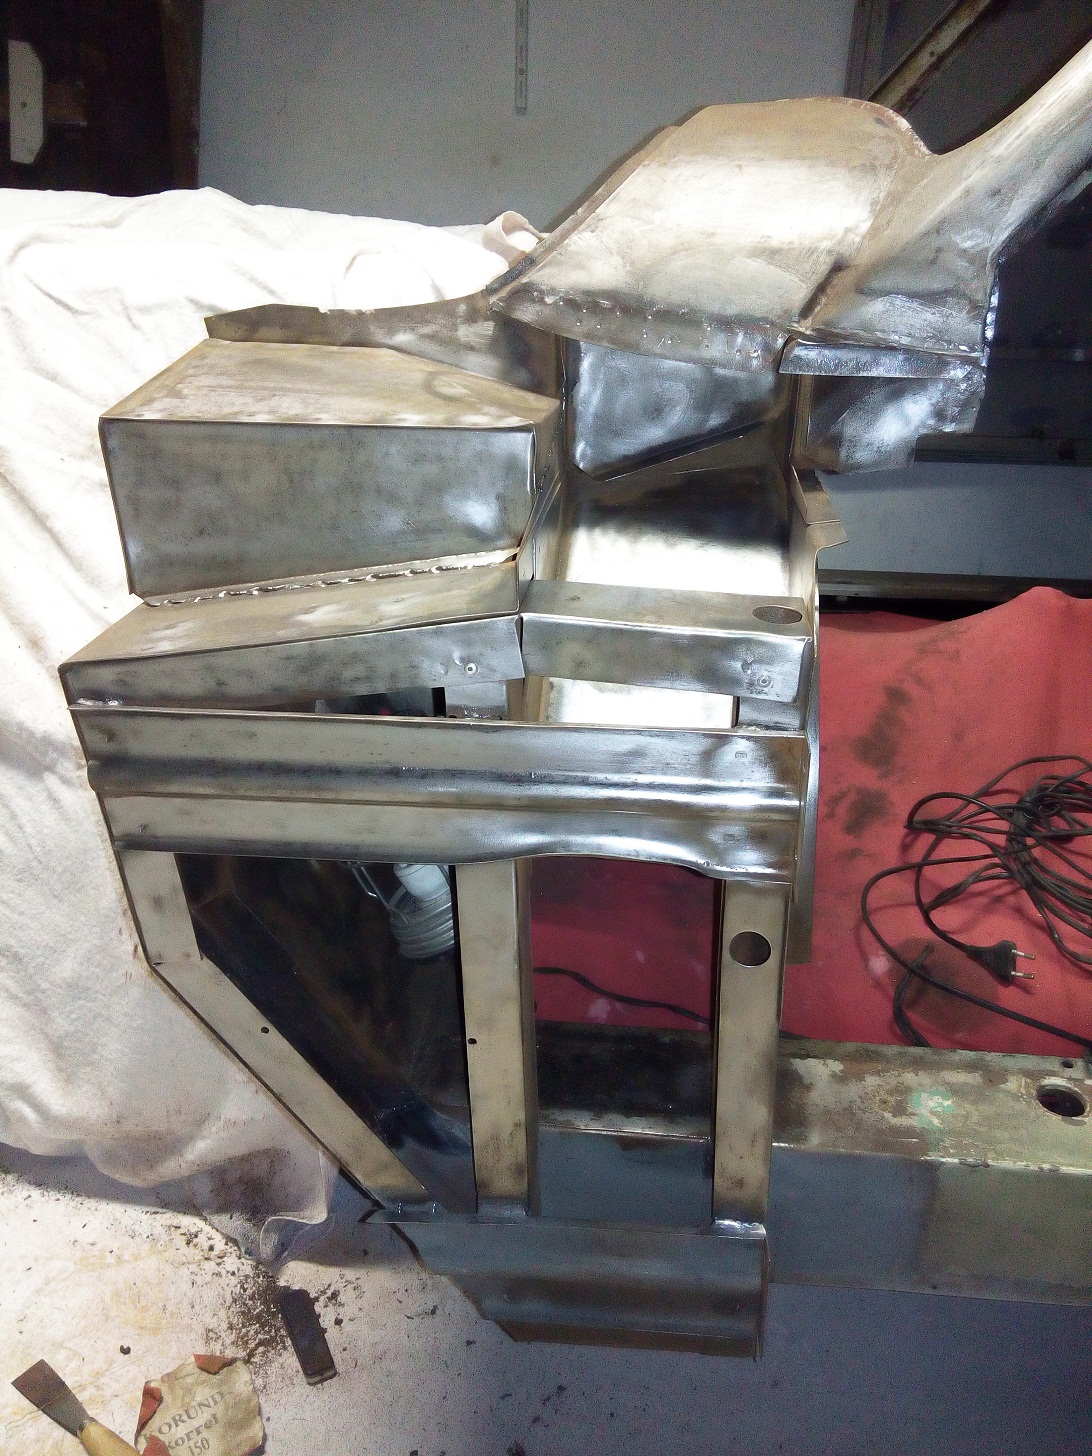
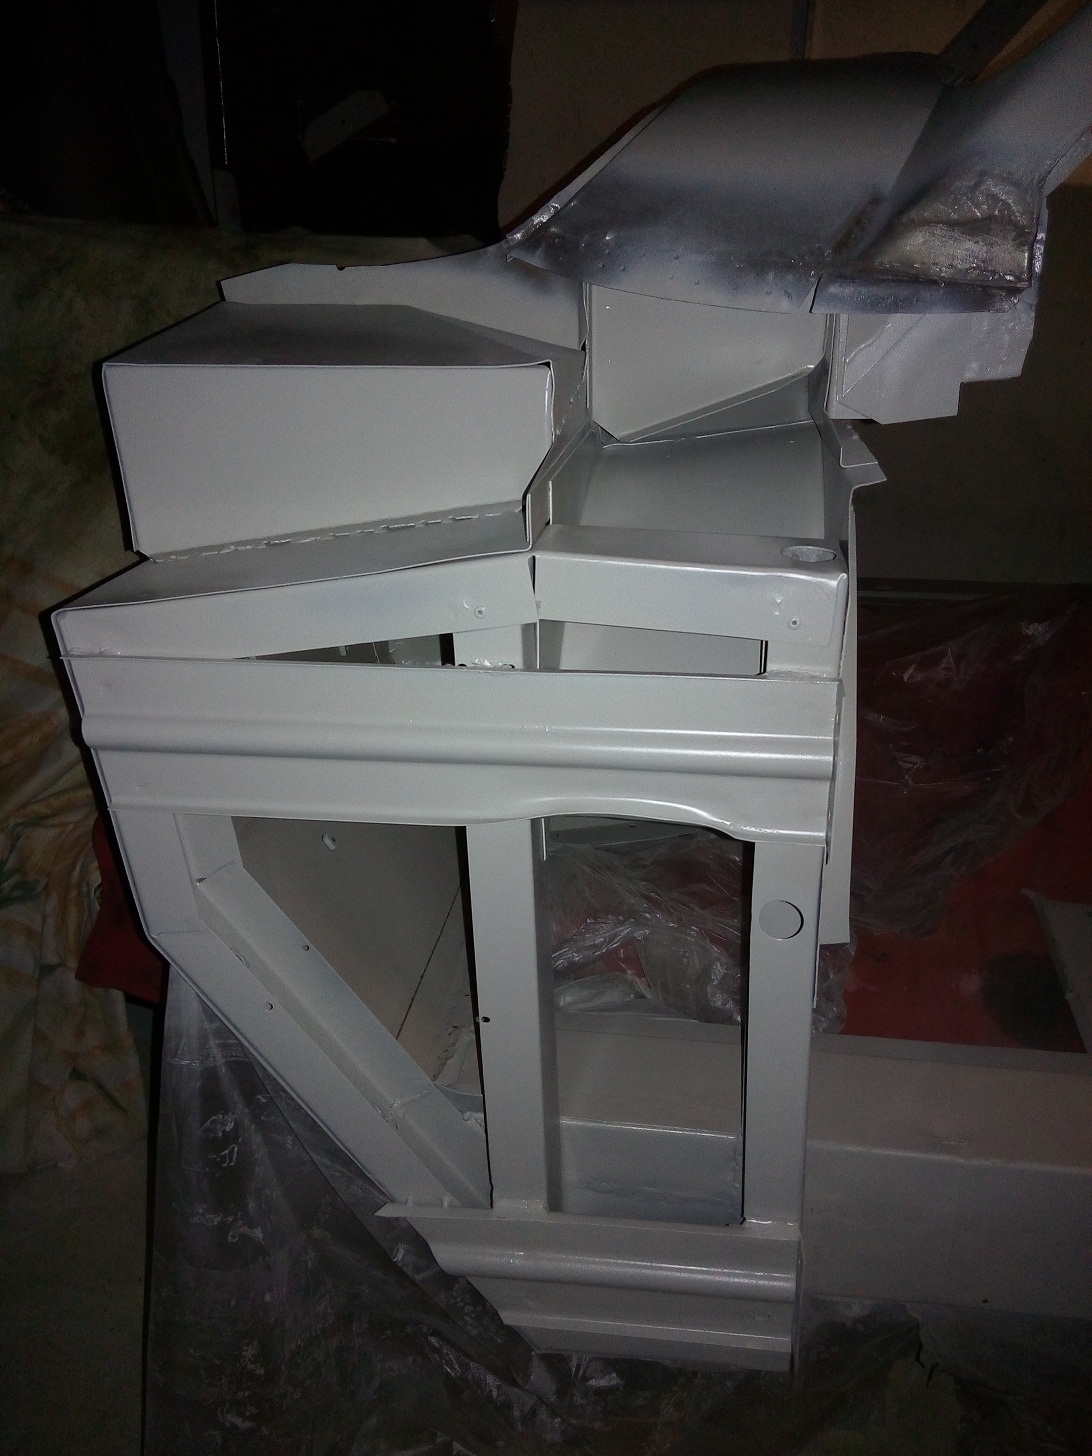
First I started with removing the left and right side (where the stud are in) on both radiators. Now, due to the fact that the good radiator has still some dents in the upper part, I also removed that part. From the inside all dents are cautious removed and soldered back onto the radiator core. The thin metal reinforcement soldered to the left side of the core must also be replace, due to rust, with a fresh new one. Now the left and right sides can be soldered back onto the radiator. Last be not least I tried to realign and straighten all fins, to improve the cooling capacity. After the radiator was thoroughly cleaned it can be painted in two layer of paint (epoxy primer and satin black paint)

RadiatorParts

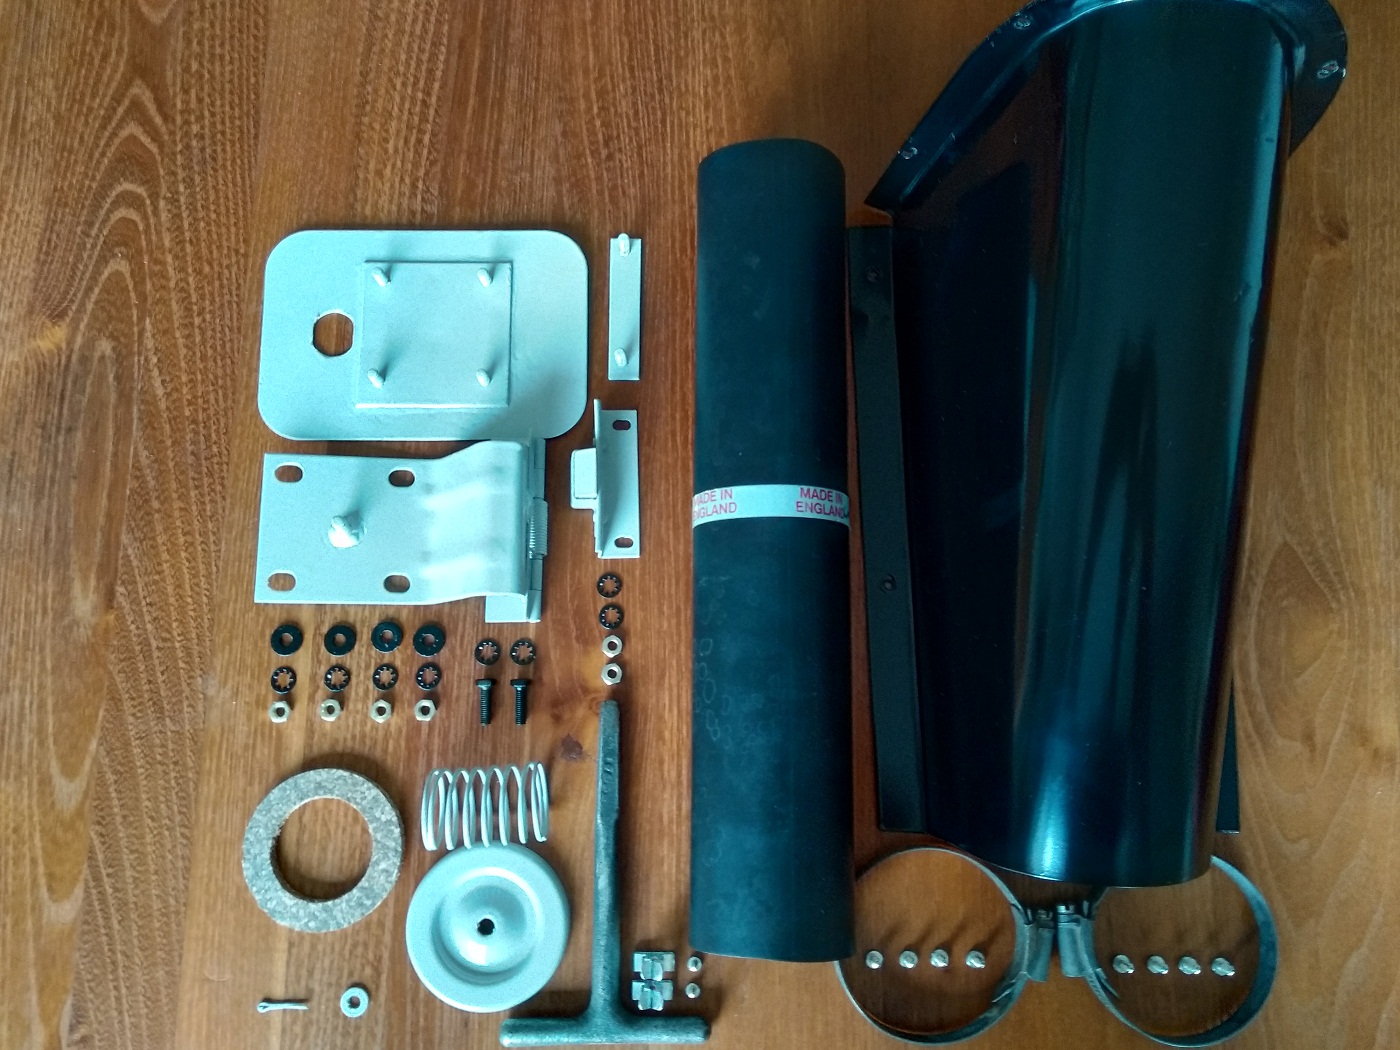
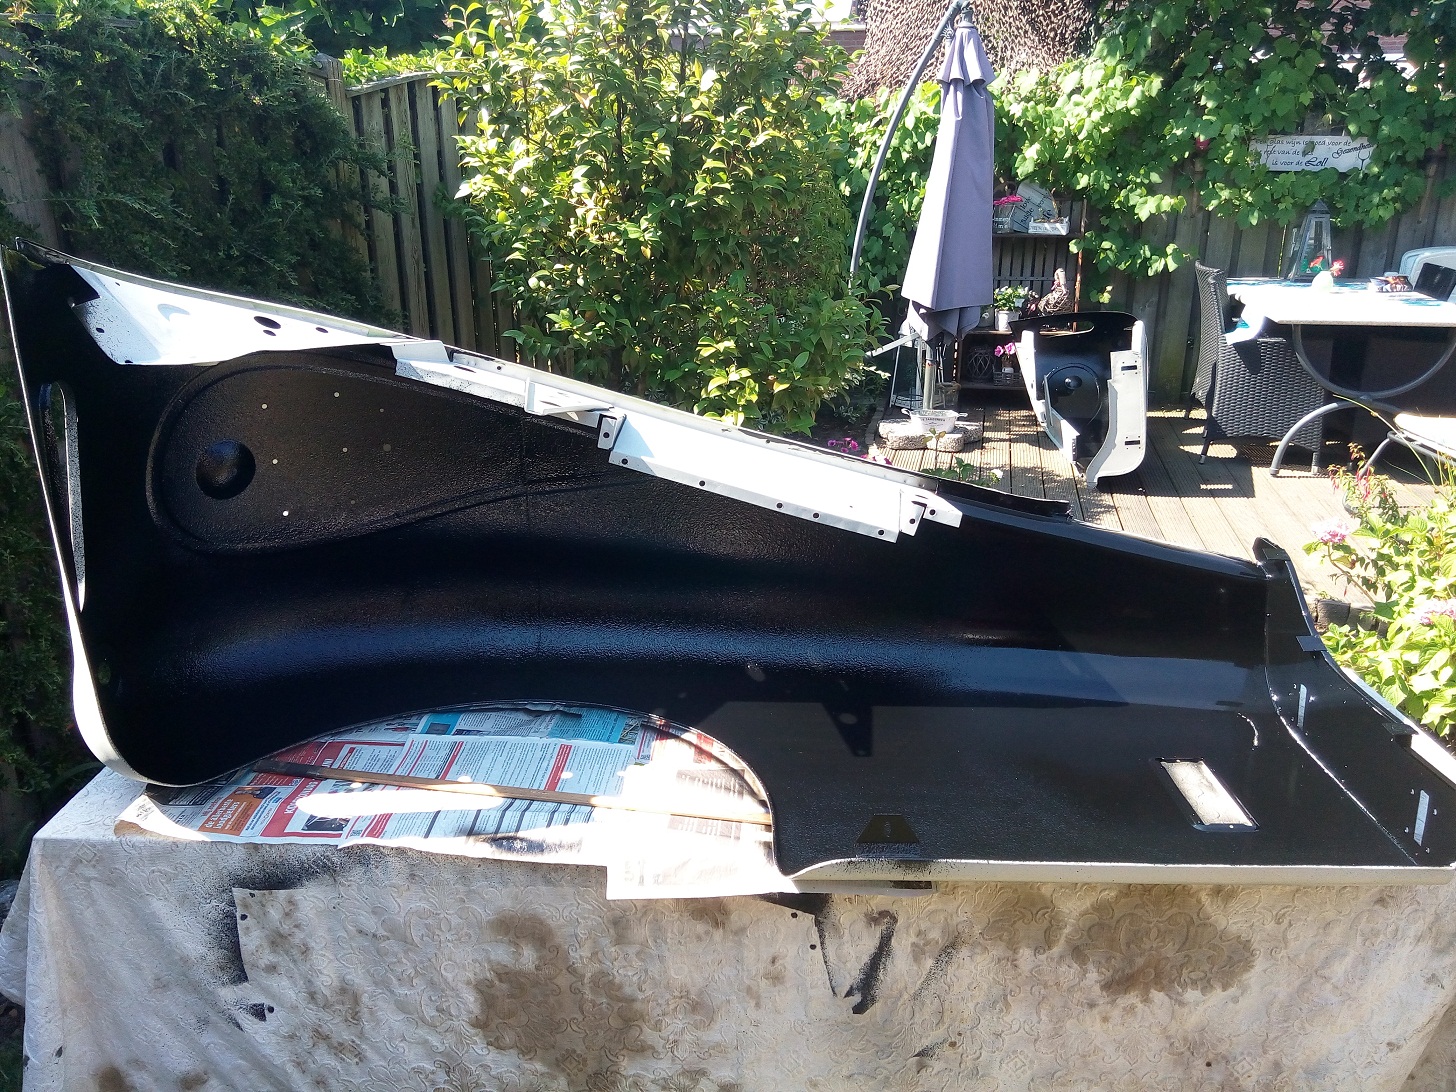
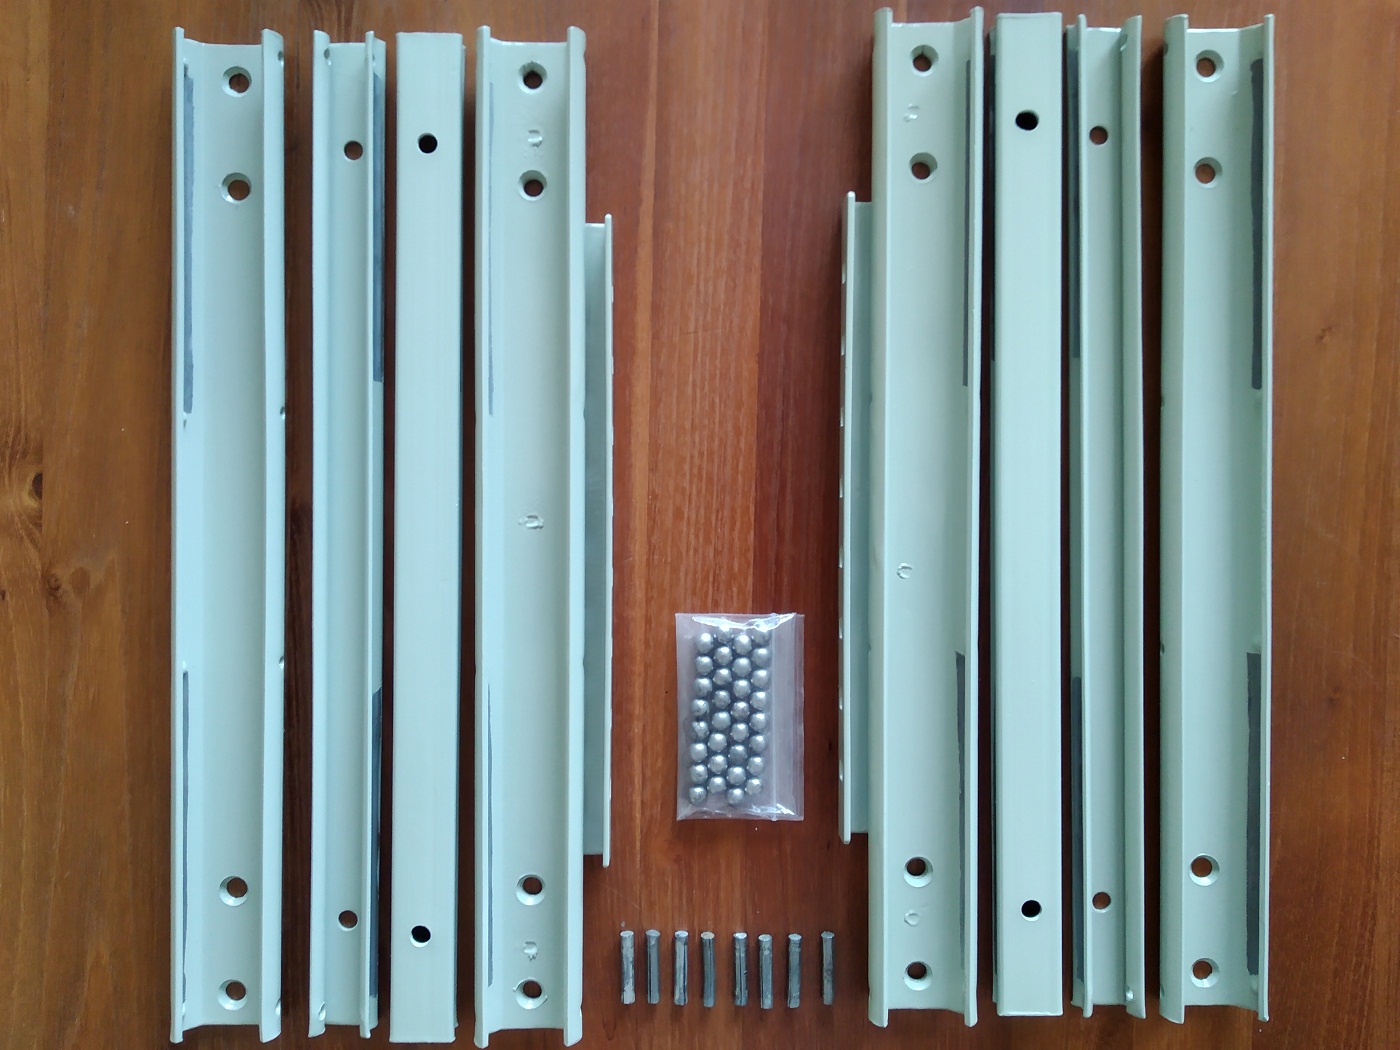
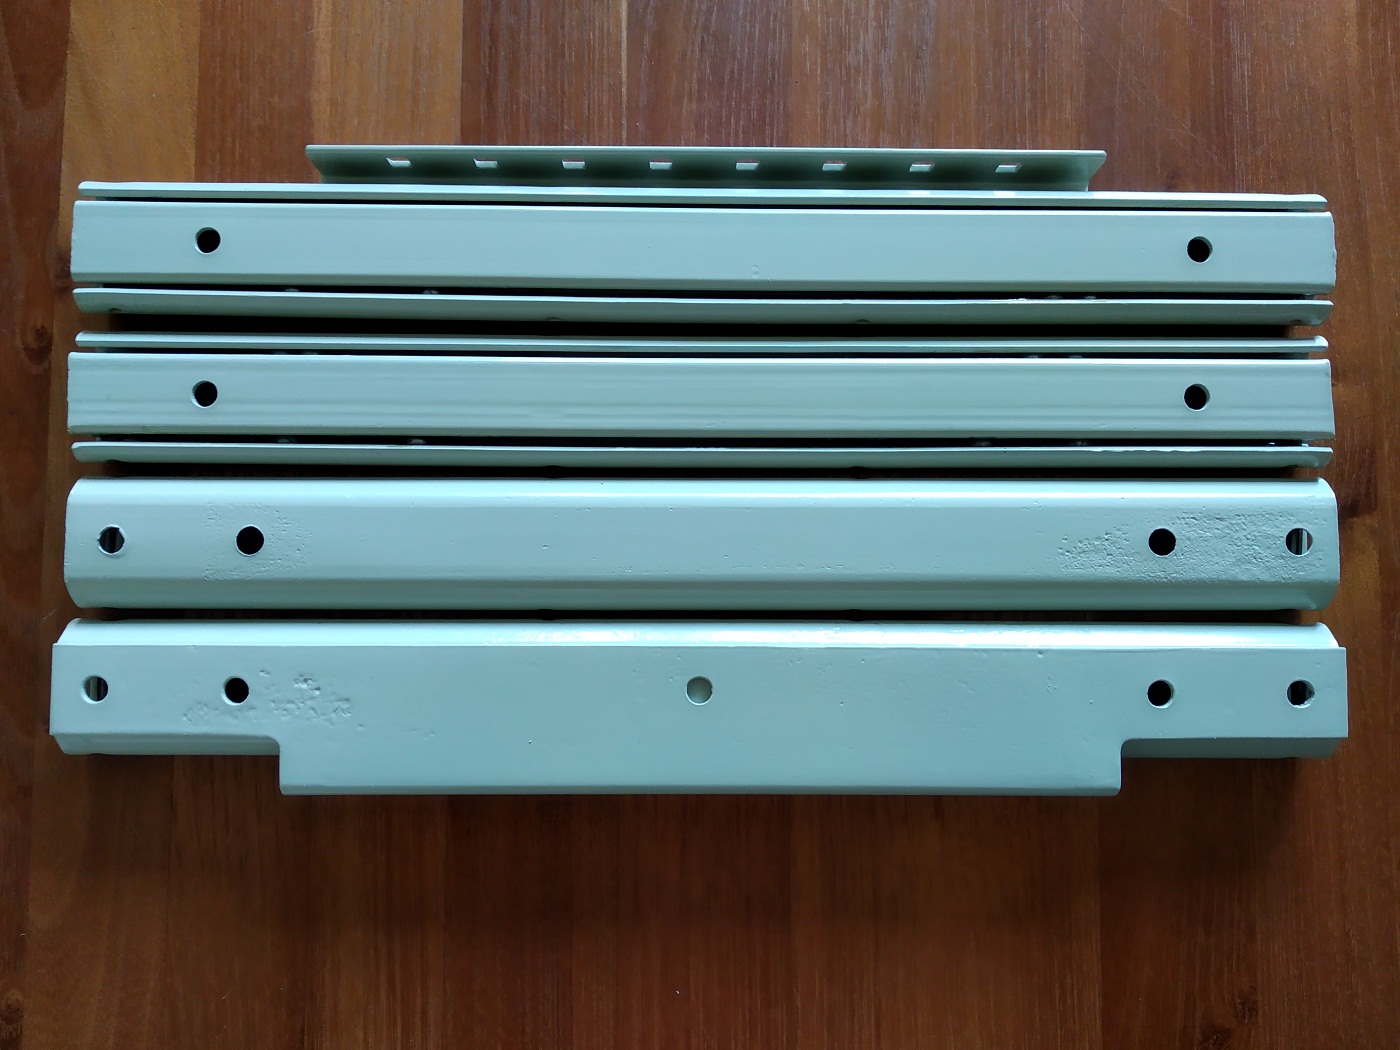
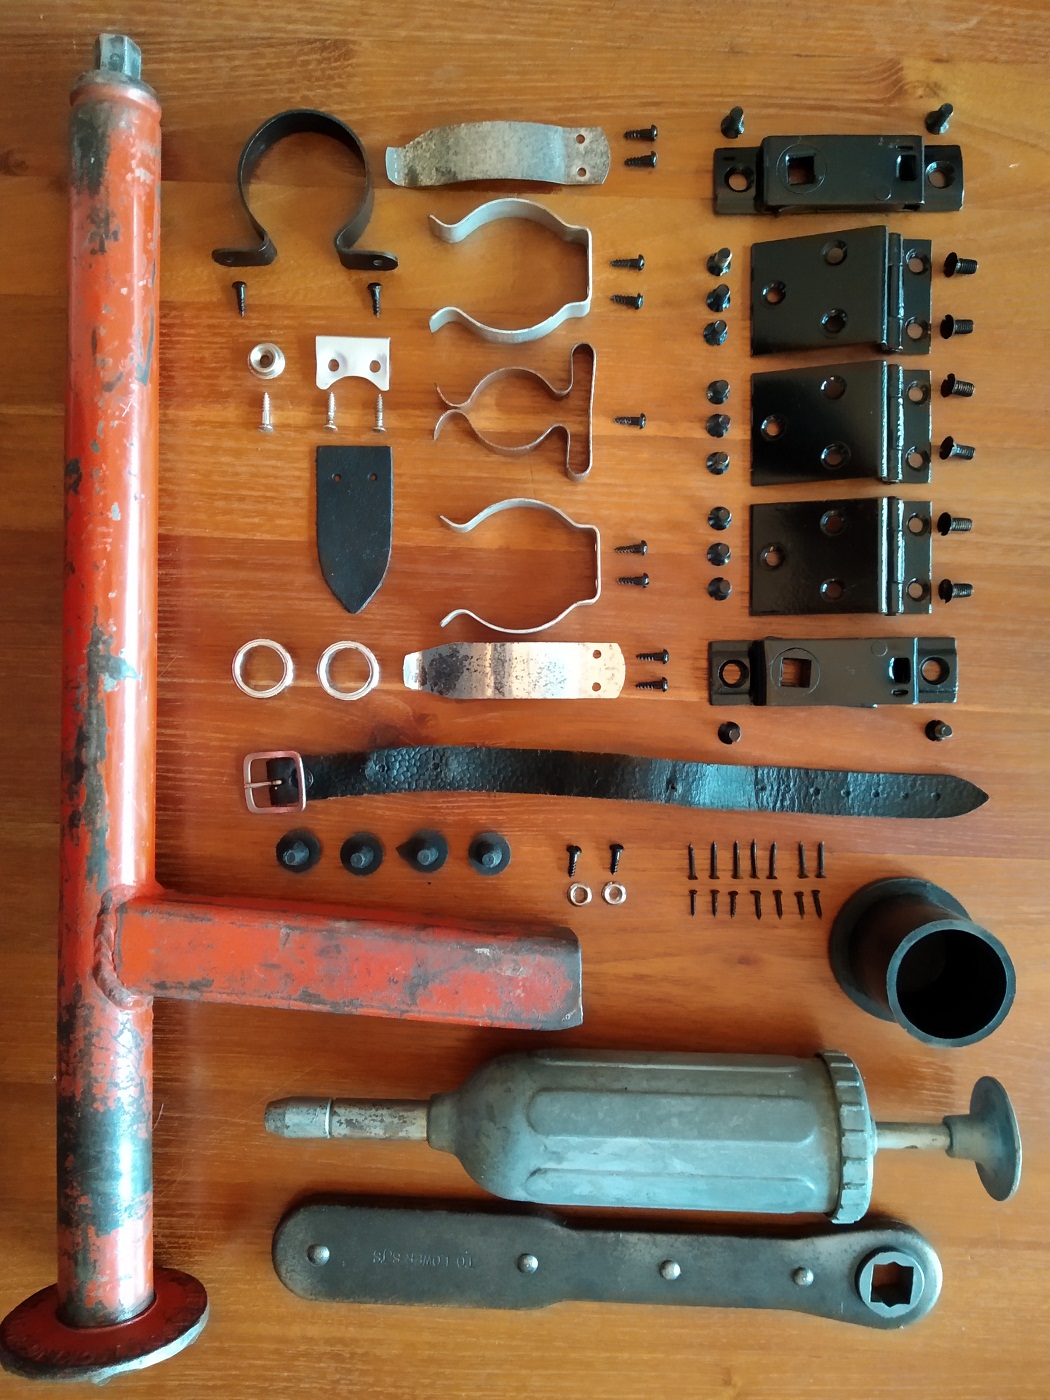
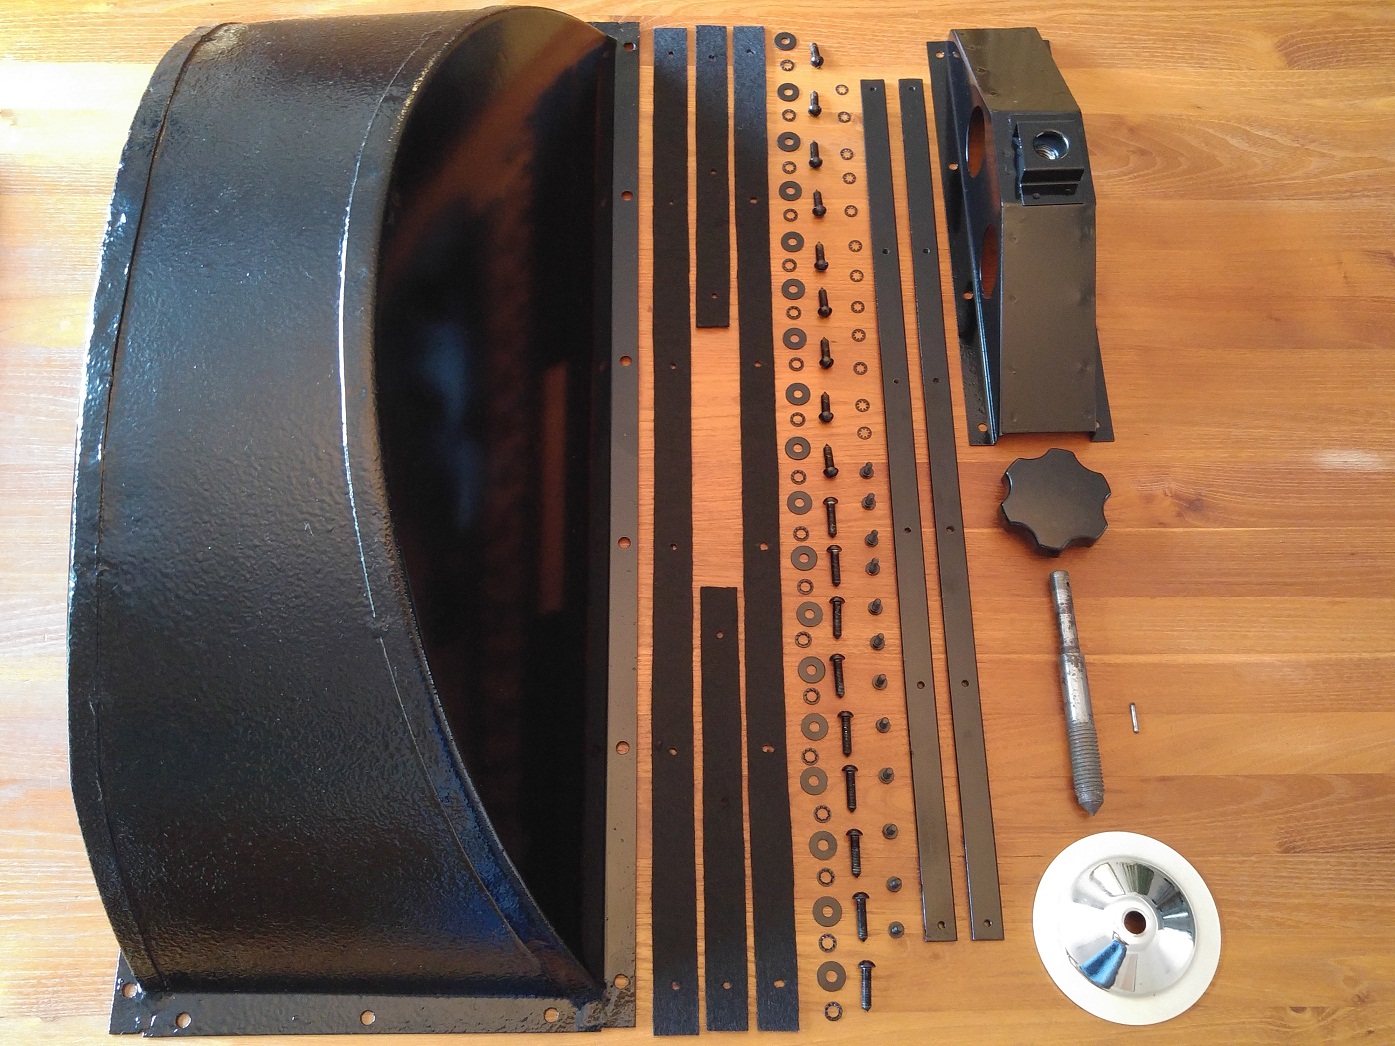
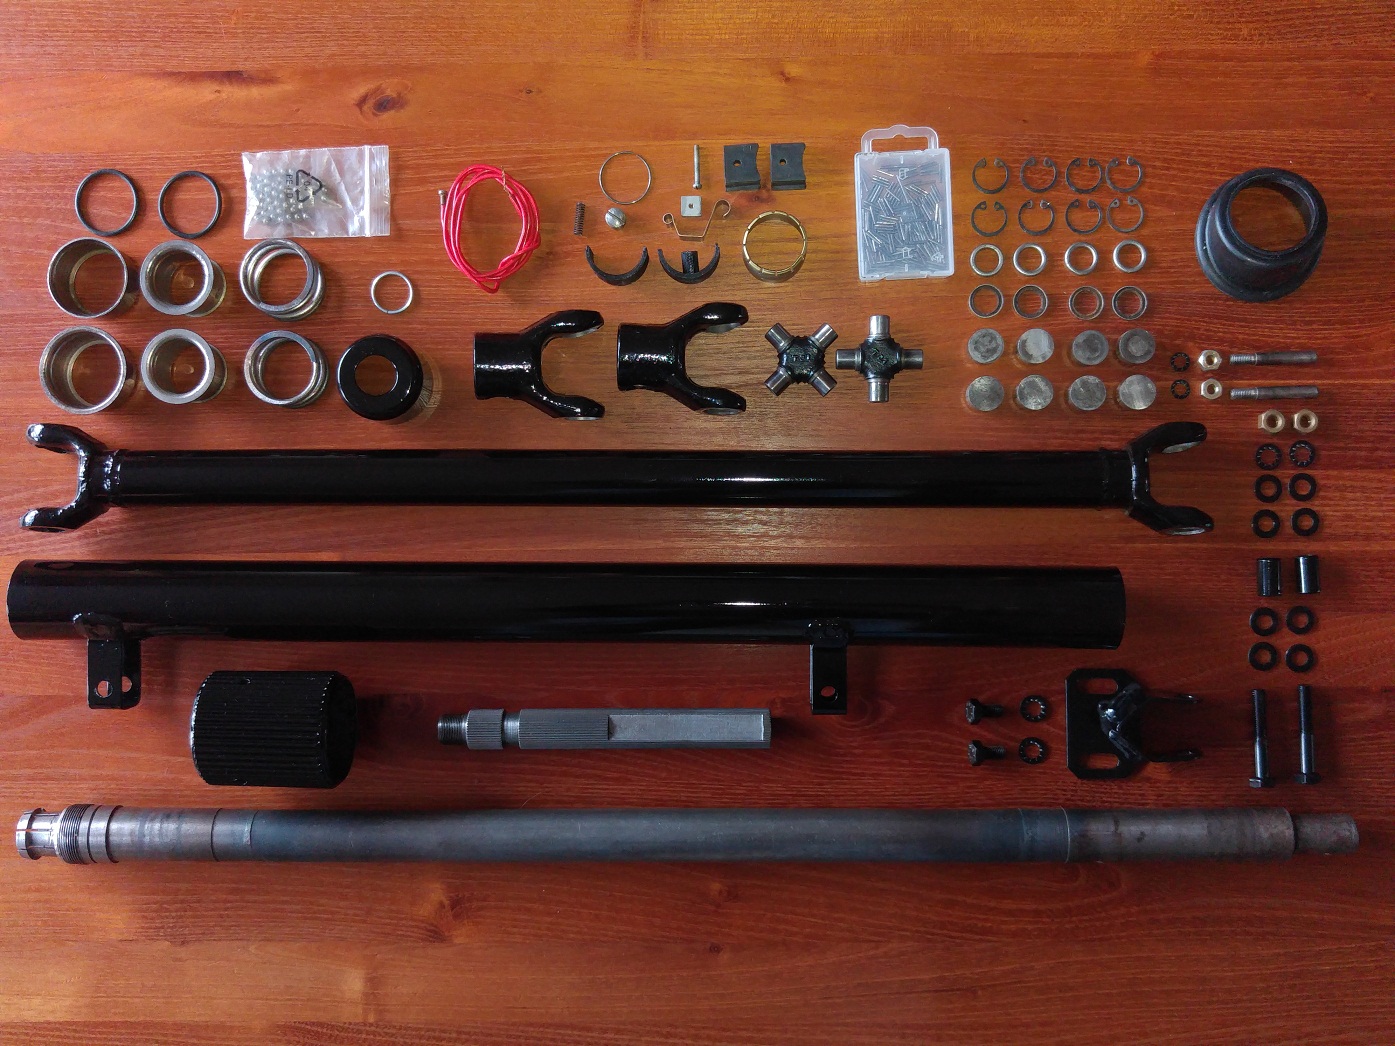
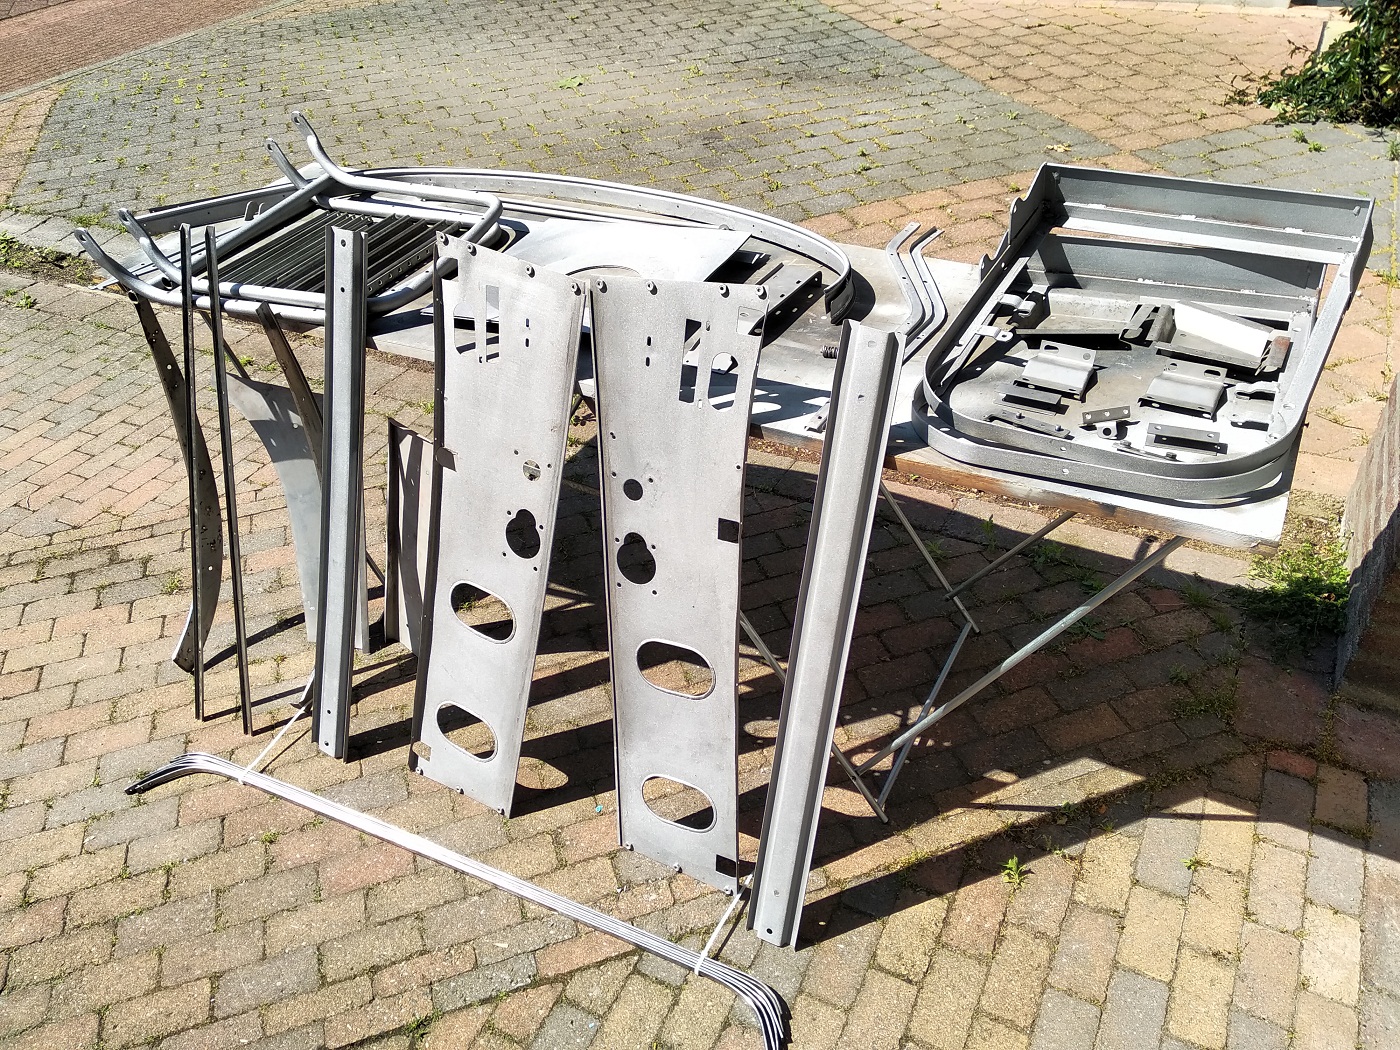
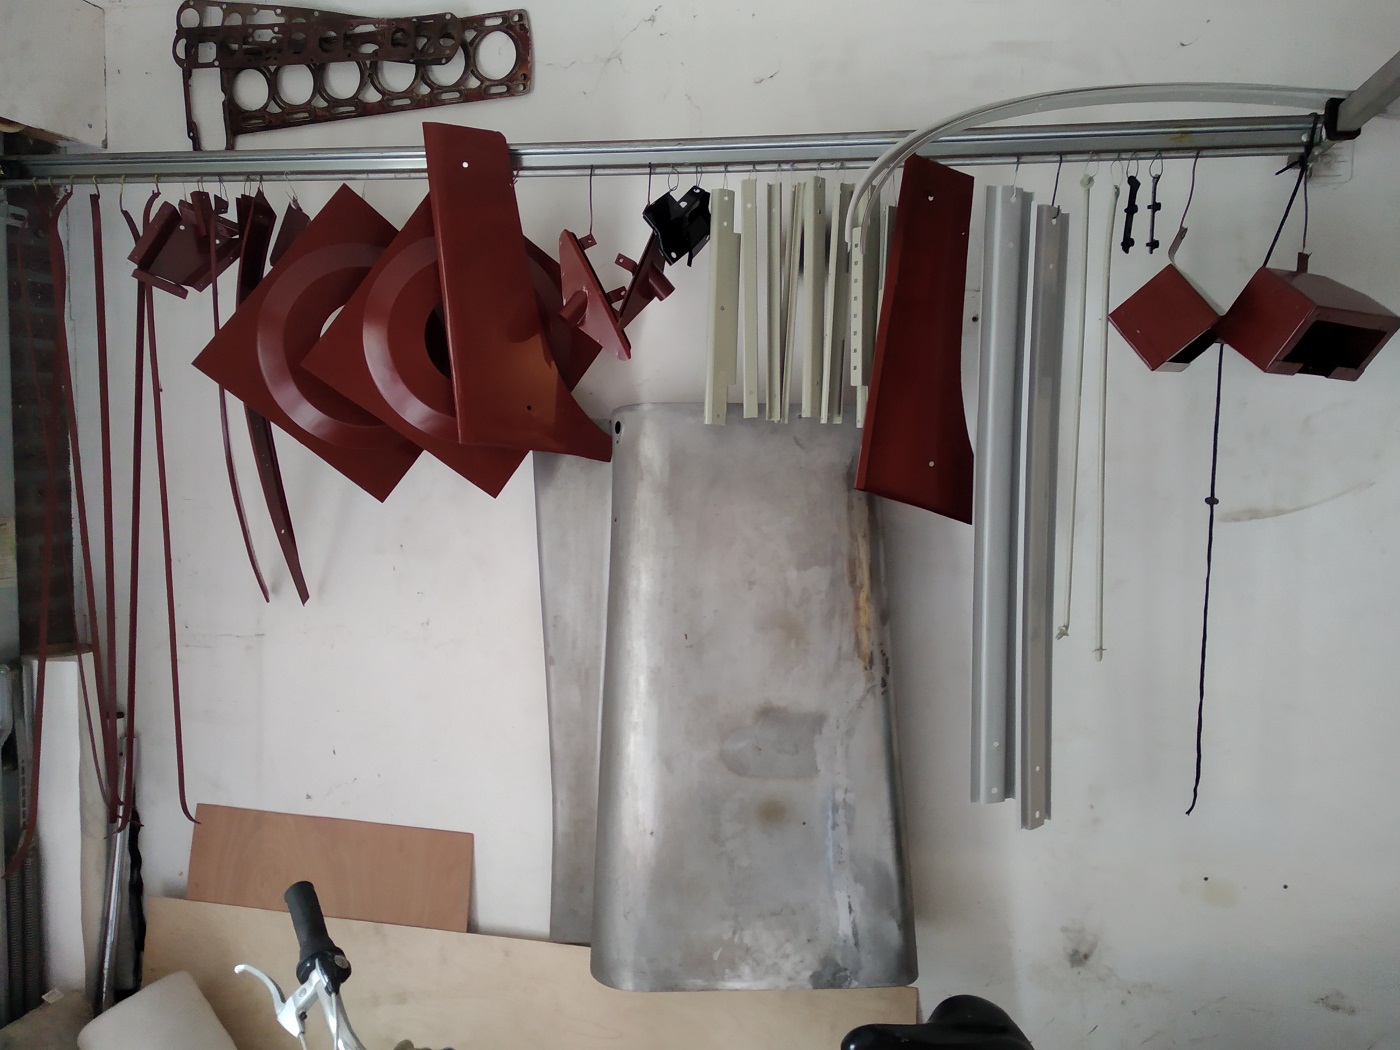
Parts needed to mount the fresh painted radiator

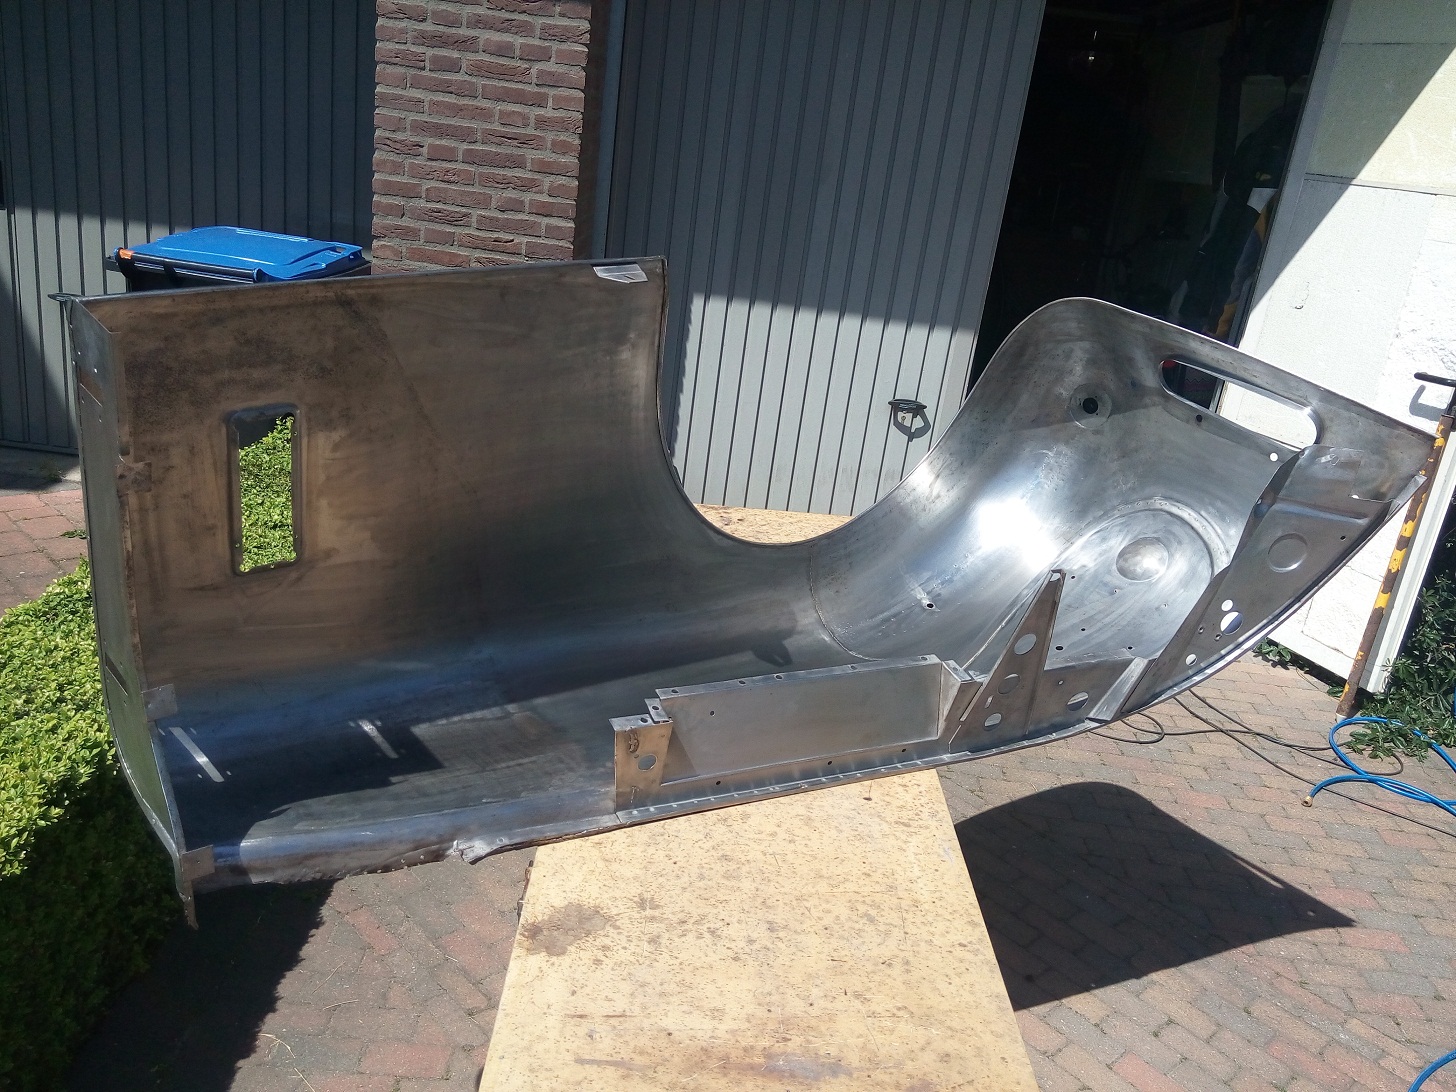
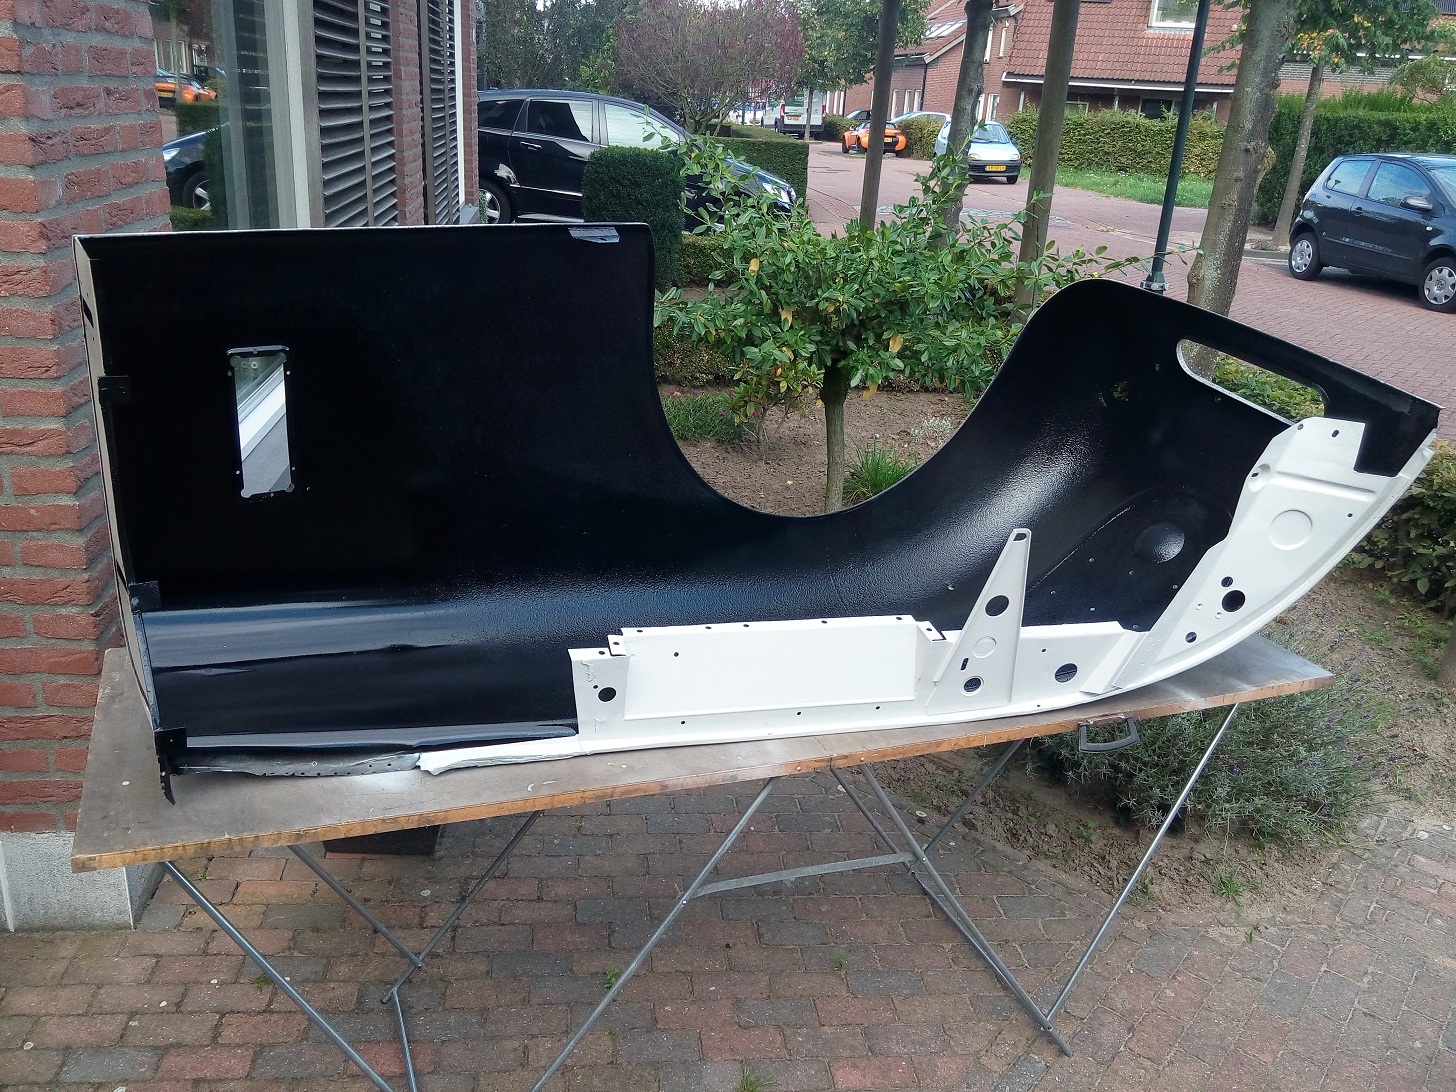
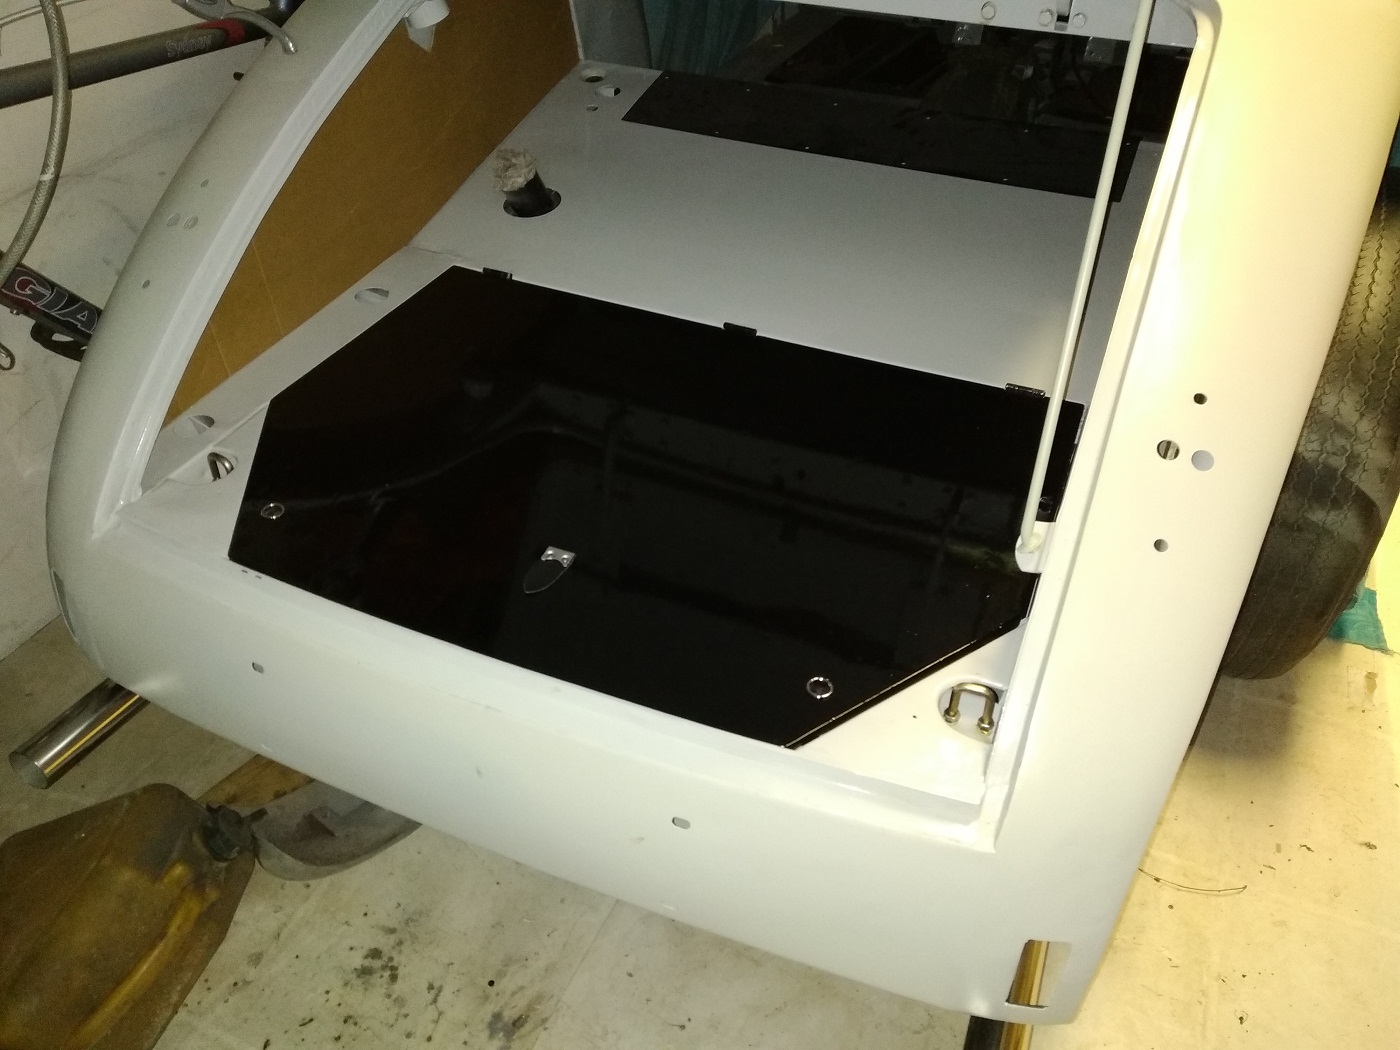
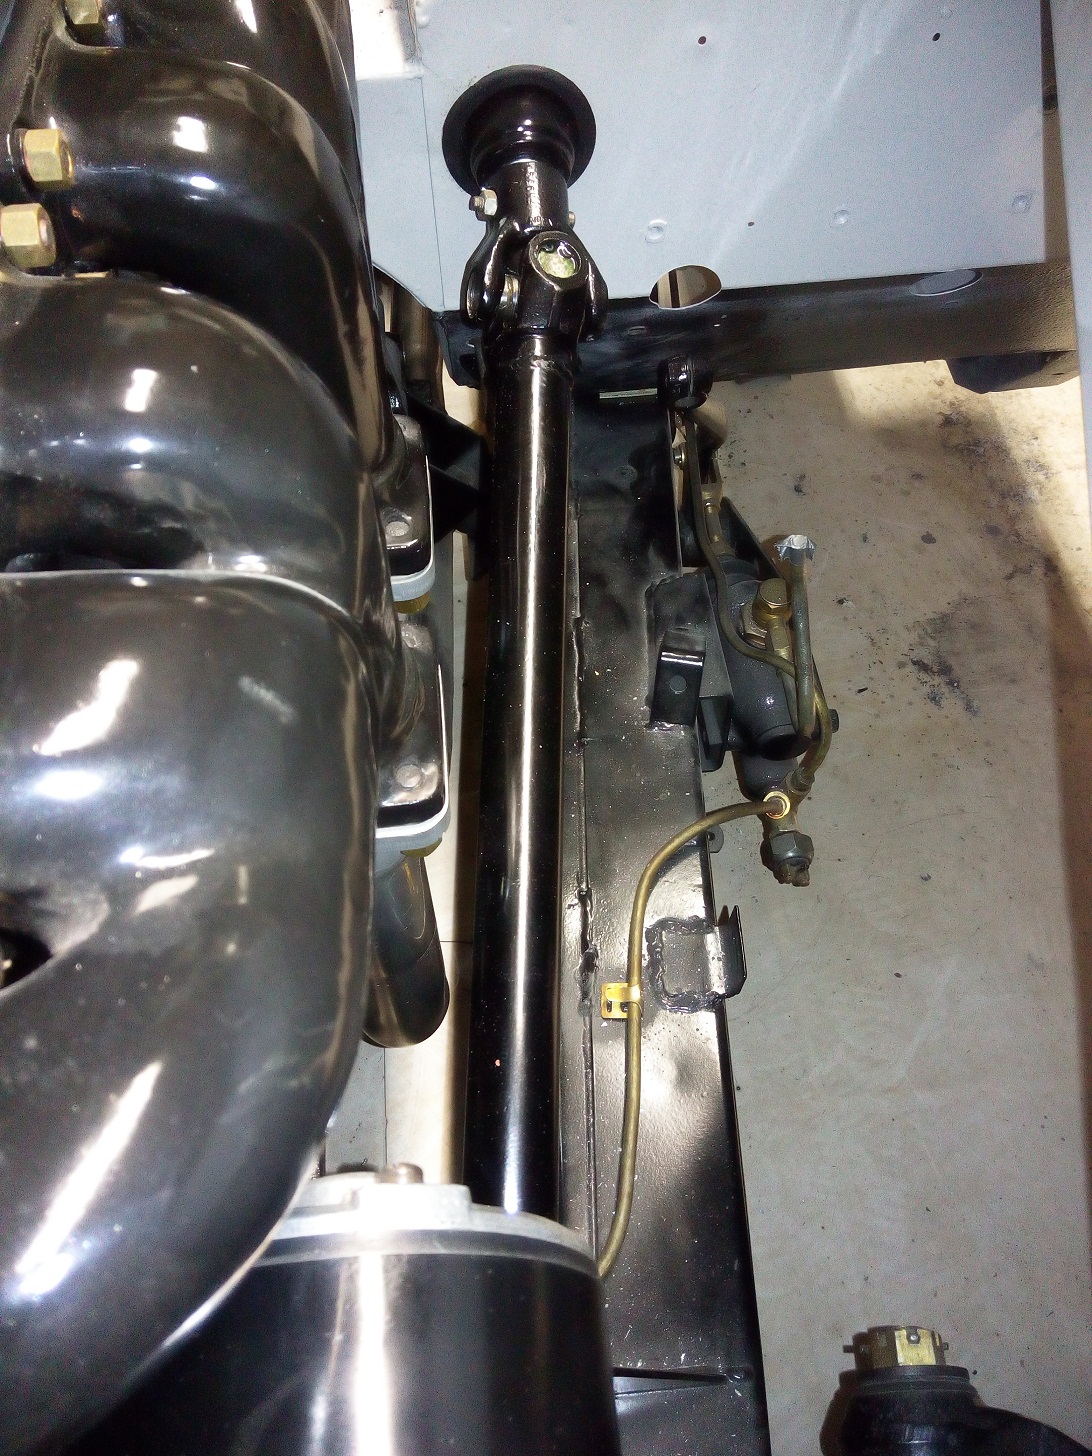
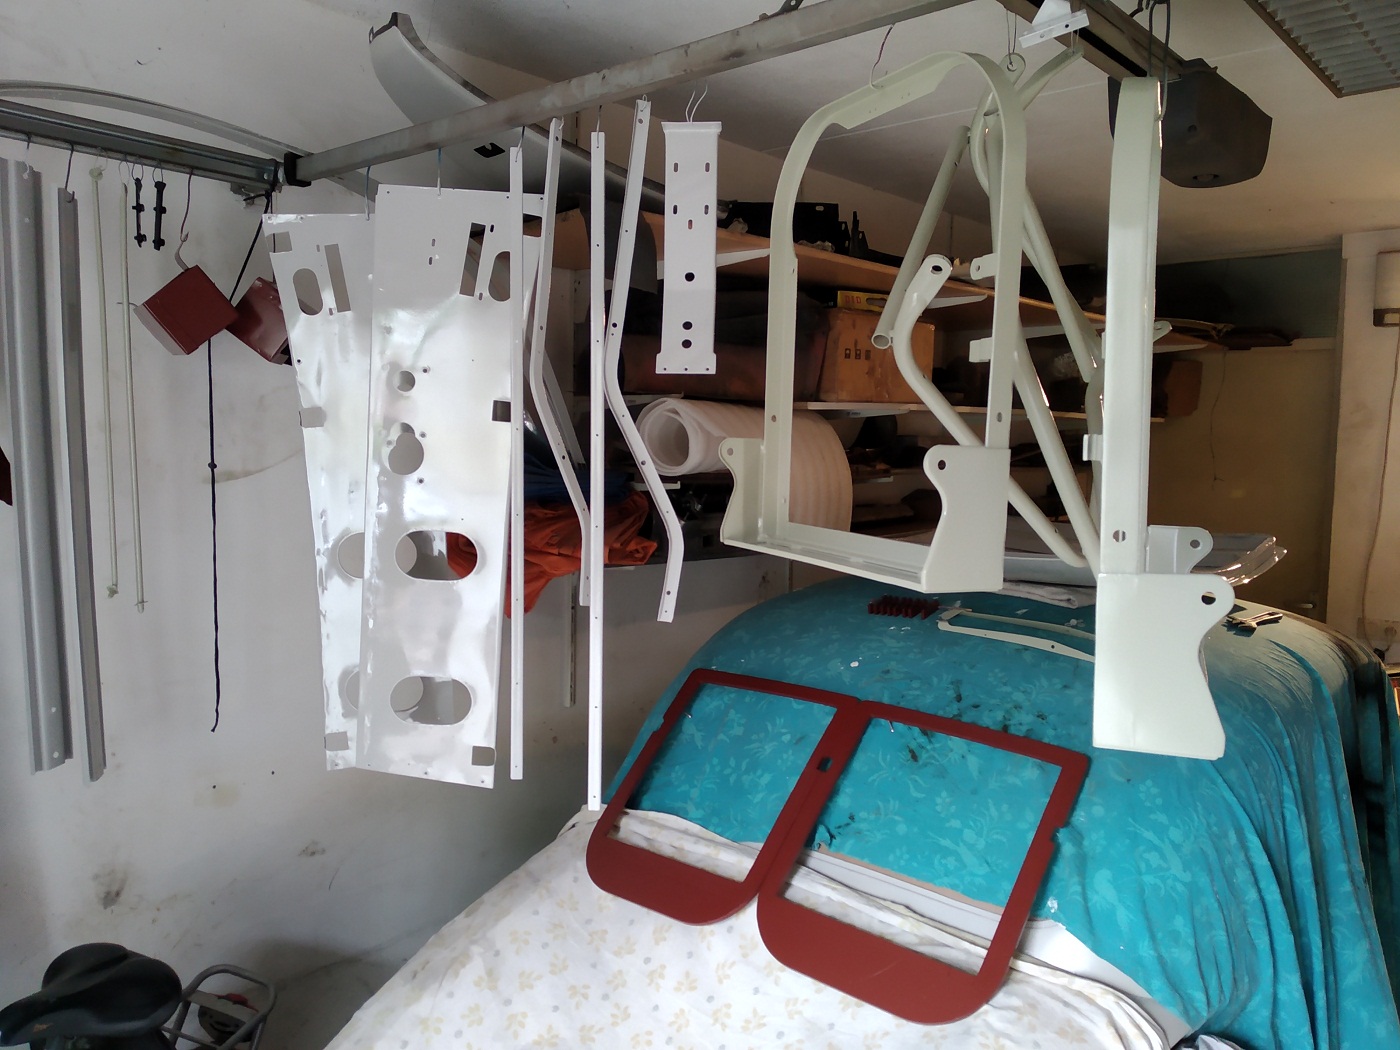
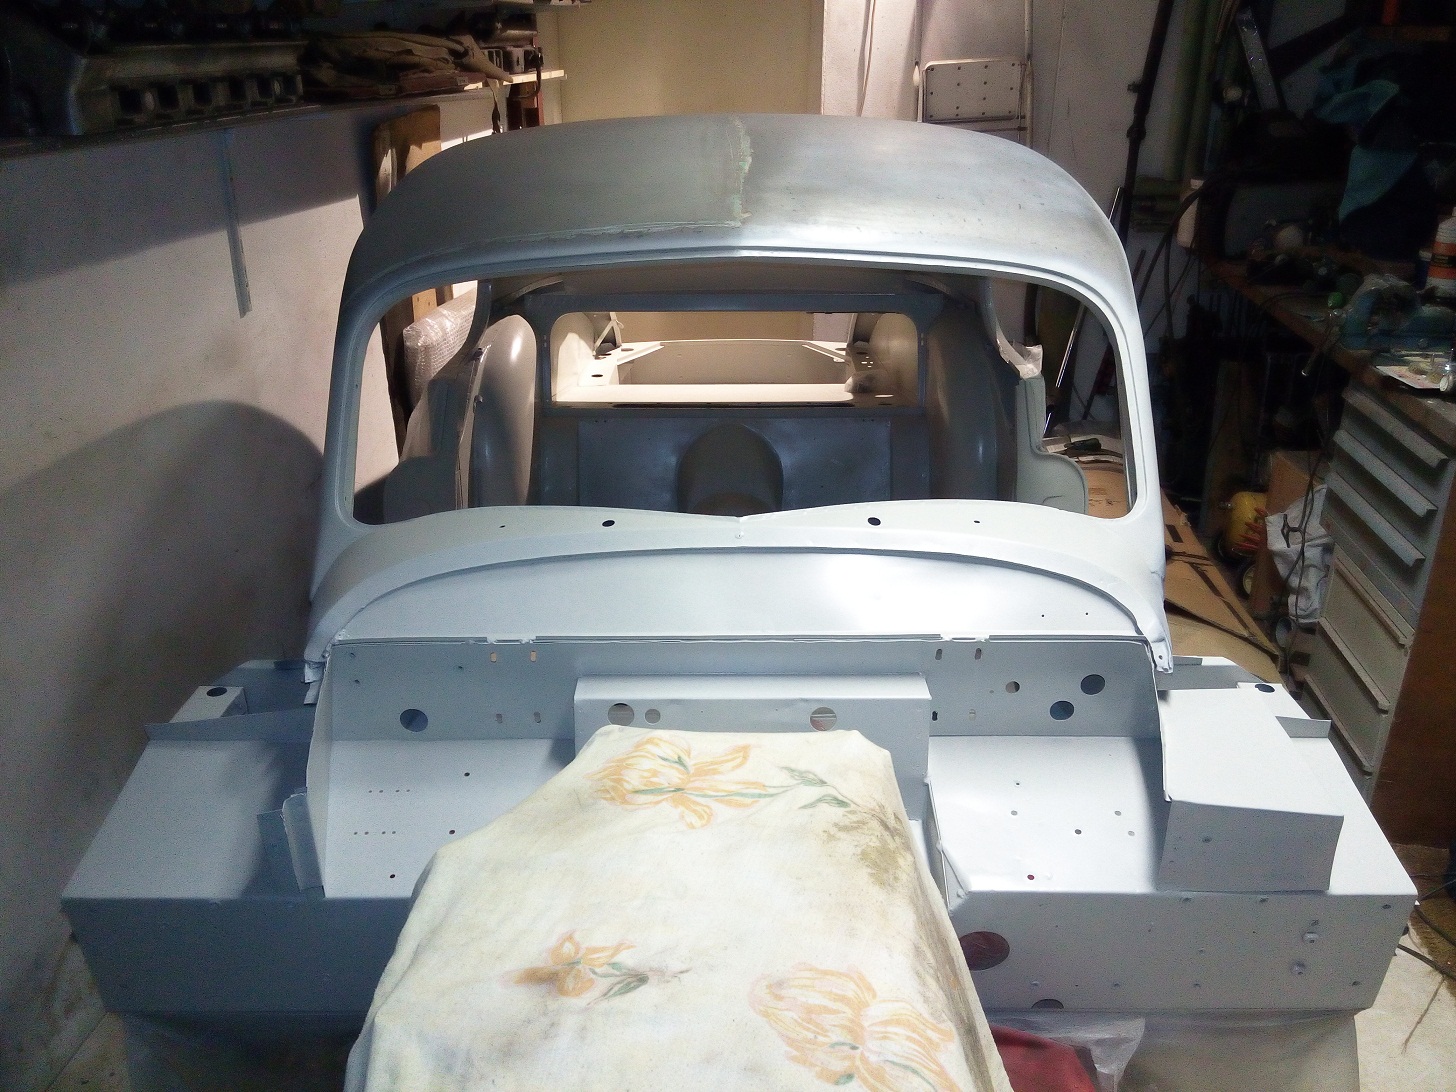
The almost as new radiator fitted as a clove between the two new mounted front wing supports.

hdr

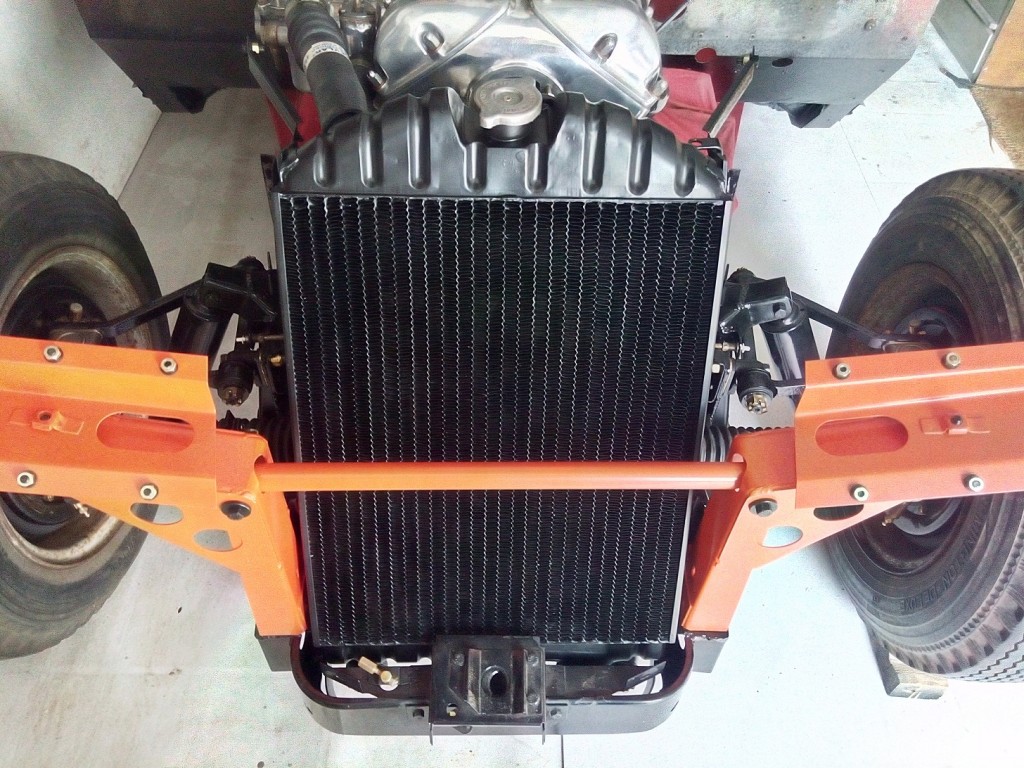
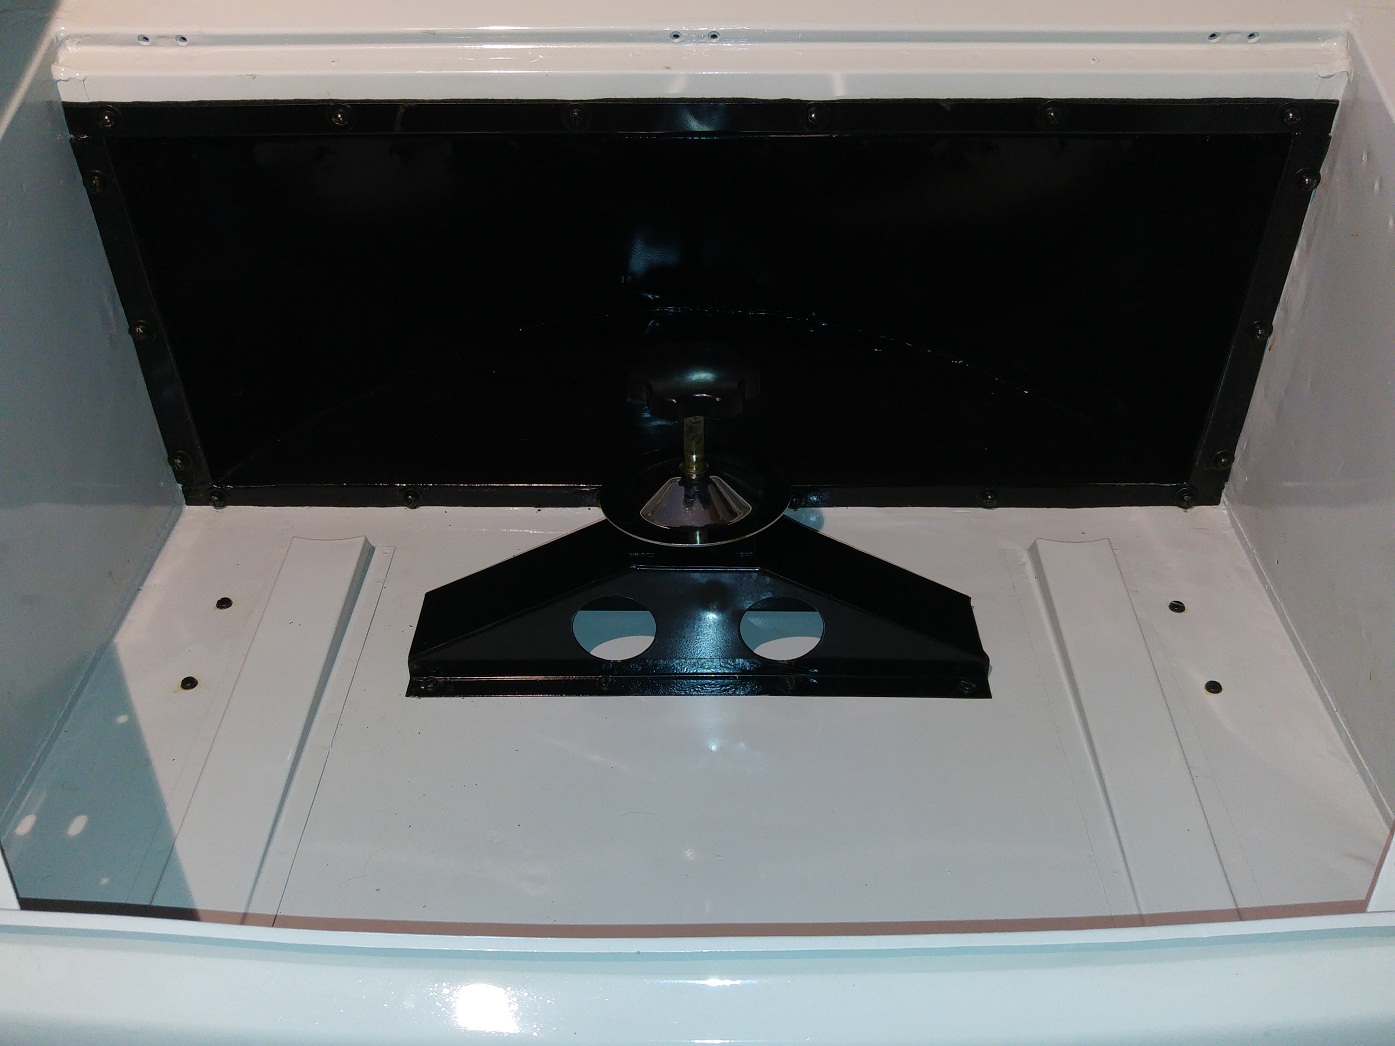
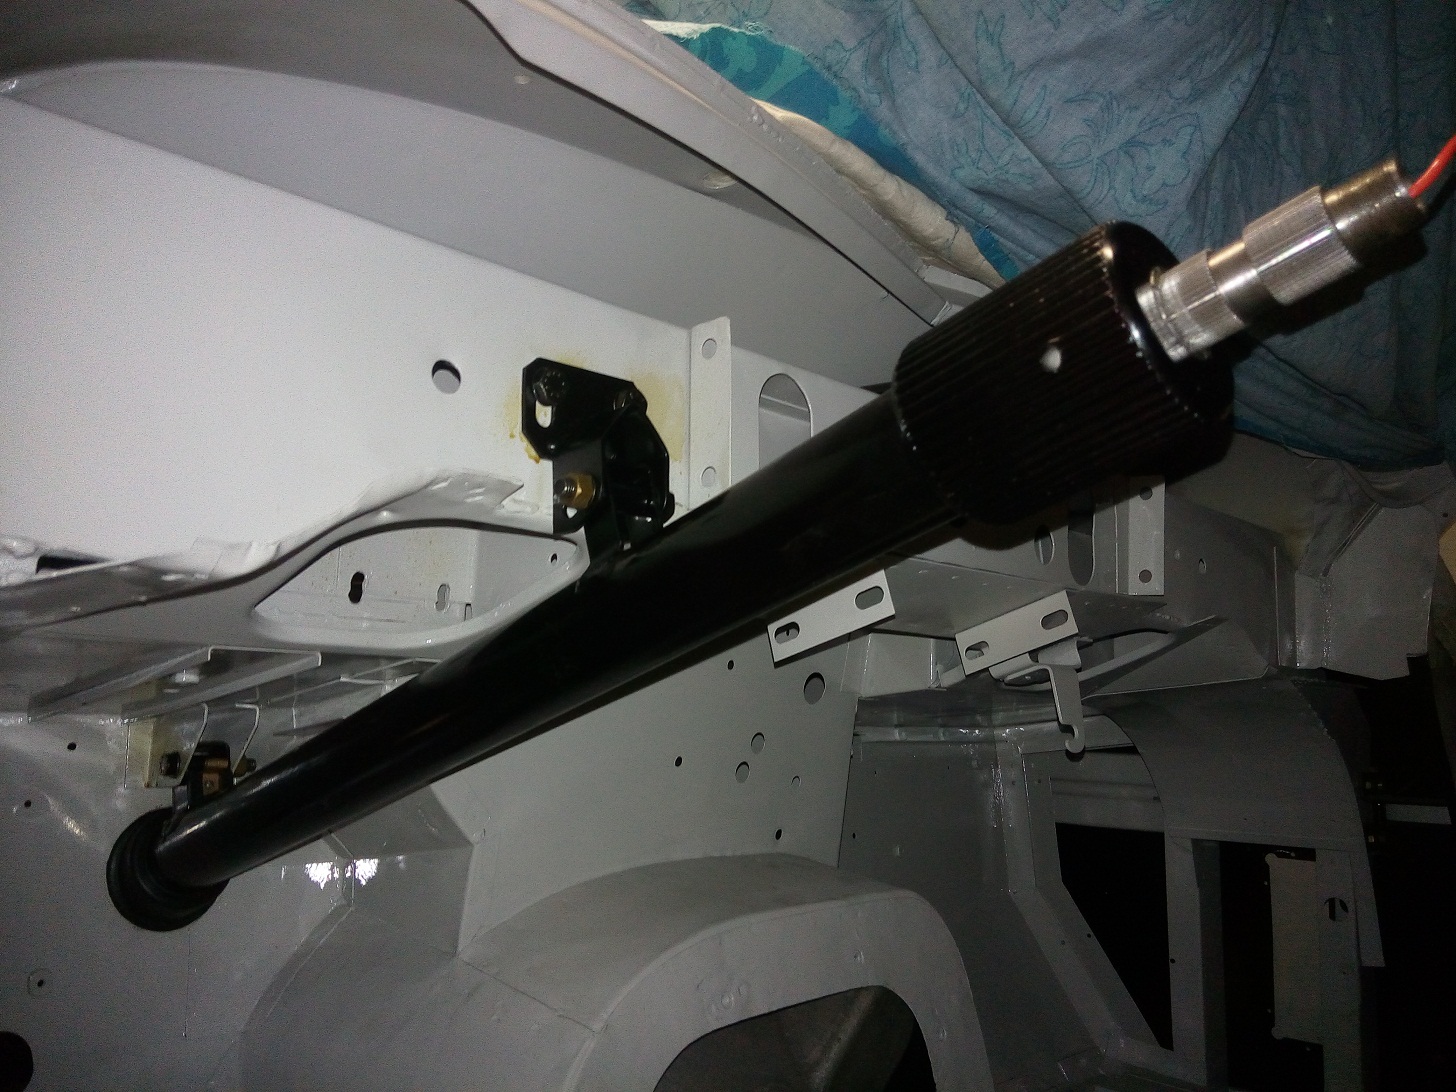
The radiator mounted onto the car

 Posted by at 14:31
apr 222017
 

One of the last big metal work pieces are the front wings. After the right front wing was cleaned thoroughly the following repairs need to be done before the wing can be painted inside. The right front wing is in a much better state the the left one so this repair is rater easy.

  • Dents in the area around the flashing light (due to badly repair after a collision in the past)
  • The lower edge of the wing nearby the right door has a lot of rust. This together with the lower part of the door hinge plate needs to be repaired with new pieces of metal.

Cleaning the inside

After I followed the same procedure as with the left front wing this wing also looks like new again.


The lower wing edge

The state of the lower front wing edge partly rusted away and replacing this whole area is inevitably.

Cut out of the rusted part


Painting

Now that the right front wing has been cleaned and repaired it can be painted. We start with Epoxy primer followed by a protective layer to prevent chipping and as last a layer of black paint. This last layer of paint will make it easier to clean the inside. The parts visible from the engine compartment will be painted in the car color.


 Posted by at 16:03
jul 312017
 

Repair

The right rear wing has three attention areas;

  • The lower edge at the door side
  • The upper part also at the door side
  • the lower edge on the backside of the car


The repair areas marked with grey paint

Cleaning

Now that the rear wing has been repaired the thin layer of rust can be easily removed with a wire brush and some sand paper.

Painting

Now that the inside is nicely shining again the following activities can take place;

  • Apply a fresh layer of Epoxy primer.
  • Make sure all seals are seamed. (3M Heavy Drip-Chek Sealer)
  • Apply a protective layer to prevent chipping. (3M Textured Anti-chip Coating)
  • Last but not least a layer of satin black paint to make it easier to clean the inside.


 Posted by at 20:20
jun 232019
 

The seat runners, used to adjust the front seats backwards or forwards, where pretty rusty. To be able to remove the rust also from the inside I took them completely apart. Because these parts are pretty small I was able the sandblast them myself.

The seat runners as removed from the car

As you can see from the photo’s there is not much paint left, So I assumed they where painted in the same color as the base frame of the front seats (White with a greenish tint).

All parts needed to rebuild the front seat runners

After everything is painted in epoxy primer and the greenish white, it was reassembled again. The 8 small metal tubes are used as a final stop, to prevent the runner is moving too far outside the base part. The place where the ball are rolling are left unpainted to guarantied a smooth operation.

Reassembled front seat runners
 Posted by at 14:25
nov 272019
 

The spare wheel cover consists of a wooden piece of 7 layer plywood (1/2″ thick) covered with aluminium sheet metal. Because there were some original markings on the inside, I decided to keep then together with the original black paint. The aluminium sheet metal was damaged so I straighten it and painted it high gloss black.

Spare Wheel Cover in Original condition
All parts needed to rebuild the spare wheel cover

The Jack together with the other tools has been kept as original.

The original marking on the inside of the spare wheel cover
The spare wheel cover in open position
The spare wheel cover in closed position (A big difference with the first picture)
 Posted by at 16:09
sep 092017
 

The spare wheel tray is the area at the back of the car where the spare tire is stored. This area can be closed with a wooden lid.

The bracket, which is used to secure the wheel firmly, is bolted onto the floor. On the backside of the floor massive steel strips, with threaded holes, are used to reinforce the floor. Between the body and the recess panel (half round shaped part) a small strip of felt is mounted to prevent rubbing of the two separate parts.

 Posted by at 17:16
mrt 182018
 

Until now, when the car needs to be moved, I had to turn the wheels by hand. Especially when I need to turning the car around on the street it can be a heavy job. Now that the body has been mounted onto the chassis the steering column can be placed back.

Original steering column inside

Original steering column in engine bay

After cleaning and inspecting all parts I decided to:

  • I will reuse the upper and lower barring (two new 3/16″ steel balls ordered because they where missing)
  • I will reuse the universal joints because the still looks undamaged
  • The rubber grommet needs to be replaced
  • The rubber insulator used between slip ring and steering shaft are made with the help of a 3D printer (They cannot be bough separately)

Parts needed to rebuild the steering column

After mounting everything on the correct place I noticed that the rubber grommet, normally visible from the engine bay, did not came into contact with the outside of the steering column. Therefore I decided to keep it inside of the body, not as it should be, it will keep the air stream outside of the body compartment.

Restored steering column inside engine bay

Restored steering column inside


 Posted by at 20:32
jun 072019
 

Until now I was able to sand-glass blast everything myself. For the parts that where to big for the cabin I did it with wire brushes (with or without the help of a drilling machine). But the steel doors are very difficult to clean from the inside and sand blasting seems the only easy solution. I’ve always been very reserved with sand blasting parts by specialized companies because I am afraid that the parts will be damaged in some way.

Parts brought to the sand blaster
Parts returned from the sand blaster together with all other parts sandblasted by myself

After inspecting I found out that the surface of all parts where made very rough and before I could start painting it had to be sanded very well. I also had to straighten out some sheet metal parts because they very distorted. The right door also show some kind of dent and will need to be repaired.
The same hold for the left door because the lower part of the door has been replace completely

After the sand blasting I also found two parts which show holes through the metal which are in need to be welded before they can be painted.

All parts are, as mentioned before, sanded and painted in 2K Epoxy primer, before they are painted in the correct color;

  • High gloss black (TH de beer 2K)
    Parts below the dash and for spare wheel tray cover (not on the pictures)
  • Pearl grey (TH de beer 2K Special made)
    Parts which are visible
  • Red brown (Sikkens 2K, ACC colormap 408H5 50% gloss)
    Parts which are not visible directly
  • Light green (Sikkens 2K, ACC colormap 436F1 70% gloss)
    Front seat frames

The last items which are still in need of some fresh layer epoxy primer are;

  • The left and right doors (inside and outside)
  • The left side of the roof
  • The left rear side
 Posted by at 18:27
jan 152017
 

The front wings, which where remove due to the extensive rust in the Dashside Strengthener area, can only be placed back when this area and the inside of the front wings are painted. This area between the front wing and the dashside strengthener is very difficult to reach when the front wings are mounted.

I decided to paint the whole inside of the upper body shell together with the area around the dashside strengthener. I must first rid the body of paint and rust before the paint process can start . This was an enormous amount of work and I spent about 8 weeks in total to finish this job. (That why the blog was not updated for some time 🙂 )

Metal work

In the next places I need to do some sheet metal repair before the painting process could start:

  • In the front and rear windscreen profiles I found three places where the rust made openings in sheet metal.
    All rust has been removed and the openinghas been welded and everything has smoothed with a grinder.
  • The left and right door sills have several holes which don’t belong there (previous owner has used them most probably to fix the floor carpet)
    Also these holes are welded and smoothed with a grinder. The left door sill had some dents so I used some putty to straighten it. (removing the dent in the sills is very dificult)

The Dashside Strengtener

DashStrengthRepaired  DashStrengthCleaned  DashStrengthPainted  DashStrengthSprayed

The Firewall and front windscreen

BodyCleaned  BodyPainted  BodySprayed

The Floor and occasionally seat area

  FloorPainted  FloorSprayed

The Trunk and rear windscreen

 TrunkPainted  TrunkSprayed

The Roof

RoofCleaned  RoofPainted   RoofSprayed

 Posted by at 21:06