jun 122016
 

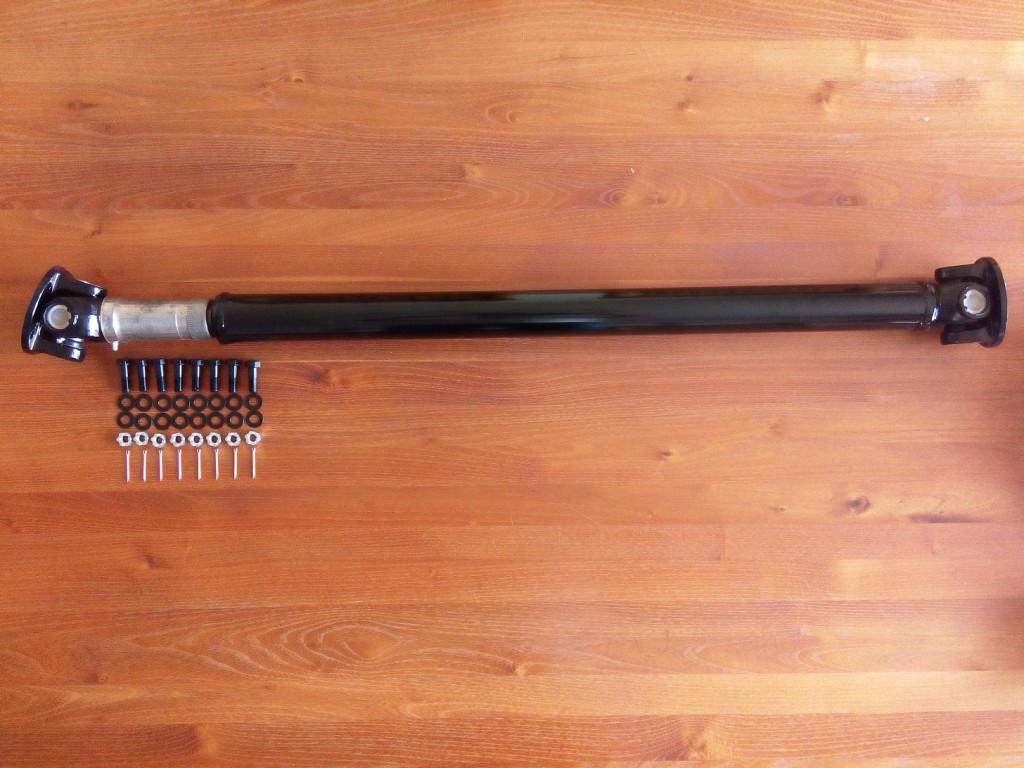
The prop shaft was a part that was in one of the boxes with parts that came with the car. It was not clear to me if the prop shaft was originally on the car or not. The length of the prop shaft is about 41″ but, due to the fact the rear axle and engine where already removed, it was not possible to check if the length of the pro shaft was correct.

New bearings mounted

New bearings mounted

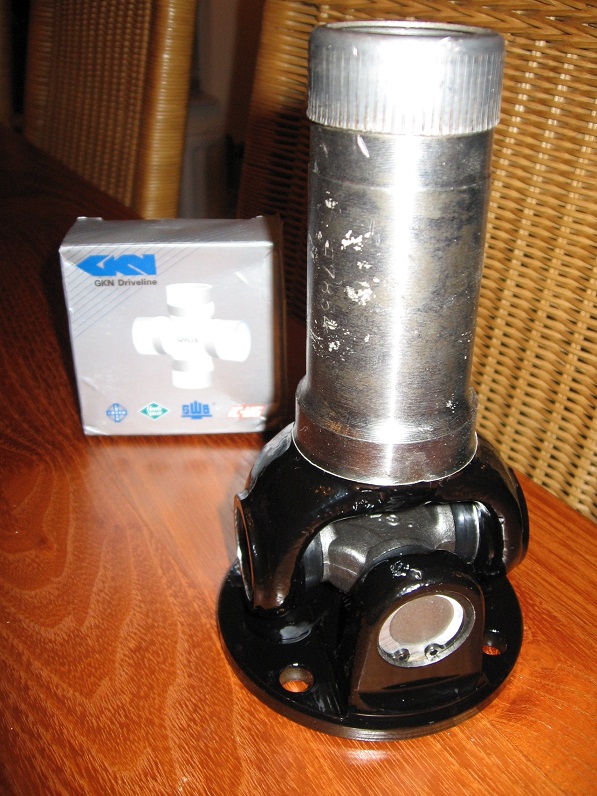
After the prop shaft is thoroughly cleaned and painted, new cross coupling bearings are mounted.

PropshaftPartsDetail

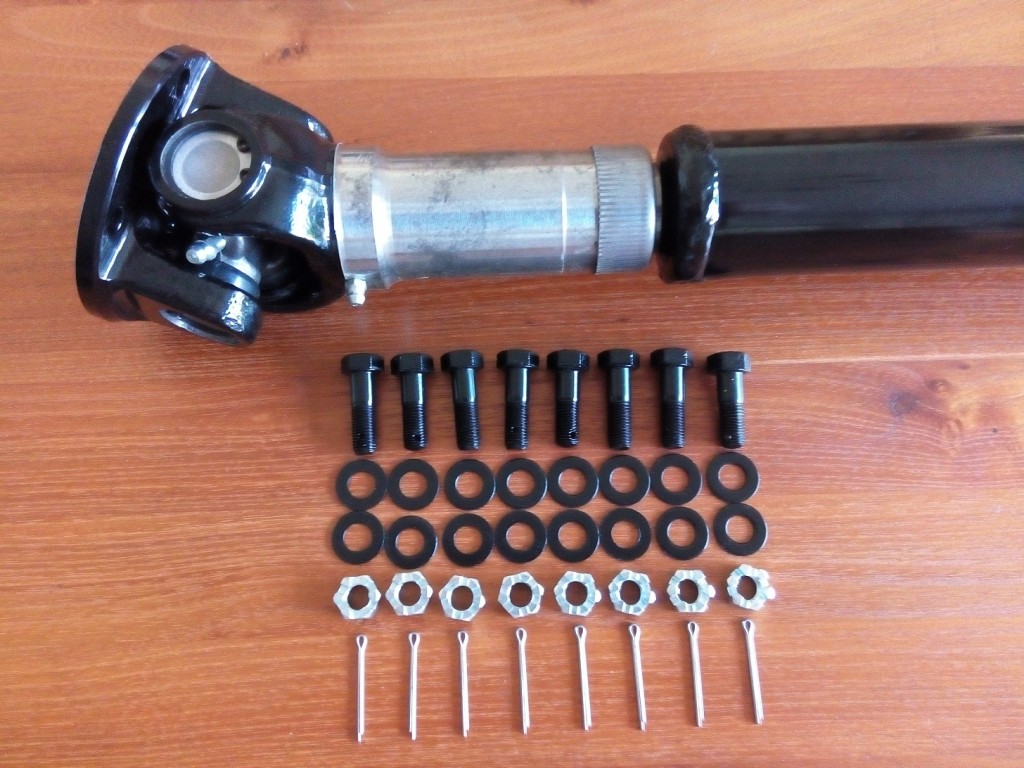
Detail of the nuts and bolts

PropshaftParts

All parts needed to mount the new prop shaft

RollingChassisFinishedRight

Prop shaft mounted between gearbox and rear axle 

 Posted by at 17:05
mei 172016
 

After I bought the car I discovered that the fuel tank was missing. This proves that, even for a big part as a fuel tank, as already mentioned earlier, it is very difficult to see a car is complete.

A friend of mine, also the owner of a XK140 FHC, has one extra fuel tank in his pile of car parts. This tank is original but has two small issues:

  • Small dent in the underside of the tank nearby the filter element
  • Small hole just underneath the mounting bracket (grey area on the right side)

To make the cleaning and sealing process more convenient, I connected two extension on which the tank can turn freely.
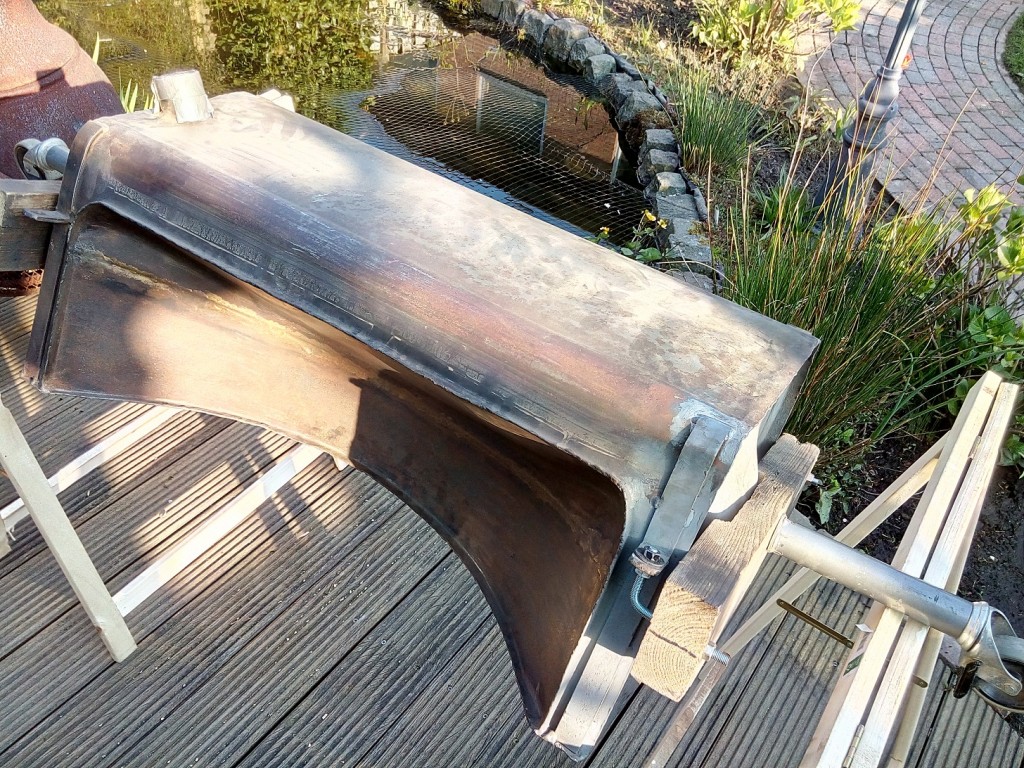
hdr

Fuel tank during the internal cleaning process

After both issues where solved the tank is ready for the internal cleaning and coating in the following steps.

  • Turn the fuel tank, backwards and forwards, filled with small sharp stones
  • Rinse thoroughly  with clean water to remove dust residue.
  • Fill the fuel tank with “Metal Prep 1/4 gallon” from POR15 and rotate the tank for one hour.
  • Remove the Metal Prep remaining and rinse thoroughly  with clean water to remove. (I used a pressure washer)
  • Let the tank dry completely (Outside in the sun)
  • Fill the fuel tank with  “Fuel Tank Sealer 1/4 gallon” from POR15 and rotate the tank for one hour.
  • Drain the fuel tank for one hour to remove excess sealer from the tank.
TankCleaned

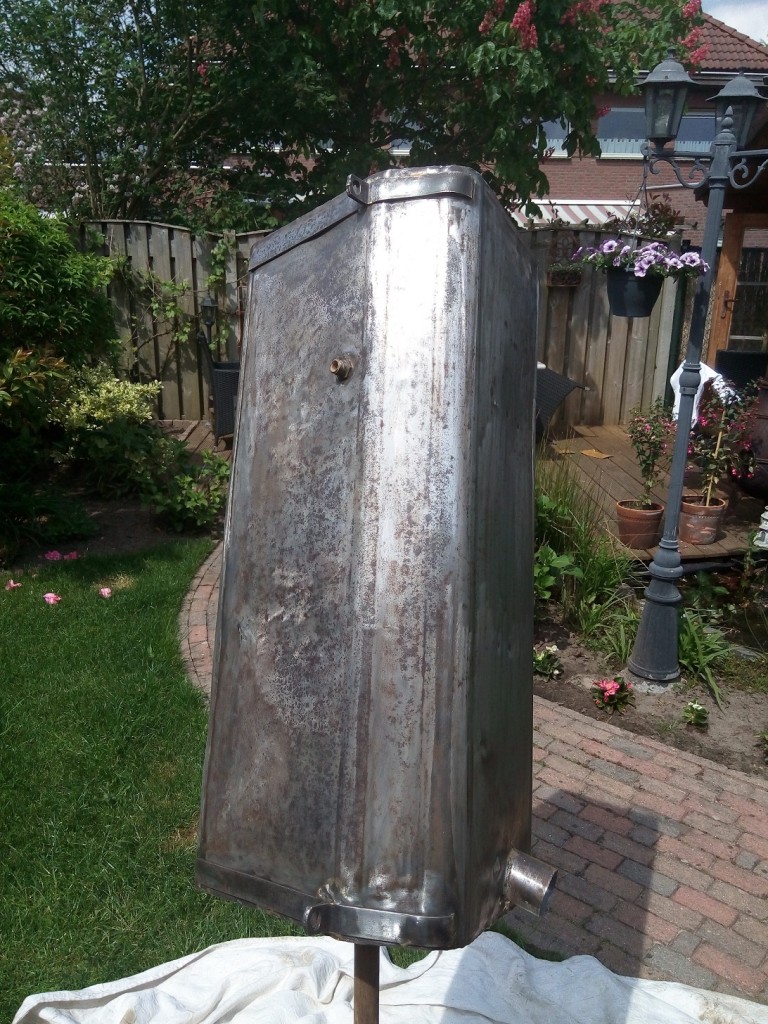
Tank after removing the rust on the outside

With sandpaper the outside of the tank is cleaned and prepared for painting.
TankSealed

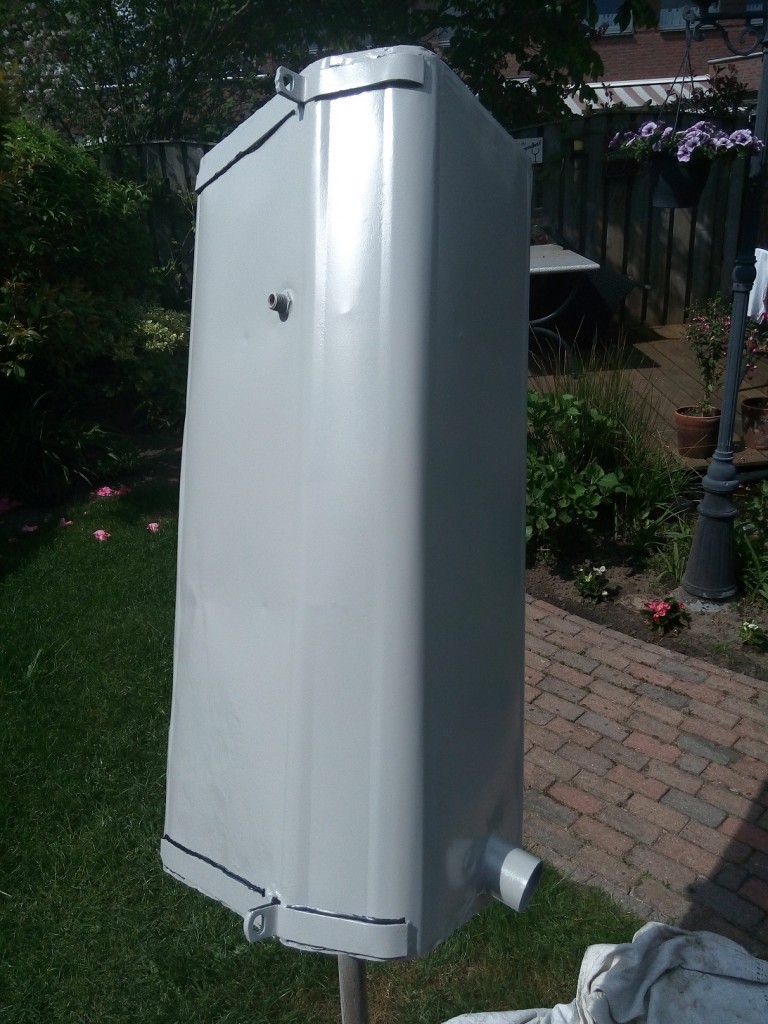
Fuel tank painted and seams sealer aplied

After the tank is painted (epoxy primer) the outside seams are sealed (3M body sealer).
Now the “Body shuts spray” from 3M can be aplied. To be able to clean the tank easily a last layer of satin black paint is applied.
hdr

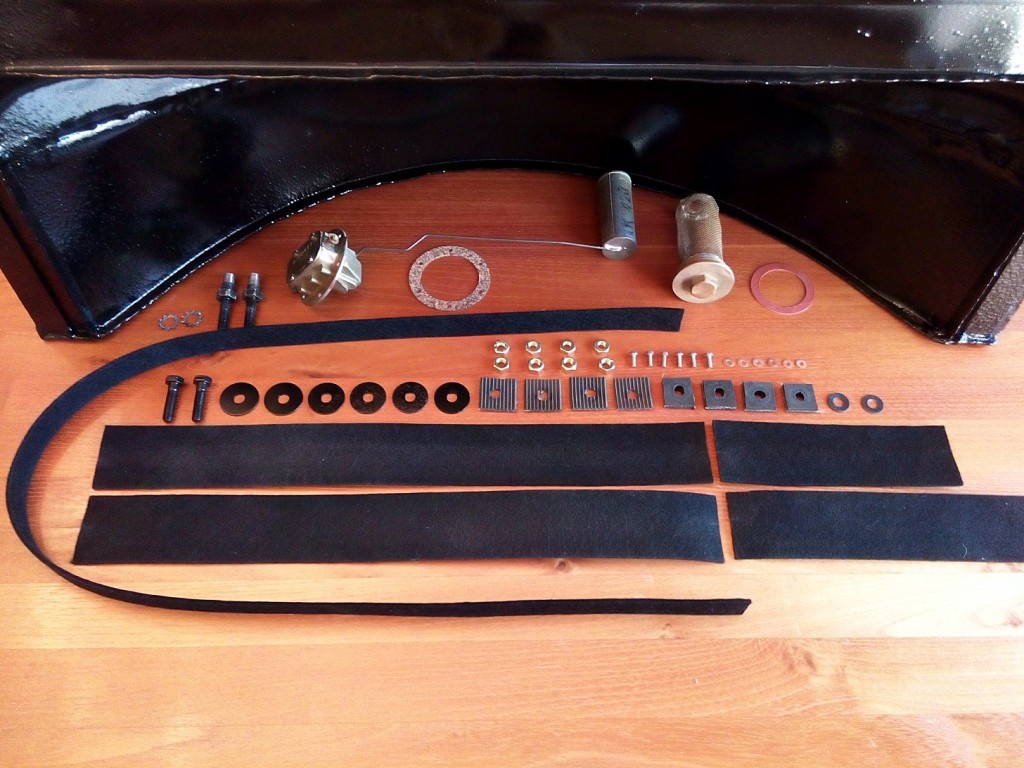
All fuel tank parts needed for rebuilding and mounting

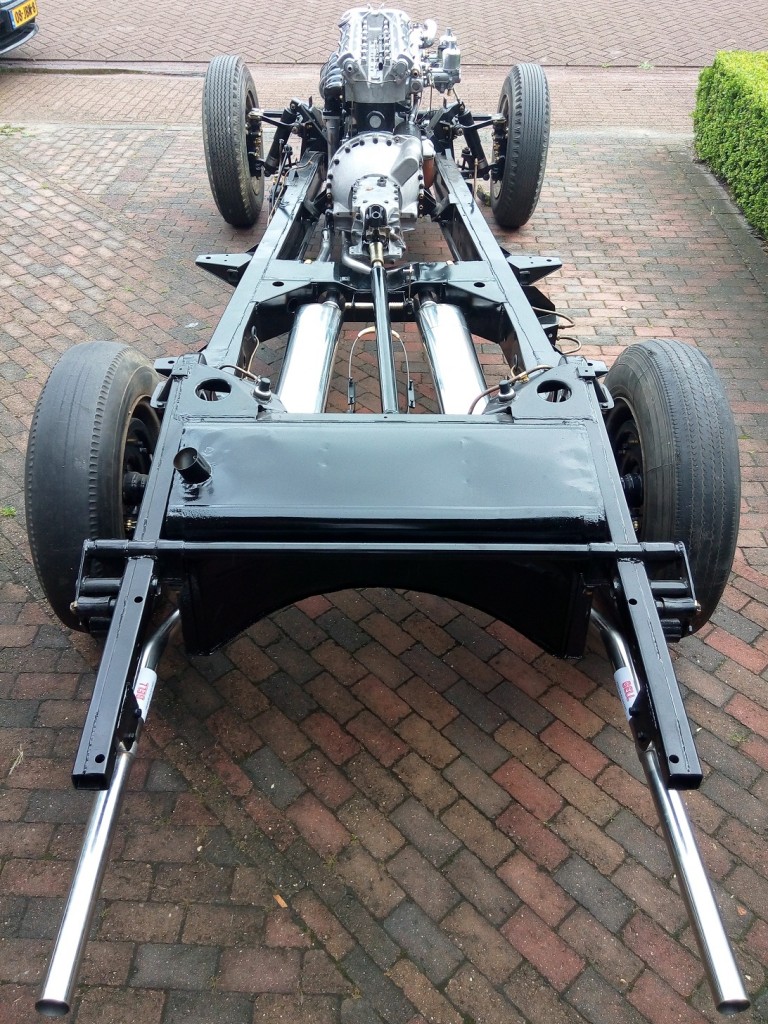
Now only the felt must be mounted (On the fuel tank and the chassis) and the rolling chassis is almost finished.
FuelTankFinished

Fuel tank mounted onto the chassis 
 Posted by at 21:16
apr 142016
 

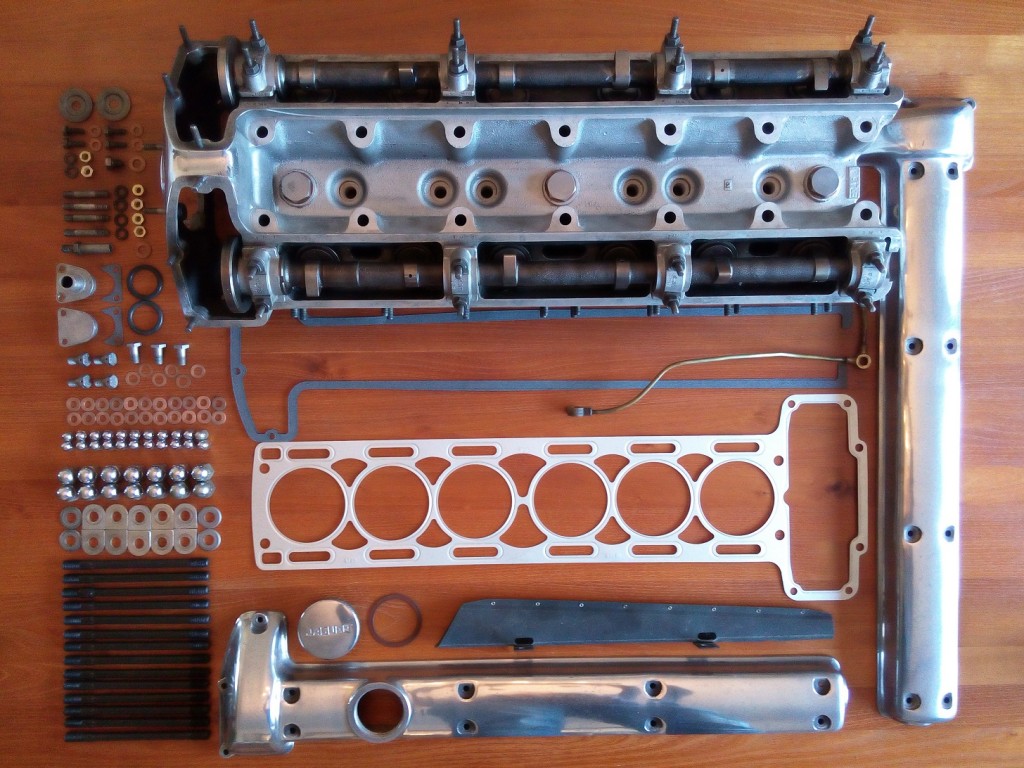
Because not all parts needed for the cylinder head, inclusive the inlet – exhaust manifolds fit into one photo, I made three photo’s.

CylinderHeadParts

All parts needed to finish and mount the cylinder head on the engine

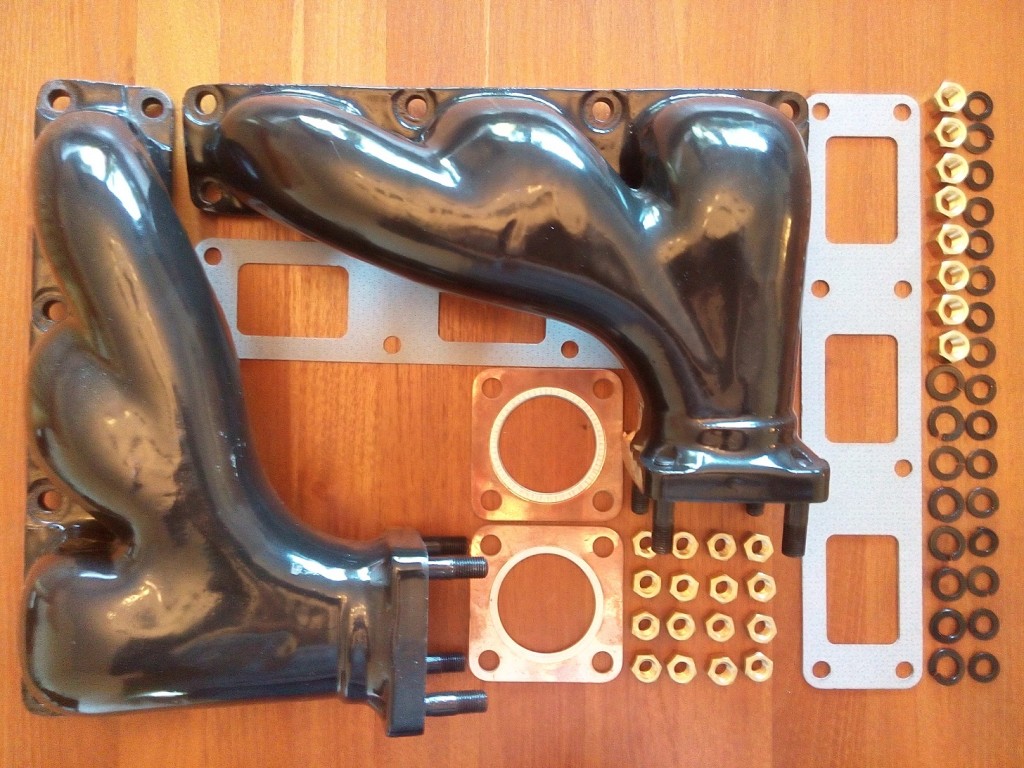
ExhaustManifoldParts

All parts needed to mount the exhaust manifolds

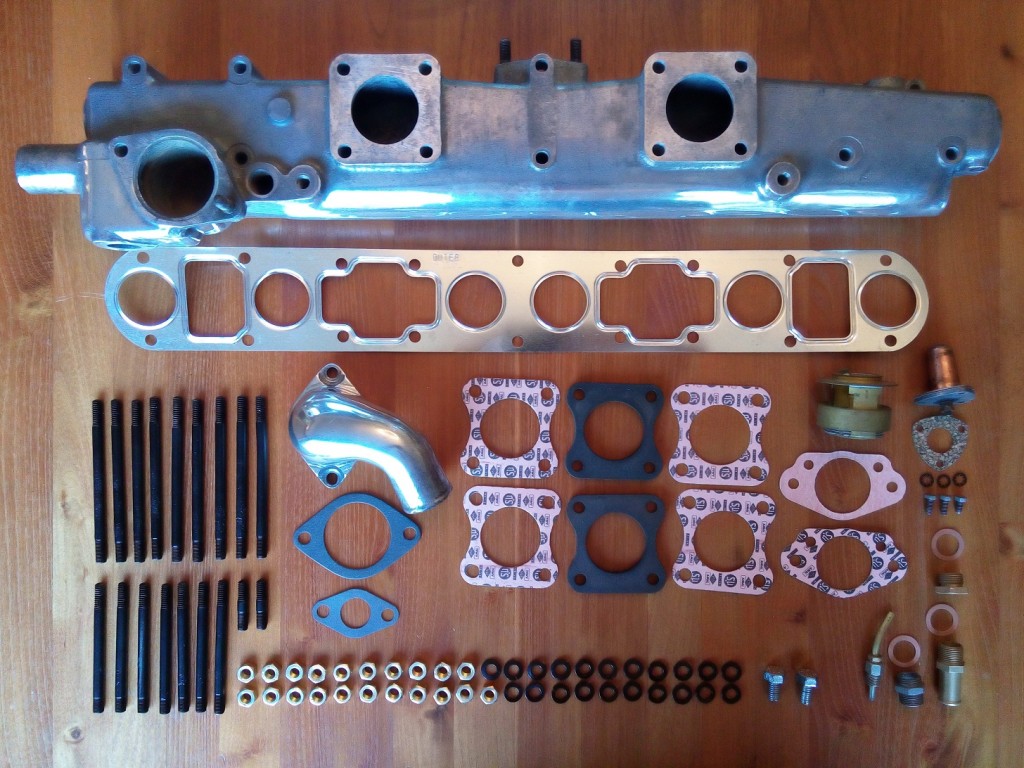
InletManifoldParts

All parts needed to mount the inlet manifold

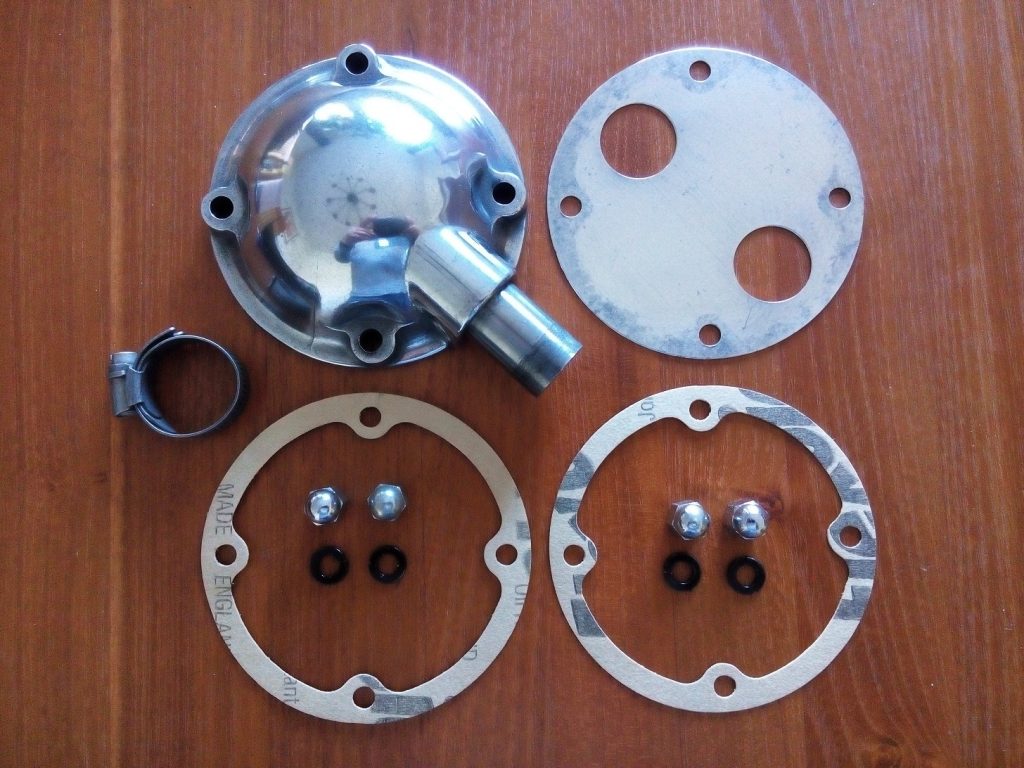
All parts needed to rebuild the breather housing

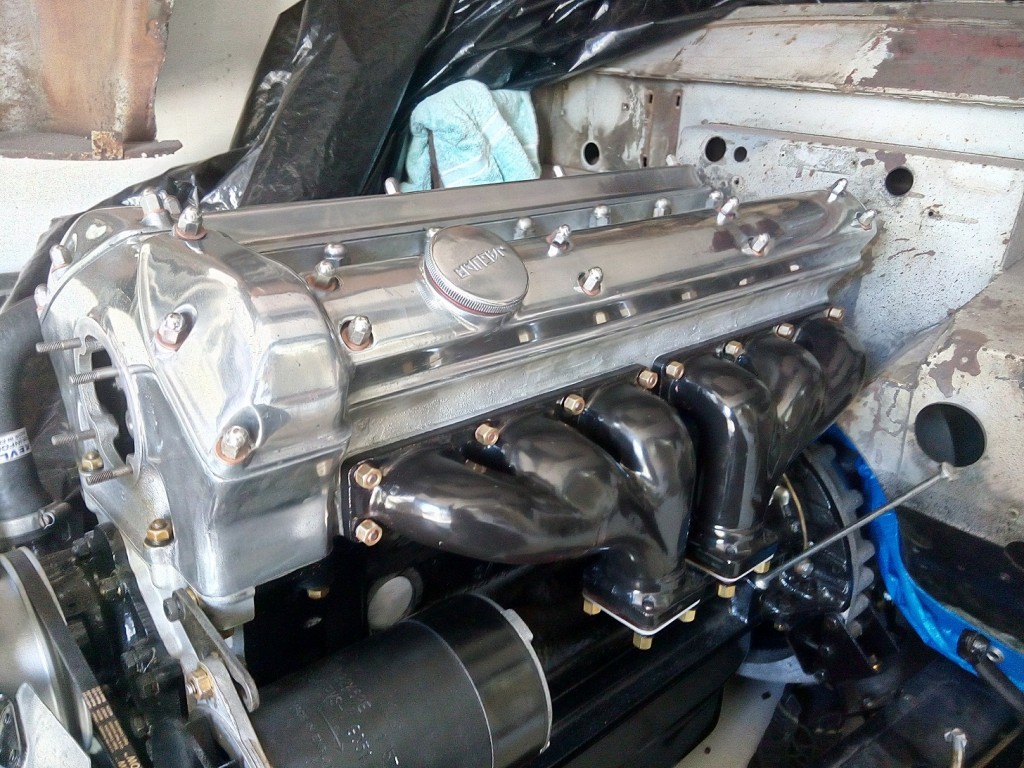
Now that the cylinder head and exhaust manifolds are mounted it already begin to look at a complete Jaguar XK engine. The exhaust manifolds are bought via ebay in the USA for only $50 (inclusive national shipping ) A friend of the neighbors was kindly enough to take them for me to the Netherlands. Because the enamel still looks like new so I assume that the previous owner has redone this in the past.

CylinderHeadMounted

Cylinder head and exhaust manifold mounted

EngineFinishedRight

Cylinder head and inlet manifold mounted

 Posted by at 18:20
mrt 282016
 

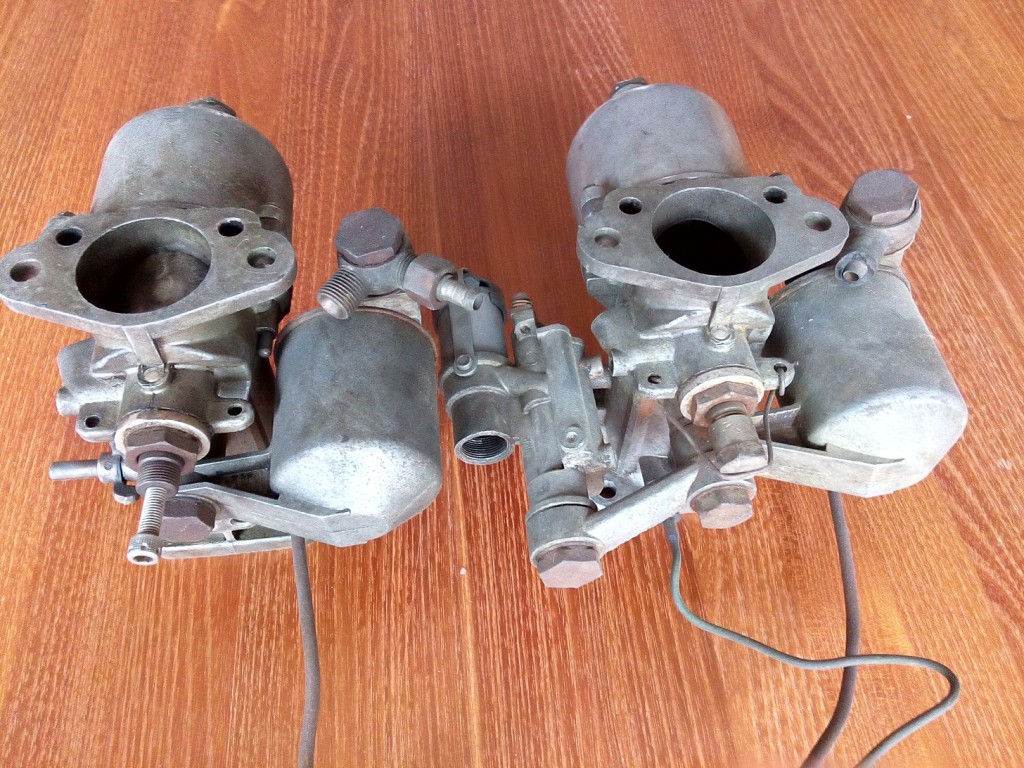
The carburettor mounted on the engine when I bought the car was not fully complete.
It was missing the;

  • Starter solenoid (The most left part on the front carburettor)
  • The piston inside the suction chamber on the front carburettor
  • The fuel adjustment screw and and end cap on the rear carburettor
  • Also the end on the front carburettor as well as the botton half of jet bearing. The previous owner has tried to fix it with a small piece of wire.
  • The fuel line from supply to both carburettors.
hdr

Original front and rear carburettor

Some missing parts are bought via ebay, and via a jaguar garage in Helmond.
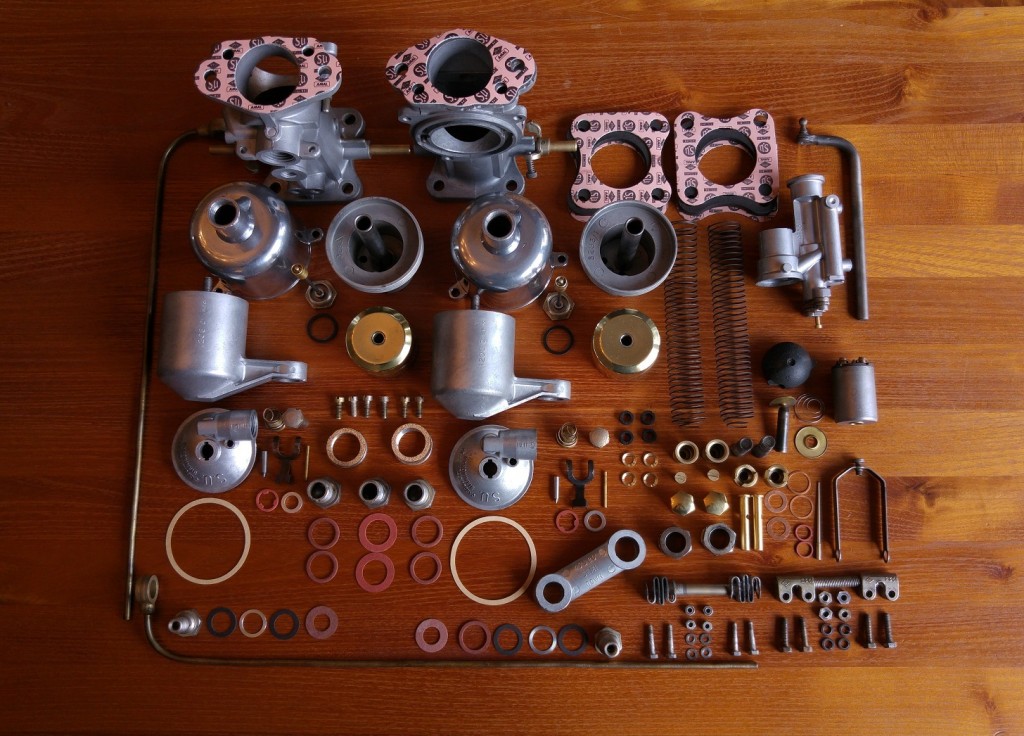
Together with two sets of service kits for a H6 carburettor (CSK24), I completed the set of parts needed to assemble both carburettors. All aluminium and messing parts are bead blasted to give them the original satin surface finish. The aluminium suction chambers are polished to give them the original glossy appearance.

CarburettorParts

All parts needed to rebuild front and rear carburettors

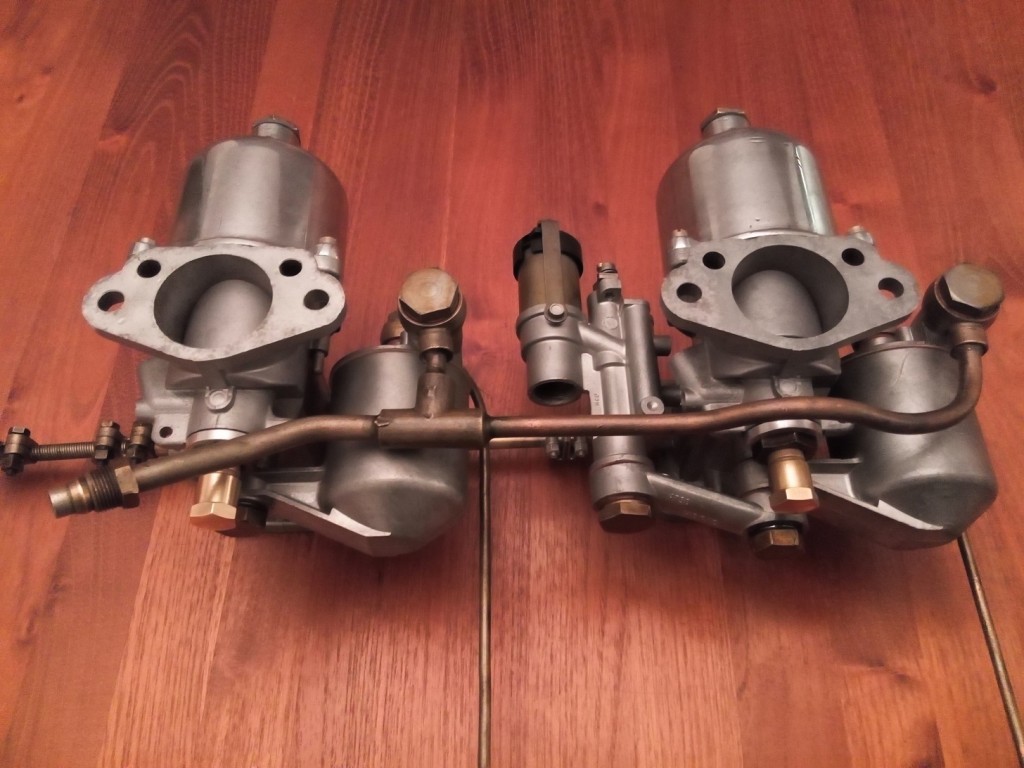
After all parts are assembled they look like new ones, just left the factory.

CarburettorNew

Both carburettors rebuild

 Posted by at 22:57
feb 032016
 

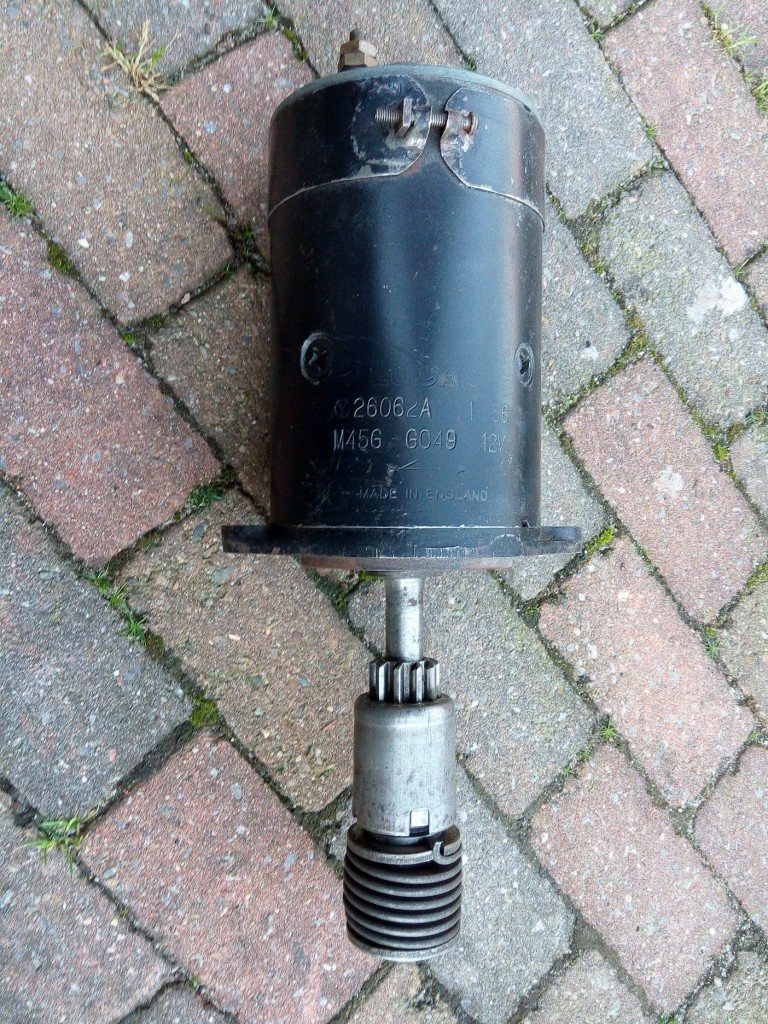
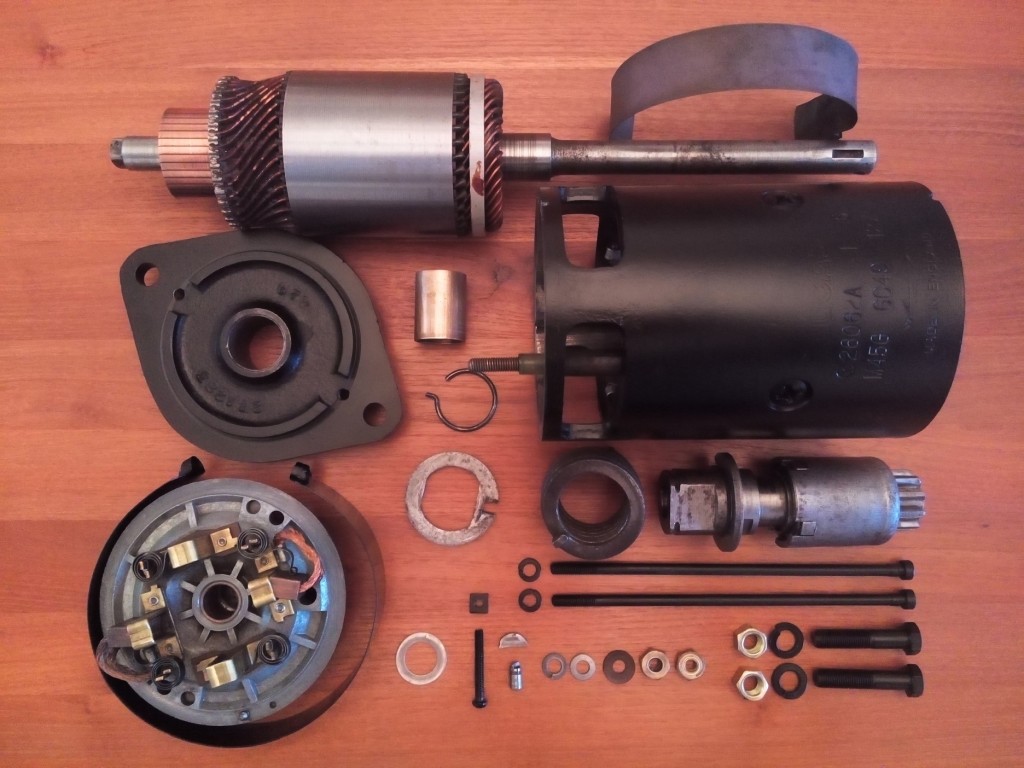
Because my car was missing the starter, I bough one several years ago on ebay.
Although it is still looking in good shape I decided to take it apart to see if there are any problems inside.

StartMotorOriginal

The bush on the drive end side has some play (0.12mm) but it is not clear to me what is allowed. On the commutator end the play is only (0.05mm) Based on the original bush ID measurements it makes no sens to replace them, the difference is in the outside diameter of the axle. Because the axle, on the places where the bushes are located, looks normal and not worn, I will reused the available bushes.

lucas numberJaguar numberLength newOD newID newID realAxle realPlay
27003828121.328" 1.003" 0.877" 0.8767"0.872"0.0047"
LB36133.731mm25.476mm22.276mm22.27mm22.15mm0.12mm
25549183700.750"0.752"0.626"0.626"0.624"0.002"
LB36019.05mm19.101mm15.900mm15.90mm15.85mm0.05mm
StarterParts

Parts needed to rebuild the starter

As can be seen on the above picture the armature just looks like new. The length of the brushes are still in good condition with a length of 0,51″ or 13.0mm. (a new one measures 0.53″ or 13.5mm)

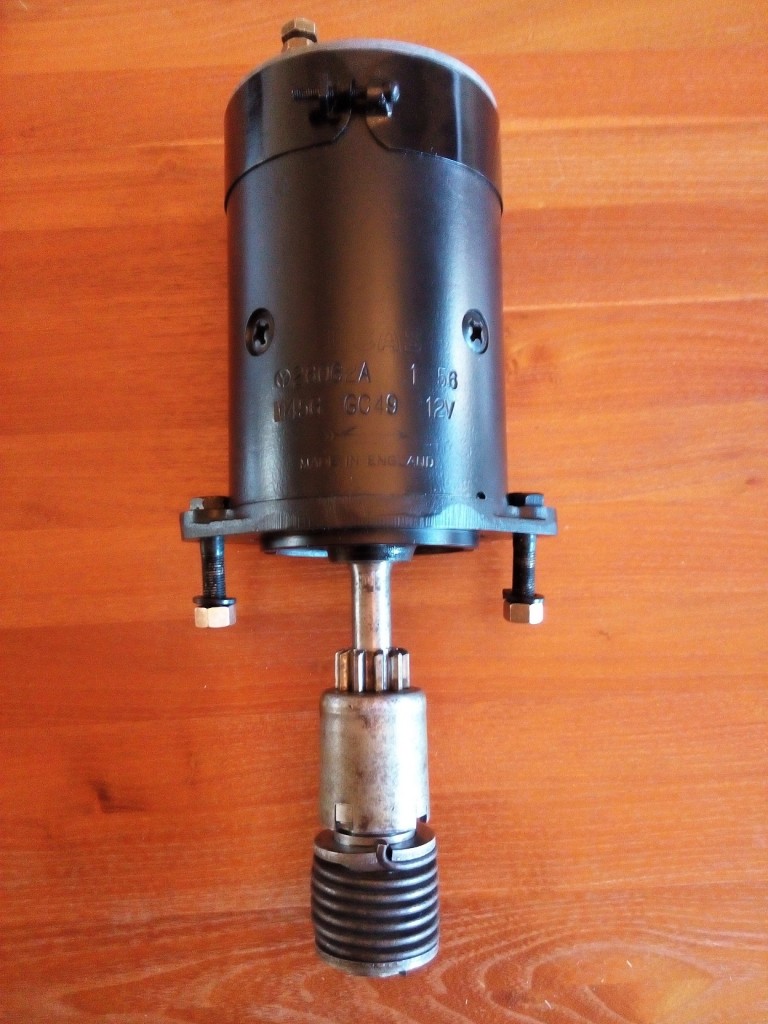
StarterMotorFinished

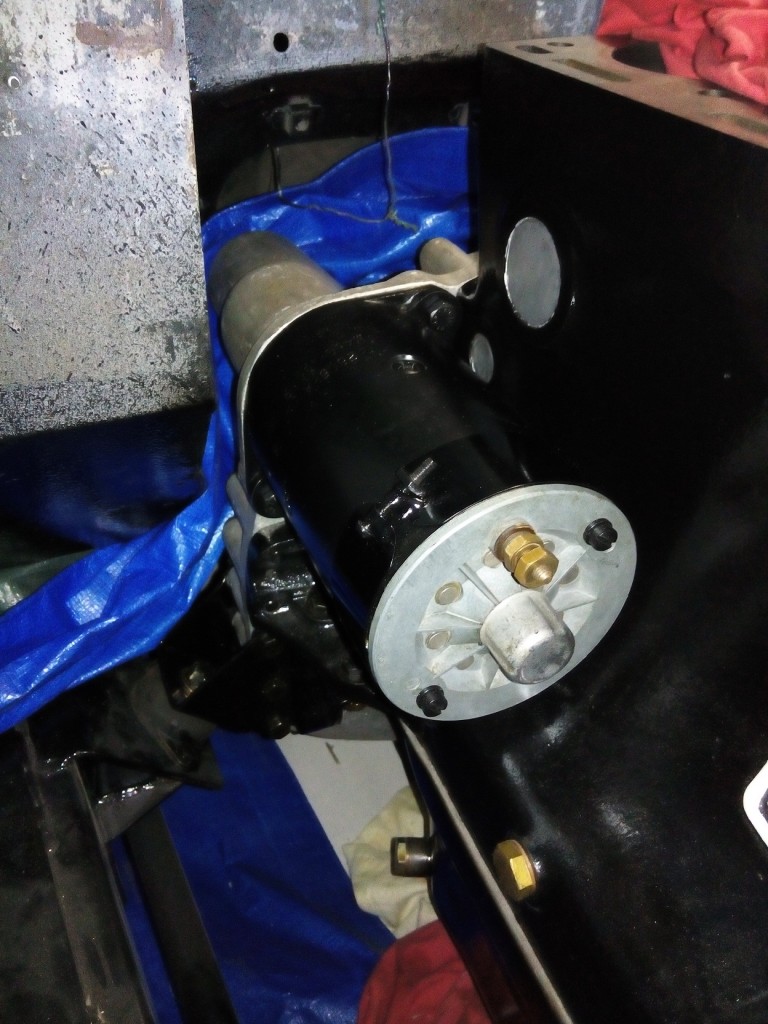
StarterMotorMounted


After everything has been put together again. the starter motor has been mounted onto the bell housing.

 Posted by at 14:27
jan 272016
 

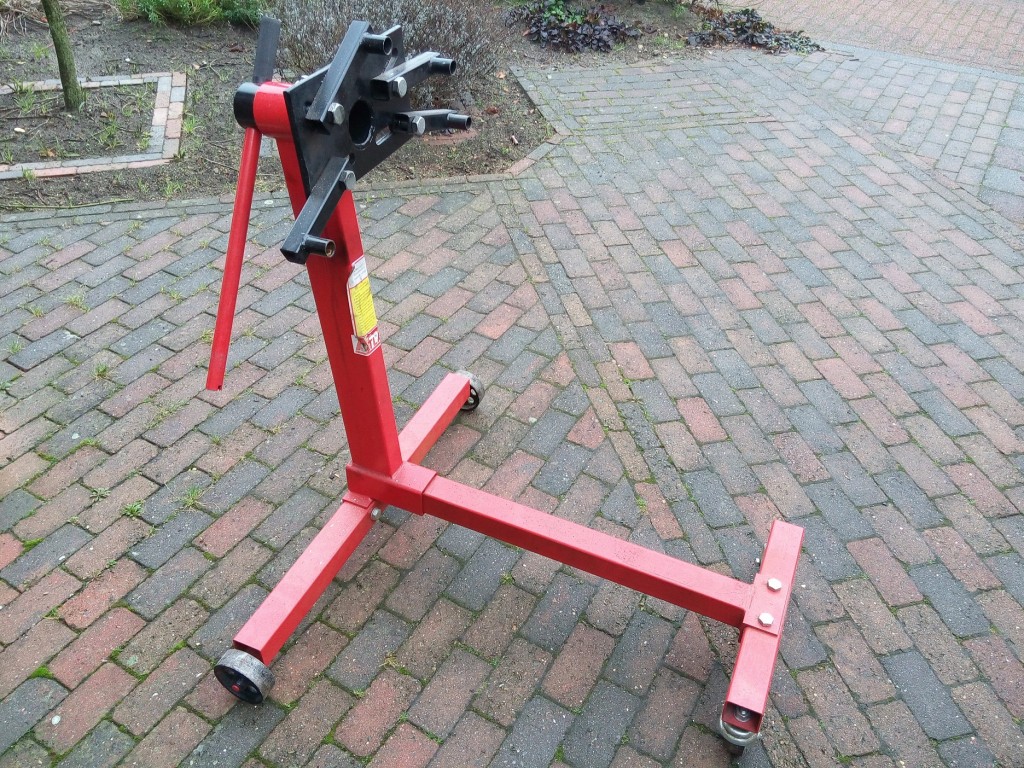
The engine support was a great tool during the disassembling and assembling process of the engine block. The four black arms can be mounted on the same hole used for mounting the bell housing the the engine block

EngineSupport

 Posted by at 22:08
jan 102016
 

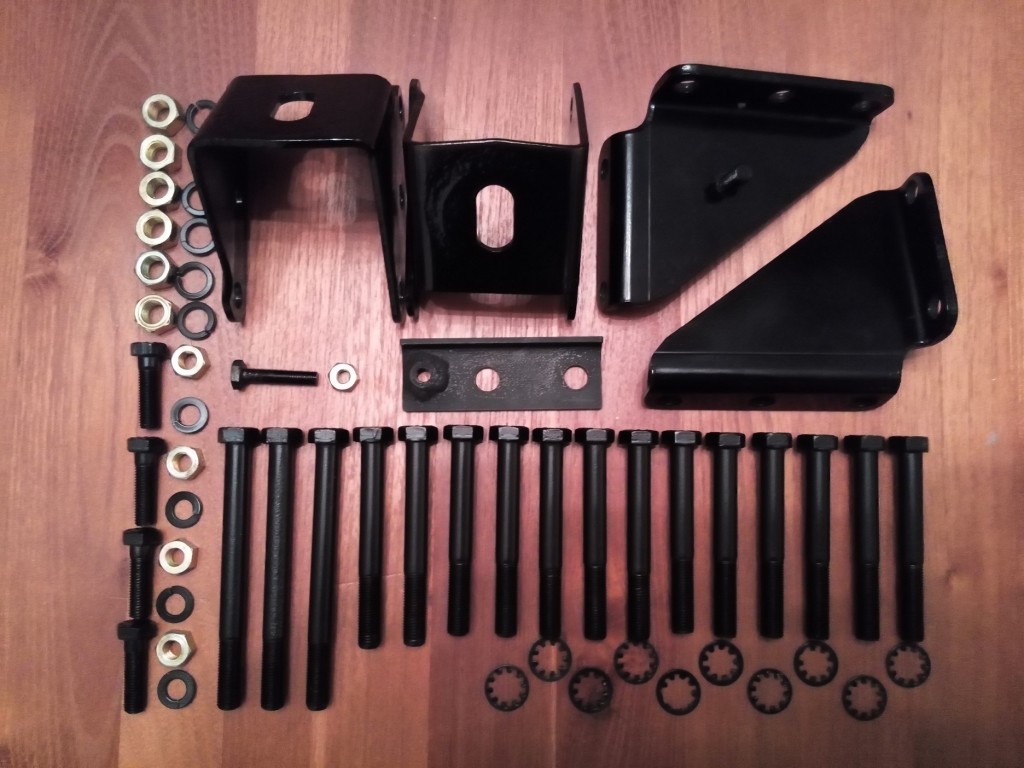
Because the engine (cylinder head is not yet mounted) and gearbox are now finished they can be bolted together and mounted onto the chassis.

BellhousingMountingParts

Parts needed to mount engine to gearbox and to the chasis

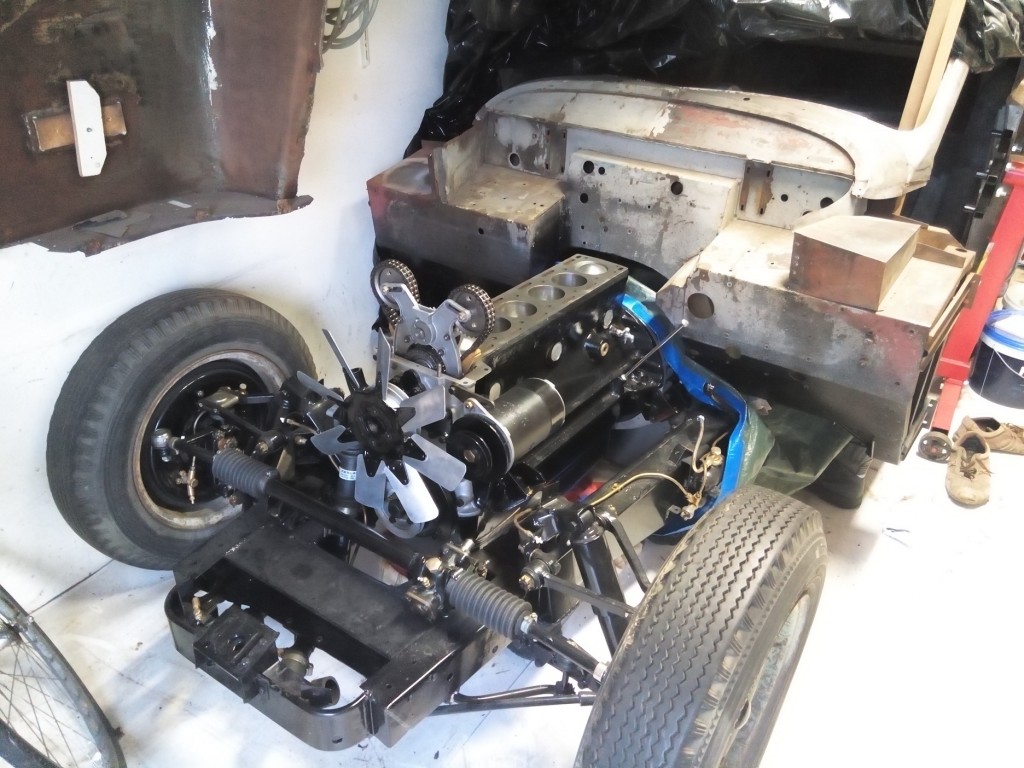
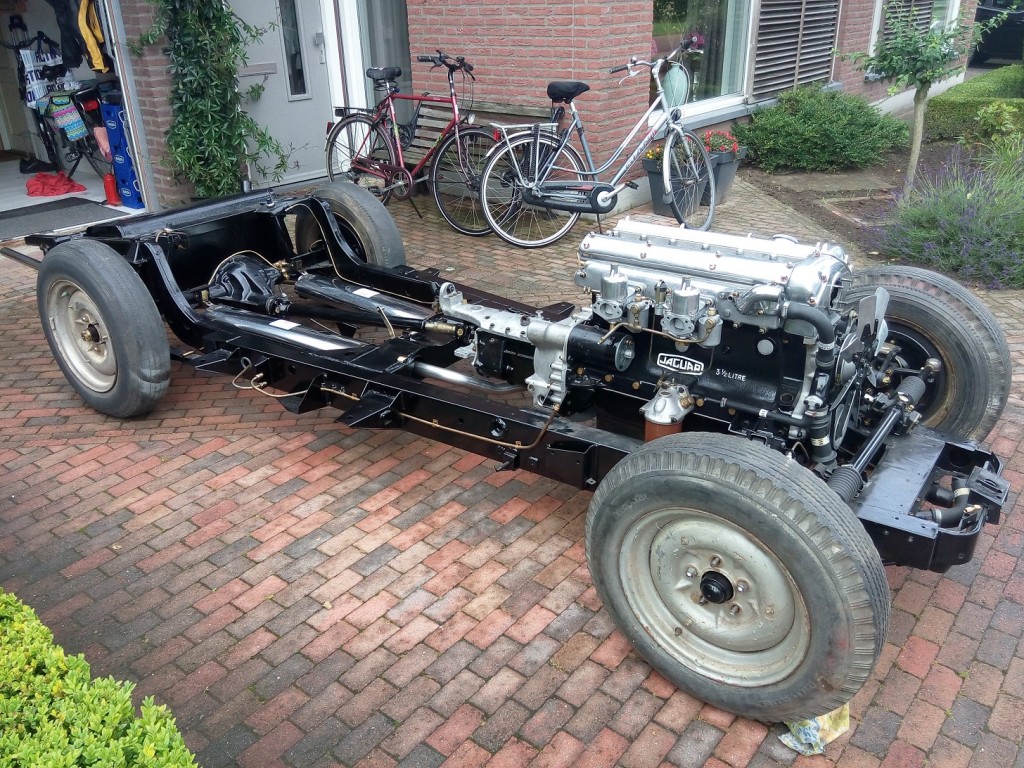
Without the front wings mounted it was very easy to place the engine, with the help of the engine lifter, back onto the chassis. The bell housing and gearbox, not clearly visible on the photo, is already mounted onto the engine.

EngineOnChassis

Motor, bell housing and gearbox mounted onto the chassis
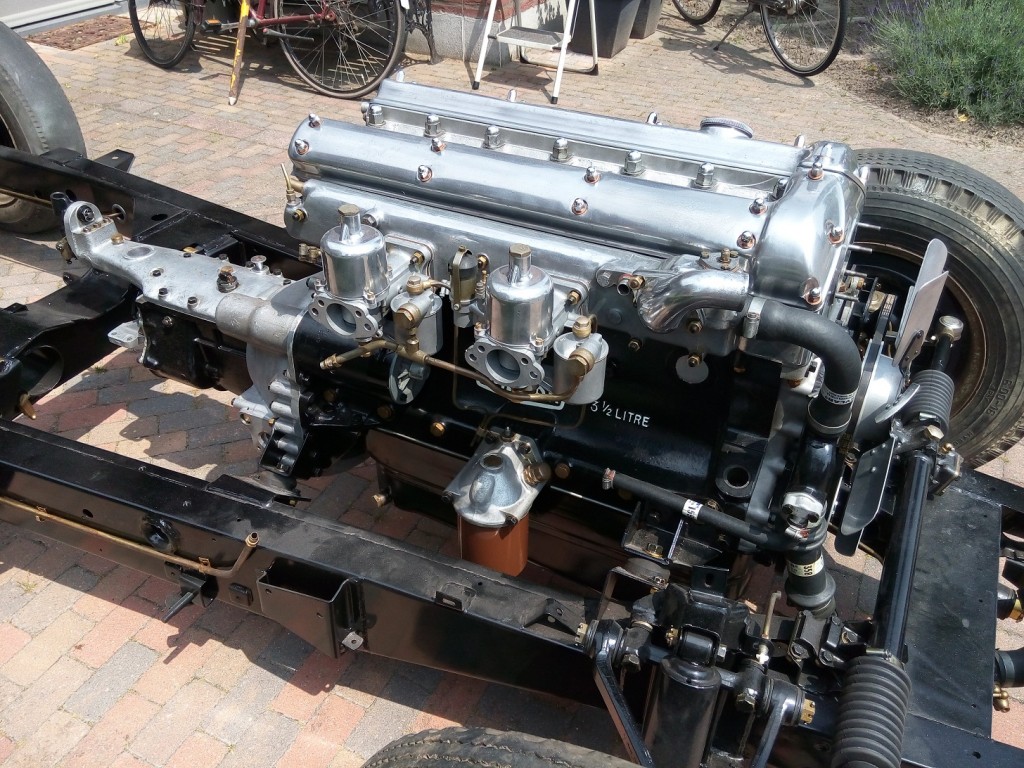
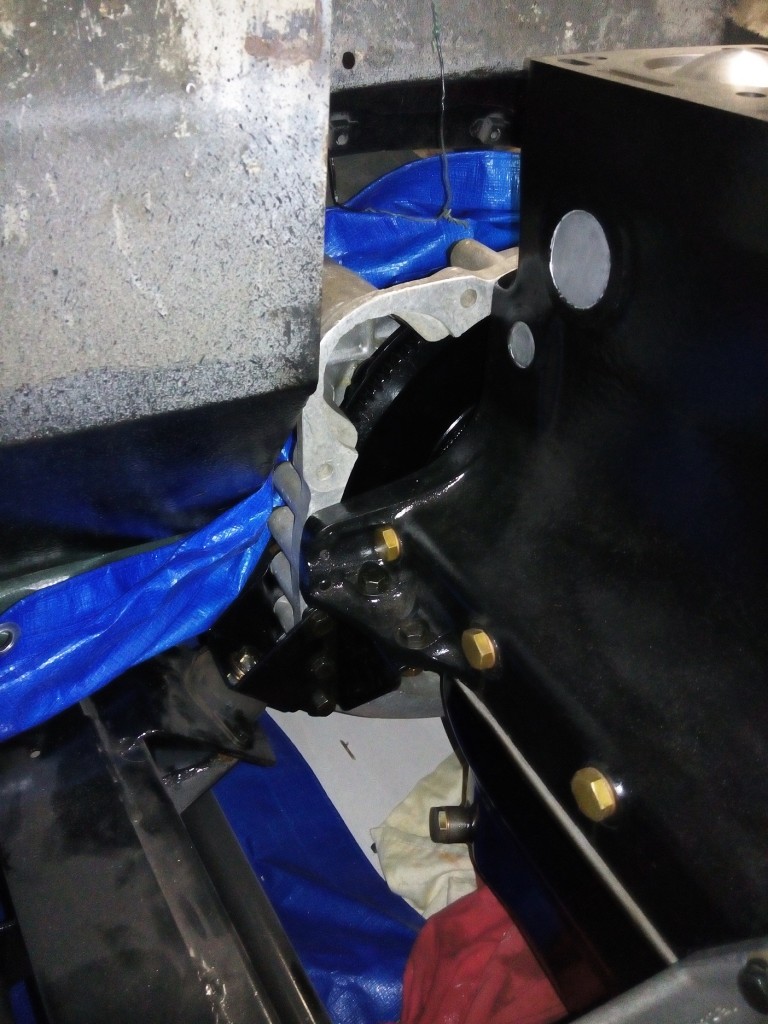
EngineOnChassisRight

Right side motor mounting

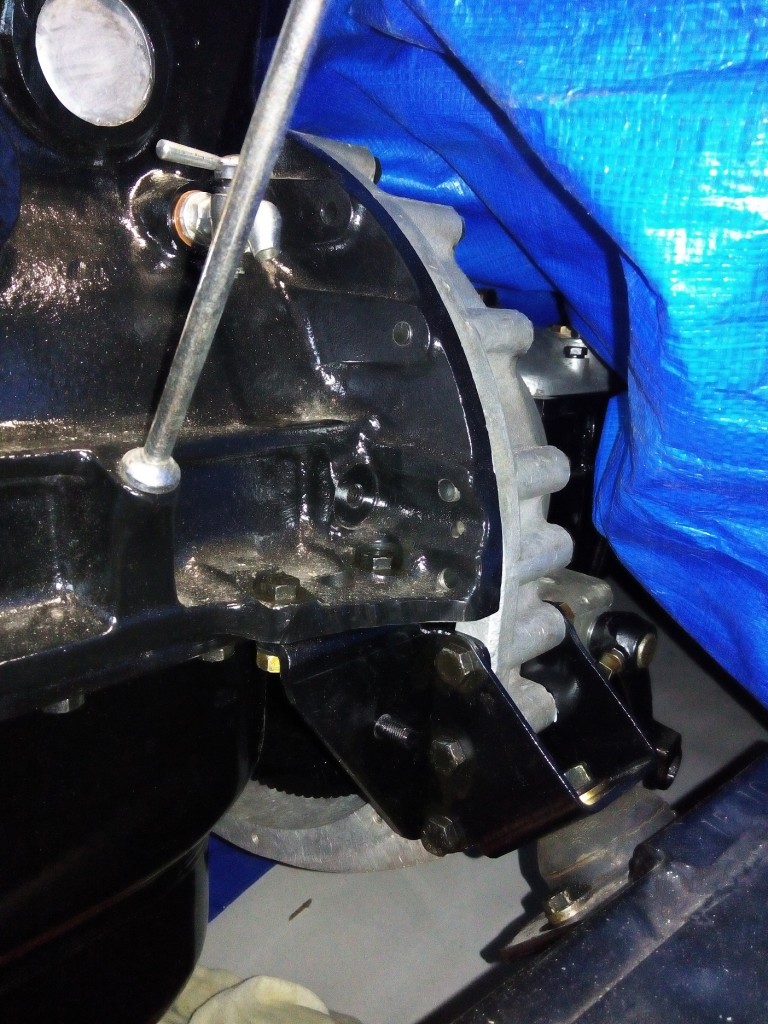
EngineOnChassisLeft

Left side motor mounting

 Posted by at 19:42
jan 102016
 

In the previous chapter “Clutch unit”, the parts needed to rebuild the flywheel are also shown.

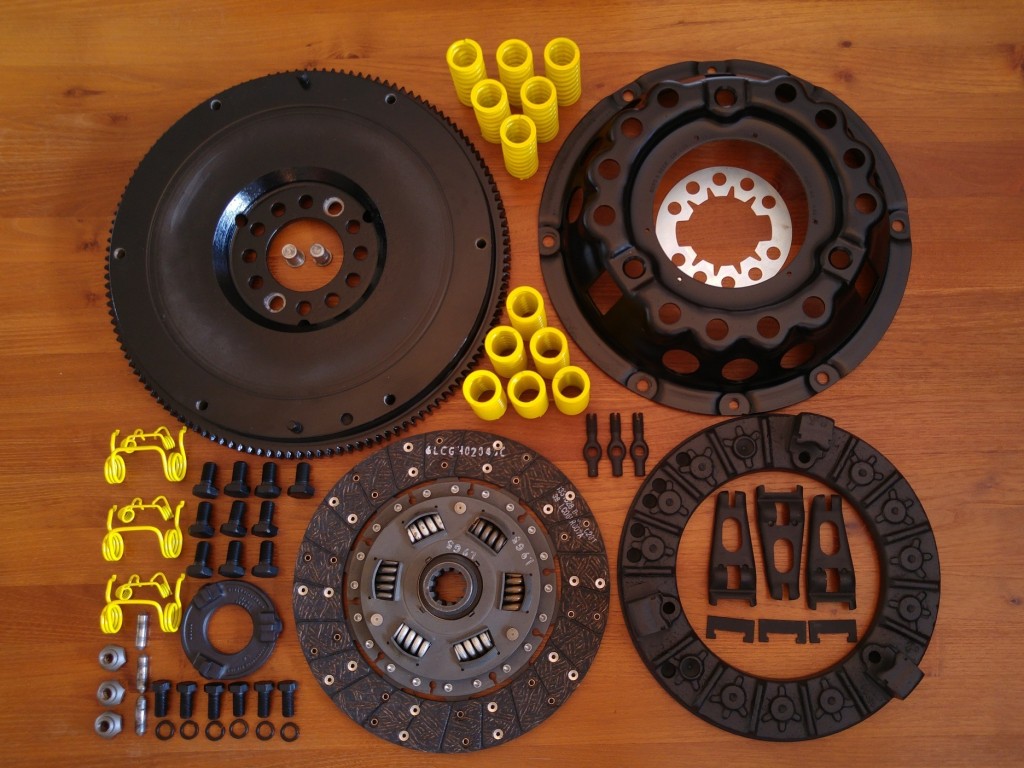
NewPartsClutchUnit

Flywheel parts together with clutch unit parts

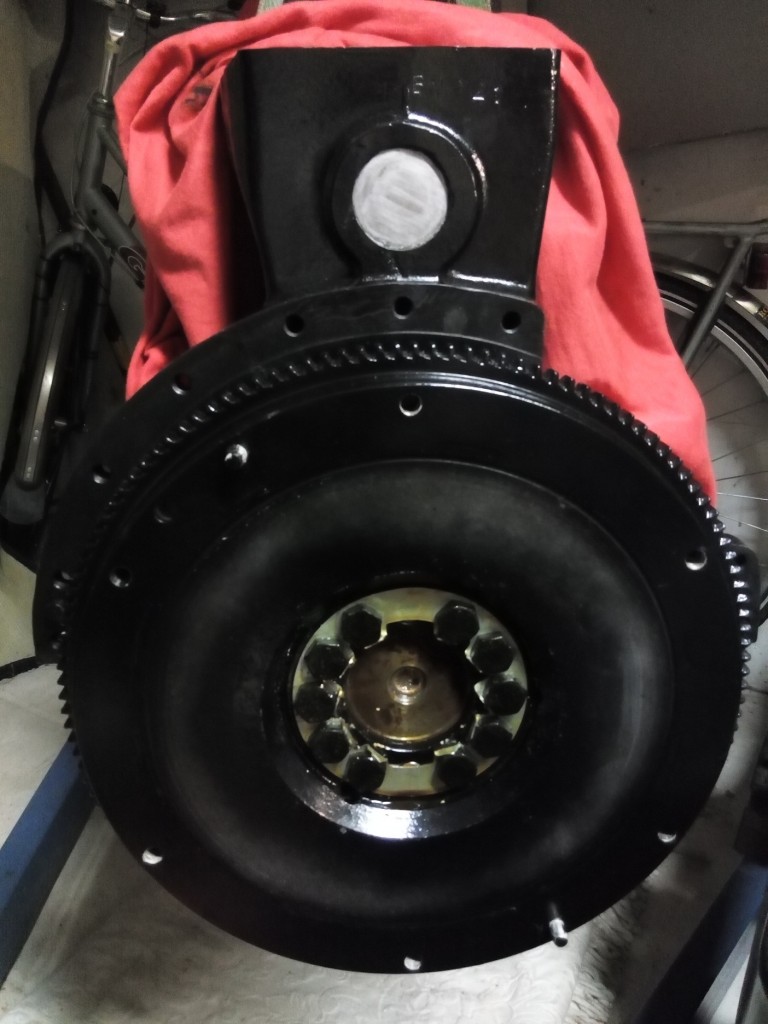
Below the flywheel mounted on the crankshaft. The spigot bush was still in good condition, so no need to replace (located in the center of the crankshaft).

FlyWheelMounted

Flywheel mounted with ten bolts and lock with a locking plate 

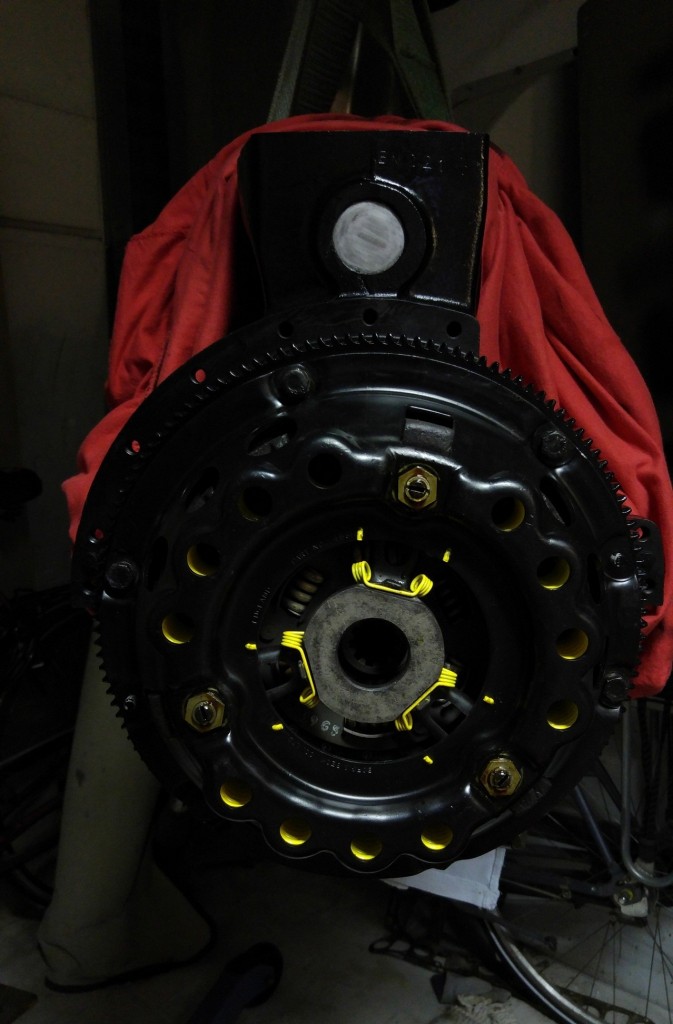
ClutchUnitMounted

Flywheel and clutch unit together mounted on the crankshaft

Torque used to tighten the ten flywheel bolts is 67 ft/lb or 91 N/m.

 Posted by at 19:23
dec 302015
 

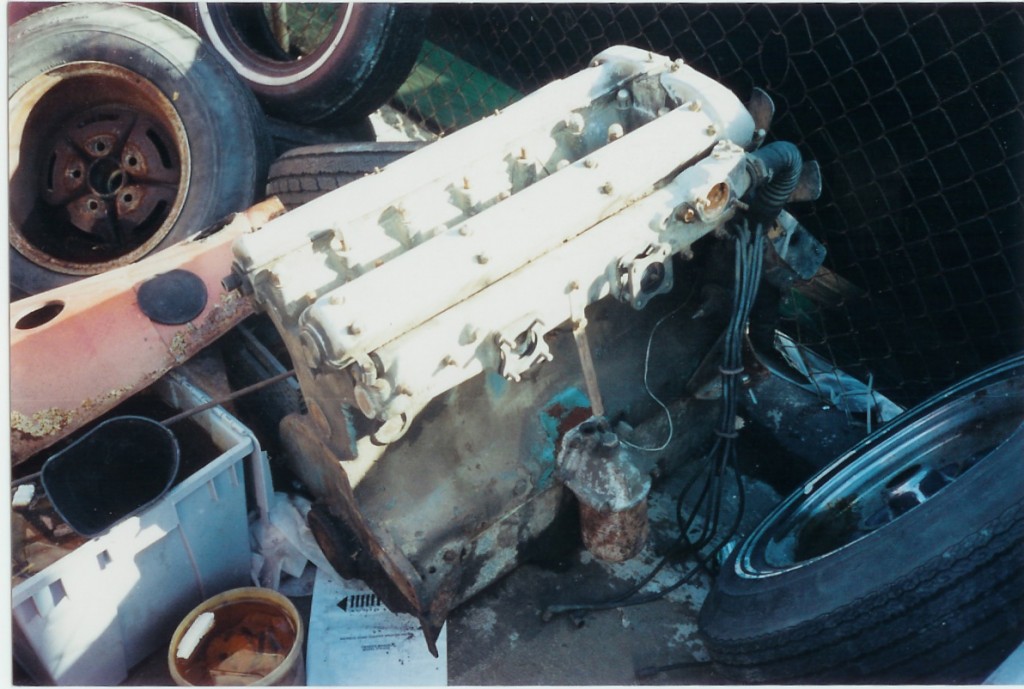
OilFilterOrignal

The above photo shows the engine in an abandoned part of someone’s yard, somewhere in the states. In this picture the oil cleaner is clearly visible.

OilFilterTypes

Early and later type oil cleaners housing

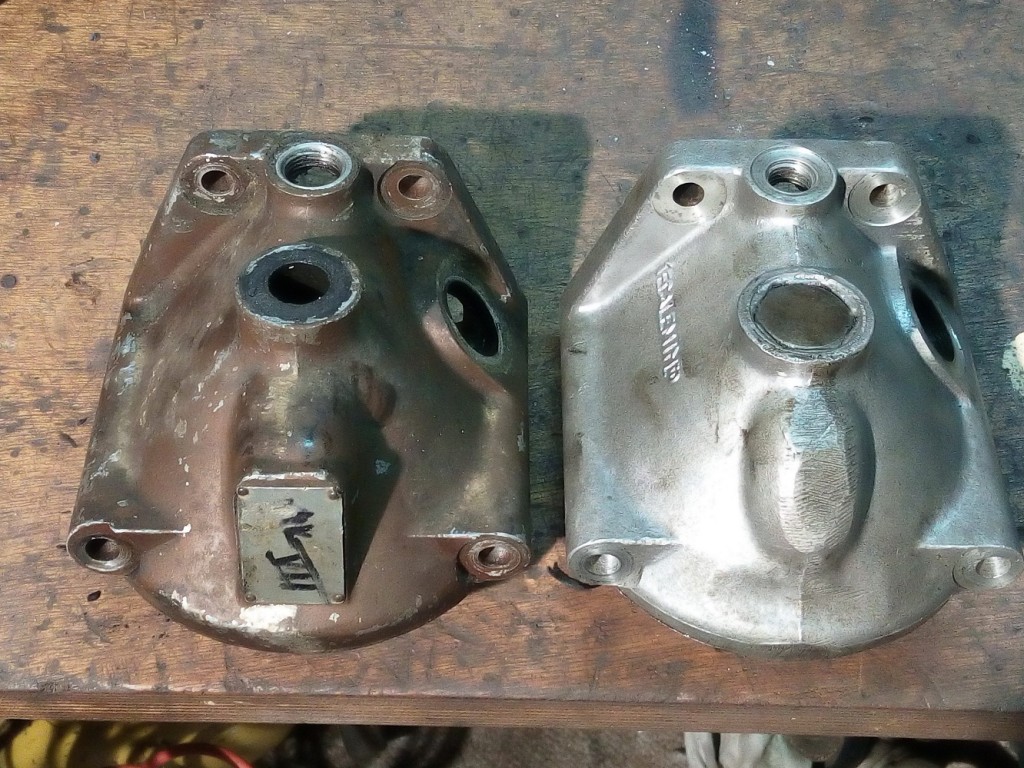
In the pile with parts, which came together with the car, two types of oil cleaners where present.

  • One with the bolt from the top
    This type is called “Early XK140 type” and was painted completely (housing and canister) brown (some sort of metallic paint was used).
  • One with the bolt from the bottom
    This type is called “Later XK140 type and there only the canister was painted brown (solid)
    Also the id tag, normally placed on the front or side, is not available on this one.
    Because my car comes originally from 1956 I will choose the “Later” type.
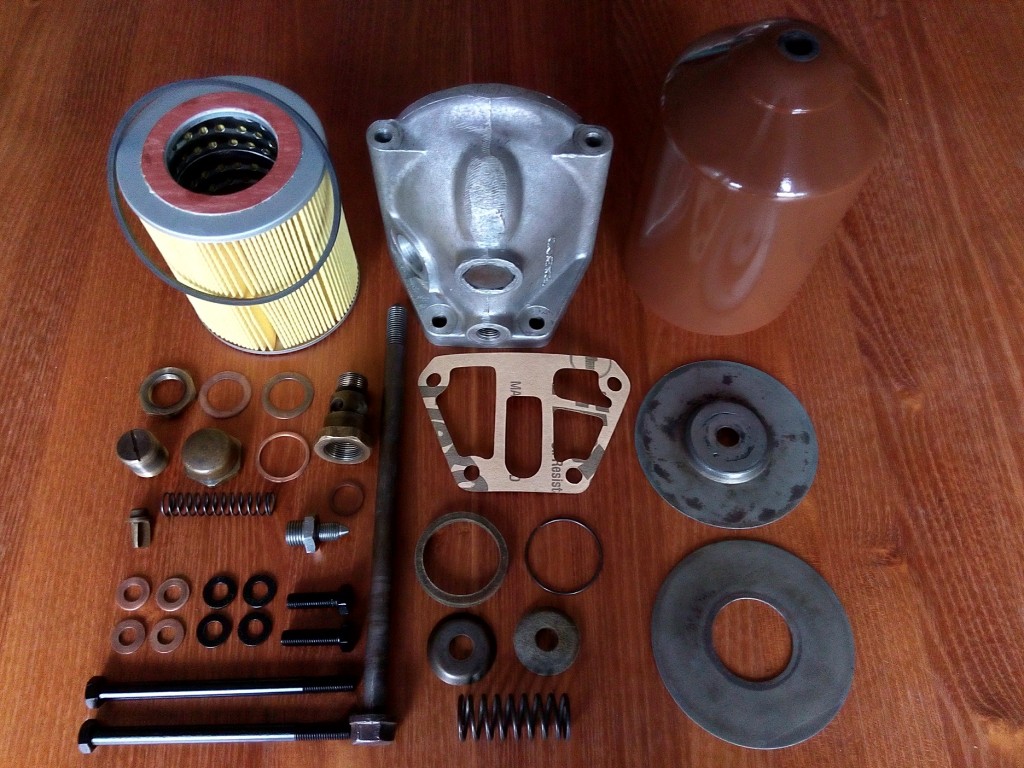
hdr

Parts to rebuild the oil cleaner

The small oil union, mounted on top of the cleaner housing, was the last part that was needed to complete the rebuild of the oil cleaner. (found this part via ebay UK)

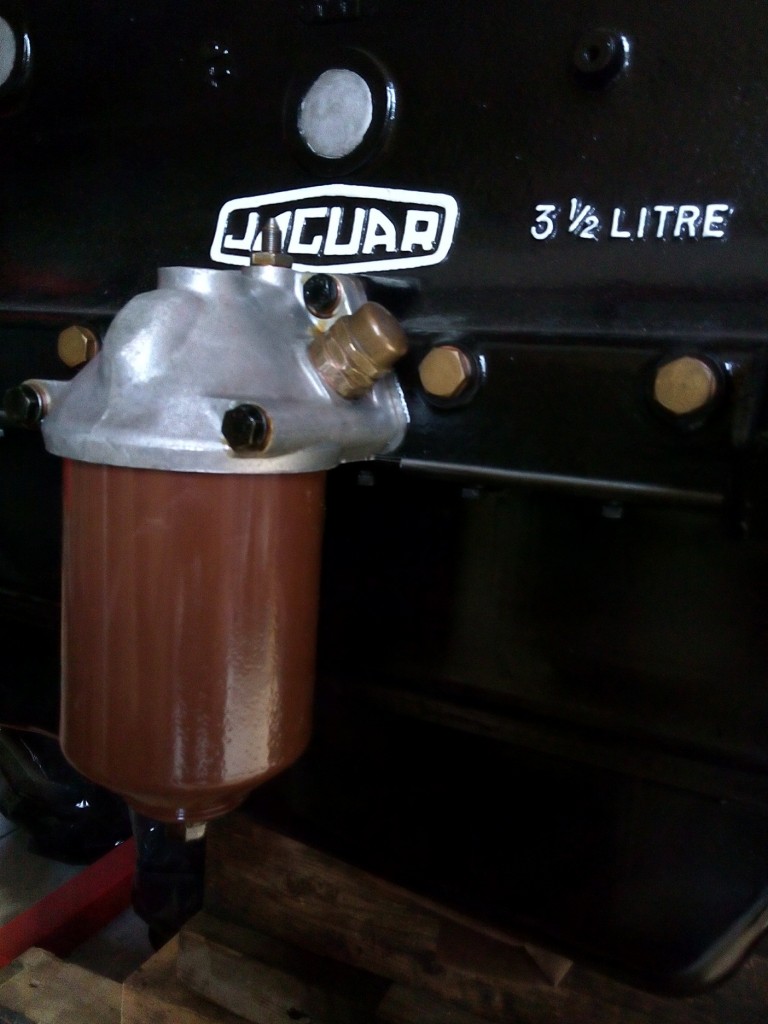
The oil canister has been painted with solid acrylic paint (RAL 8011). This color comes closest to the original sample.

hdr

Rebuild oil cleaner mounted to the fresh XK140 engine

 Posted by at 21:46
aug 142015
 

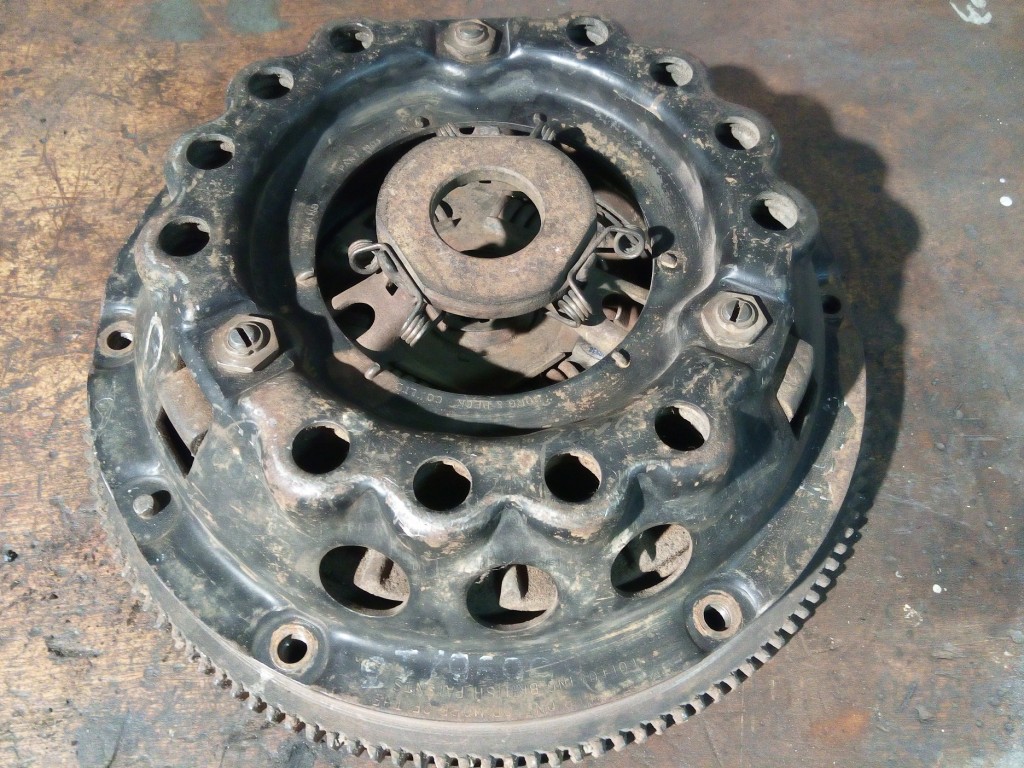
My first idea was to leave the clutch unit unrestored, because there was still some original paint available and he did’t look so bad. After inspection I saw a lot of rust inside (Springs and clutch plate) and therefore decided to restore the clutch unit as well.

ClutchUnitOriginal

The original clutch unit which was mounted on the flywheel

So first I disassembled everything (be careful with removing the three nuts, there is a lot of pressure due to the twelve strong springs). Cleaned everything with glass bead blasting and sprayed everything with a new fresh layer of paint. I used special paint for the parts who can become very hot (< 800℃)

NewPartsClutchUnit

The original paint on the springs, who will deliver the pressure to the clutch plates, where  not visible anymore. But in the documentation is stated the they should be painted yellow.

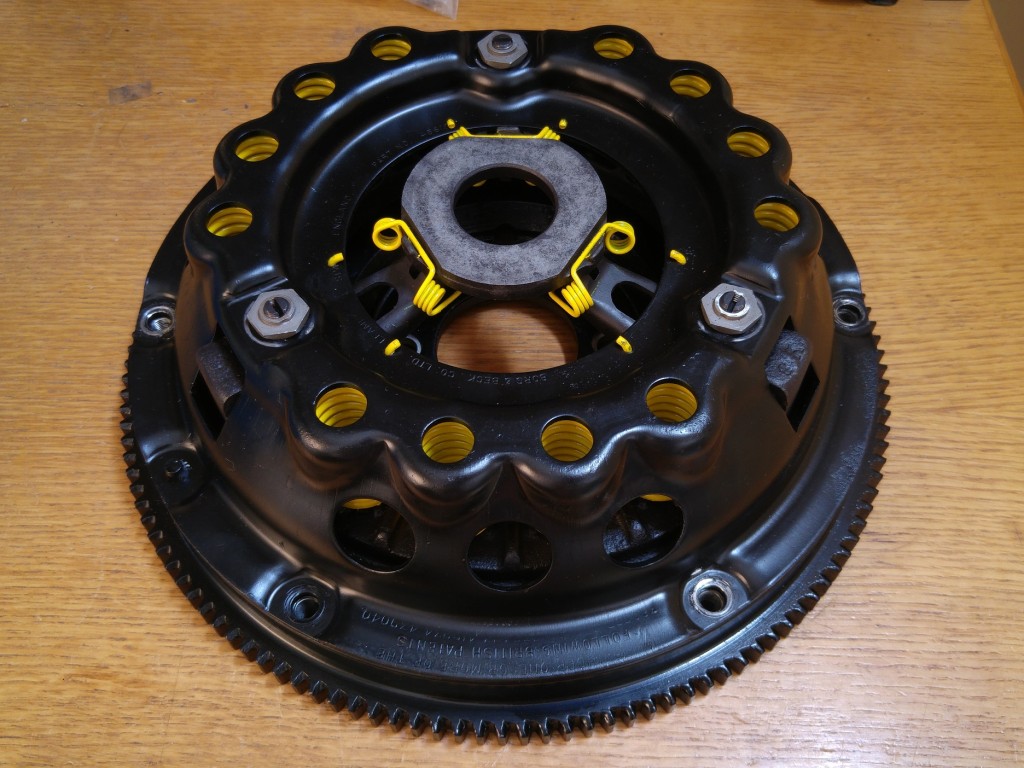
ClutchUnitFinished

The restored clutch unit, ready to be mounted

I didn’t know if it was really necessarily but I placed the cover on the same location as it was originally. During the assembly I noticed that the pressure plate has been balanced in some way (In the second picture you can obvious the have drilled 7 extra holes to remove some material).

 Posted by at 14:11