The first idea to start with the restoration of a classic was born in 2002.
I was particular interested in cars from the post war period.
Some nice specimens are;
– Jaguar XK120 (1949-1954)
– Jaguar XK140 (1954-1957)
– Forst Mustang (1964-1967)
– Chevrolet C1 or C2 (1953-1967)
– Mercedes 190SL (1955-1963)
– BMW 507 (1956-1959)
– MGA (1955-1962)
– Triumph TR2 or Tr3 (1953-1957)
– Porsche 356 (1948-1965)
From 2002 on I started with searching the internet for one of the above types, within my budget 🙂
I have seen several very rotten ones so it was not an easy job.
A friend of mine bought his car from Jan Arets in Budel and decided to pay him a visit. I was lucky because that day he received two very nice Jaguar XK’s (XK120 FHC and a XK120 DHC). I asked him the price and was shocked by the asking price off about 19k euro. After struggling a couple of days about this in my eyes huge amount I decided to make the call, but the FHC was already sold and he was negotiating about the other XK(DHC). (so this was a dead end…)
In the upcoming time period I found a lot of cars from the above list on www.marktplaats.nl but never found a good restoration object. During the searching process my preference for the Jaguar XK kept increasing and decided to narrow my search criteria.
On 9 September 2008 I found a good restoration object on marktplaats from a guy called Cees van Ouwerkerk (car broker)
The only big dis-advance with this car, it was almost completely disassembled. After checking all photo material I decided to take the chance and bought the car.
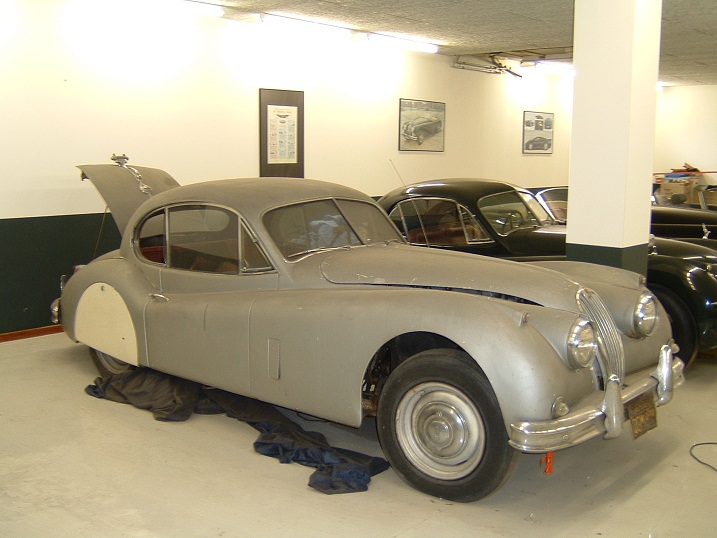
This is how the car looked before it was disassembled by the previous owner