dec 312014
 

This parts covers the flywheel and clutch  located between engine and gearbox. It is also used to mount the starter motor which makes a connection to the ring gear on the fly wheel.

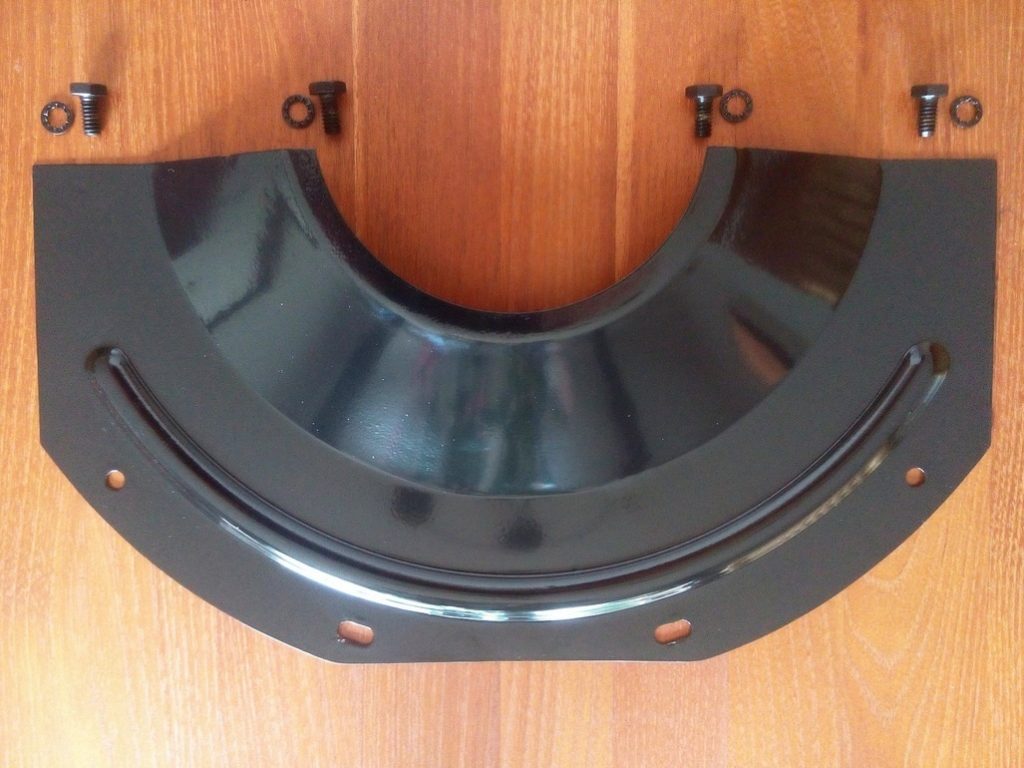
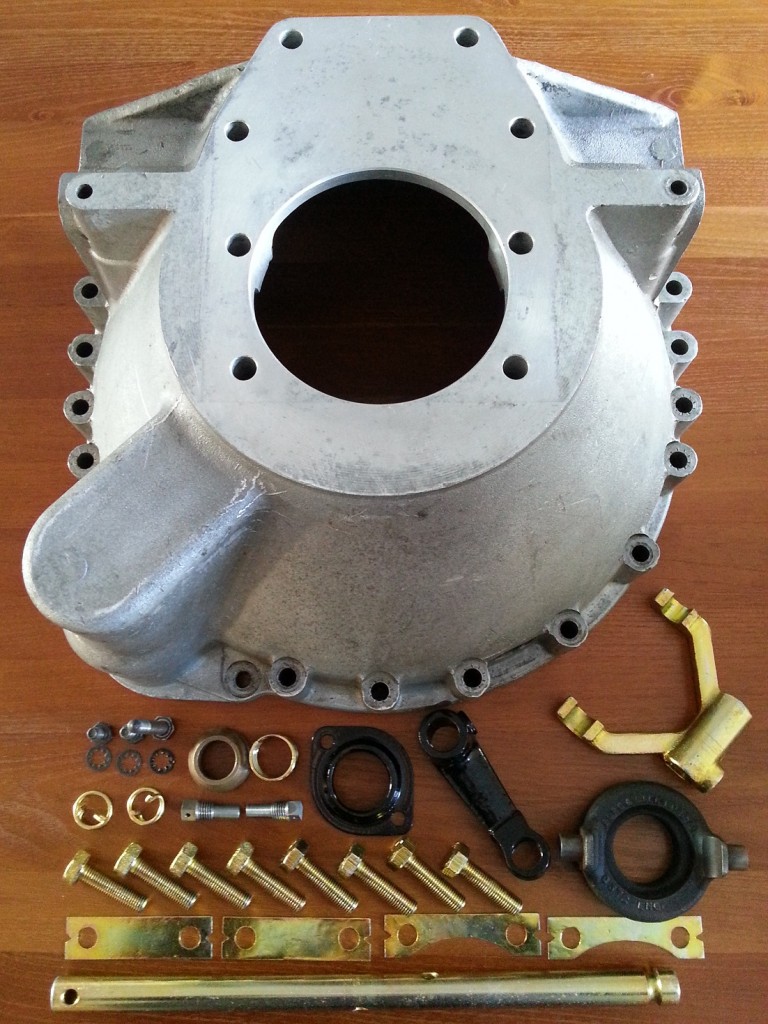
The original bell housing was corroded badly and one of the previous owners has made a square hole in the bottom. Most probably to inspect the clutch or do some kind of repair without removing it from the engine. I found a nice replacement in the UK as can be seen in the next picture.

BellHousingParts

Parts needed to assemble the bell housing

Plate to protect the clutch house internals

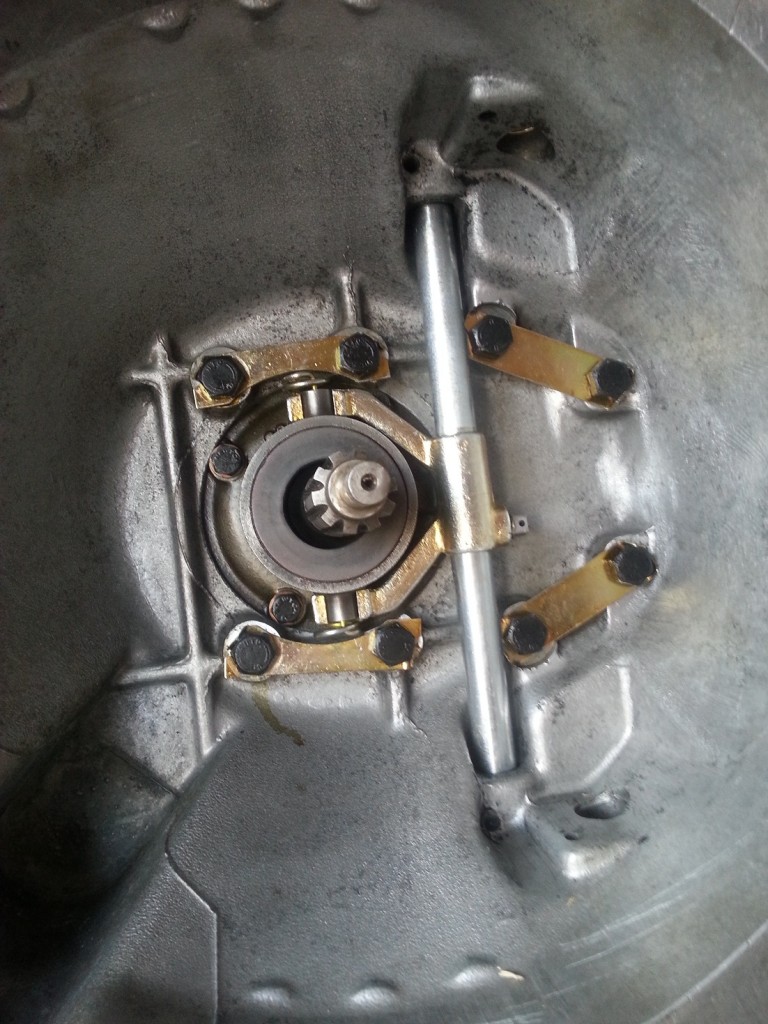
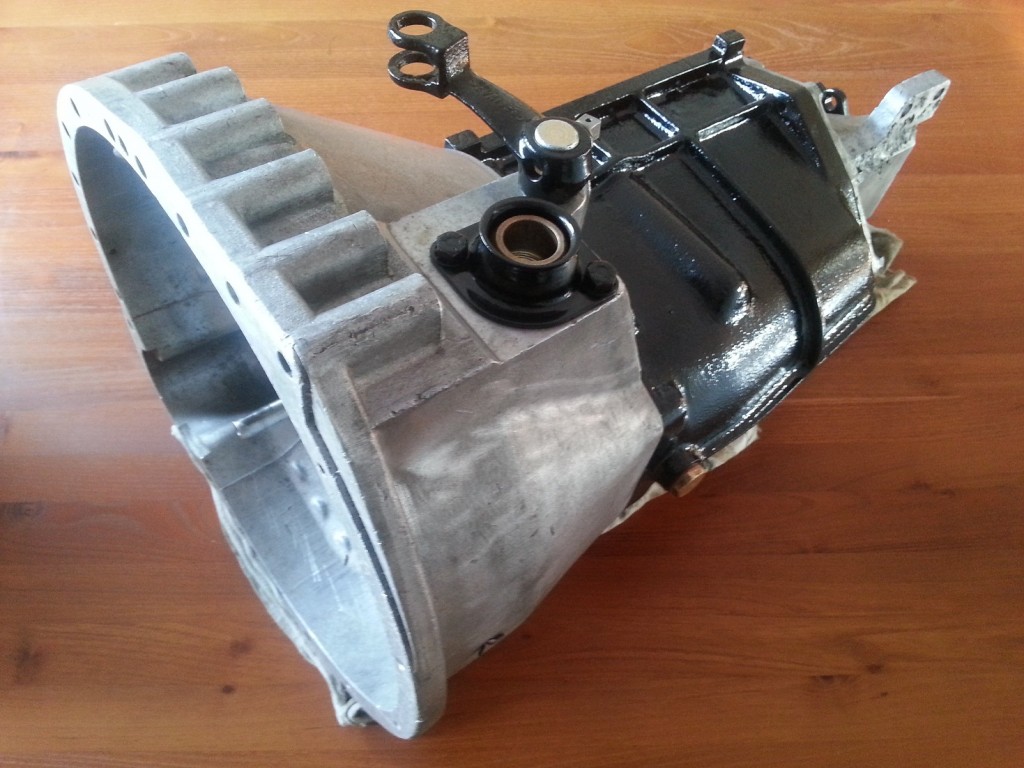
In the next picture the assembled gearbox has been mounted onto the bell housing. The clutch fork and clutch bearing can bee seen on the photo in more detail. The next step is assembling the top cover of the gear box. When this part is finished everything can be bolted, together with the clutch and pressure plate, to the engine. The protection plate must be mounted when the engine and gearbox are bolted together.

2014-12-29 12.55.04

Clutch fork detail

2014-12-29 12.56.12

Finished gearbox and bell housing


Because the flywheel, pressure and clutch plate can’t enter the bell housing when the cover plate is mounted already, it will be done after it has been bolted to the engine block. This cover plate prevents that water, crease and dirt enters the bell housing and will have a bad influence on the clutch operation.
 Posted by at 12:59
dec 282014
 

50percentWhen I bought this car 6,5 year ago my first estimation was to finished this project in 5 year. I lot of people  in my environment  respond like this; 5 YEAR, so long!

Today the progress has crossed the 50% boundary. My current impression is that the last 50% will go a bit faster.  In the first 50% the work meanly consists of

  • Disassembling
  • Cleaning
  • Find missing parts
  • Research
  • Figure out which parts are used where
  • Assembling the rolling chassis (except the engine)
  • Bodywork repair I

During the last 50% i will need to do;

  • Finishing the body work repair
  • Electrical installation
  • Assembling bodywork and interior
  • Lining
  • Finishing the rolling chassis; Carburetor,  Dynamo, Starter, Waterpump, Oil cleaner and Engine
 Posted by at 16:42
dec 202014
 

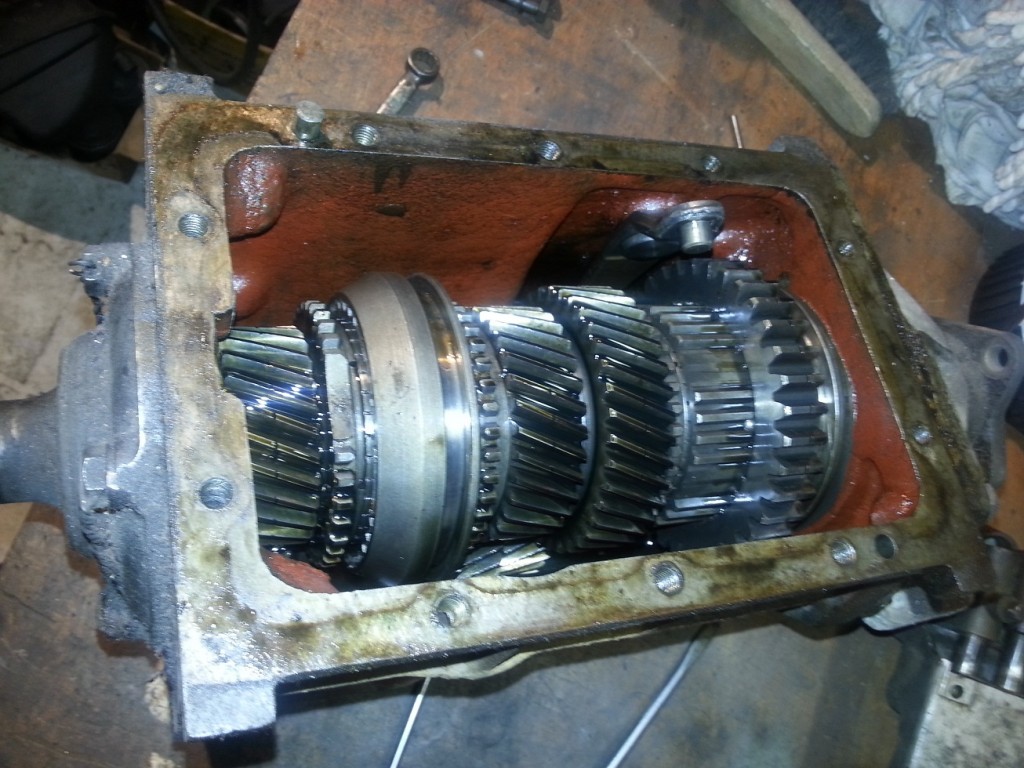
GearboxInternalAfter removing the gearbox cover I was pleased to see that there was still 0,5 liter of oil inside. All the gears looks still great.

The bearing of the incoming axle was blocked for some reason but I already planned to replace all bearing anyway.

The needles bearings where also not so good but the bearing surface was still in good shape.

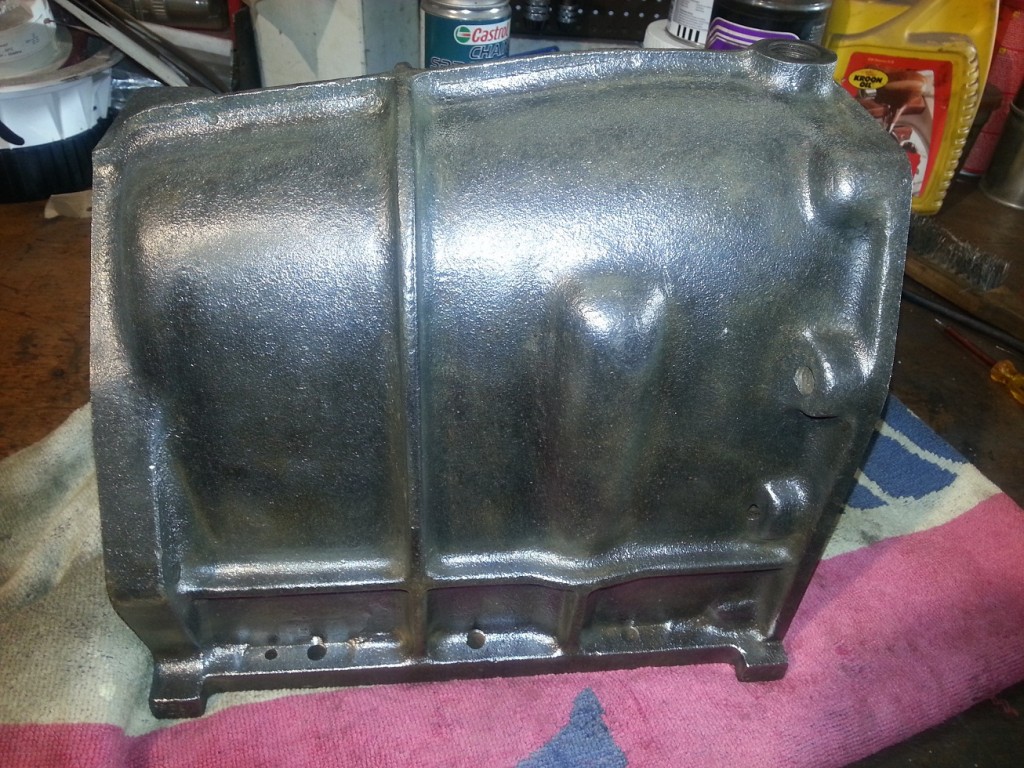
After all internals where cleaned, checked and stored I started with cleaning the gearbox cover.

I will leave the gearbox cover as it is for the time being. I don’t want to disassemble to much at the same time be able to assemble everything as it should.

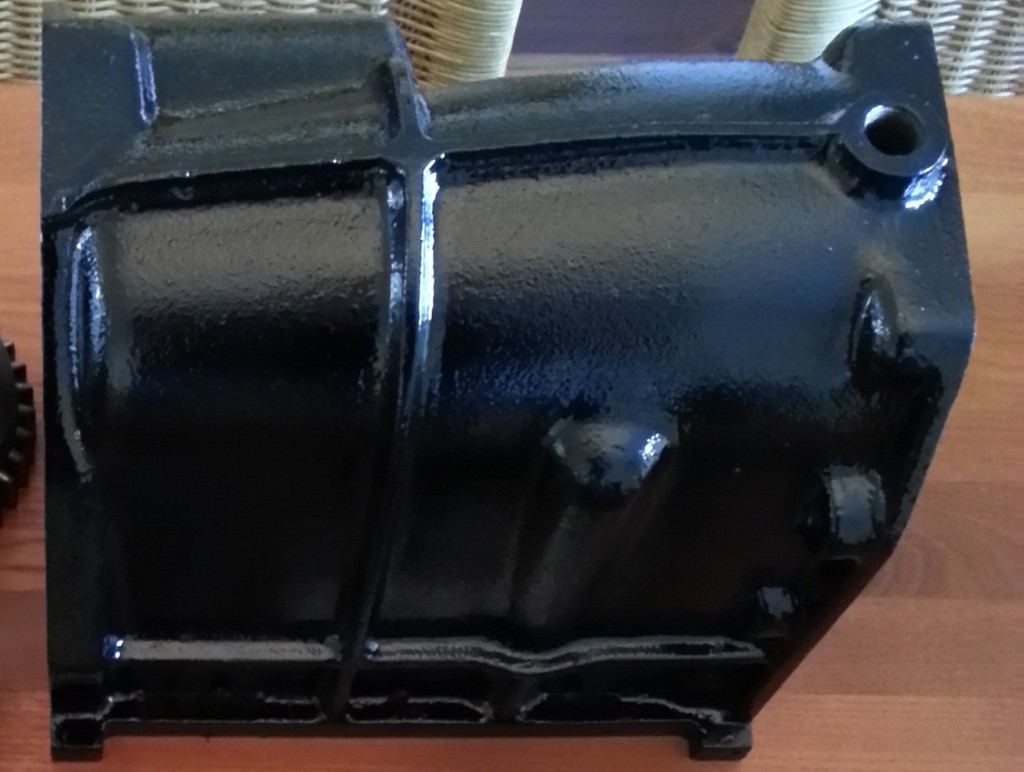
Gearbox Cleaned Gearbox Painted


After the outside gearbox cover was decreased and all rust removed, it could be painted epoxy primer and several layers of black paint.

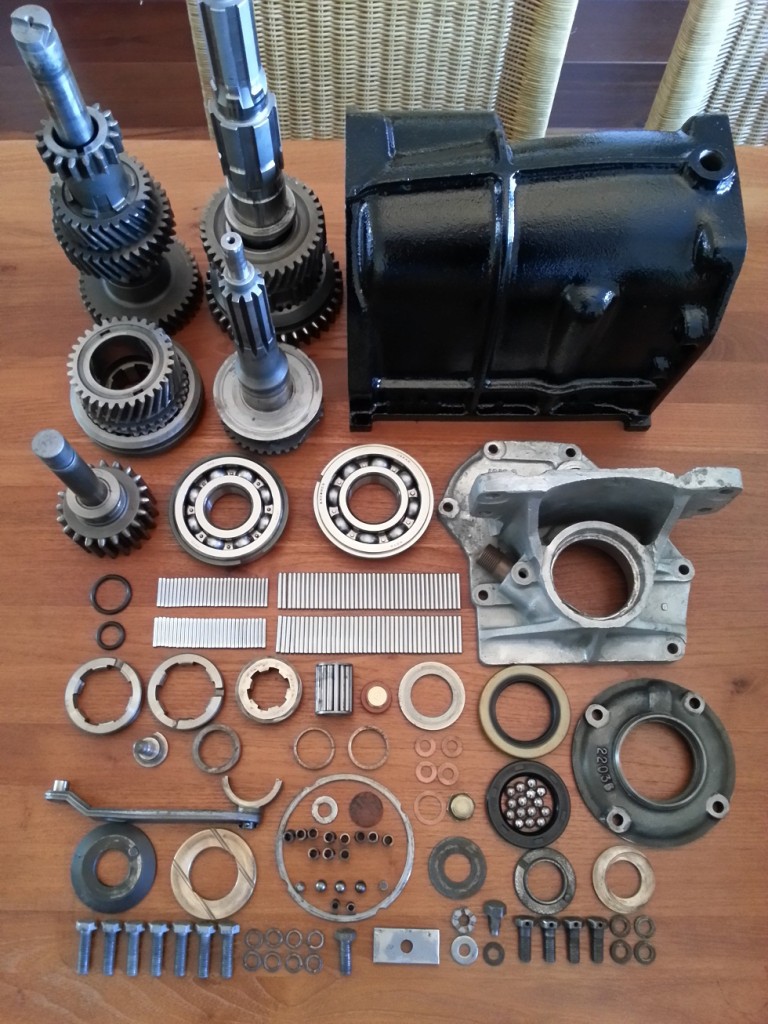
Gearbox Parts

All separate parts used to rebuild the gearbox without cover

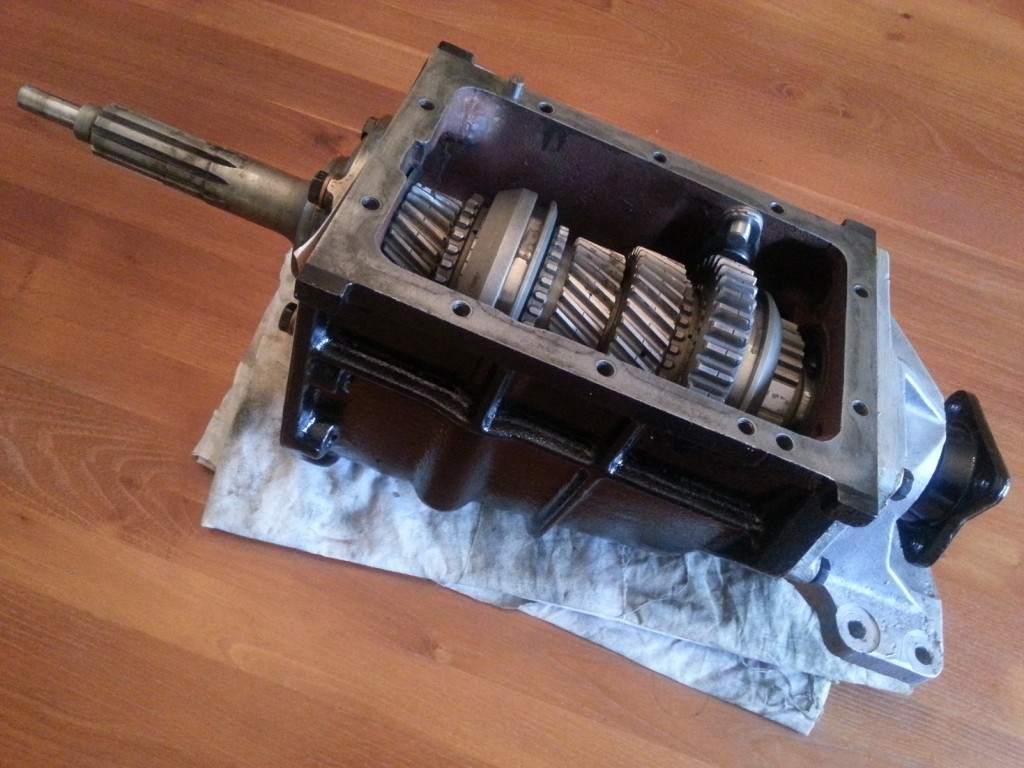
GearboxInternalFinished

Gearbox (without cover) mounted


 Posted by at 17:27